Find out the answer to your question, “Will I be required to use cartridges with the Cricut?” and also a fun and simple tutorial using Cricut pens and cardstock.
Thank you to Cricut for sponsoring this post and making it possible for all of us to enjoy crafting so much more. All opinions are mine alone. I pinky promise! Some of the links below are “affiliate links.” This means if you click a link and purchase an item, I will receive a small affiliate commission that helps me to be able to continue with this blog and hopefully continue to inspire you as well.
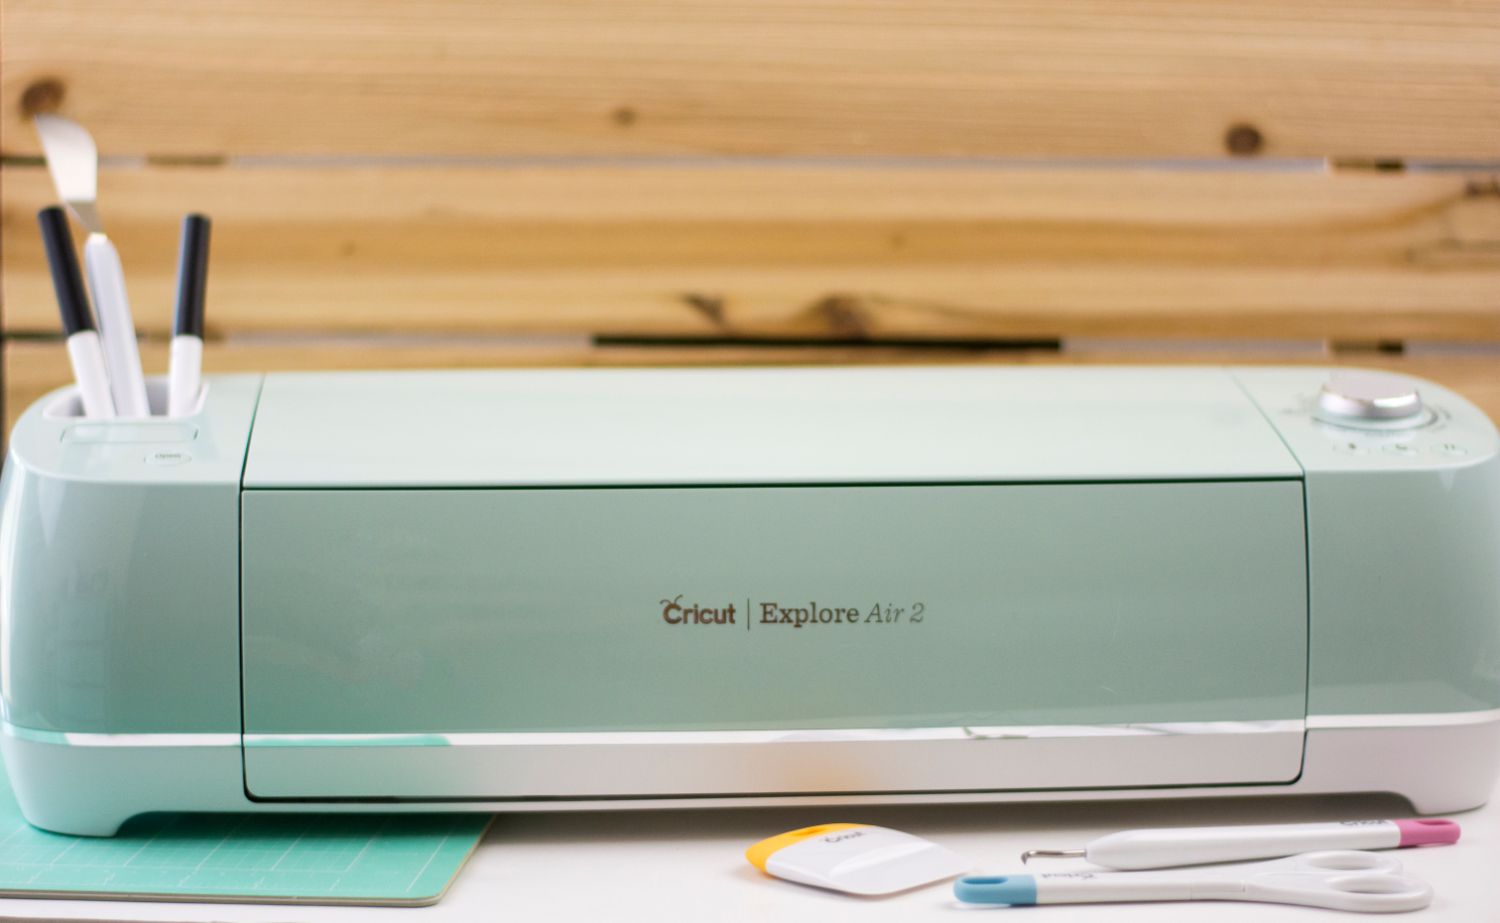
So many people love the idea of having a Cricut cutting machine and everything they could make. Then they get their machine but still have so many questions and feel overwhelmed not knowing where to even start. One of the most popular questions people have is “Will I be required to use cartridges with the Cricut?”.
Will I be required to use cartridges with the Cricut?
I am here to answer that question and share a step-by-step tutorial to get even the most beginner started crafting in no time and in confidence. But first make sure to check out my Cricut Intro post if you are interested in more about what the Cricut is exactly and what all it can do.
The previous Cricut machines would require cartridges at times to be purchased and placed into a slot on the machine which could then be accessed directly on the machine and cut out. The more updated machines still allow you to use previous cartridges with a slot on the machine, but it certainly isn’t necessary. The Design Space software gives you access to tons of images and files that you can cut. You can also purchase an Access Membership giving you access to the files at a discounted price.
The other beauty of Design Space is the Make It Now Projects. You will find tons of projects with cut files and directions to get started right away. You don’t have to have a cartridge at all with these. You don’t even have to think up your own idea. Get started using others creations and have some fun of your own.
One category of the Make It Now Projects that I want to feature are the Cards. You can find tons of ideas for just about any card you want. Everything is already there and just waiting for you to cut them out.
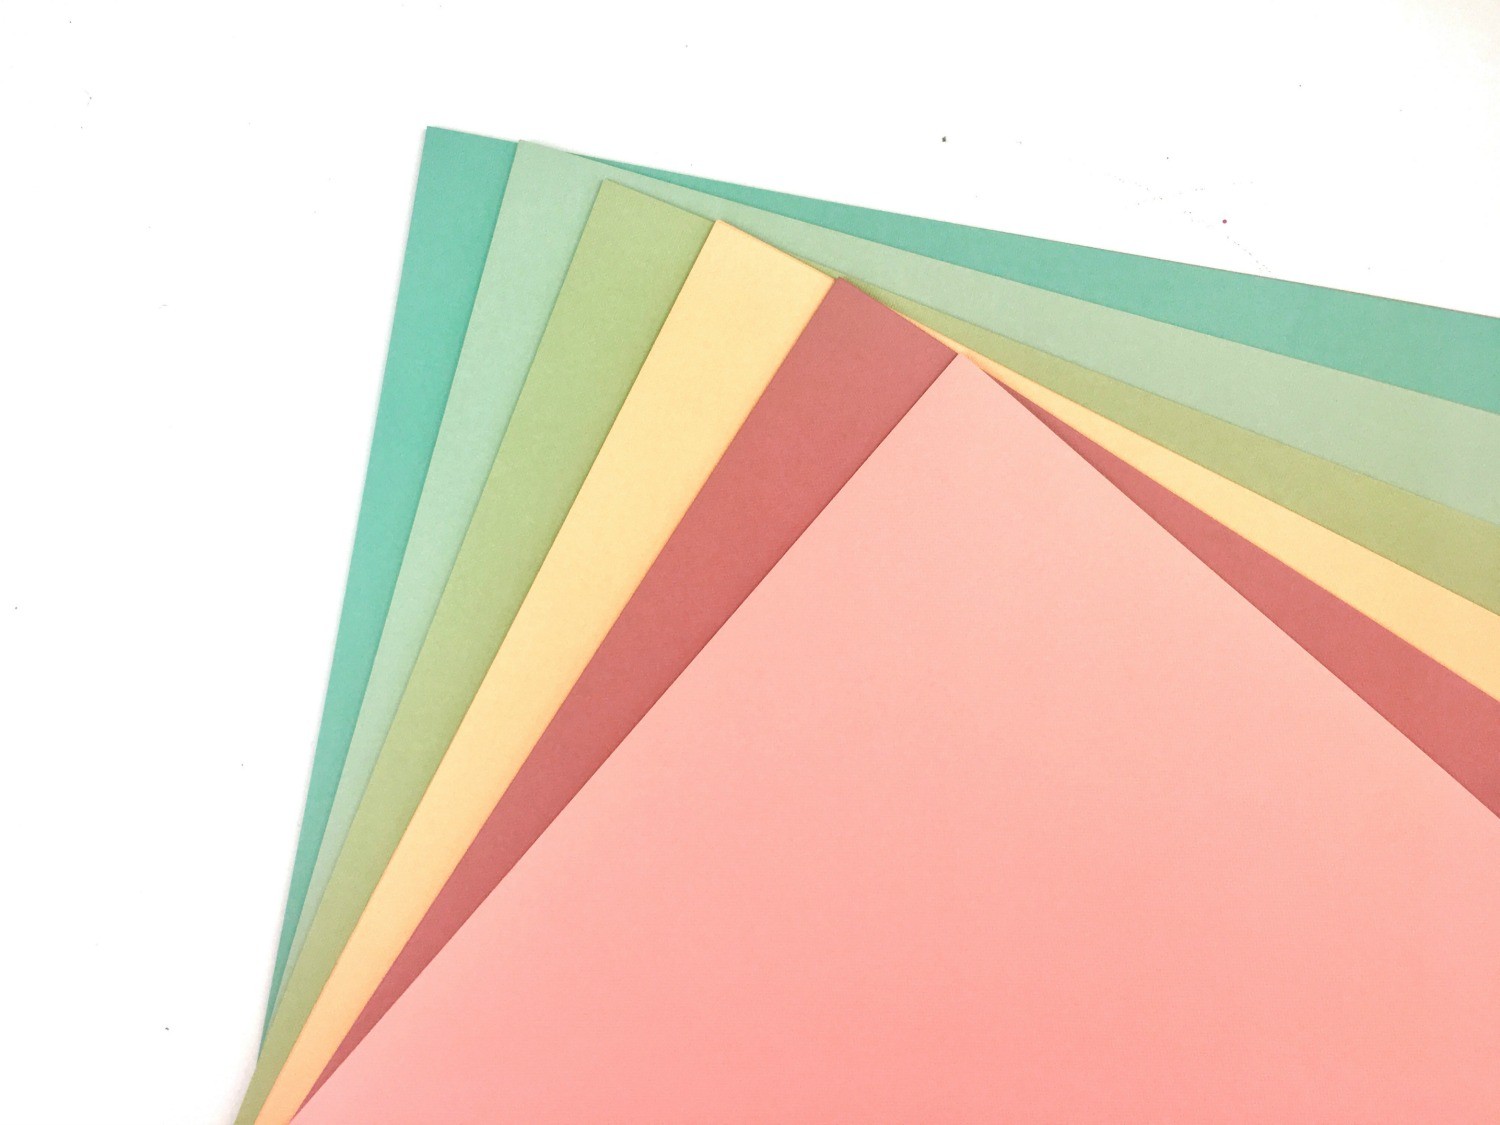
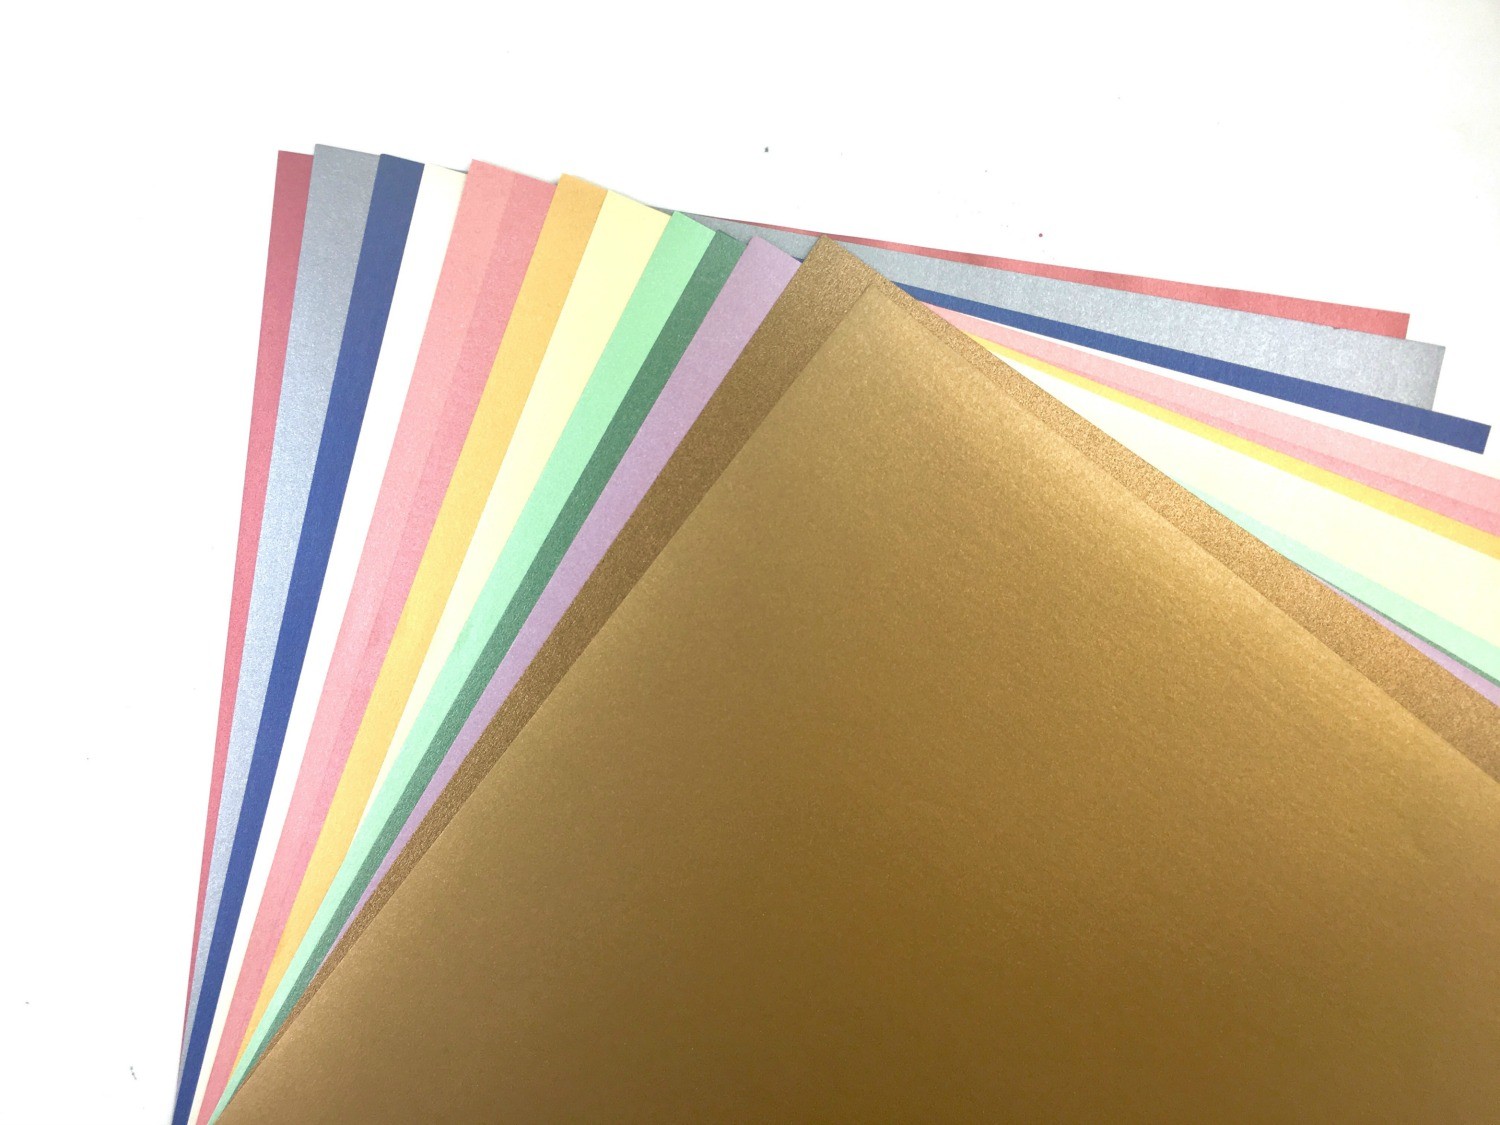
For cardmaking, you are going to need some pretty cardstock. Let me suggest a couple different packs that Cricut has. The quality is superb with a thicker paper that is sure to be durable and professional looking.
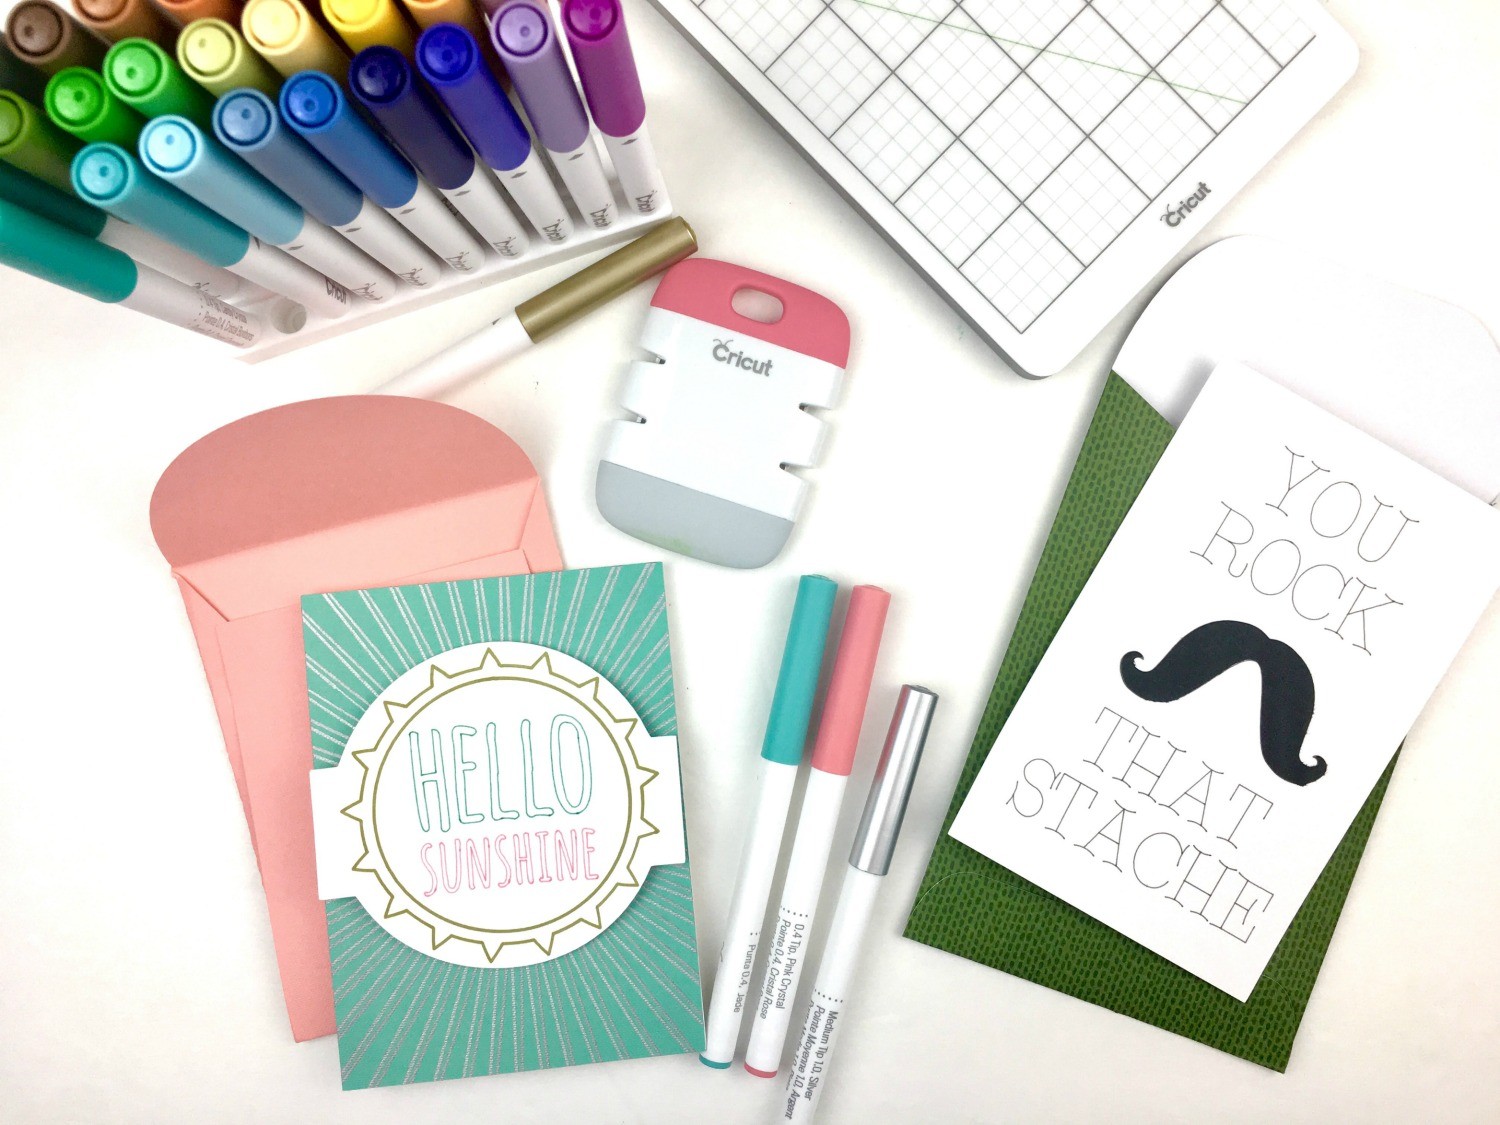
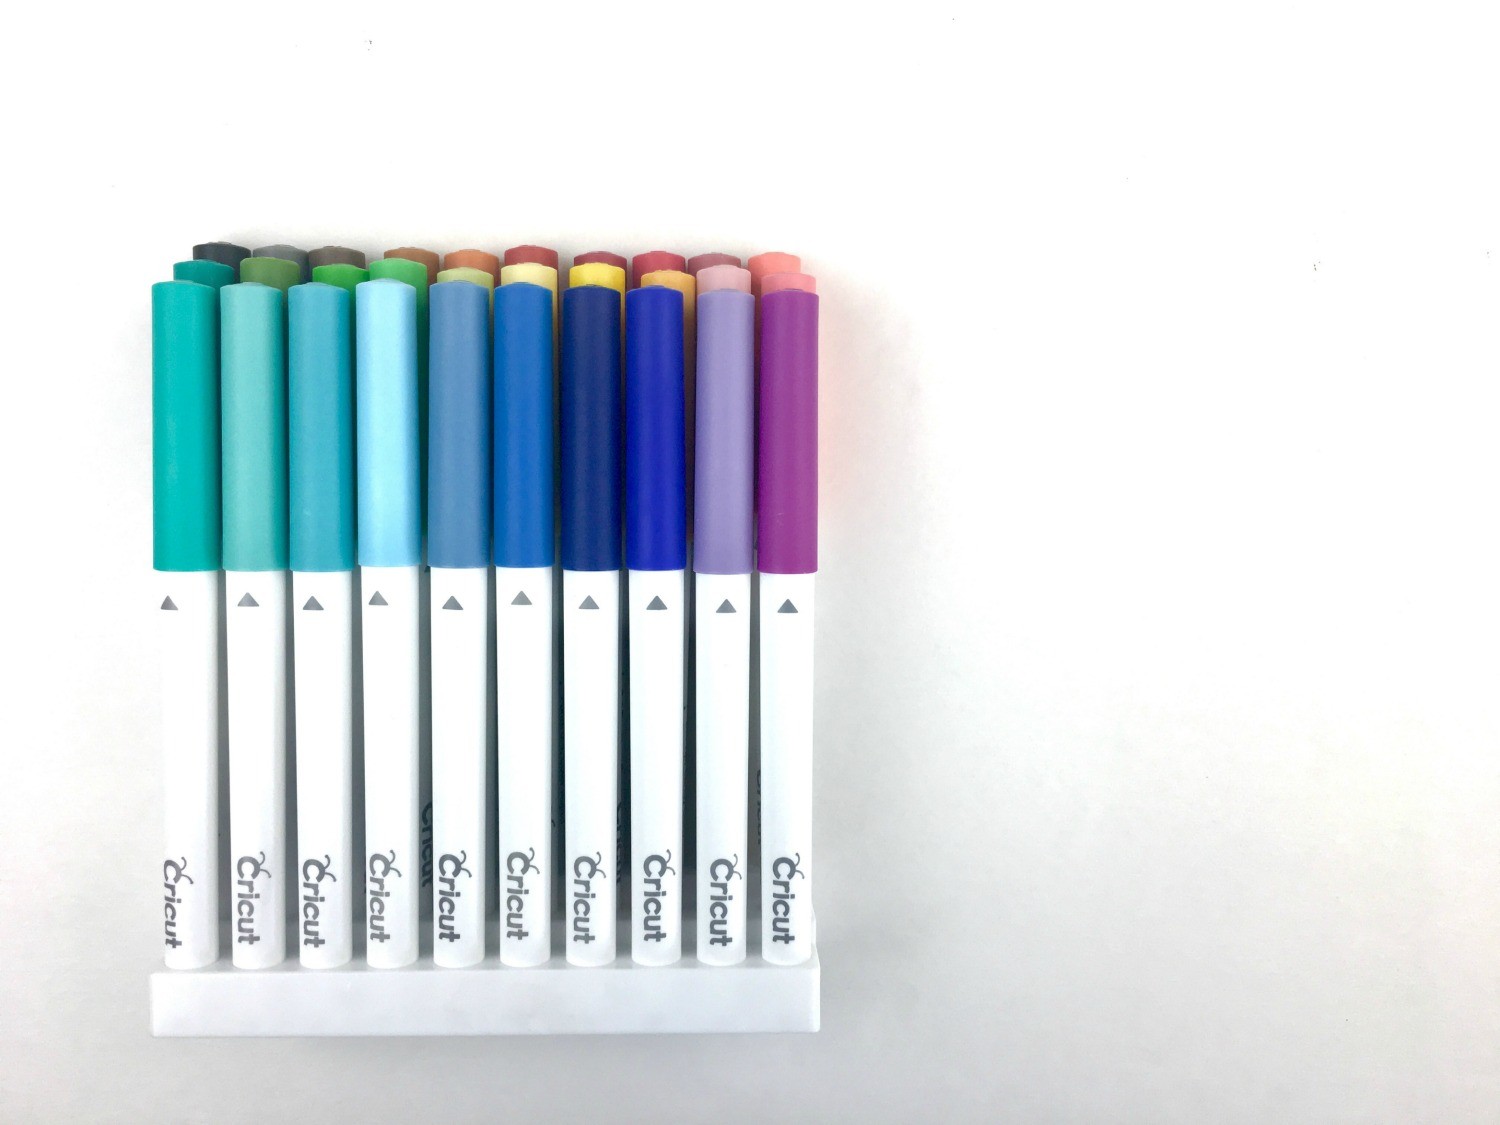
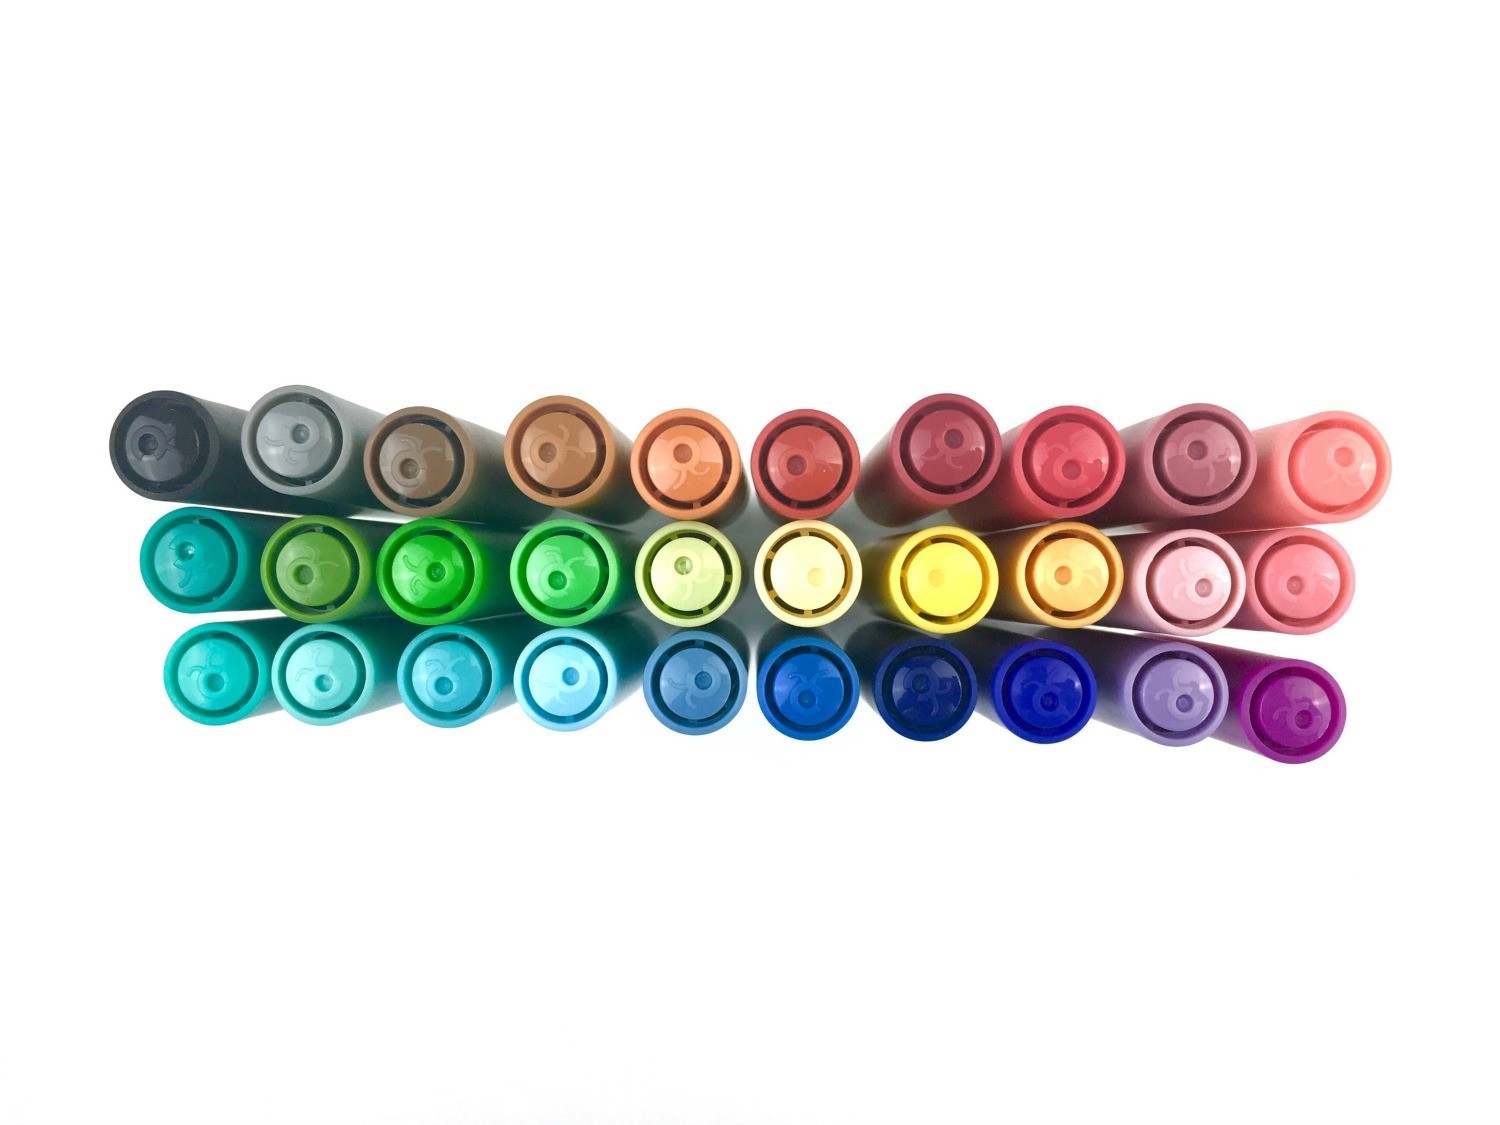
The beauty about Cricut and cardmaking is that the Cricut will not only cut out everything you need but also write any phrase or design on the card as well. Below is their Ultimate Pen Set full of bright colors and a white stand to even hold them all.
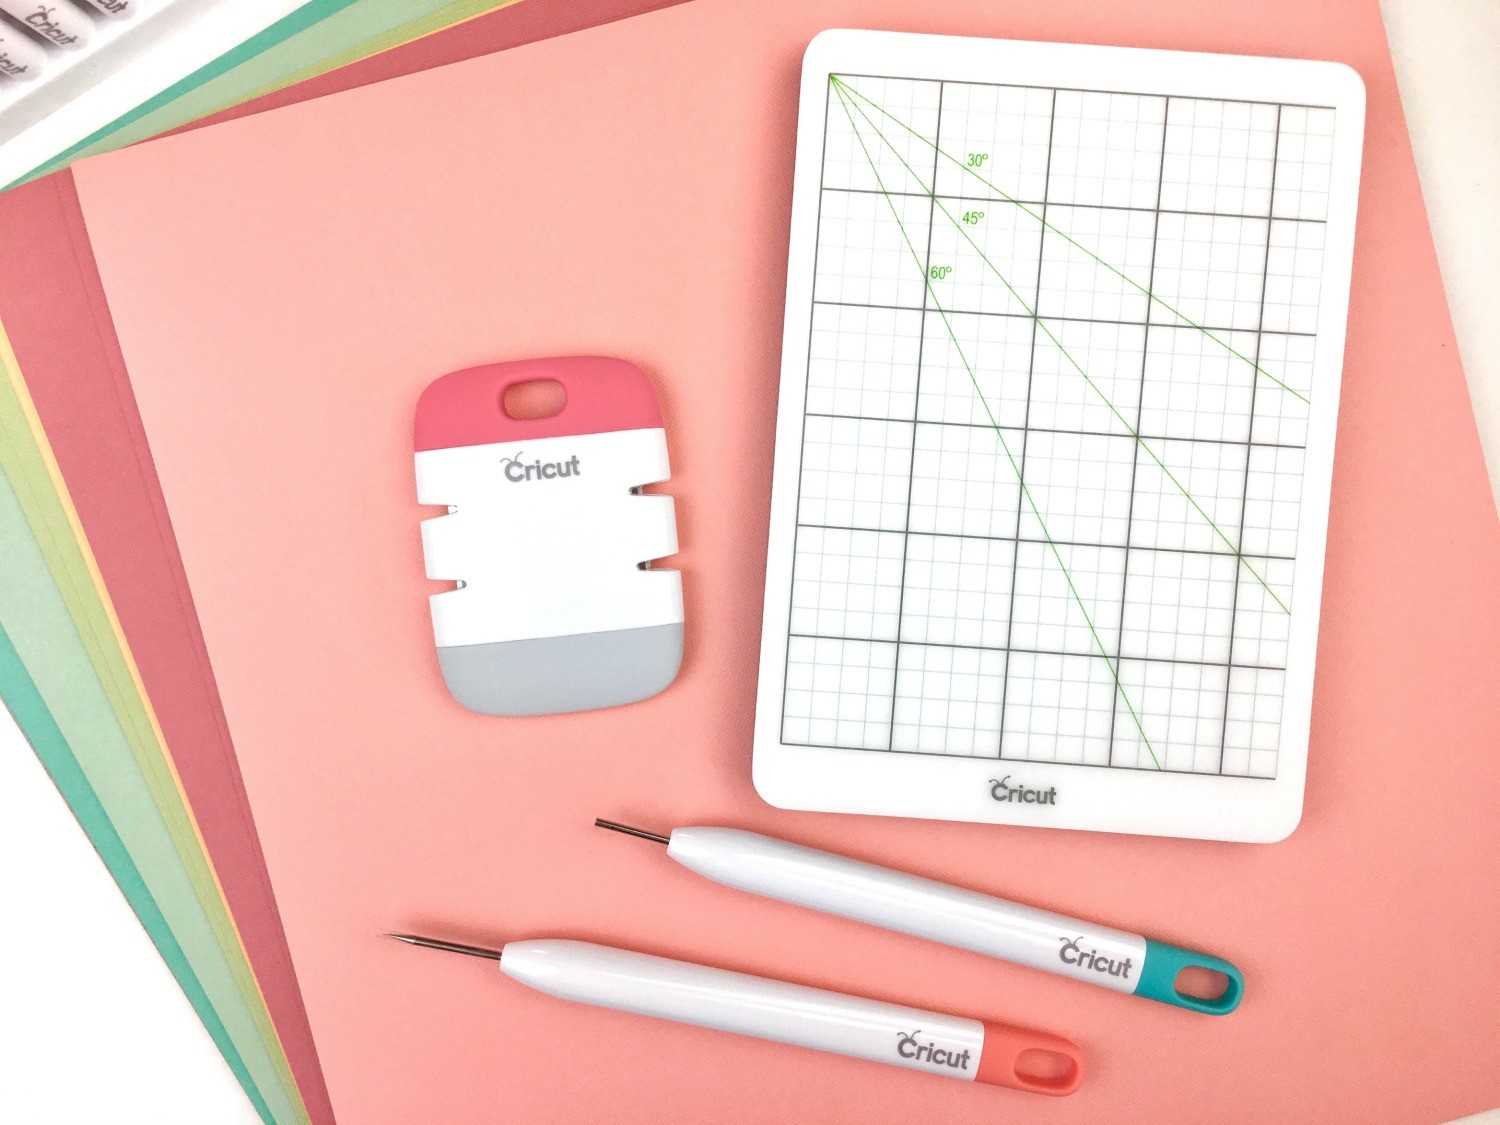
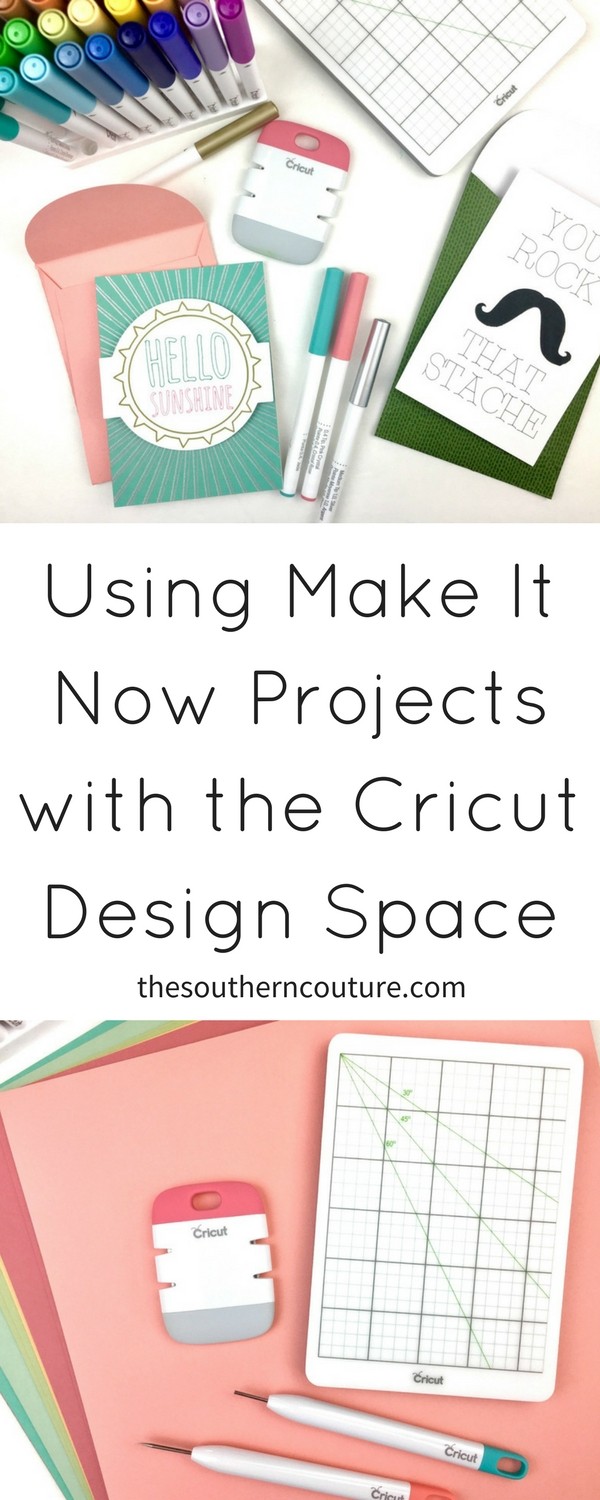
Another fun extra to use with cardmaking is Cricut’s Paper Crafting Set.
It includes:
- Piercer
- Quilling Tool
- Edge Distresser
- Craft Mat
This set is just a fun way to top things off and take your cards and paper projects to the next level. It truly is all in the little details.
Now that we have our supplies pulled together, let’s walk through step-by-step how to create Make It Now card projects in Design Space.
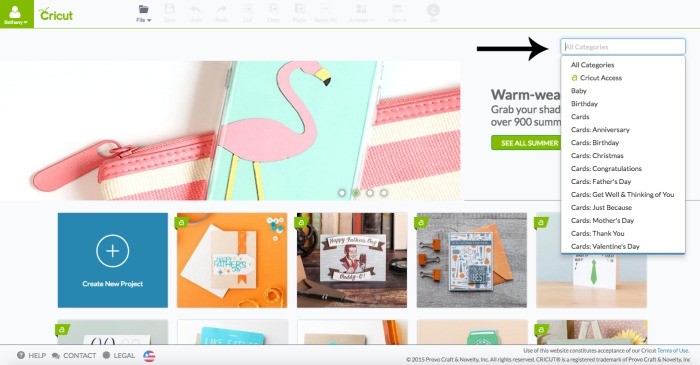
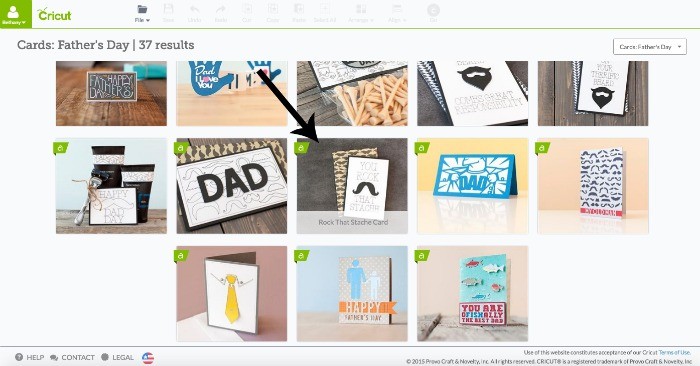
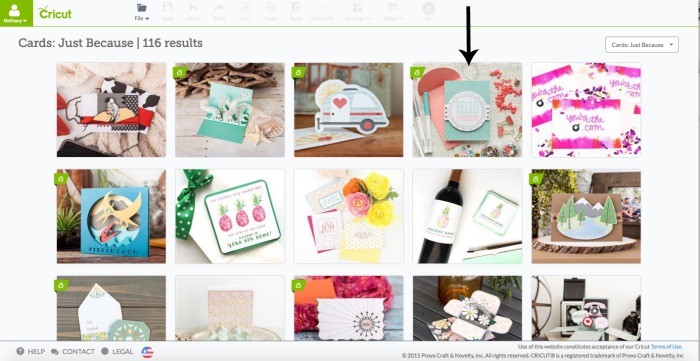
On the home page of Design Space, click on the right category box to see the full drop down menu of projects. I selected the Father’s Day cards.
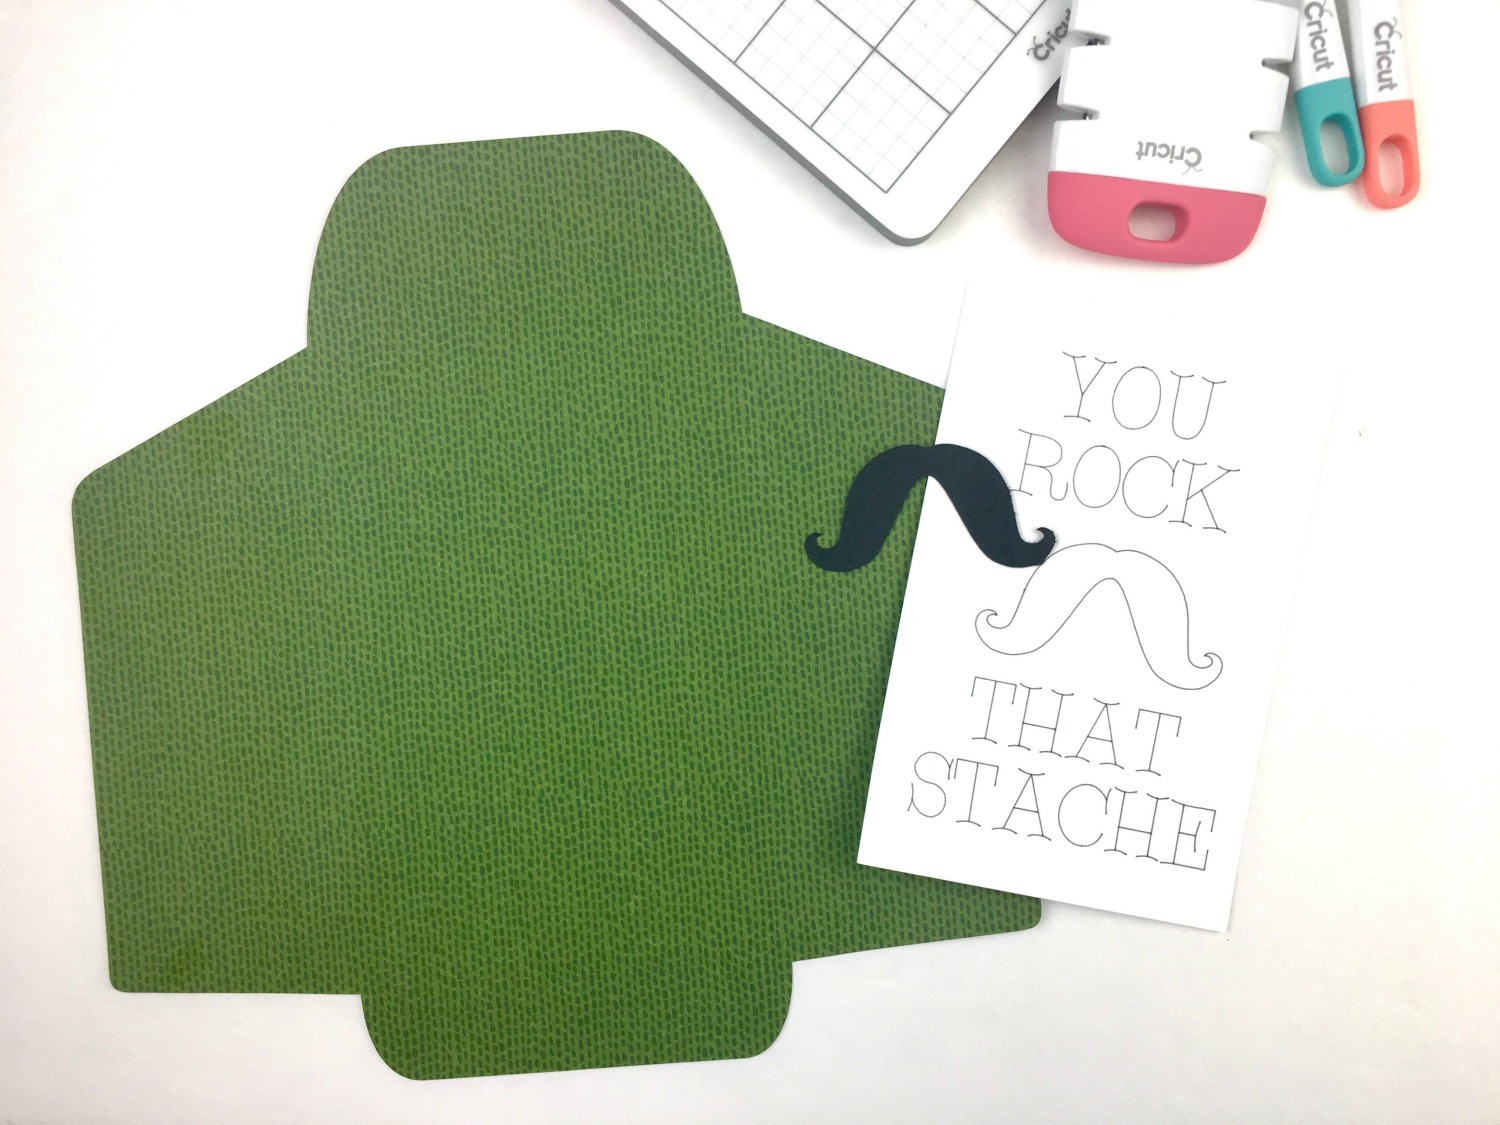
Then I chose the “Rock that Stache” card.
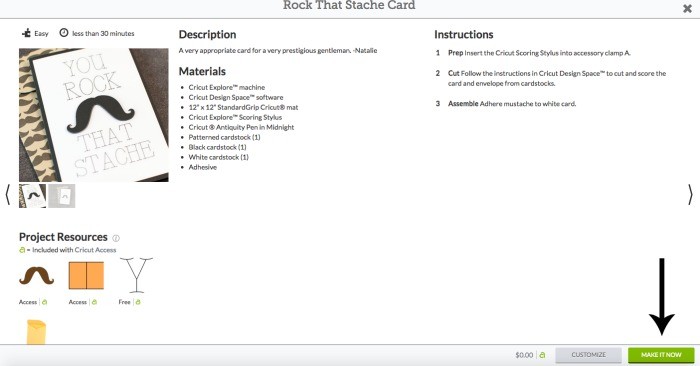
You will see the supplies needed and directions to complete the card. You can customize the project but clicking the “Customize” button in the bottom right or click “Make It Now” to get started.
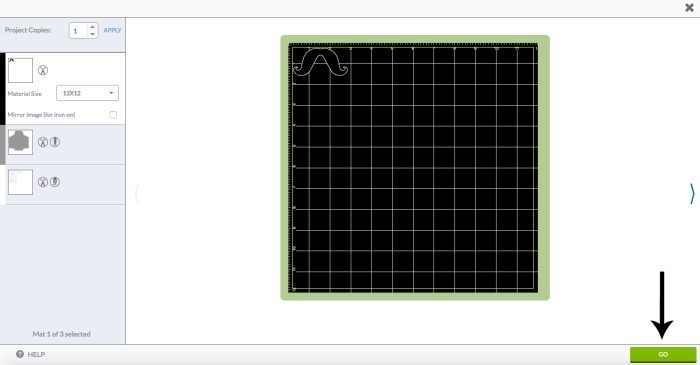
The next preview screen will show the different cuts and mats that will be needed. Press GO in the bottom right to start the process of loading your mat and cutting. *Don’t worry about knowing exactly what tools are needed for which mat. The software will prompt you when needing to change different colored pens or scoring stylus, etc.
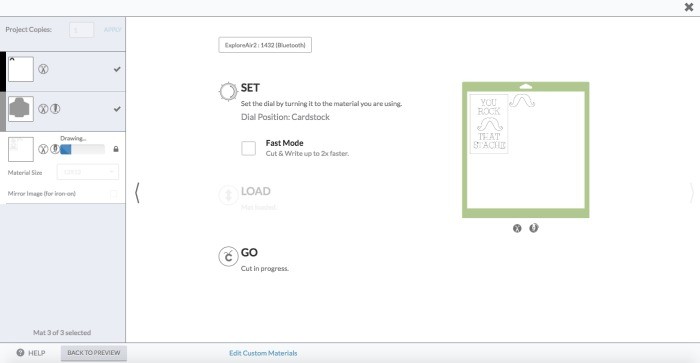
The next screen will then walk you through loading your mat, making sure the machine dial is set correctly, changing the different cardstock and tools between each mat, etc.
Once all the cuts are done and the phrase is written, you just need to assemble your card as stated in the project directions.
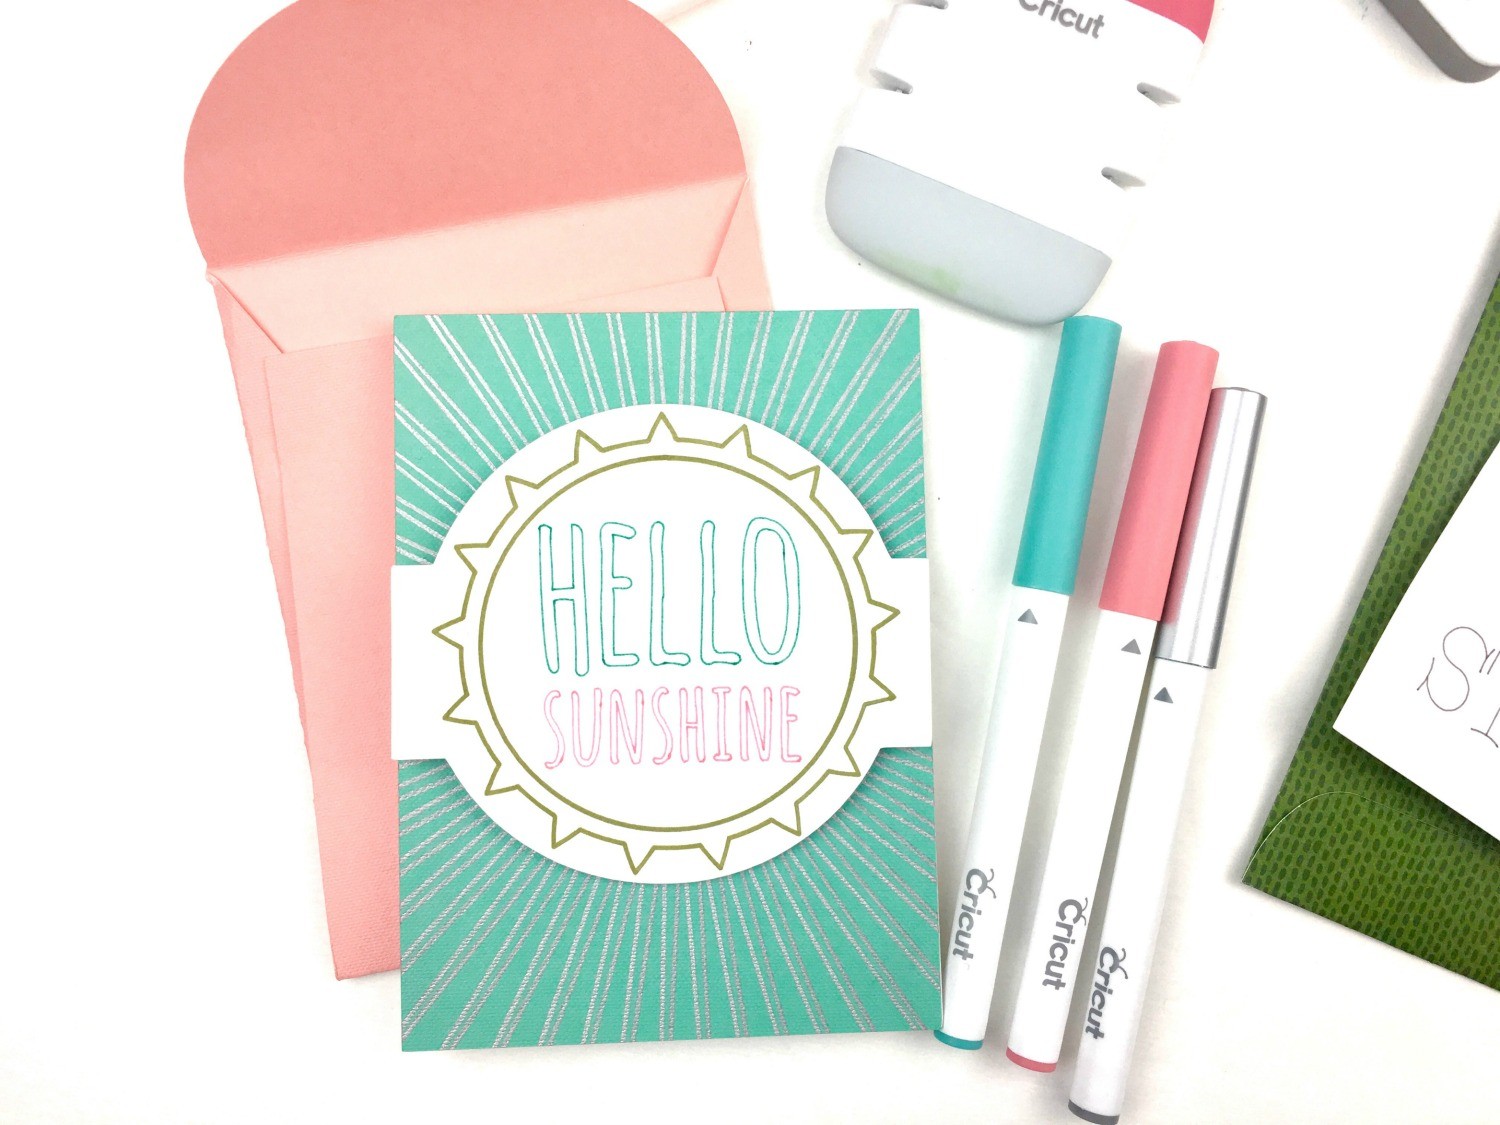
This “Hello Sunshine” card is another Make It Now card project that is adorable and uses several different pens for some gorgeous color combos.
And that’s all there is to it. You don’t have to worry about understanding all of Design Space right away or having to buy cartridges to be able to use your Cricut. The Make It Now projects make it so easy to get started right away no matter what your experience level may be.
The hard part now is going to be choosing which colored pens and cardstock to buy. They are all so gorgeous! Have fun!
This is a sponsored conversation written by me on behalf of Cricut. The opinions and text are all mine.
ENROLL NOW IN MY 5 DAY BIBLE JOURNALING ECOURSE FOR FREE!

Get exclusive tips and tricks with my 5 Day eCourse available exclusively to subscribers!
