You may be asking, “What tools and accessories do I need to use a Cricut and how much do they cost?”. Find all the answers you need to get started creating today.
Thank you to Cricut for sponsoring this post and making it possible for all of us to enjoy crafting so much more. All opinions are mine alone. I pinky promise!
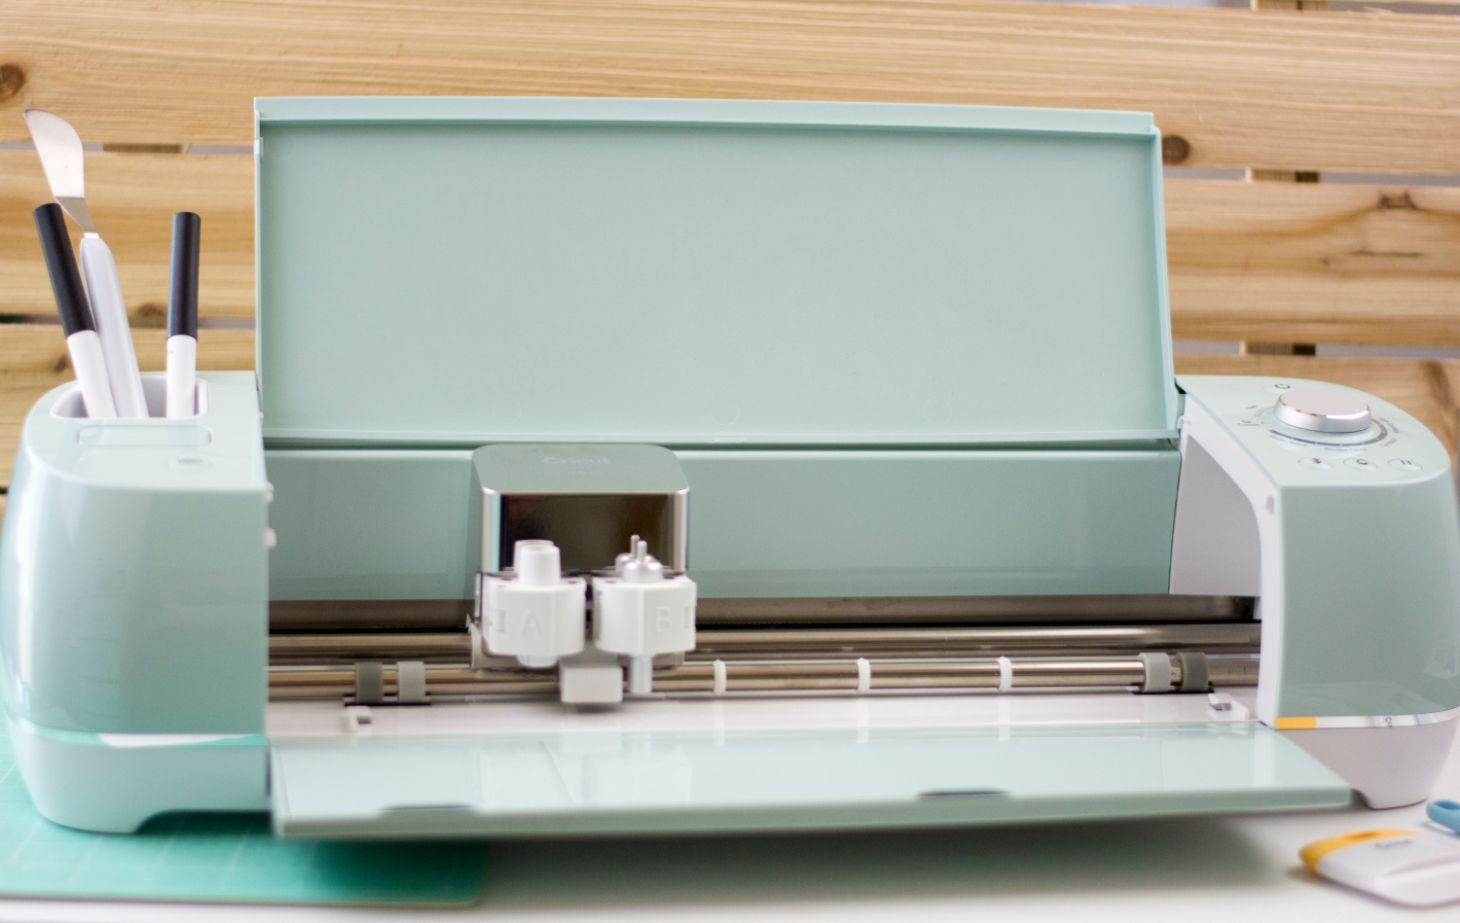
Recently you may have seen some of the fun I was having using my Cricut Explore Air 2 on social media. When I’m having a blast, I just have to share. Check out my intro to Cricut post HERE if you are wanting more info about the actual machine itself.
That’s why I couldn’t wait to dive a little deeper and answer one of the most frequently asked questions about Cricut. “What tools and accessories do I need to use a Cricut and how much do they cost?” Plus you will want to stick around after that for a fun summer project using a new product of Cricut and their tools.
Once you have your Cricut cutting machine, you will need a cutting mat for sure to hold the material while the machine cuts it. The mats come in varying sizes and also grip strength. The mats have a different color for the different grips so that helps to keep them separate and not confuse them.
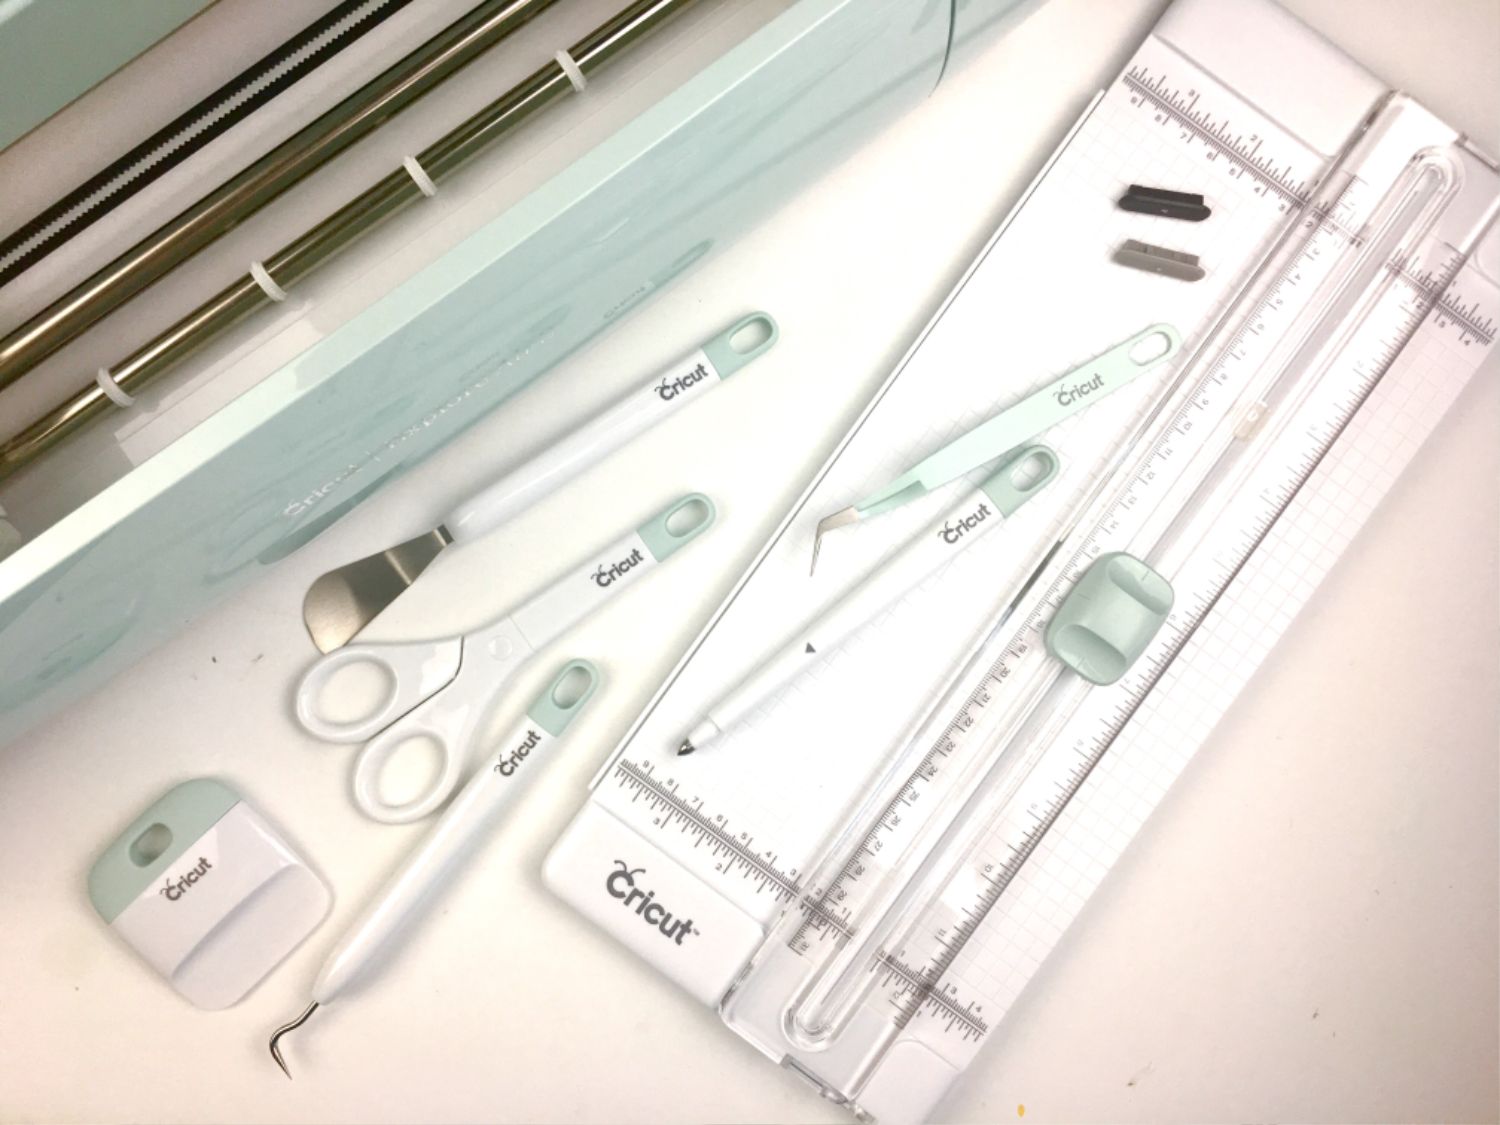
You have your Cricut machine and cutting mat, but now you need a few tools that will make your crafting life a whole lot easier. Cricut has an Essential Tool Set with 7 tools that is perfect for those getting started. All the tools included help with all the different materials you will be cutting. Plus they have tool sets now that will match your machine just perfectly. I am in love with the mint! Hands down!
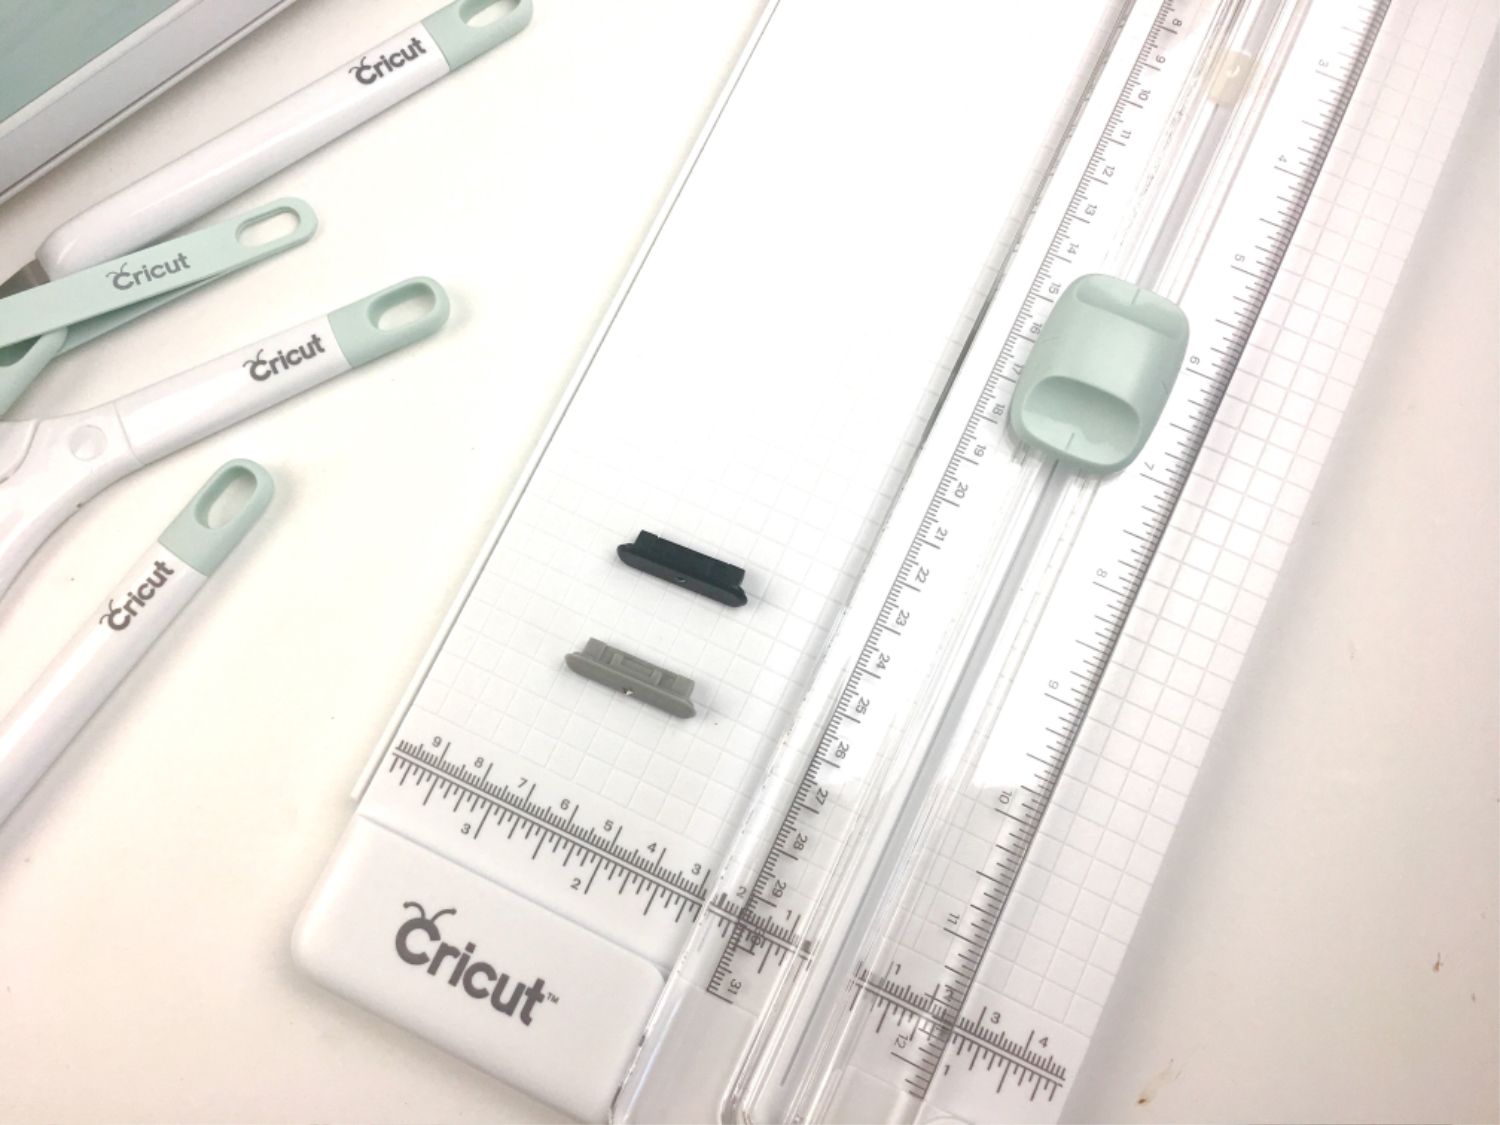
The set includes a paper trimmer that can cut materials up to 12” wide along with a replacement blade for the trimmer. There is also a scoring blade that you can interchange when needing to add score lines to a project such as cardmaking, papercrafts, paper boxes, etc.
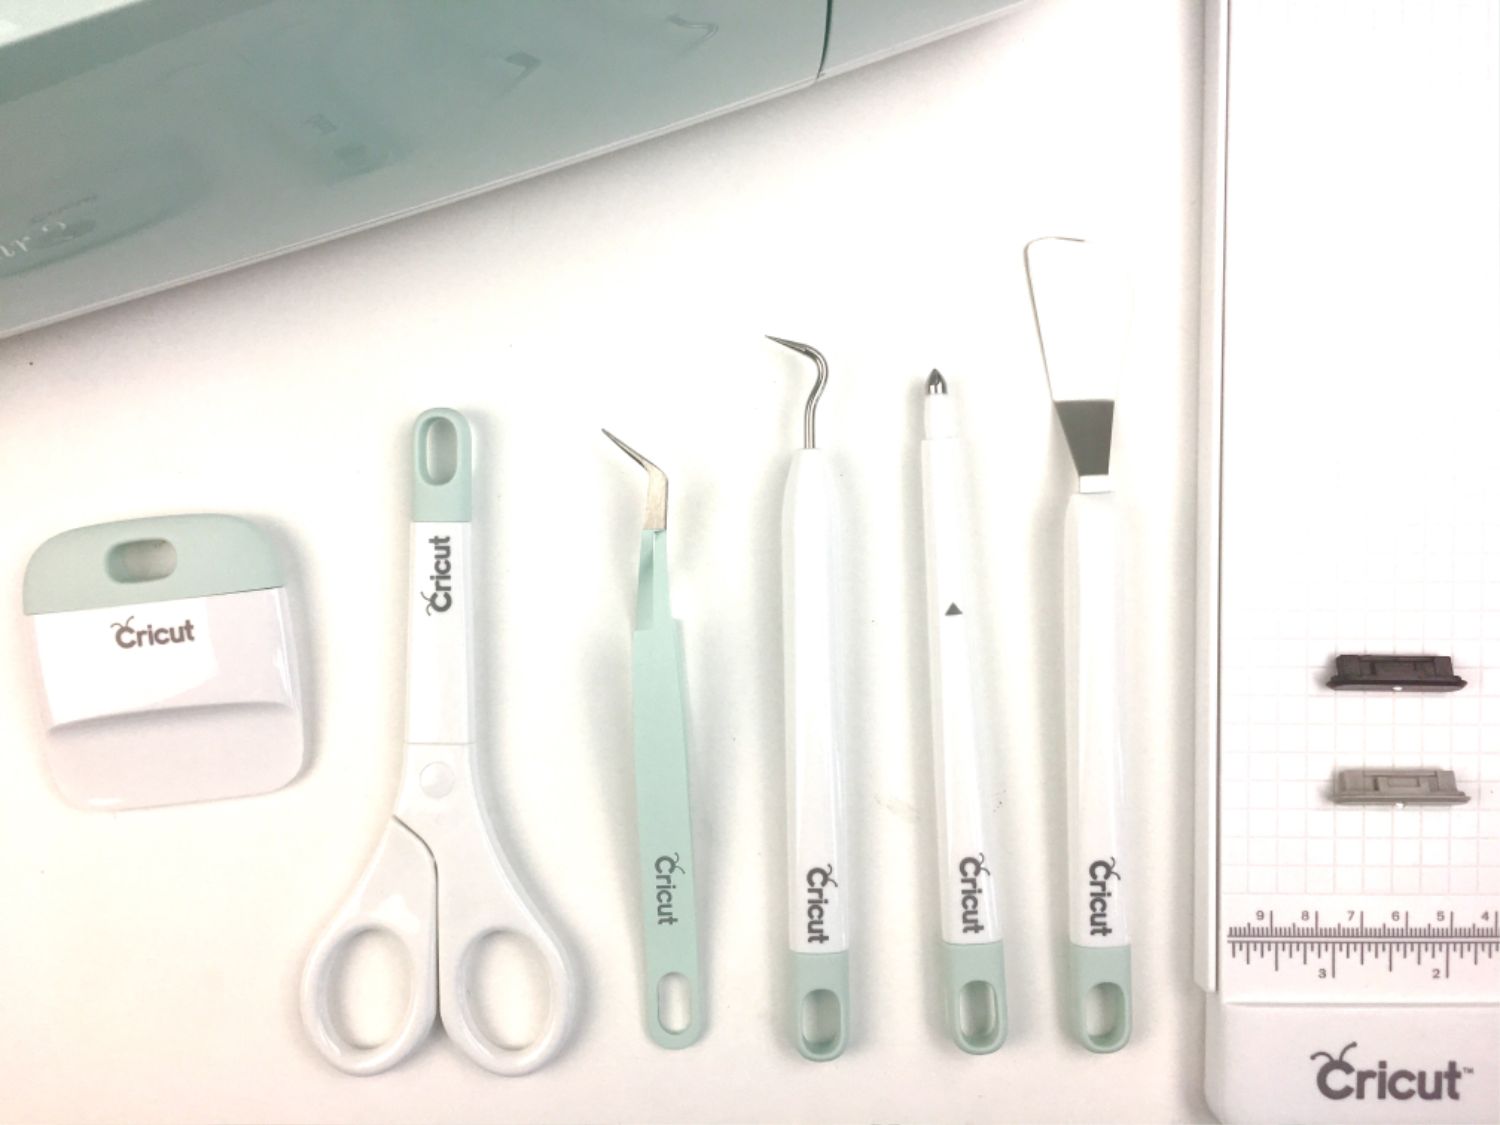
Below is a picture of the other tools included and a list of them (from left to right) so you know exactly what each tool does and is used for. (Still crushing over this mint. Eek!)
- Scraper: to burnish material and clean all cutting mats
- Scissors: to cut different materials, also includes a blade cover
- Tweezers: to lift and secure delicate material
- Weeder: to remove tiny negative cuts
- Scoring stylus: to add fold lines to cards and envelopes
- Spatula: to lift cuts from the mat
(Above info from Cricut.com)
Now do you technically have to have every single tool I mentioned above to complete a project using the Cricut? You do NEED the mat! The other tools are EXTREMELY helpful when completing projects, especially those that have very tedious and tiny cuts. Speaking of tiny cuts and using the tools, let’s jump into a project I finished recently that comes just in time for your gardening and fashion.
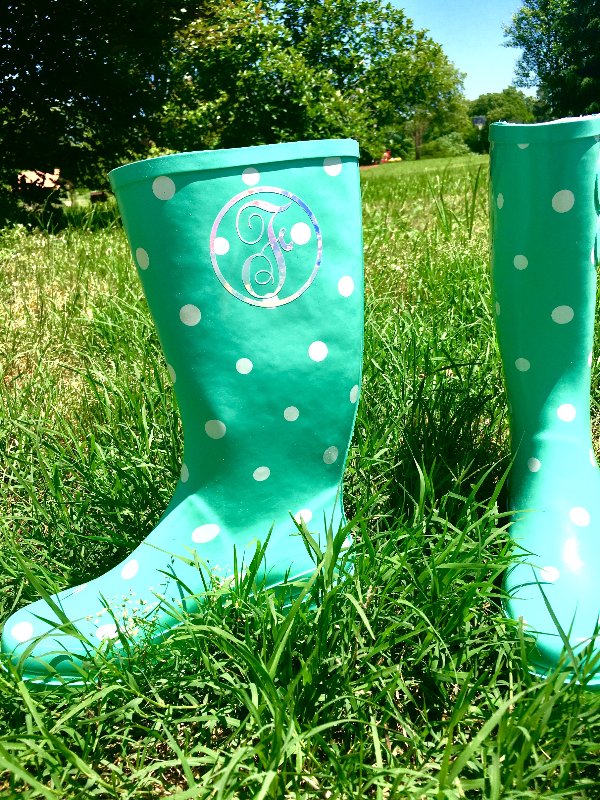
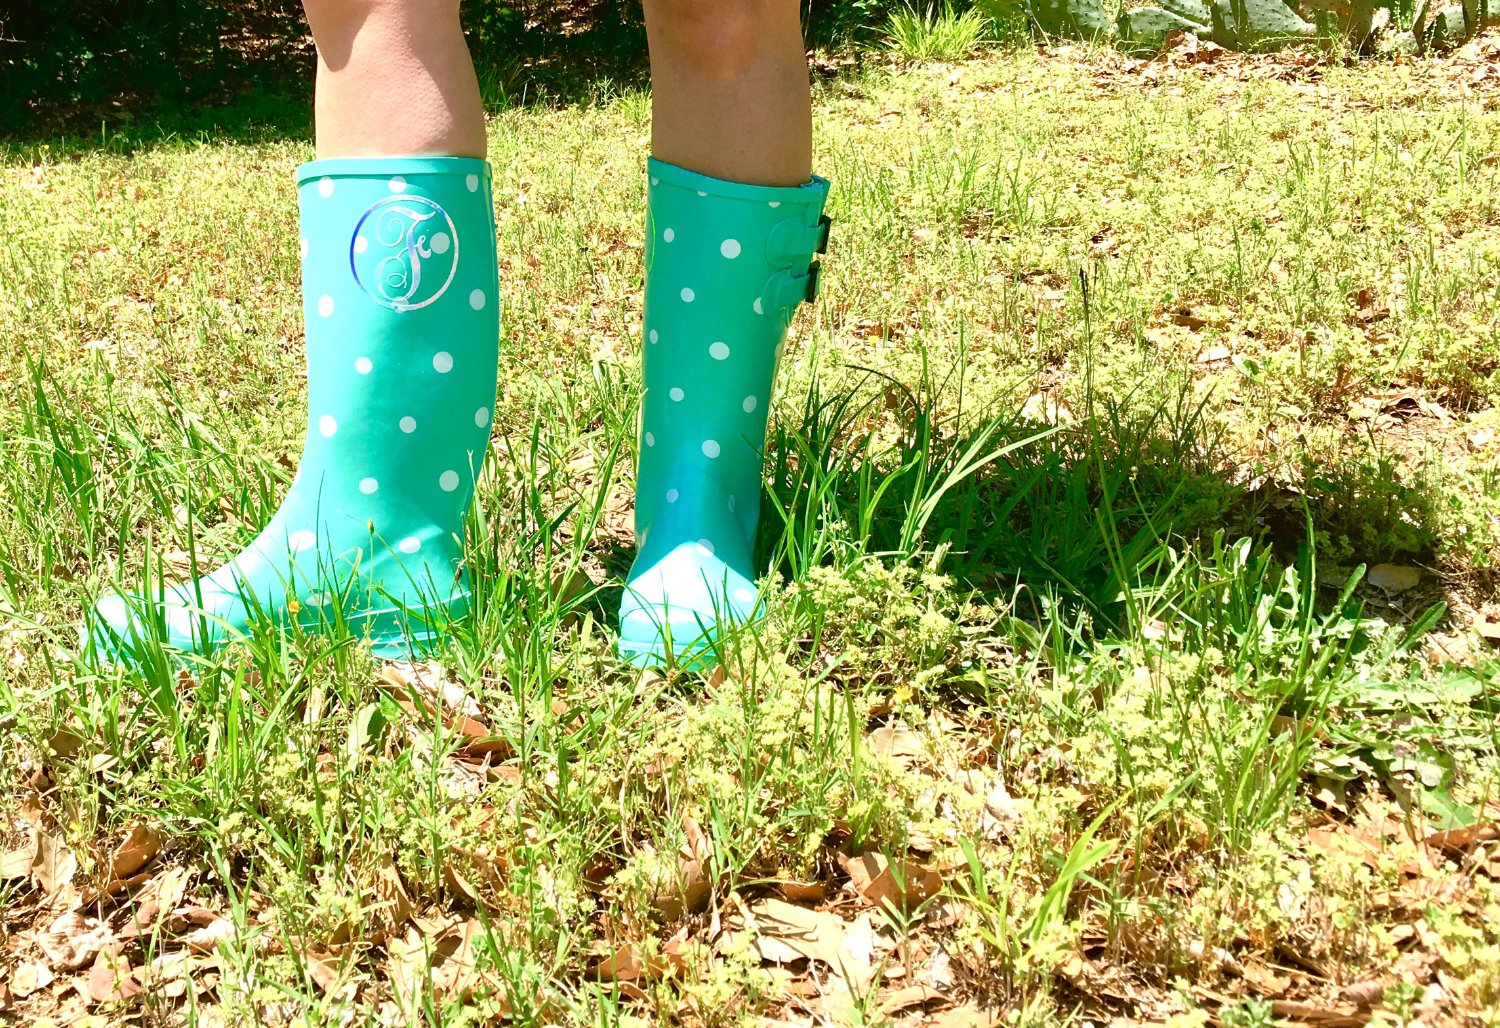
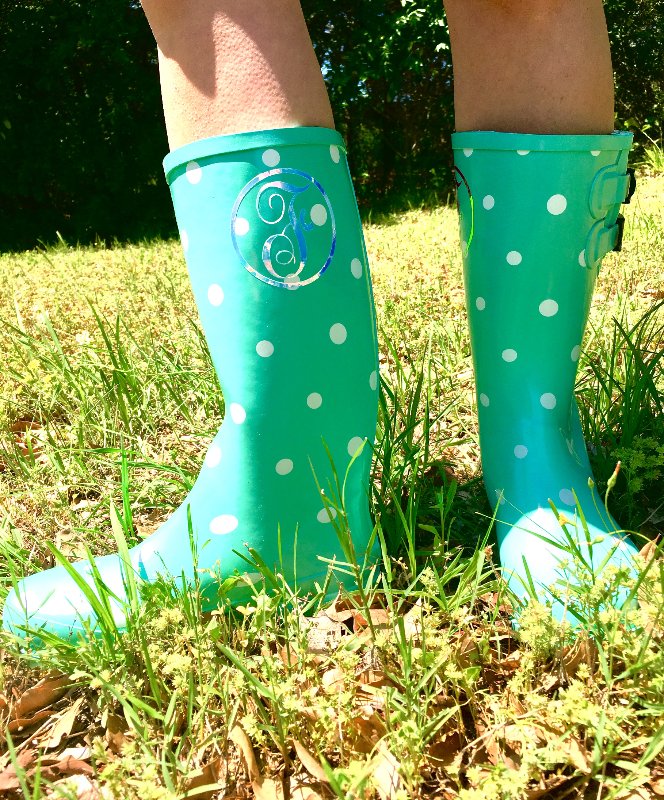
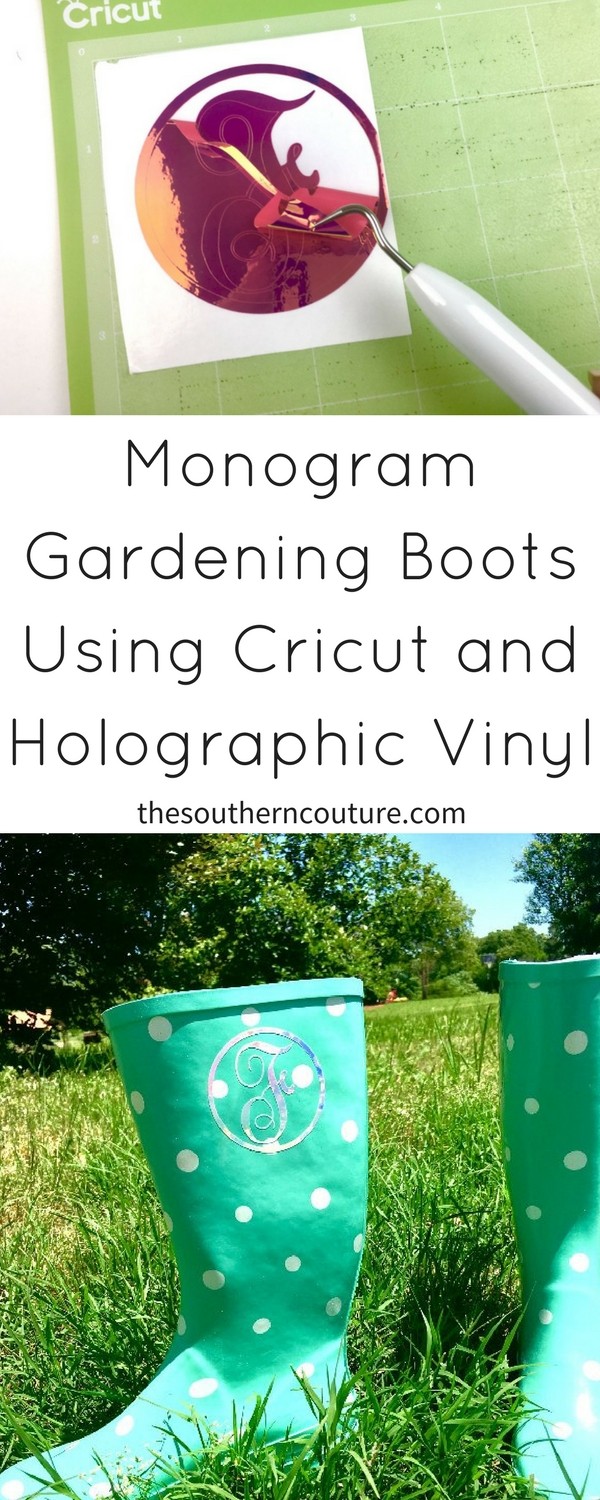
I decided to add a monogram to the sides of my gardening/rain boots for a little extra flair and shine.
Who says gardening can’t be fun and fashionable at the same time? I used the NEW holographic vinyl and couldn’t wait to see it glisten especially in the sunshine.
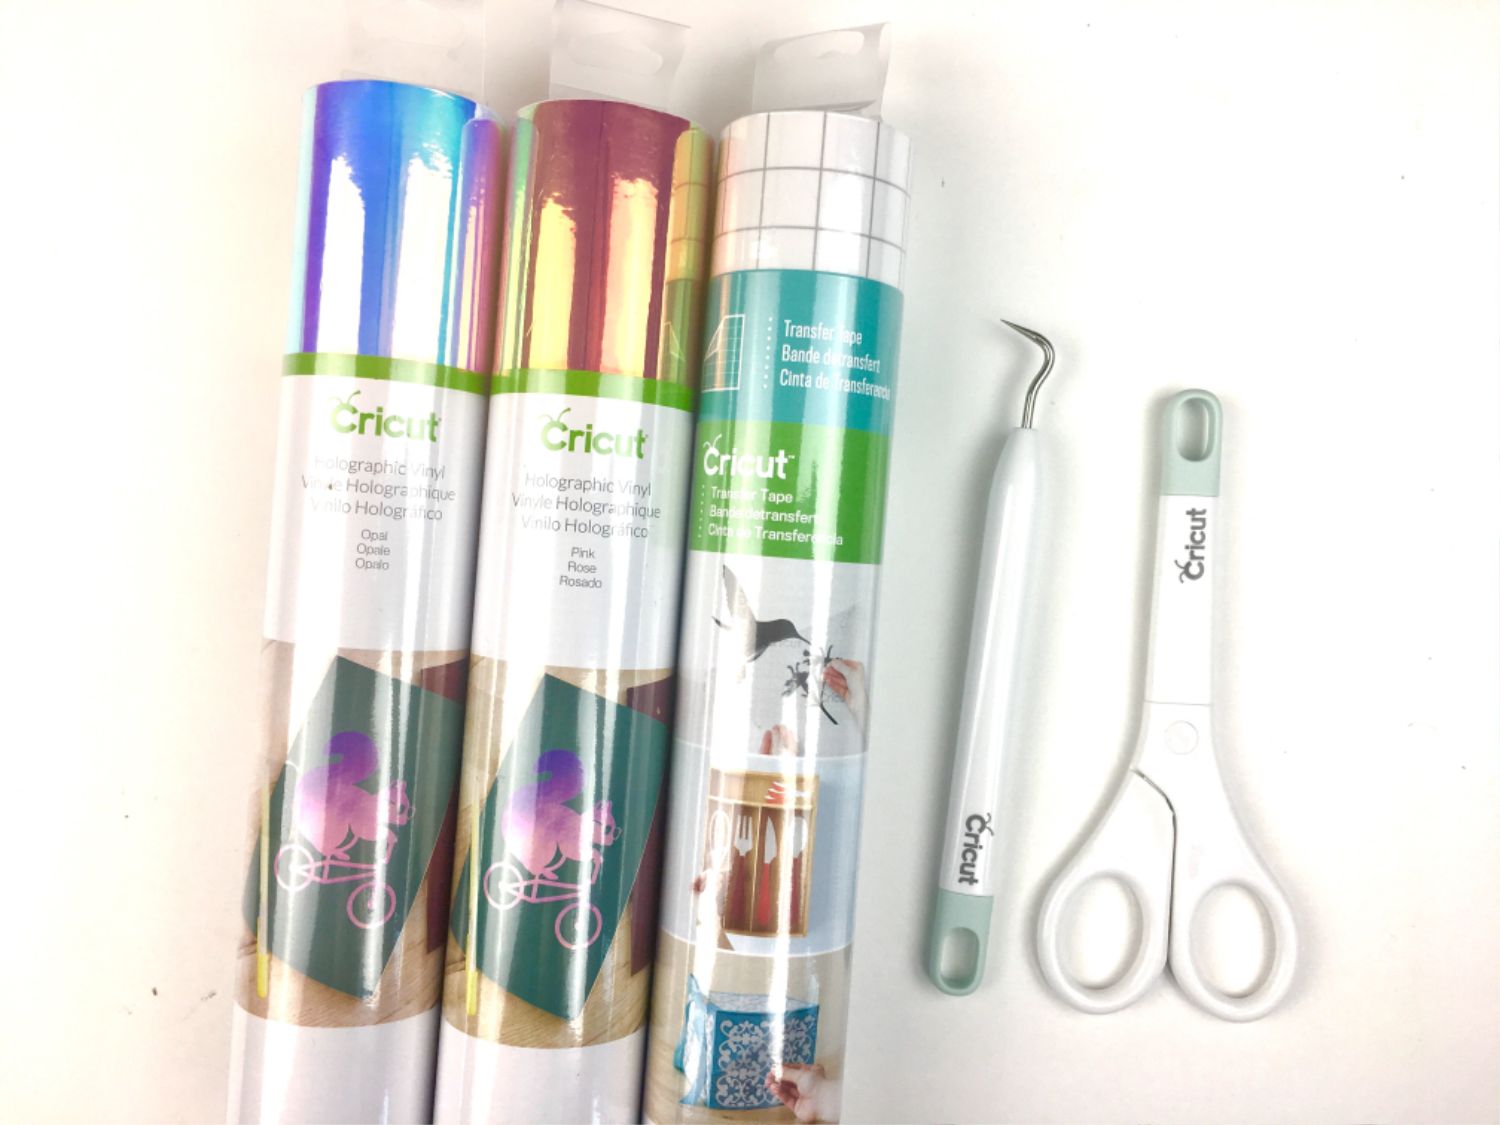
- Holographic vinyl: pink, blue, or opal
- Transfer tape
- Cutting mat, standard grip
- Scissors
- Weeder tool
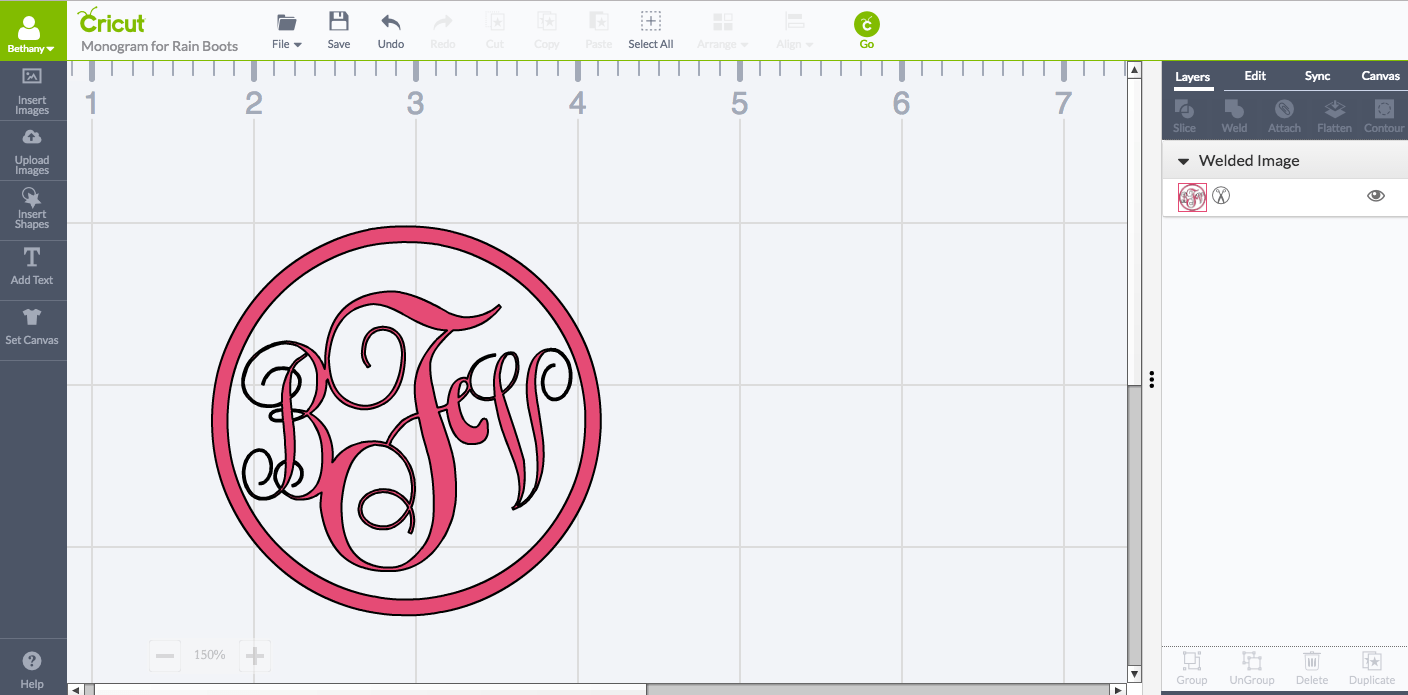
I designed my project in Cricut design space first. You can also check out the Make it Now projects for more ideas. Check out this similar one using a monogram. They will also help guide you through an entire project until you learn the software and feel more comfortable. Below is what my finished project looked like in Design Space.
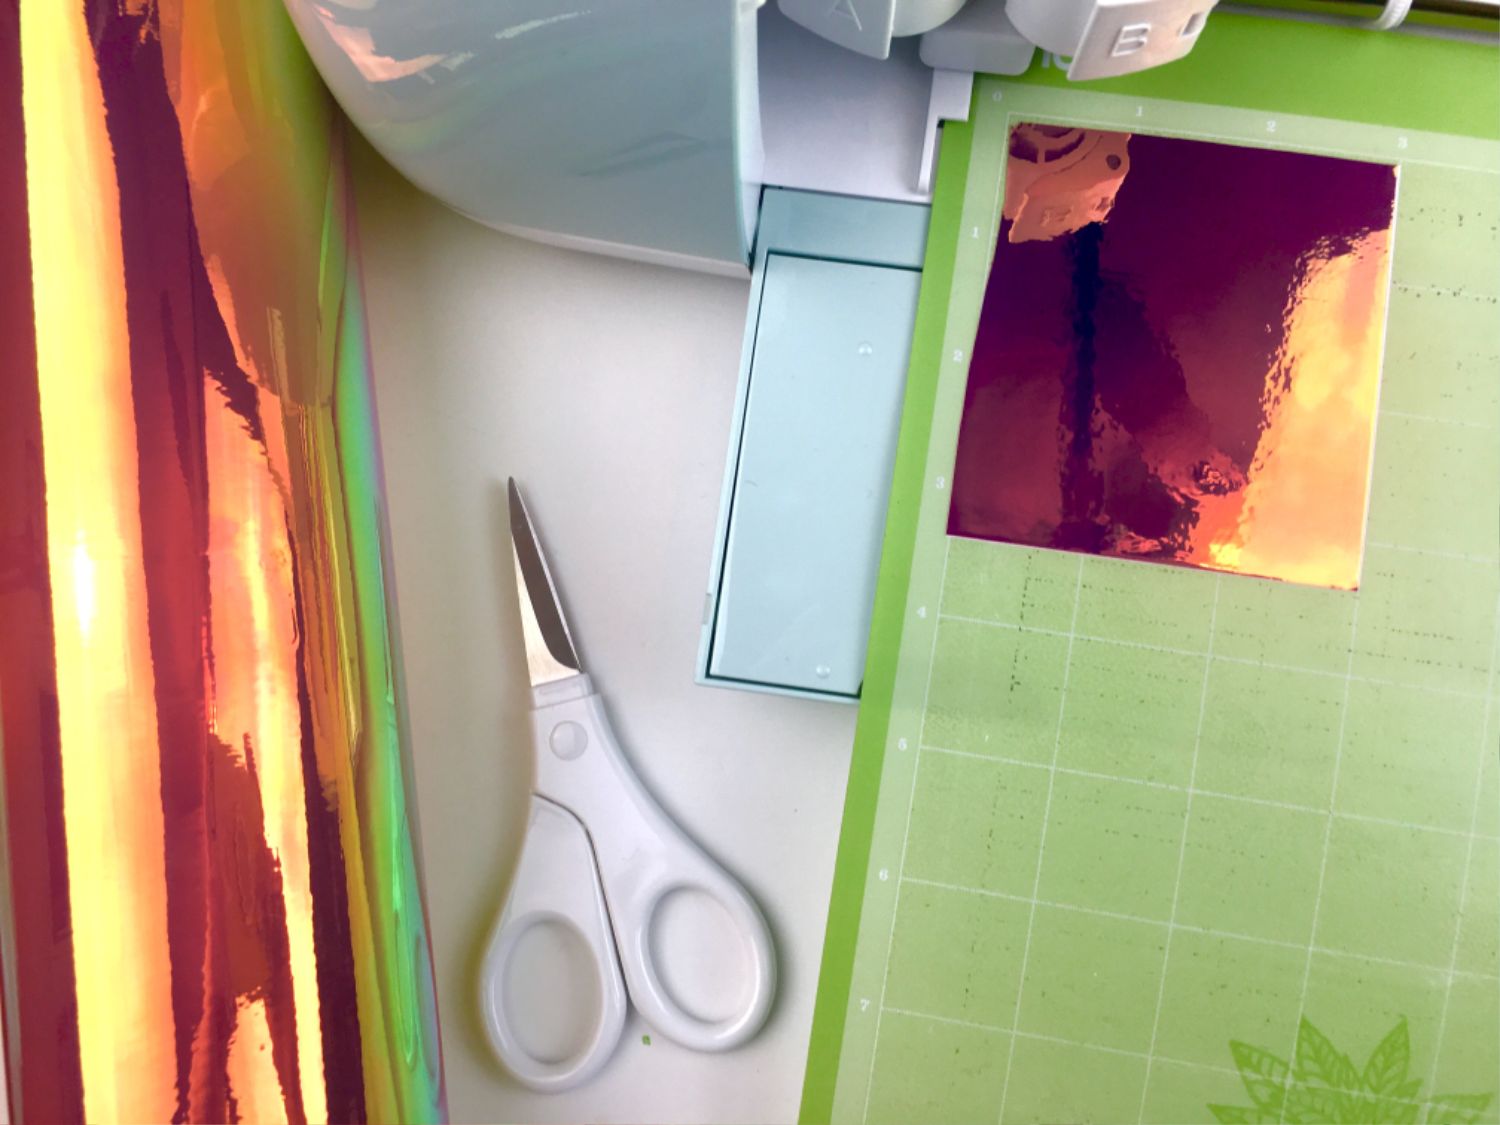
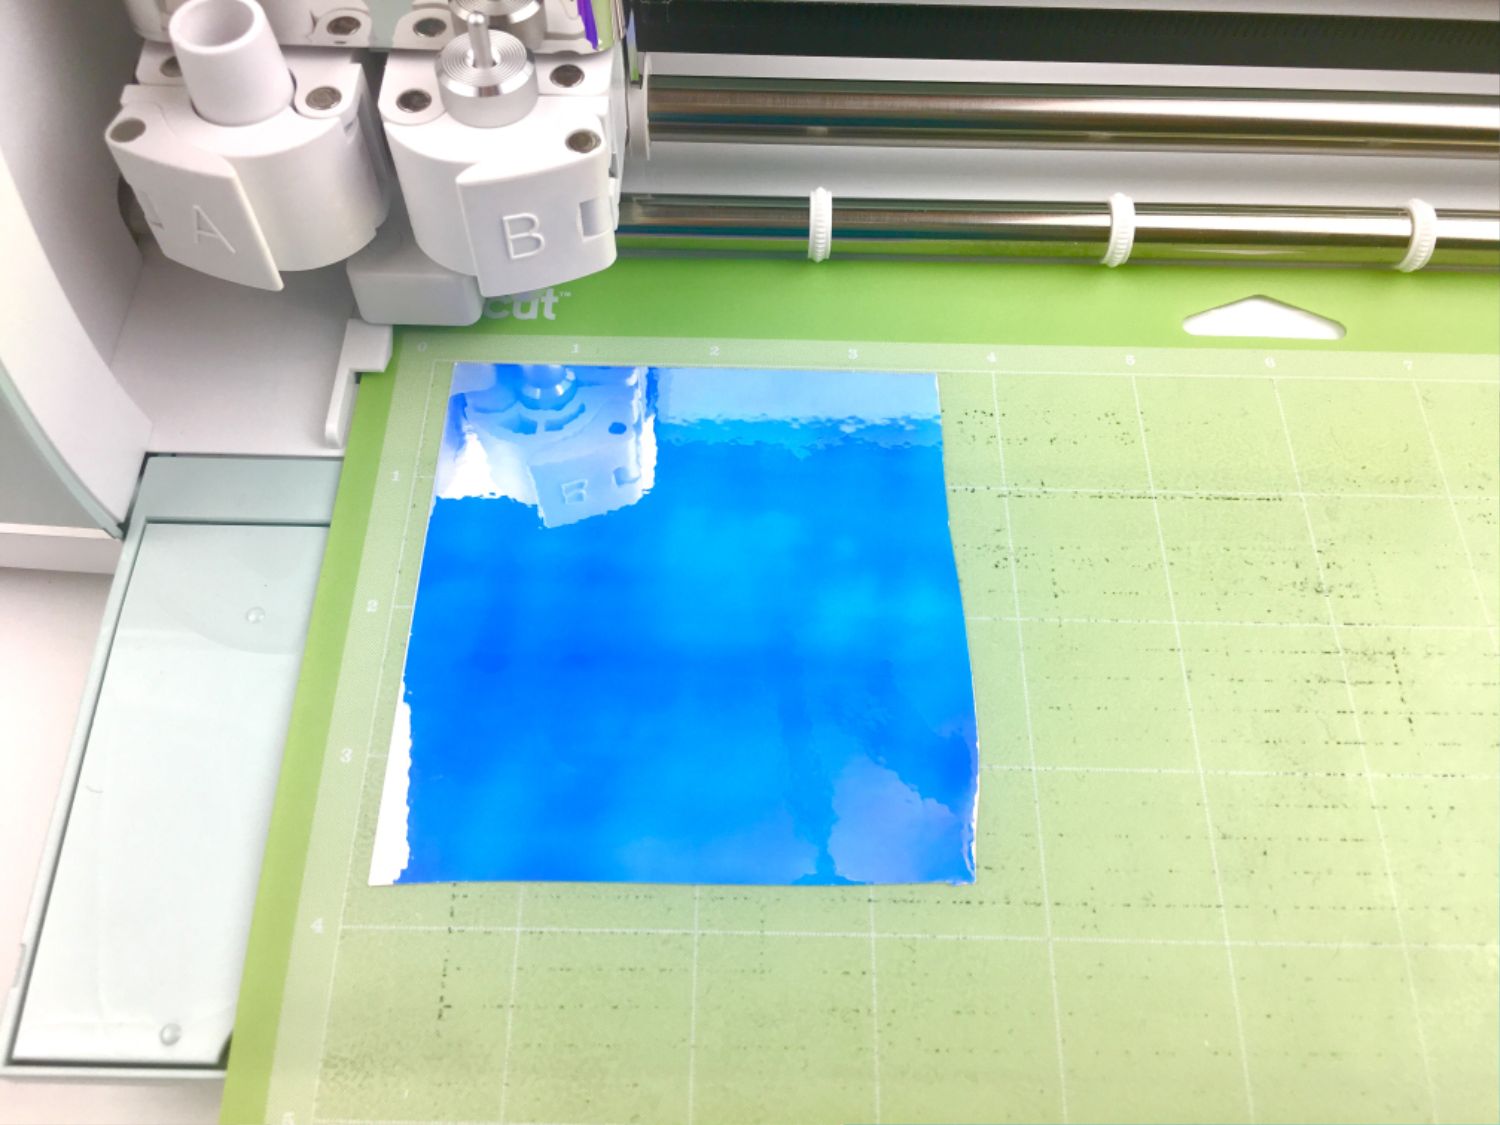
Using the scissors from the Essential Took Kit, I cut out some of the pink holographic vinyl and placed it on my cutting mat. 1st, these scissors are awesome and cut so easily and smoothly. 2nd, how gorgeous is that new vinyl? I love the shine and look it gives depending how you look at it and at what angle.
Below is also a picture of the opal vinyl. In this shot, it looks like it is blue but still so gorgeous. Each one really has so many different shades of color too.
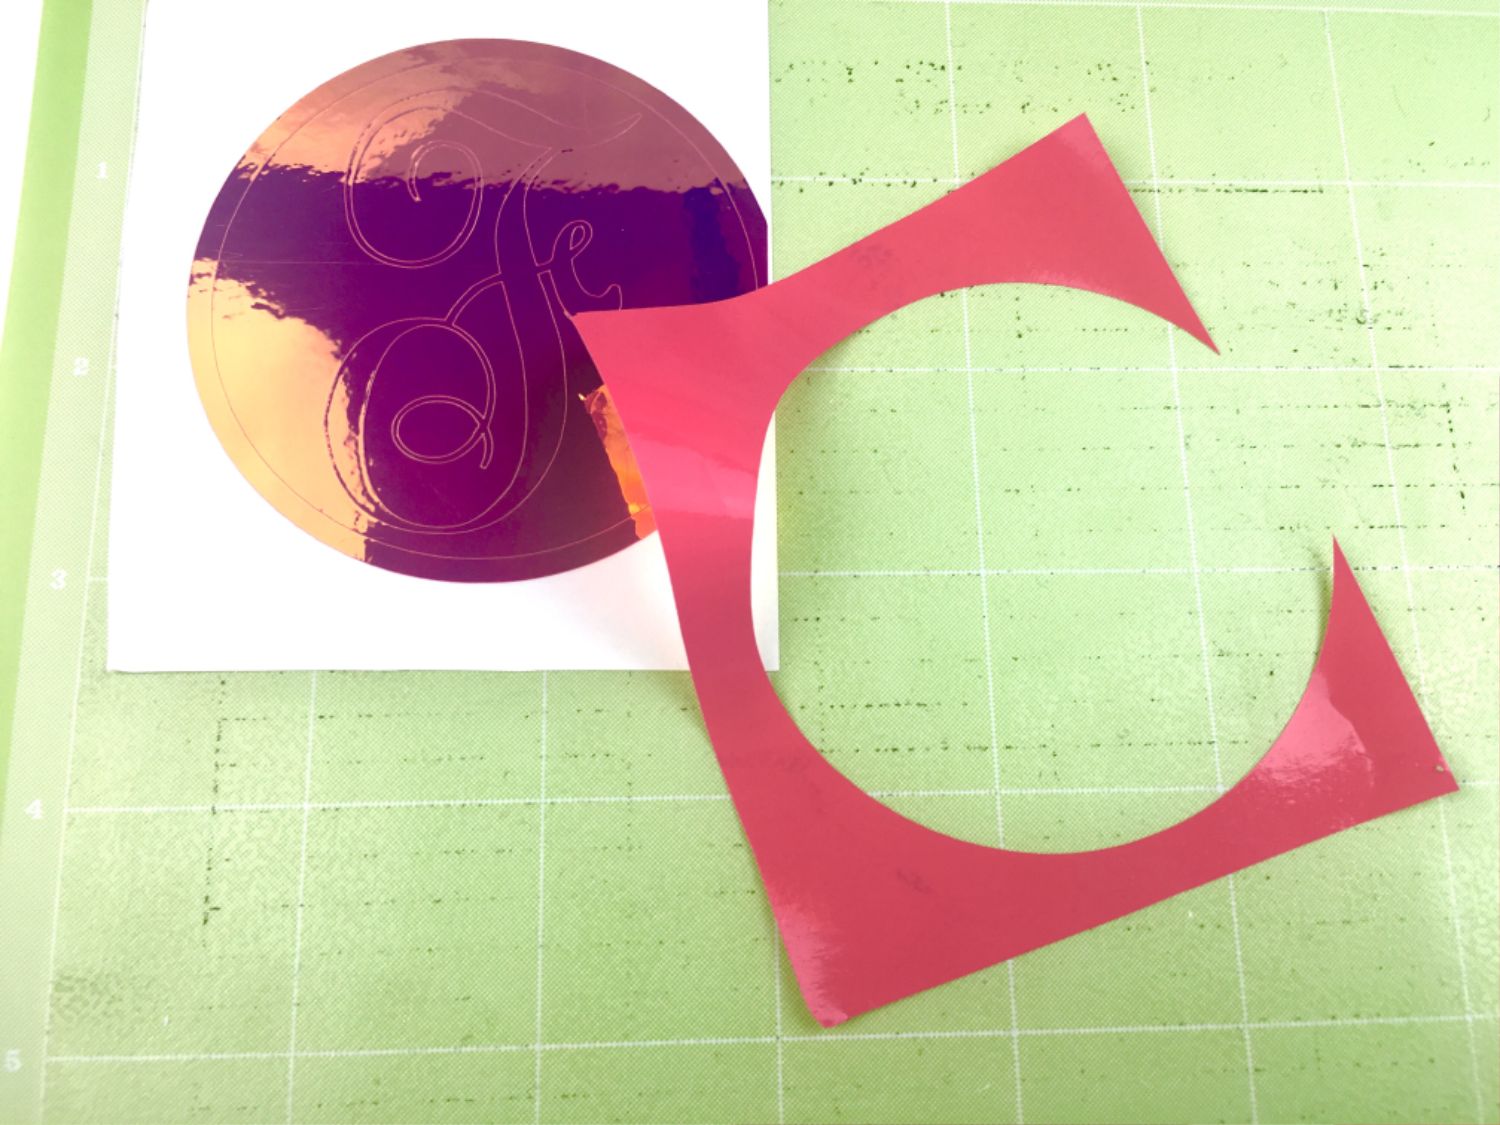
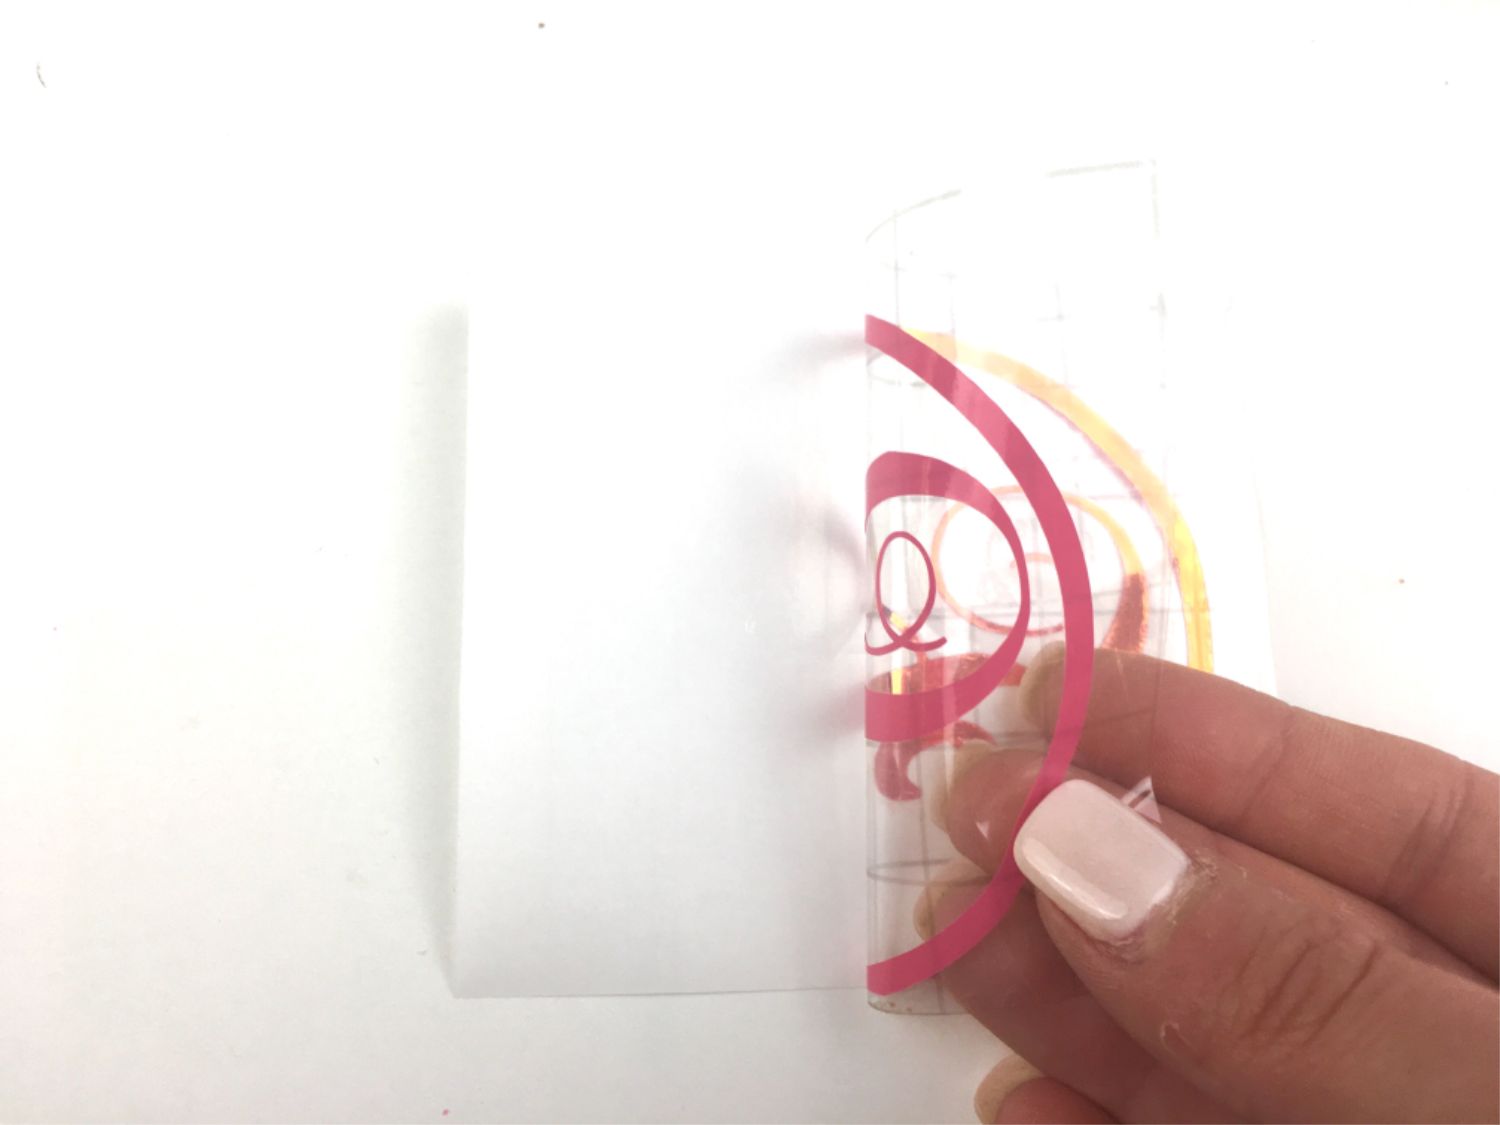
Once the Cricut has finished cutting my material and I’ve removed the cutting mat, I peeled back the larger section of negative vinyl. This picture shows you the back of the holographic vinyl and that gorgeous pink color that shines through.
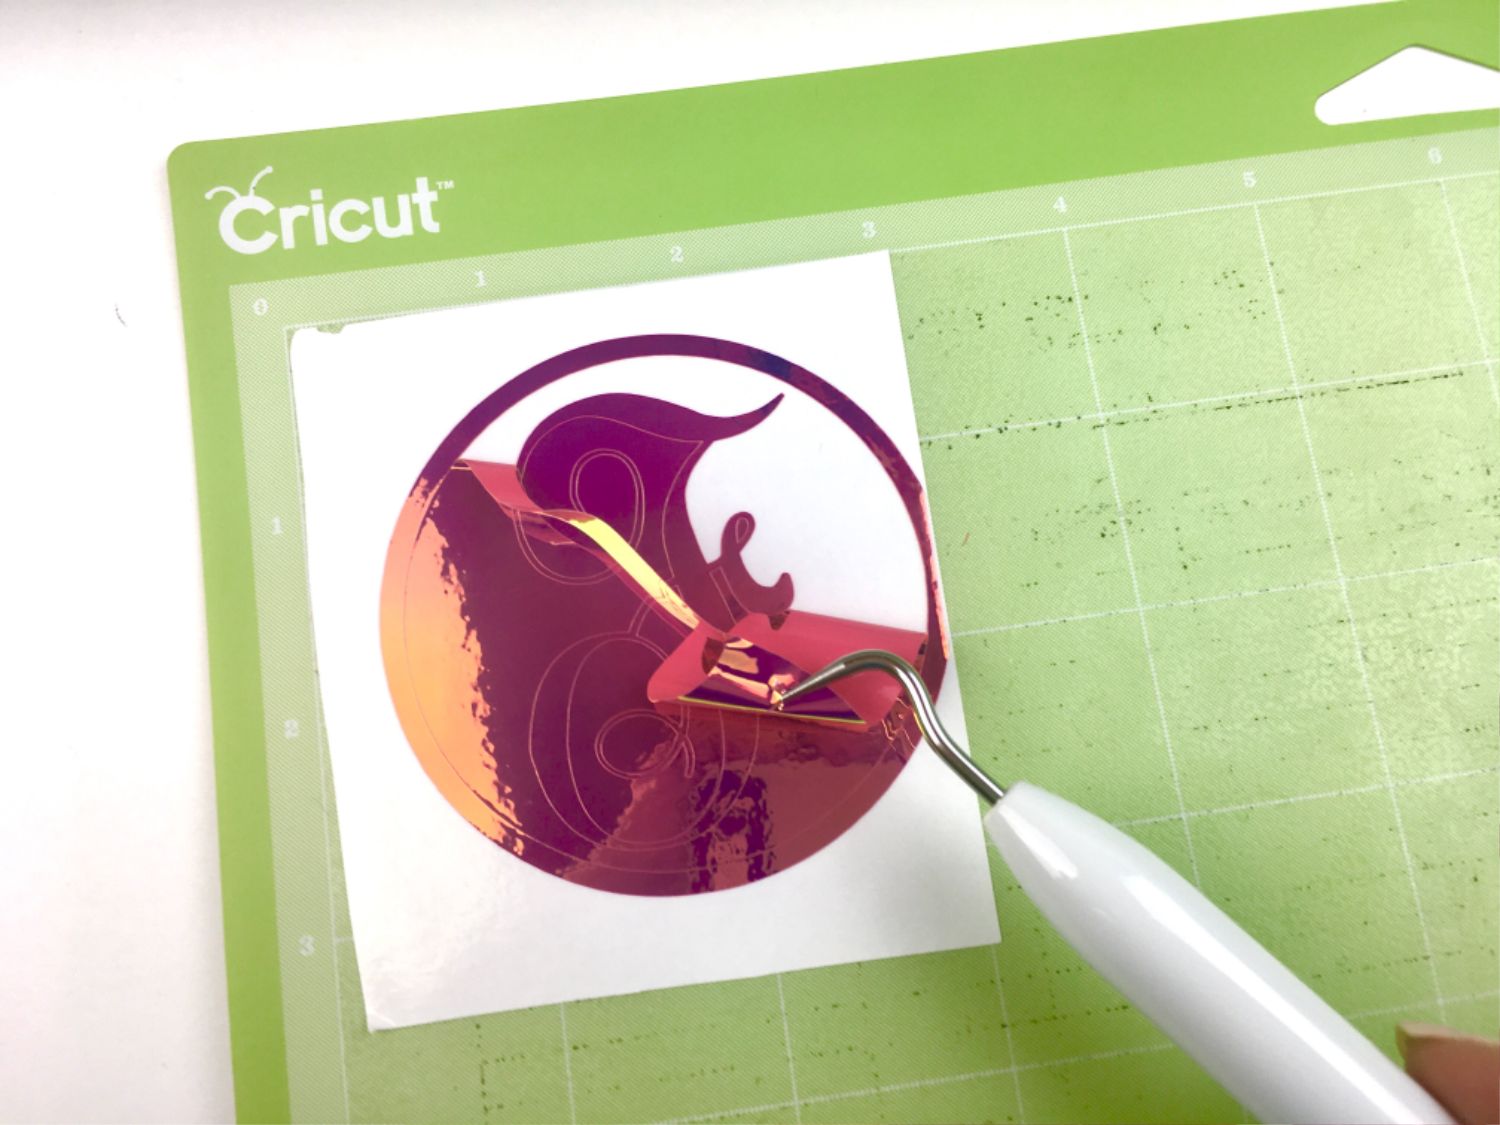
Using the weeder, start removing the other negative vinyl. The sharp tip of the weeder is perfect for getting the vinyl pulled up and then you can just peel it back. The weeder also helps to remove even the tiniest, most intricate cuts that nothing else can usually.
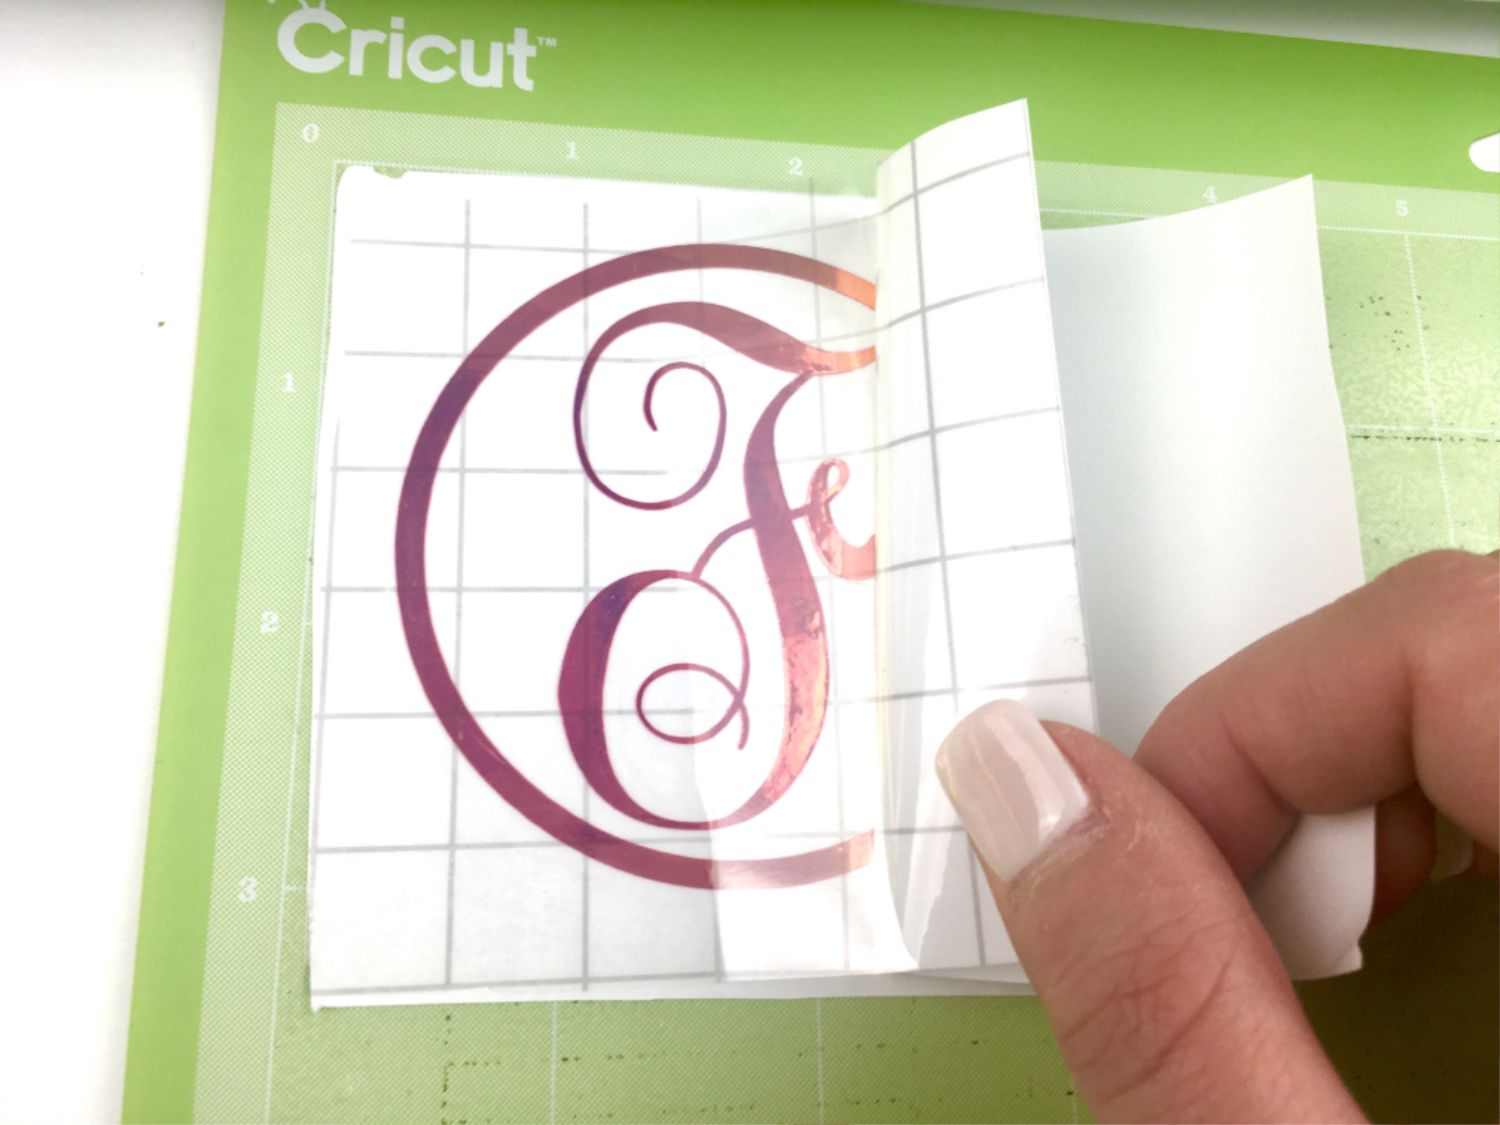
I cut a section of the transfer tape and pulled the backing off while I adhered the tape to the top of my vinyl cut.
I removed the entire cut with the backing of the vinyl still intact and the transfer tape on top. This just makes it easier to work with to remove the backing from the vinyl.
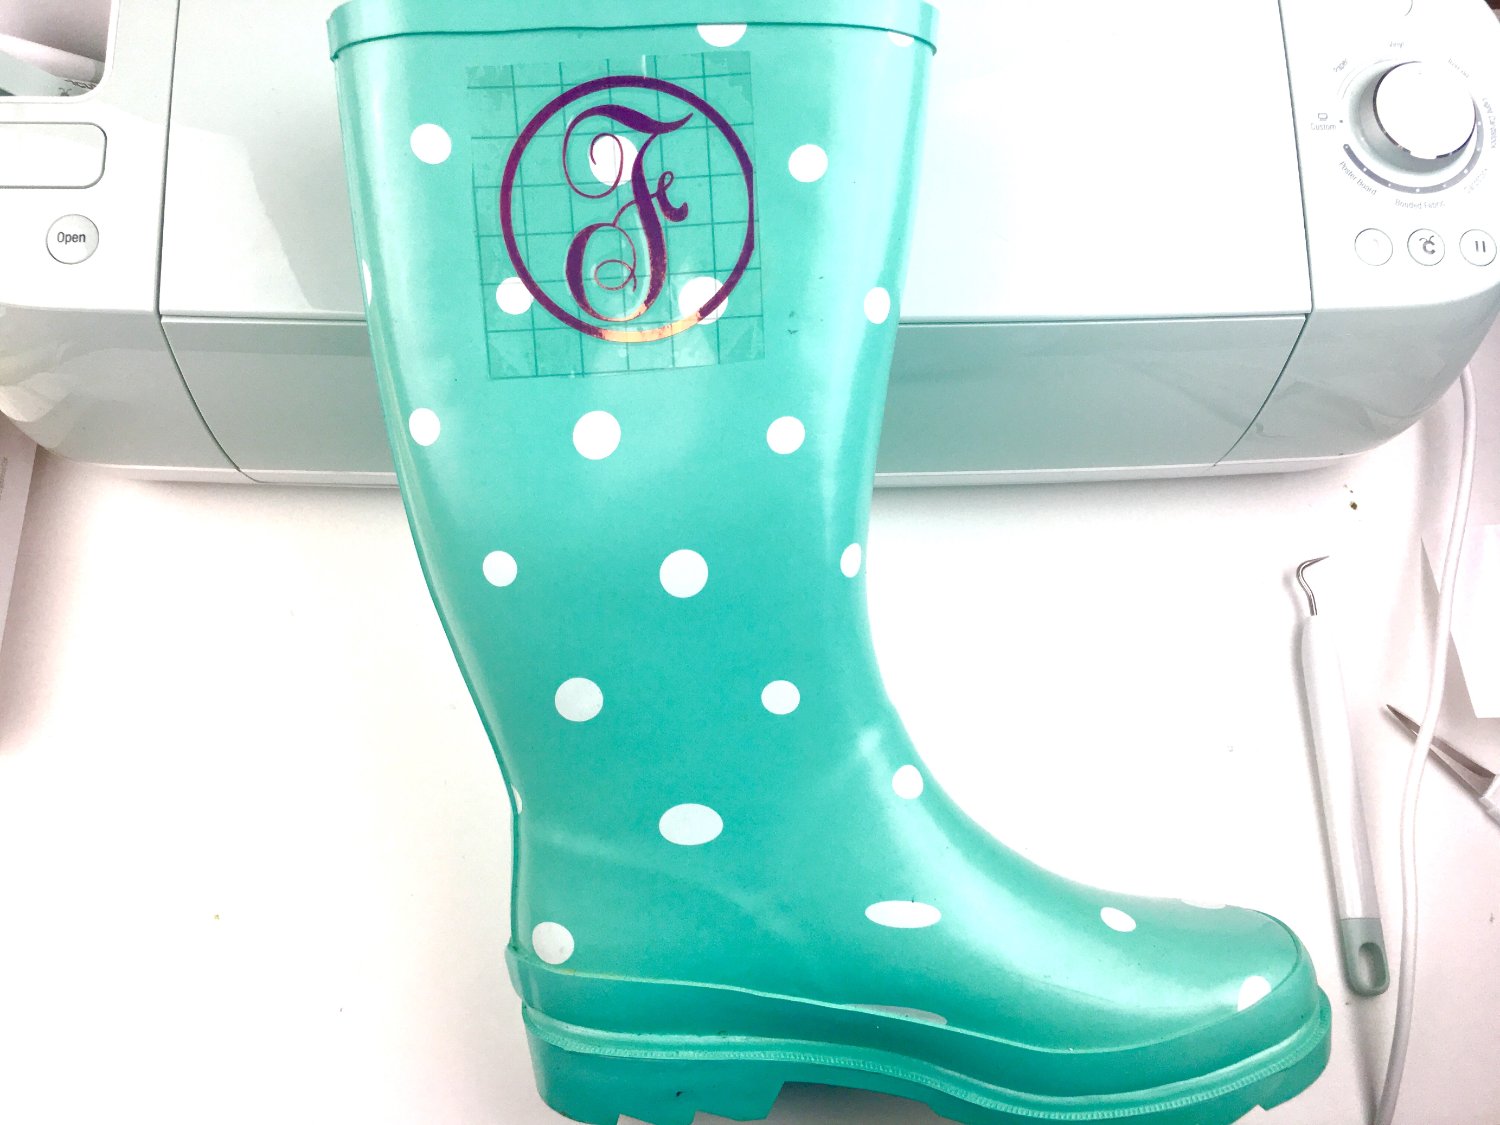
Using the transfer tape, adhere the vinyl cut to your rain boot and burnish the vinyl. You really just want to make sure the entire vinyl cut is adhered with no air bubbles or wrinkles. This is where the scraper comes in handy to rub the vinyl down evenly. The layer of transfer tape will then easily peel away from the vinyl and rain boot.
Do the same thing to the other boot and you are ready to work in your flower beds or maybe just sport some pretty snazzy boots on the next rainy day. In the pictures below, I am using the opal holographic vinyl.
What projects would you want to make with the holographic vinyl? Let me know in the comments below.
Plus don’t forget to check out these new tool sets that come in matching colors to the cutting machines. You will love them! Plus they help tremendously. With a few basic tools, you are ready to get started in no time creating your next masterpiece.
This is a sponsored conversation written by me on behalf of Cricut. The opinions and text are all mine.
