How would you like to be able to redecorate for each holiday or season without spending a fortune? I know I love to change things around in my own house, but I don’t want to spend a lot of money on something that will only be there for a short time and then taken down until the next year.
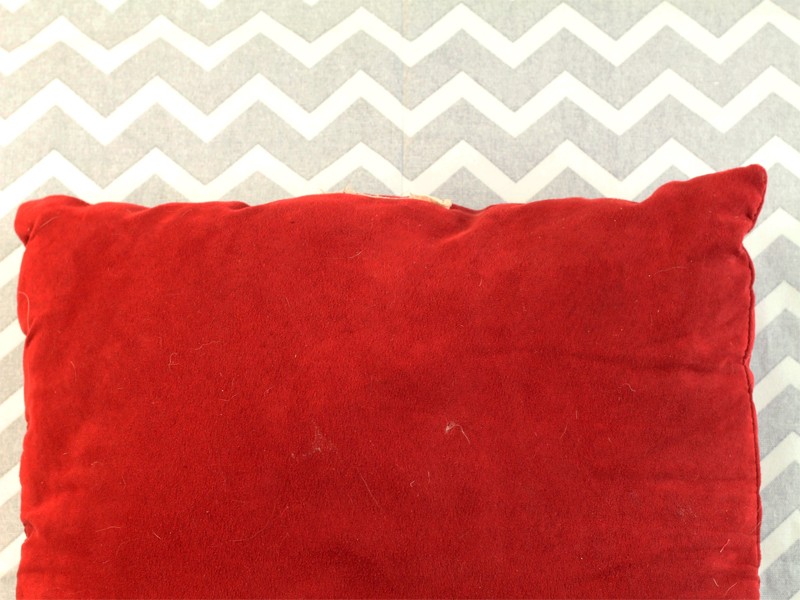
I have some old pillows that have definitely seen better days and were needing to be refreshed. I just couldn’t stand throwing them out and not being able to reuse at least the stuffing inside that was still in great condition.
I knew I also wanted to be able to reuse these pillows in case I ever wanted to change the pillow cover. I wouldn’t be able to do so if I sewed the covers on either which is what led me to make them a NO SEW cover.
Now all I have to do is just remove the fabric and replace it with something different the next time a holiday comes or my décor changes. You may recall some Christmas present pillows that I made using these same pillows and idea.
I wanted some new pillows outside on my porch to “livin” it up a bit. I am actually redoing my front porch for summer and can’t wait to show y’all when it is all finished. I love decorating with bright colors.
I bought the fabric at Joann craft store which was on sale, and I also had a coupon to use on top of that which was even a better deal. You may be thinking you can buy your own outdoor pillows, but when the fabric is on sale I love to be able to buy it instead because I can pick any pattern I want. Sometimes it is hard to find pillows to match exactly like I want.
I am using 1 ½ yards of fabric per pillow. Having extra fabric makes it easier when you are folding rather than not having enough.
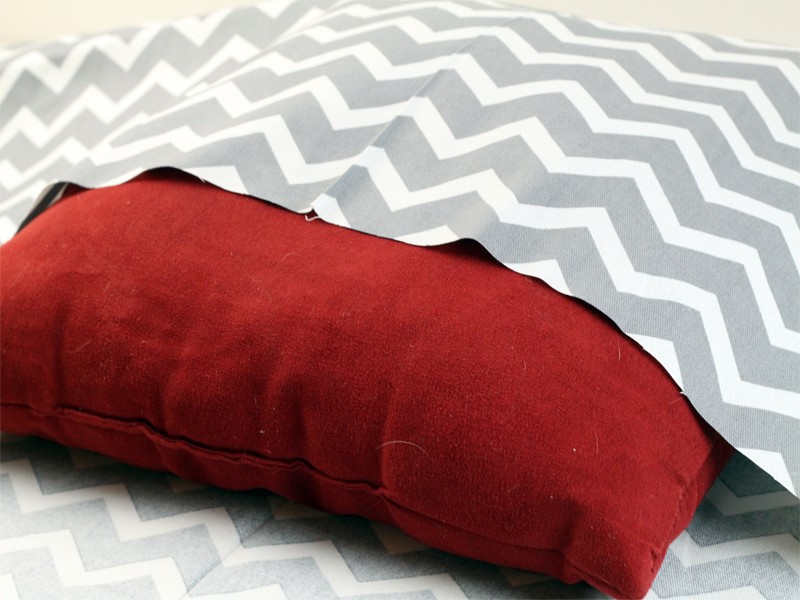
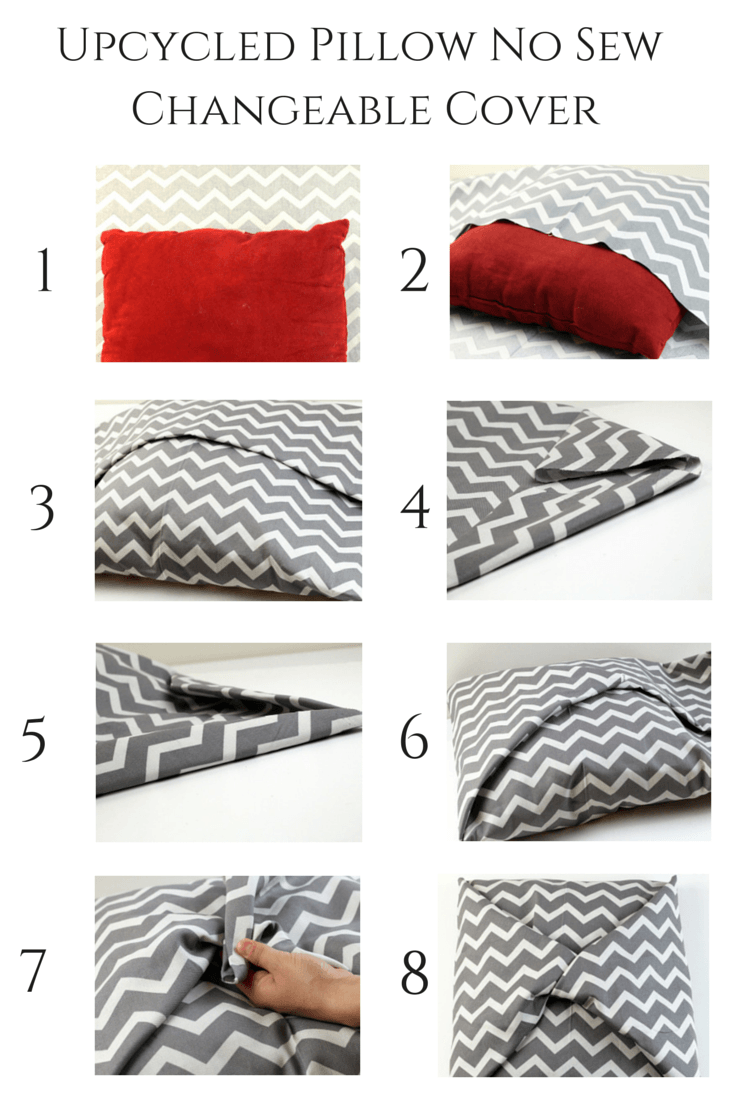
Lay the fabric with the pattern side facing down on a table. Then lay the pillow on top of the fabric in the middle.
Fold the fabric over the pillow from the top and also the bottom.
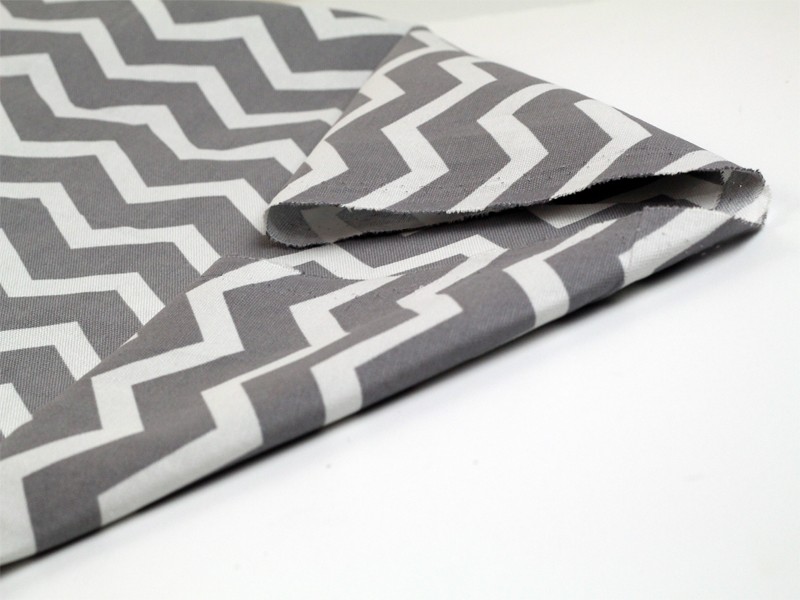
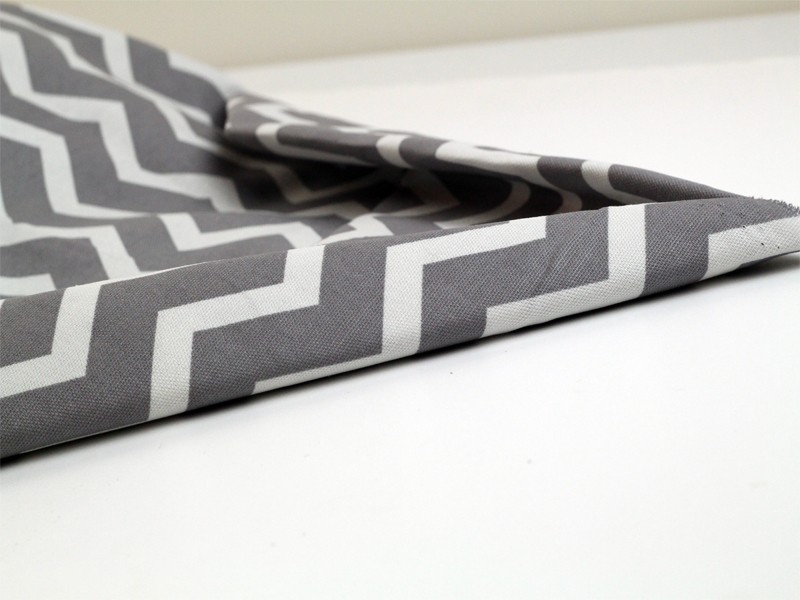
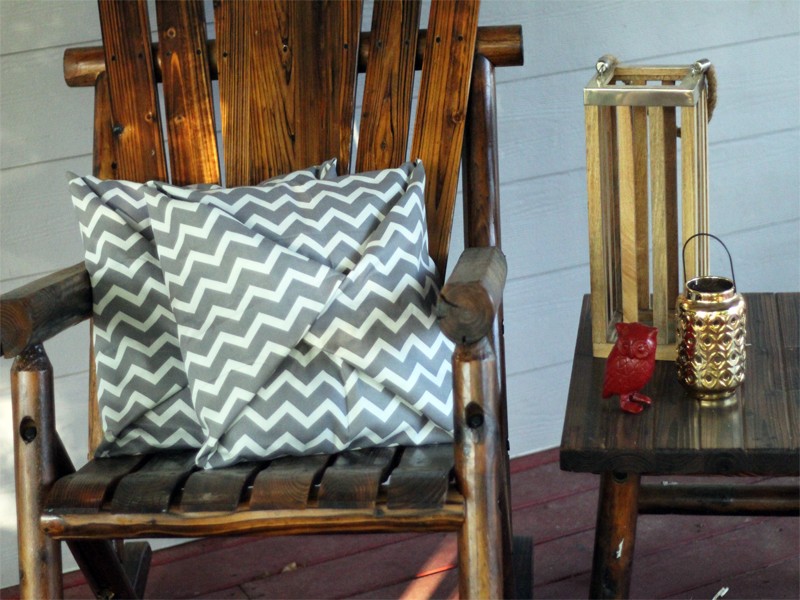
Then on each side of the fabric, fold the sides in to form a triangle like wrapping a present.
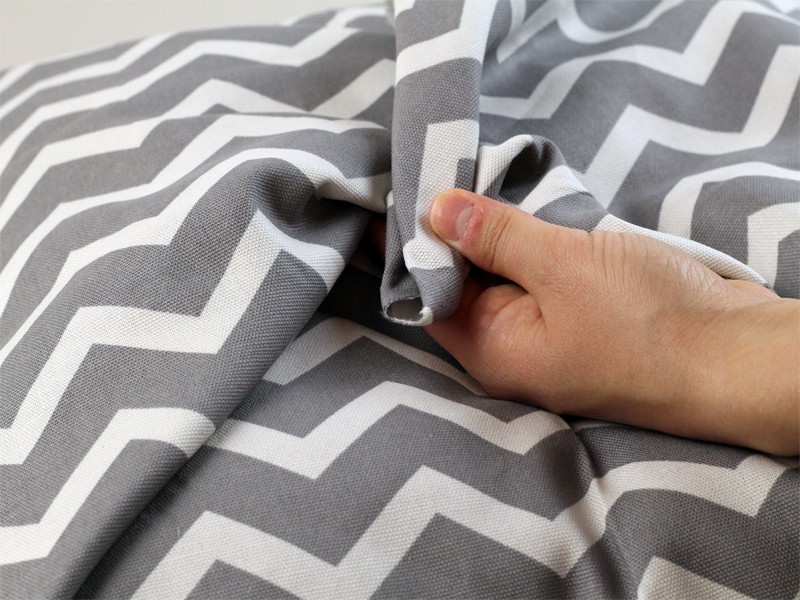
Then fold each side over again about 1″.
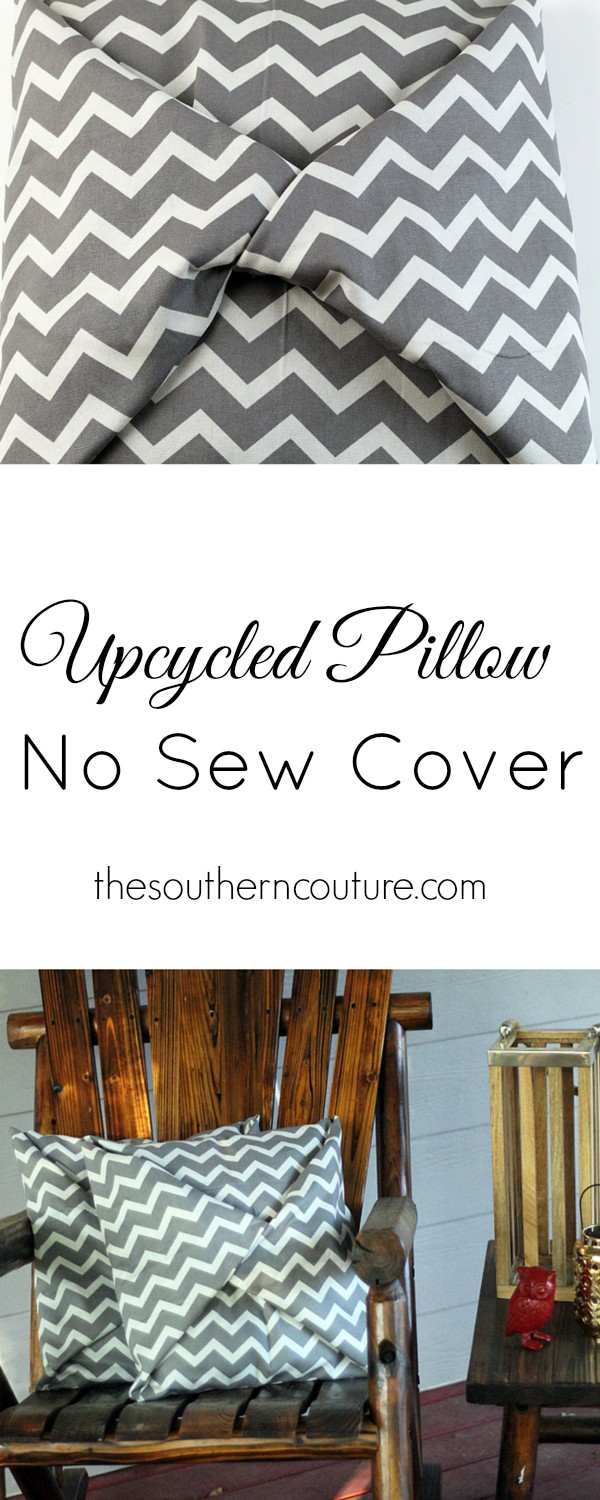
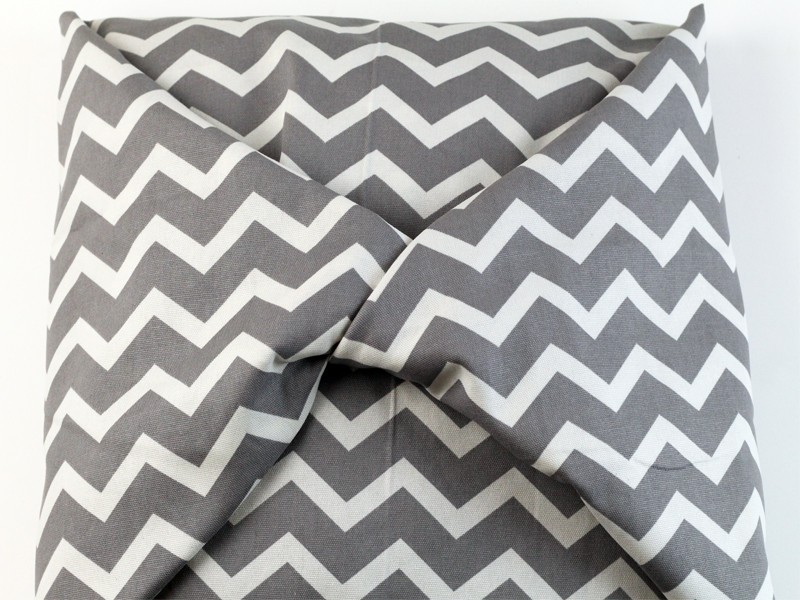
Fold each end over on top of the pillow and wrap the 2 tips over each other.
Then using safety pins, secure the fabric down so that it doesn’t unwrap itself.
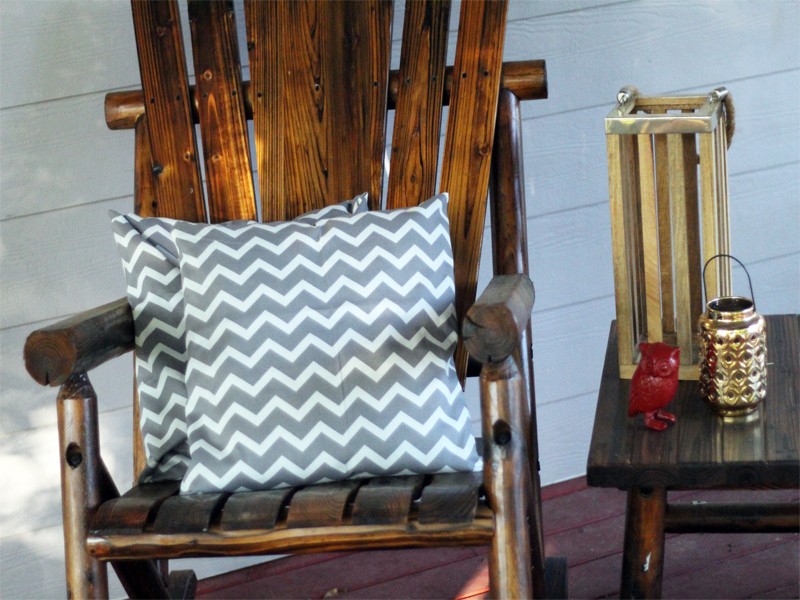
And you now have a pillow that you can change whenever you like.
*See the picture below for more detailed instructions.
What I love the most is that these pillow covers are for everyone because they are NO SEW too. You can easily remove the fabric and change them out for any occasion.
You can even turn them around if you want a more clean look without the fold.
Grab some old pillows that you thought about throwing out and reuse them to save you some money while still finding a new look to decorate with.
Enjoy your pillows and the little things in life like a simple upcycle project. It always makes me happy.
Also if you have not already, please join me on Facebook, Pinterest, Instagram, and Twitter. I would love to hear from you with any comments, suggestions, or ideas you may have.
P.S. Please share this post with others if you enjoyed it and found it helpful. We love when you pass on goodness to others.





Loved the pillow idea, I will make these
I am so glad you enjoyed it. I can’t wait to see what yours look like too.
Great idea!I’m looking at ways to update my throw pillows without sewing, so this really caught my attention. Thanks!
I am so glad it helped you. It is such a great way to save money. Have a great Memorial Day weekend.
What a clever way to cover the pillows. Love it.
I’ve pinned your post, and am featuring it… thanks for sharing at #SmallVictoriesSundayLinkup …hope to see you again this week!
Thank you! It is such a great way to reuse pillows without getting rid of them. Plus it saves money too.
These look great and are such a simple way to update a room! Thanks for sharing at our new link party Dream. Create. Inspire. Hope to see you again this Tuesday at 7!
Thank you so much for having me! I’m so glad you enjoyed the pillows!
How big are your pillow inserts before covering them?
The ones I used that I already had were about 14″ x 14″.