I am very excited to be sharing more of Mark’s Totally Radical 80’s Themed Party. Before continuing if you have not read Part 1 and Part 2 then be sure to check those out as well with lots of other fun ideas.
Today though I am going to share with you some more of the specific décor and how you can make it yourself as well for very little money. I was amazed when looking for 80’s décor in local party shops and how much it really did cost. I thought this is crazy. I can totally make my own for much cheaper. And who doesn’t love to save some money?
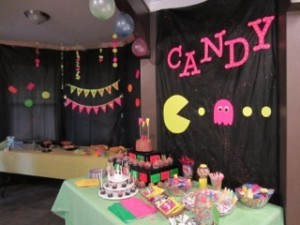
I loved the candy bar at the party with guests having a bag that they could fill with their favorite candies they enjoyed as a child to take home with them.
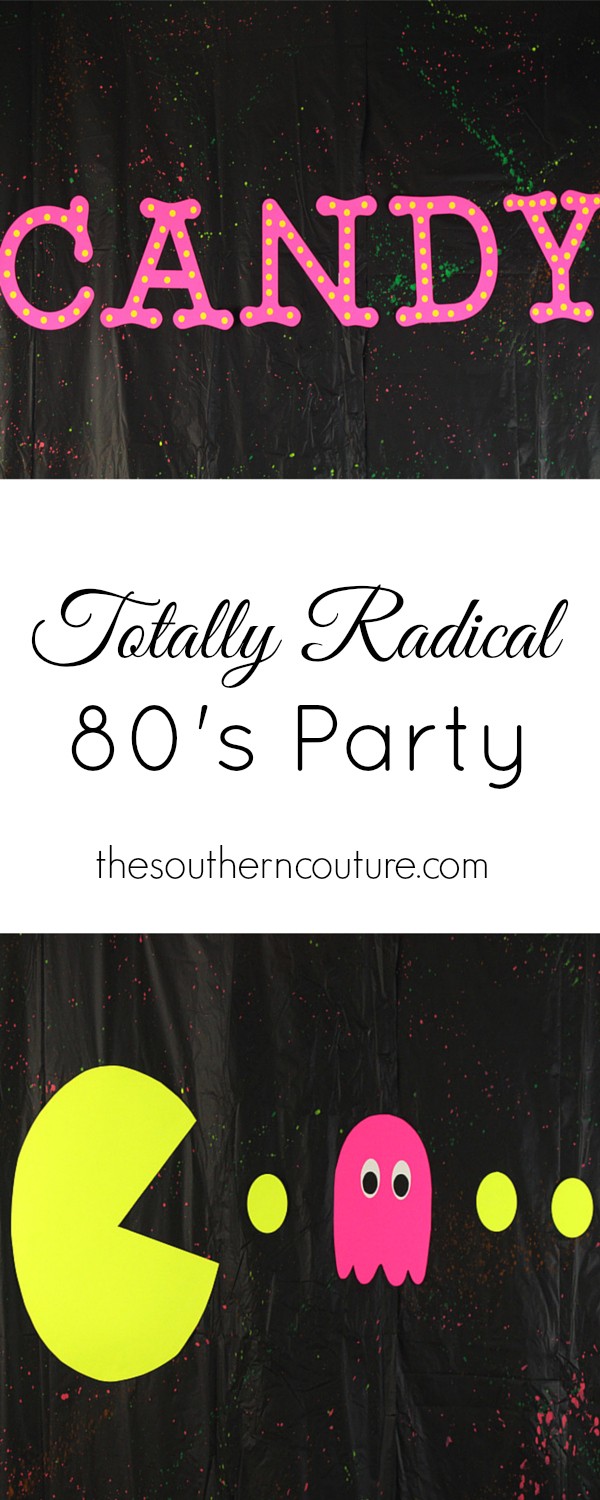
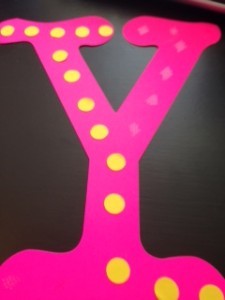
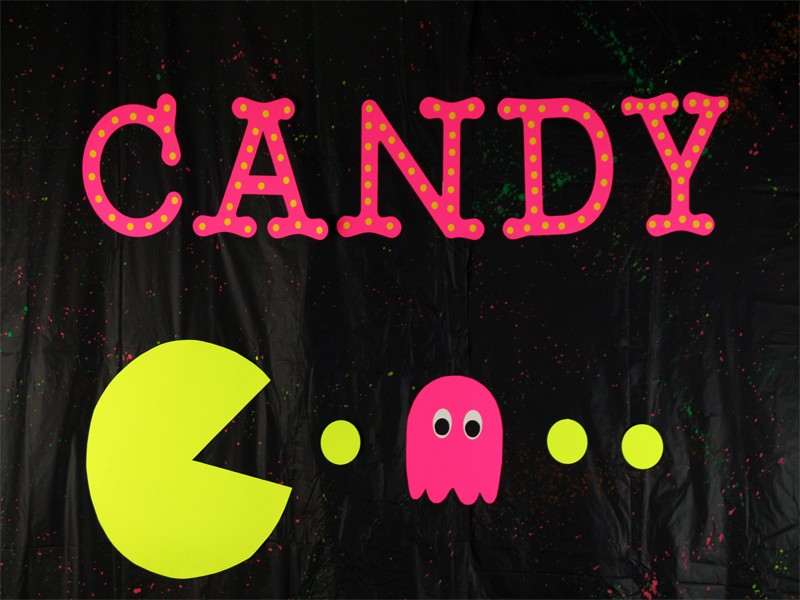
Above the candy bar, I needed something just as cute for the décor. I found an adorable CANDY sign at Parties for Pennies that I could not resist. The way the neon dots are placed against the hot pink makes it seem as though it was actually lit up.
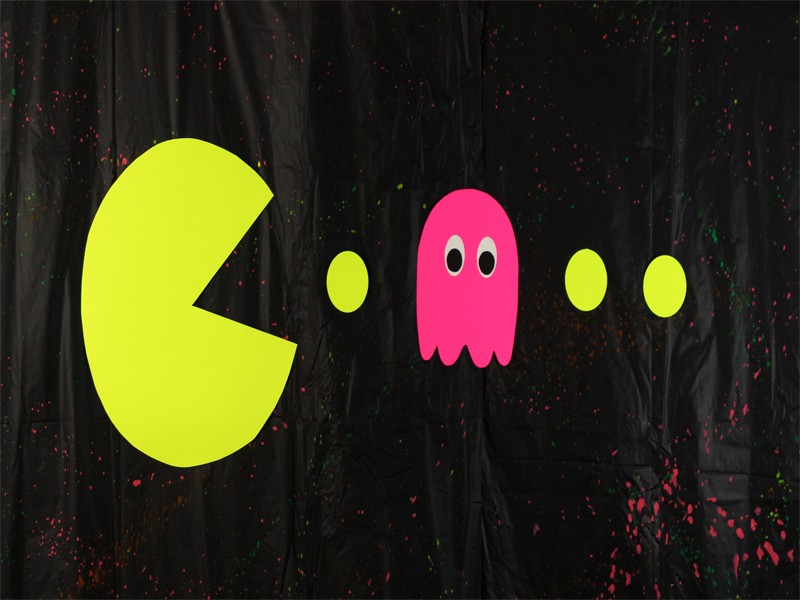
The piece of décor I chose was to incorporate Pac Man. Many children have great memories of playing Pac Man with their friends and having such a good time. This Pac Man turned out absolutely perfect and was a favorite of most guests. It was also definitely much cheaper and much cuter than most décor found at the store.
Let’s begin with the CANDY sign.
You will need:
- Neon pink poster board
- Neon yellow paper or yellow dot stickers
- Cricut- If available. If not see below for alternate option.
- Adhesive runner or glue dots
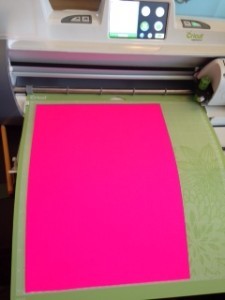
To begin with, select your letters and change settings to the size of the letters you desire. Load your pink poster board onto your mat and load into the Cricut.
If needing more help with Cricut settings and how to cut your poster board, check out Part 2 where it gives more detailed instructions with cutting out the letters for the birthday banners.
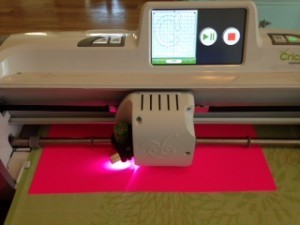
Now start cutting with the Cricut and let the magic begin.
Once it is finished, remove your mat and carefully remove the letters.
If you do not have a Cricut, then you could always print letters in the font you choose from your computer and then cut them out. Trace them onto the pink poster board and then cut them out. The Cricut just makes it much easier with cleaner lines.
You now need the yellow dots to place in the middle of the letters that will give the appearance of the letters being lit up. I used my Cricut to cut out the circles on neon yellow paper but there is a much easier way.
Using yellow dot stickers that you can normally find at the dollar store, place them in the center of the letters and stick them on. I would definitely do this option if making again. It would save some time for sure.
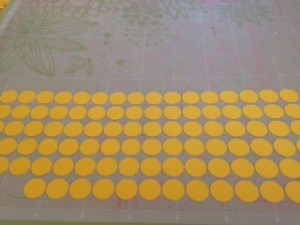
But if you choose to use the Cricut, place your neon yellow paper on the Cricut mat. Select a circle and then duplicate so that multiple circles will be cut out at once in the size you choose. Load your mat into the Cricut and begin the cutting. Once finished cutting, remove the mat and then the circles.
Using an adhesive runner or glue dots, place them on the back of the circles and then press down on the center of the letters lining them up.
Your CANDY sign is now complete and ready to be hung up so the “lights” can shine and sparkle above your sweet candy bar.
But no 80’s party is complete without some sort of Pac Man décor. I cannot decide which I liked better, the CANDY sign or the Pac Man sign.
Pac Man has to be just adorable and again much cheaper to make but just as easy and fun than the boring store bought décor.
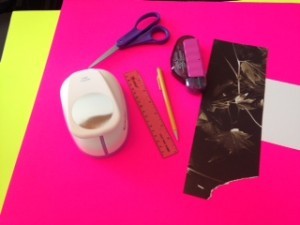
Supplies:
- Neon yellow poster board
- Neon pink poster board
- White paper
- Black paper
- Ruler
- Pencil
- Scissors
- Glue or adhesive runner
- Circle 3” paper punch
- Oval 2” paper punch
- Pac Man ghost clip art
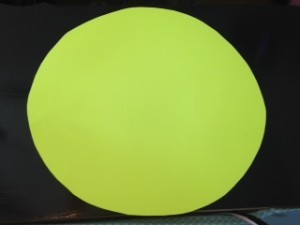
First of all, measure a circle with a diameter of 16”. Mark points around the circle 8” from the center to help with cutting out the circle. Once you feel you have enough marks, then cut out your circle.
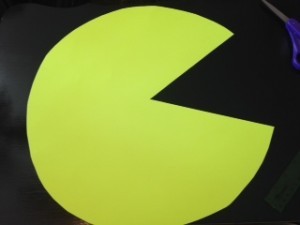
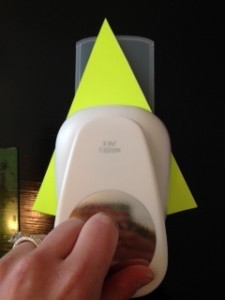
Cut out a triangle on the right side of the circle by measuring about 8” on the outside of the right side and then measuring inward 8” to the center.
Your circle should now look like the actual Pac Man. Where the triangle is cut out, is where the Pac Man’s mouth is open ready to eat the dots.
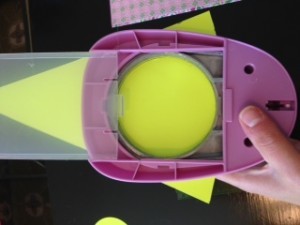
Using the circle paper punch, cut out 3 circles with neon yellow poster board which will be the dots that Pac Man “eats” in the game. My circle paper punch was a 3” size.
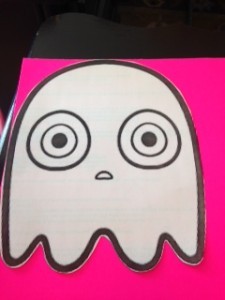
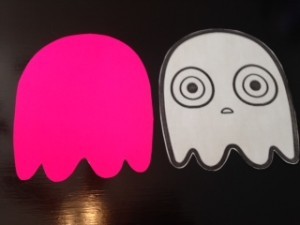
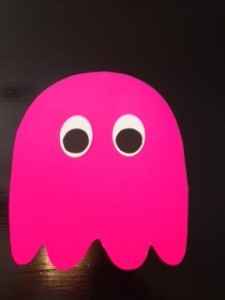
Now find a Pac Man game ghost image by doing an image search online. I printed one out that I liked and traced it on pink poster board.
Then cut it out of the poster board.
Your ghost is going to need eyes of course so using your oval paper punch, punch out 2 white ovals. Then glue the ovals onto the pink ghost where you want the eyes positioned. Now you need 2 black circle for the center of the eyes. Your circles should measure about 1”. I used a spool of thread and traced around the outside of the bottom of the spool onto black paper and then cut out. Glue your black circles onto the white ovals. You now have the Pac Man ghost completed.
After you have made enough ghost, dots, and the Pac Man, you can hang them in the pattern you desire. The Pac Man sign really added that something extra to the dessert and candy table.
With a “lit up” CANDY sign and Pac Man display, you are now one step closer to a totally radical 80’s party. Enjoy your crafting, the actual party, and as always the little things in life too!
Continue to check back every week for more 80’s décor you can make yourself. Next week I will be sharing how to make a giant Rubik’s cube and a cupcake stand featuring cassette tapes. You won’t want to miss it.
Also if you have not already, please join me on Facebook, Pinterest, Instagram, and Twitter. I would love to hear from you with any comments, suggestions, or ideas you may have.



Great article! Thank you for the very detailed instructions you provided.
Thank you so much! I am so glad you liked it. Continue to follow me for more articles to come.