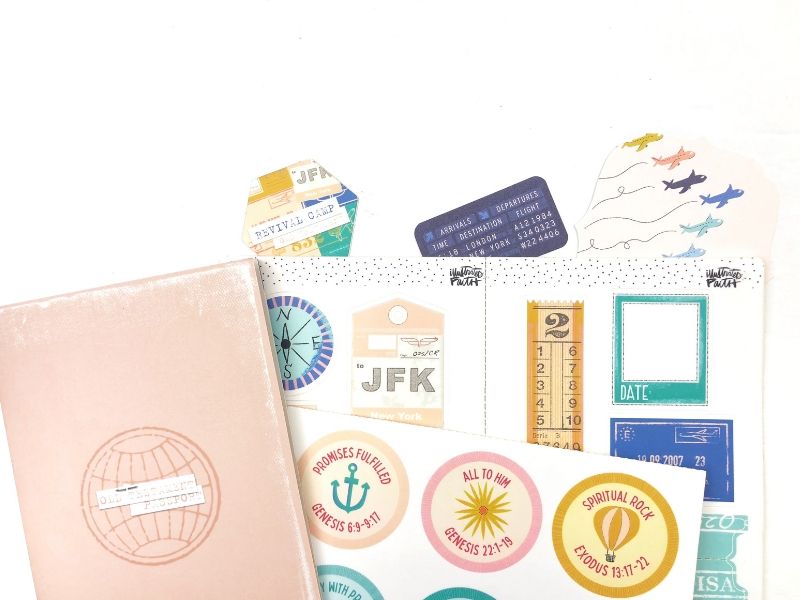
Check out these tips and ideas for embellishing the Revival Camp Passport Book in this next devotional kit from Illustrated Faith. We will be traveling through the Old Testament this year and going on fun adventures.
Some of the links below are “affiliate links.” This means if you click a link and purchase an item, I will receive a small affiliate commission that helps me to be able to continue with this blog and hopefully continue to inspire you as well.
Anyone want to attend camp with me this summer? Let’s board the plane together and all fight over who gets the window seat. 😉 But seriously, I have been so excited and ready for Revival Camp since it ended last year. This time of study is always a favorite of mine. If you haven’t heard of Illustrated Faith’s Revival Camp before, check out THIS post where I’m talking all about it and an unboxing of the Revival Camp devotional kit.
The last couple of months, I’ve been embellishing my travelers notebooks from the Illustrated Faith devotional kits. Y’all really seem to love them and have already been asking for me to do the same for the Passport Book included in this kit. I have a fun video flipping through the whole thing to show you my process and hopefully give you some inspiration to do the same. Keep reading to see the video below.
Of course I had to design some fun printables for my Etsy shop to go along with this kit. I used many of them in my Passport devotional book to add extra space for journaling and writing all the things down. Y’all know how much I love doing that. Below is a fun sneak peek of a design you can grab now. Head to the shop to see the entire “Old Adventures” collection.
Below is a flip-through video showing you lots of ideas for ways to use the printables, ribbon, and any other goodies you might find in your stash to embellish your passport book too. I hope it helps you with inspiration.
For the cover I used ribbon and hot glue to really make the globe design stand out. At the bottom I added different ephemera pieces by layering them.
The first of the book is the passport page. I used my HP Sprocket Printer to print a picture of myself straight from my phone. Easy peasy! Then I just trimmed it down to fit. I used grid paper to fill in the details and then just attached them with an adhesive runner. With a few extra embellishments, I just love how it turned out.
I used ribbon and a hot glue gun to attach it to the page for a little extra flair.
I love using note cards as tip-ins to add extra space for more journaling. I love writing down prayers, scripture, reflection, etc.
Using ephemera that comes with the kit and stickers I got from the Illustrated Faith add-ons, I loved being able to add embellishments and layers to the pages with ease.
To add a little extra fun inside the pages, attach a ribbon clip to your tip-in for a fun surprise. The possibilities are truly endless when it comes to making this passport book your own.
Once I had finished embellishing everything like I wanted, I just placed it inside my Carpe Diem travelers notebook cover along with the printables, ephemera, stamps, etc. to keep it all in one place.
I hope you will be joining me as we work through Revival Camp this summer and travel the Old Testament together. You can still grab your devotional kit or the digital version from Illustrated Faith. God bless!
ENROLL NOW IN MY 5 DAY BIBLE JOURNALING ECOURSE FOR FREE!

Get exclusive tips and tricks with my 5 Day eCourse available exclusively to subscribers!


