Spring is just around the corner and what better way to celebrate the arrival of warm weather than with a fun holiday. It is never hard to find a reason to celebrate no matter what holiday it may be. St. Patrick’s Day has to be one of those that just makes you smile when you see the adorable leprechauns, pots of gold, rainbows, and wearing green. I reminisce as a child going to school and being sure to wear green to avoid getting pinched. My husband actually has some Irish heritage which makes this holiday even more special.
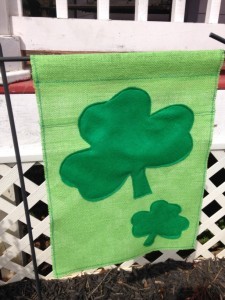
In order to welcome in Spring, it is time to starting sprucing up the yard and garden again. Sometimes plants and trees can become gloomy during the winter with the cold weather and snow, but this bright and colorful garden flag I found at Sew Woodsy is sure to be the cure for those winter blues. St. Patrick’s Day may sometimes seem to be overlooked or hard to find specific décor which is why I always say, “Just make it yourself.” You will start to imagine flowers blooming and sunshine glowing with this adorable shamrock flag.
Let’s get started:
First you will need to gather your supplies.
Burlap- I used green 12”x12” burlap sheets that I found at Michael’s but traditional burlap would also be adorable.
Ruler
Scissors
Iron- if needed to smooth out any wrinkles and flatten burlap
Felt or fabric- I used dark green felt for the shamrocks, but you could also use a mixture of different shades of green.
Thread- I liked the way the dark green thread popped off the lime green burlap but any neutral thread color would match as well.
Straight pins
Sewing machine- If you do not own a sewing machine, you could also stitch by hand. There is not a lot of intricate sewing involved so hand stitching shouldn’t become overwhelming or tiresome.
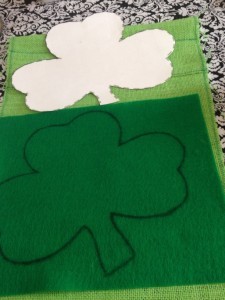
Shamrock template- I found a template from www.kidzone.ws/. If I had a shamrock template for my Cricut that would also work easier to cut out.
Permanent marker
Now that you have all your supplies together, let’s begin the creation.
First you will start with measuring your burlap. Most standard garden flags are about 17” in length and 12” in width. I am using the 12”x12” green burlap sheets therefore my flag is going to be 18”x12”. You may want to also measure your flag stand before starting to be sure these measurement are accurate for your specific stand.
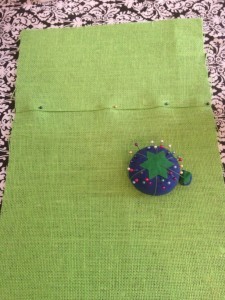
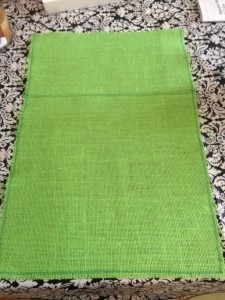
Because my burlap sheets were only 12” in length, I had to piece two together. Instead of measuring the second sheet to be 6” in length making a total of 18”, be sure to measure about 6.5” in order to have enough burlap to overlap when sewing the two pieces together for then a total of 18”. Once measuring is complete, then cut out the second piece of burlap.
*If you are using standard burlap on a roll, then the measuring and cutting will be much easier, and you will need to skip the next step. The bright green burlap was worth the extra step to me for the color.
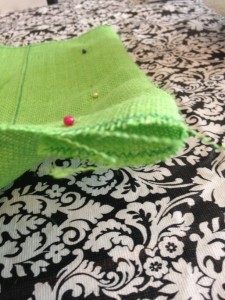
Once you have your two pieces of burlap, you are ready to pin them together. Just lay your shorter piece directly on top of the longer piece about 0.5” from the top and pin down to make it easier when sewing together.
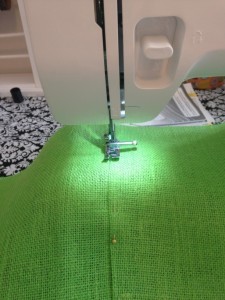
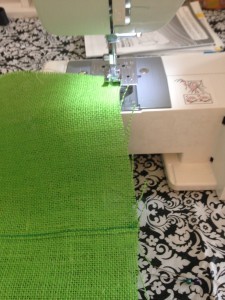
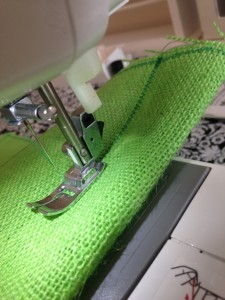
Next sew together the two pieces making a seam about 6” from the top of your flag. I used a zig-zag seam, but it is really whatever your preference is. You may be thinking a seam across the flag will appear noticeable and awkward, but once you place the shamrocks it will cover most of the seam. Also once the flag is in your garden, it truly isn’t noticeable at all.
*If you are using traditional burlap, at this time you may want to iron your burlap so it will be flat and easier to work with. Most burlap comes in a roll and will not lay flat.
Now sew around the outside of the entire flag except the top side. Later on you will be folding the top over to make a pocket for your flag to hang and will then sew a seam. You will be moving the burlap around frequently, so if it seems that it is wanting to fray easily, no worries. Wait until the very end and then you can trim up the sides. Once it was trimmed, I personally loved the worn look on the edges. If you are looking for a more clean cut, then certainly you could make a hem around the edges.
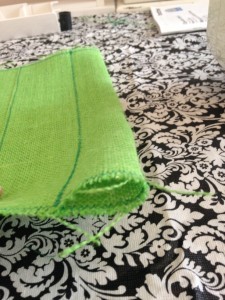
Then you are ready to make the pocket at the top that will hold the flag on the stand. Measure 2” from the top of your flag, fold over to make crease, and then pin down. You have created the pocket and are now ready to sew across the flag.
Sew length wise across your flag where you have pinned.
You have now created a pocket. *Be sure not to sew your pocket and then sew around the outside of the flag or you will have closed off the edges of the pocket. Then you will not be able to hang your flag silly!
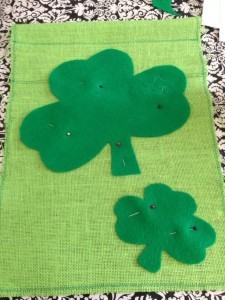
You are now ready to trace your shamrock template onto green felt and then cut it out. I placed 2 shamrocks on my flag, one larger and one smaller. The creativity is up to you what size you want or how many shamrocks you want. That is the beauty of DIY. Just remember that the smaller and more intricate the shamrock, the more difficult it will be when sewing them onto the flag. My larger shamrock measured 9.5 x 8.5 inches. My smaller shamrock was 5 x 4.5 inches.
Once you have traced and cut out your shamrocks, you are now ready to pin them down on your flag. Feel free to place them where you want. Once you have your design the way you like, pin them down on your flag in the center.
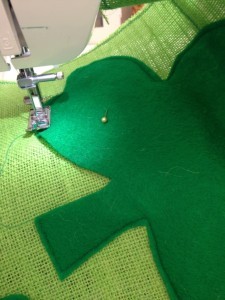
Sew around the edge of each shamrock. I used a straight stitch and dark green thread the same color as my felt because I didn’t want the thread to be noticeable and just blend in.
Once your shamrocks are sewn on, remove your pins and your flag is ready to be flown. I couldn’t wait to hang mine on our flag stand and watch it blow in the Spring air that is soon on its way.
Hope your enjoy your flag as much as I do. I will be sure to make many more flags for each season and holiday in the future. They are simple to make and much more creative than most you will find in the store. Happy St. Patrick’s Day and do not forget to enjoy the little things in life.
