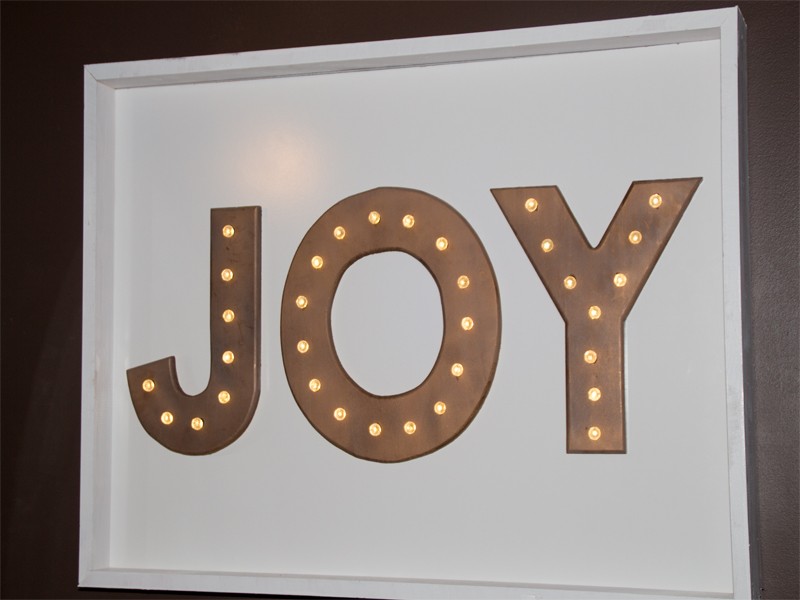
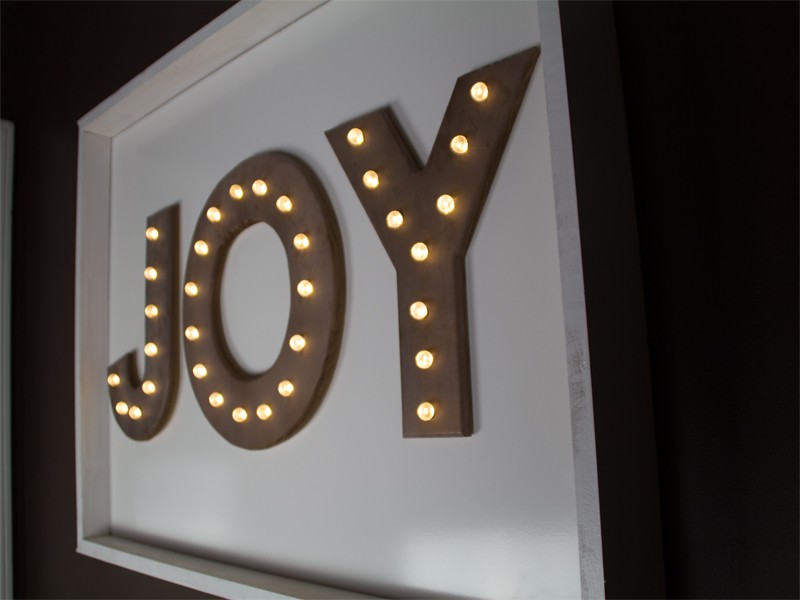
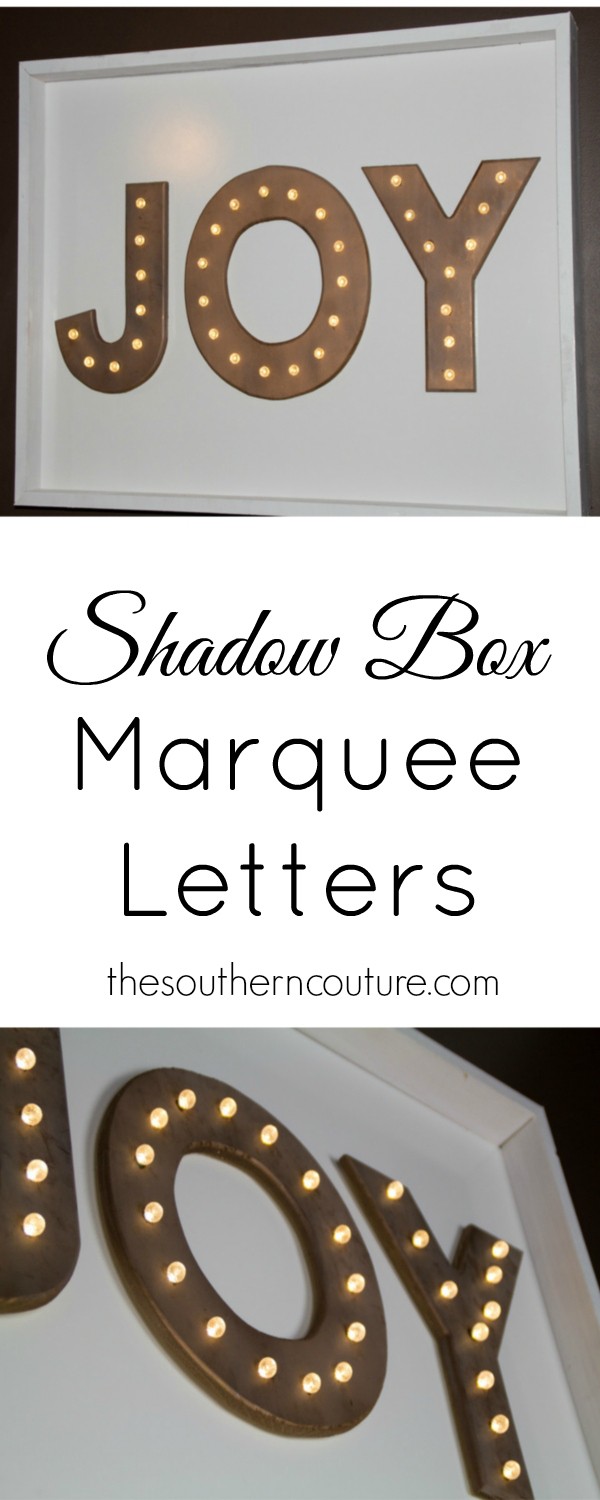
I have been wanting to make my own marquee letters for quite some time but this really motivated me to do my own for Christmas and save the money I would have spent on the store bought for Christmas presents. There have been several different variations of them but this shadowbox style is different and also a great way to hide any wires that may try to show through.
My husband is such a sweetie and offered to take me to Target and go shopping after church Sunday because he knows how much I don’t go like I used to. It was such a special treat. We also got fraps from the Starbucks in Target (which I shared on my Instagram) after we had finished shopping.
I mostly just wanted to look at the new Christmas decorations and that got me in the mood for some Christmas crafting. Being as supportive as he is, he offered to help me with making these marquee letters. I am trying to get better with power tools but he definitely is a huge help.
The other great part about these letters is that you can definitely leave them up past Christmas and throughout the year. I love to have lights like these and lamps turned on at night while just relaxing. Using the shadow box to display them also makes it easier to hang them instead of having to sit them on the mantel. Now I don’t have to worry about taking the letters down early so I can rearrange my mantel.
Let’s get started making them because I know you will not regret it once you do.
Supplies:
Wooden letters- I chose to spell “JOY” but any holiday phrase or word would also be cute.
Black sharpie marker
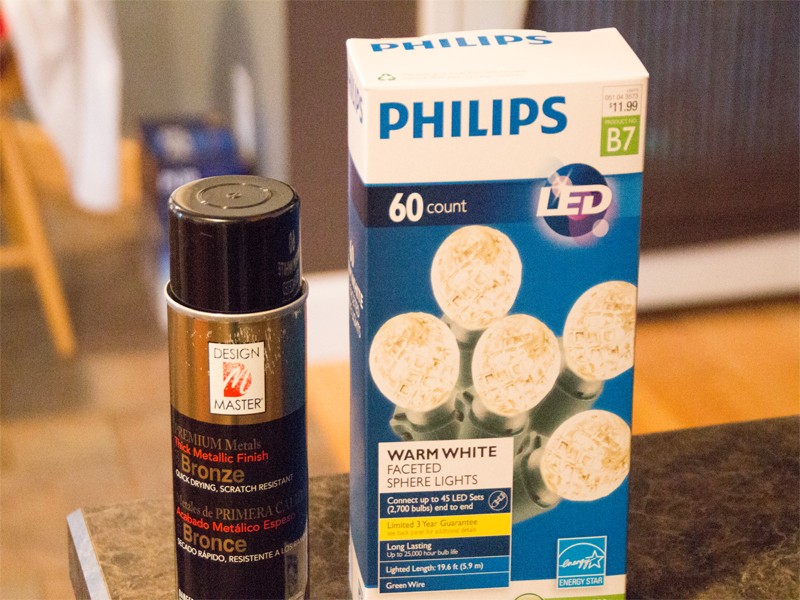
Round bulb Christmas stringed lights
Bronze or metallic spray paint
Power drill
Drill bit
Table saw
White unframed dry erase board or thin piece of plywood- I actually bought a dry erase board at Home Depot that was not framed and cut it to the size I needed. You could also paint a wooden board white or whatever color you like.
1” x 4” Boards
Start by spray painting your wooden letters. I used a bronze spray paint because I wanted them to have a somewhat worn metal look.
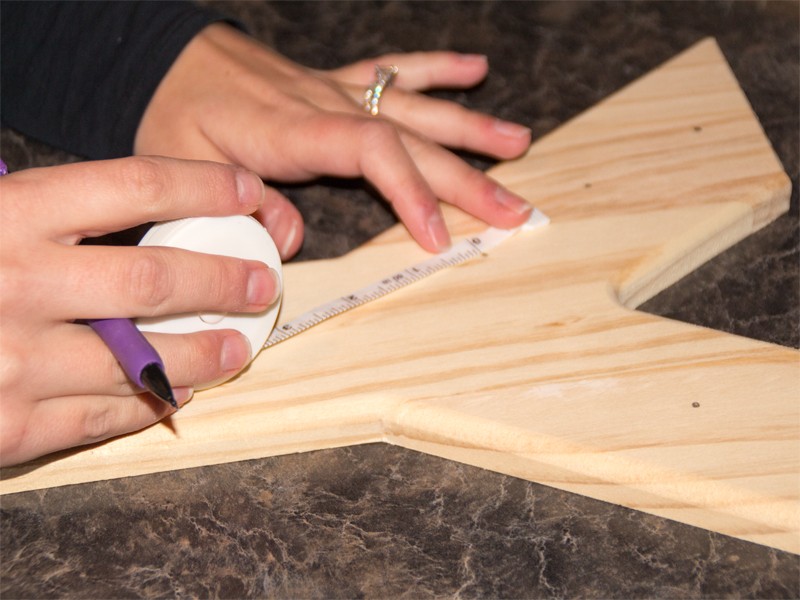
Once they are dry, use a black sharpie marker or pencil to mark where you will want your lights to be placed.
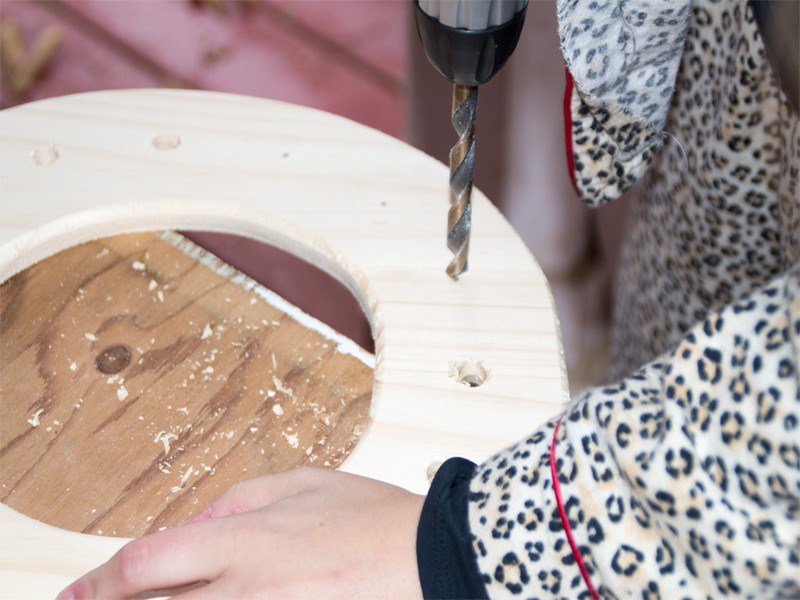
Drill a hole through each spot where you made a mark with the sharpie.
*After drilling a hole, take the bulb apart from the base of the light and put it through the hole and then reattach it. You want to do this on one light now to make sure that your hole is going to be big enough to fit the base of the light.
*Also be sure to not drill the hole too large causing the light bulb to fall through as well.
Continue drilling until all the holes are drilled.
As I mentioned above, I used a white dry erase board I found at Home Depot that wasn’t framed. This saved me a step with having to paint. If you would rather use wood, then that is fine too and you could just paint it the color you would like.
I measured the white board to be about 34 inches and then cut it using a table saw.
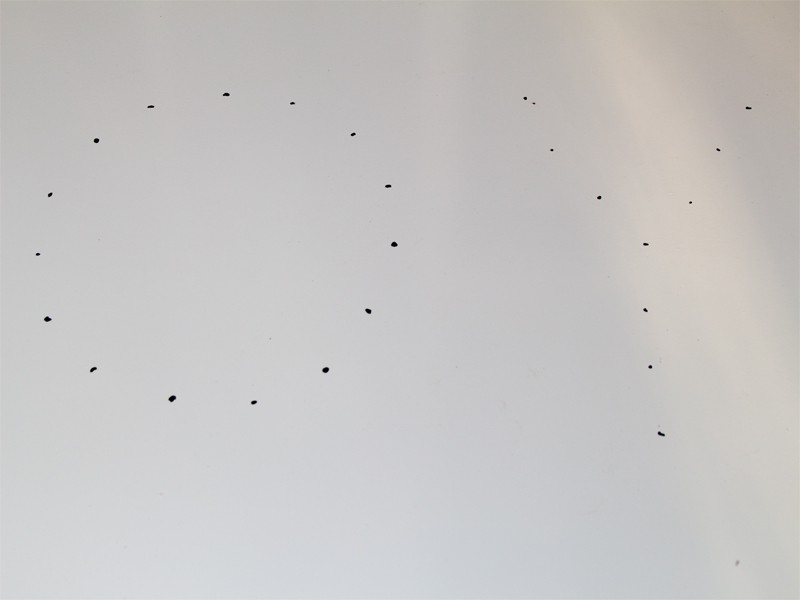
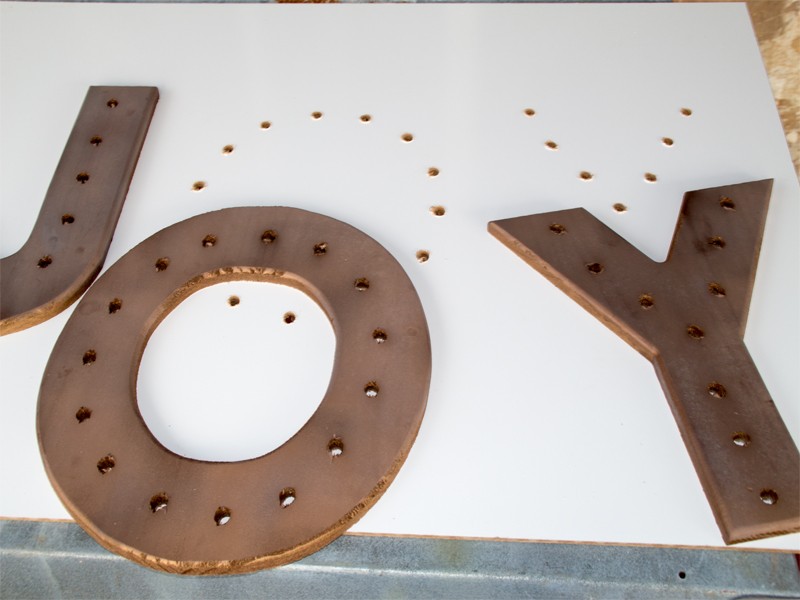
Next place your wooden letters on the white board where you would like for them to be, and using the sharpie place a dot on the board through the holes that are already drilled in the letters. This will be a guide to know where to drill the holes for the lights once attaching the letters to the white board.
Now drill a hole through the white board where the black marks are. You could also check to be sure the light base will fit through the hole again before drilling all of them as we did before with the wooden letters.
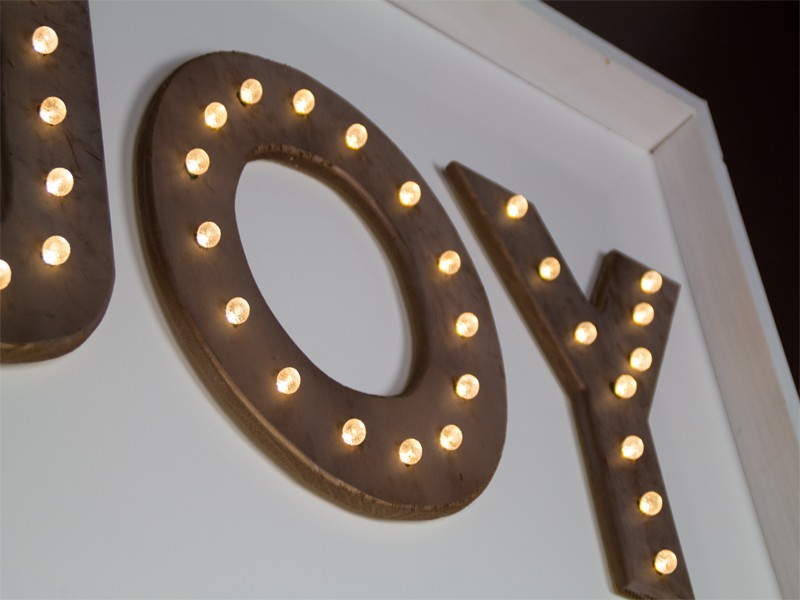
Place each letter on top of the white board once all the holes are drilled and begin putting the lights through each hole. You will have to take the light bulb out of the base and reattach together once it’s through the hole.
For the frame, measure the sides and cut the wood boards accordingly at a 45 degree angle to form the corners.
I had my boards rip cut the width of the white board but did not cut the boards completely in half. It basically left a groove in the wood where I could sit the board within it making it easier to put it together at the end.
I painted my boards white once they were all cut. I had to paint two coats to completely cover them.
It is now time to start assembling the frame. I placed two boards together at the angle and then hammered them together with small nails. Do the same again until you have the two sides and bottom together.
Slide your white board into the groove made by the rip cut. Place the top board into place and then hammer it down.
I hammered picture hanging hooks on both sides of the frame and then hung it on the wall.
I love turning it on with the Christmas tree and seeing it all glow. I know you will too! Plus we get to enjoy it after Christmas. I always hate having to take our Christmas tree down but this JOY will make it a little easier this year knowing I still have it to enjoy.
Hope you will make your own too and enjoy the glowing lights this Christmas and throughout the year.
Also if you have not already, please join me on Facebook, Pinterest, Instagram, and Twitter. I would love to hear from you with any comments, suggestions, or ideas you may have.
Some of the links in the post above are “affiliate links.” This means if you click on the link and purchase the item, I will receive an affiliate commission. Regardless, I only recommend products or services I use personally and believe will add value to my readers.



This is so cute! I love it and I think I might try it later down the road. Thank you for sharing!
I hope you will. It is definitely something that can be used all year long.
I love these, so very cool! We have a “joy” above our mantelpiece that we display year-round.
Oh that’s so cool. Most people only use the JOY at Christmas. It is definitely a great reminder for all year long.
Wow! That is really neat. You are so creative.
Thank you so much! Merry Christmas!
You did an amazing job. I am so impressed!!
Thank you so much! My husband was definitely a huge help.
WOW! This is really cool and looks a bit easier than I though it would be…especially if you have a handy hubby around the house to help you! 🙂 Thanks for sharing! The possibilities are endless!
Yes, it is much easier with a handy husband to help me out. He is the best.
Wow – that’s pretty!!! love your tutorial and the word JOY!! Happy New Year!!
Thank you so much! I love the JOY too and that it can be left up all through the year and not just at Christmas. Happy New Year to you too!!
That’s really nice. I’d love to make those with my kids name but I’m sure it wont look as good as yours
I bet it would and maybe even better. That’s a great idea for your kids name or even just their initials.
This is awesome, I always wanted marquee letters. This would be great for my daughter’s new room.
I have to. I kept seeing them everywhere and never made them. I am so glad I finally took the time to do it. I bet your daughter would love them.