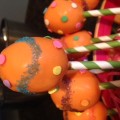
Who does not love cake pops? Not only are they absolutely delicious but a lot of fun to make. I love thinking of new ideas for different holidays and events. The possibilities are endless. Once you begin making cake pops, you will never look at candy the same but will always think of a new and creative way to incorporate that sweet candy aisle into your next baking experience with cake pops.
Along with cake pops, no one can deny the fact that we all love gold. But finding gold at the end of a rainbow would just be too good, like a dream come true. Well you are not dreaming right now. You do not need to pinch yourself to find out if you are dreaming or not (unless you are not wearing green. Lol.). You can now have your very own pot of gold at the end of a beautiful and colorful rainbow. No need to search any further.
Ingredients and supplies:
Your favorite cake recipe or boxed cake mix- I made chocolate cake pops but of course any flavor is scrumptious.
The ingredients needed to bake your cake
Icing- Because I baked a chocolate cake, I used chocolate icing. Choose an icing that pairs well with your type of cake, ex: cream cheese icing with red velvet cake, vanilla icing with vanilla cake.
Cake pop sticks- also known as lollipop sticks. I found St. Patrick’s cake pops that had green shamrocks on them at Michaels. The shamrocks just add a little something than an ordinary white stick.
Melting milk chocolate or black or brown candy melts
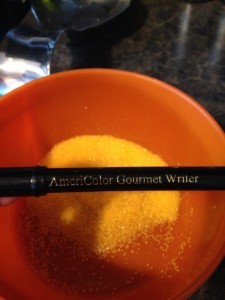
Yellow sugar sprinkles
Airheads Xtremes candy- resembles a rainbow
Black edible marker- optional
Cake pop stand- or anything that will hold the cake pops up while chocolate hardens
Now let the baking and decorating begin!
First you will need cake! Duh! Lol! Bake your cake according to directions in recipe or cake box mix. I have found that cake box mix works well even though it isn’t entirely homemade. I bake my cake in a 9 inch x 13 inch pain. If I divide the cake in four equal parts, each section will normally yield about 11-12 cake pops depending on the size of each one. This will it easier when needing to figure out how much cake to prepare and what you can freeze to use later.
Don’t waste your extra cake if you are only needing a small amount of cake pops. I always wrap mine in saran wrap tightly first and then wrap in aluminum foil. Don’t forget to write the type of cake and the date on the outside for future baking.
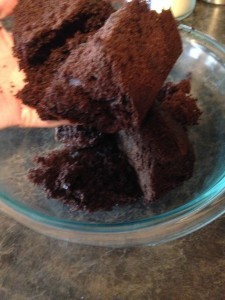
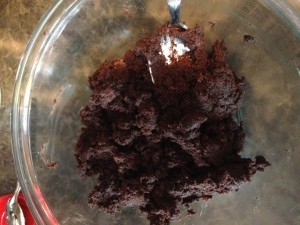
Now that you know how much cake you will need, it is time for the slightly dirty but fun part. Crumble your cake into fine crumbs similar to potting soil. I find the easiest way to crumble the cake is to take two small pieces of the cake and rub them together to basically “sand” them down into fine pieces.
Once your cake is crumbled, it is now time to add your icing. For about ¼ of a 13×9 inch cake, 1-2 large tablespoons of icing will be enough. Always start with less first and mix together with your cake crumbles. If you find you are needing more icing, you can always add but can’t take away. As your icing is incorporated, the cake will begin to mold together and become wet looking. Be sure to not add too much icing making it too wet and not being able to roll out easily. Not adding enough icing will cause your cake pop to crumble apart and not hold its shape. The more you make them the more you will find the perfect consistency.
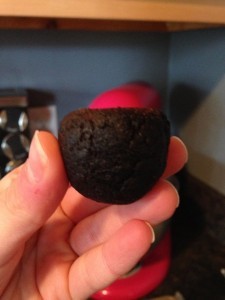
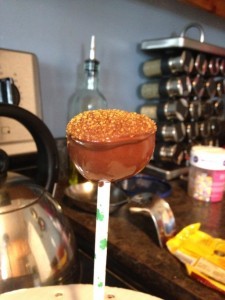
Next, begin rolling out your cake pops into about one inch in diameter. I usually just use a tablespoon to scoop up my cake and roll the cake in my hang until I form a nice round ball. In this case though, I wanted the cake ball to have the appearance of a pot and not as round as normal. Press one side of your cake ball to make it more flat like a pot.
The flat side will be used for the top of the pot. Using a cookie dough scooper may work easier for you, but I found a spoon is just as easy and allows me to control the amount of cake better.
Your cake pops will need to be chilled some in order to hold their shape best when dipping in chocolate. I place mine on a pan and put them in the freezer for about 15 minutes while I am melting my chocolate or candy melts. If you want to prepare your cake pops before you are actually going to dip them in your chocolate, then place in refrigerator for several hours. Do not freeze them for too long or they can cause your chocolate to crack once it has hardened on the cake pop.
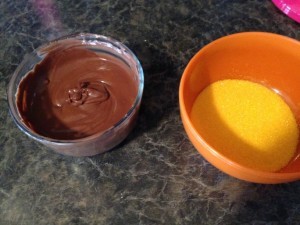
Begin melting your chocolate or candy melts according to package directions. Depending on how many cake pops you are making will depend on how much chocolate to melt. It does take experience with making cake pops to learn the exact amount you will need. Always melt your chocolate at slower intervals being sure to stir between each time to avoid scorching your chocolate. Patience is the key here. Once completely melted, your chocolate should run down and flow easily off your spoon without clumping. Smooth chocolate makes for a smooth finish on your cake pop.
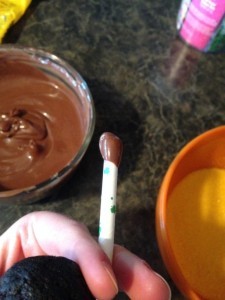
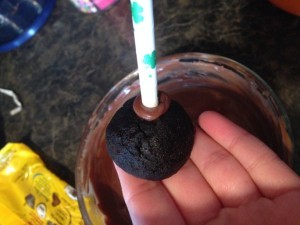
Now take your cake pops out of the freezer and you are ready to begin dipping them in chocolate. You will first want to dip your cake pop stick into your chocolate about ½ inch down from the top and then insert into the round end of the cake pop about half way. The extra dipping of the stick prior to insertion will assist with bonding the stick to the cake pop.
Place the cake pop into the chocolate being sure to coat the cake pop entirely. Gently tap your cake pop to remove any excess chocolate.
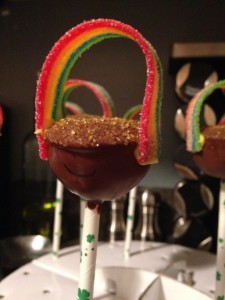
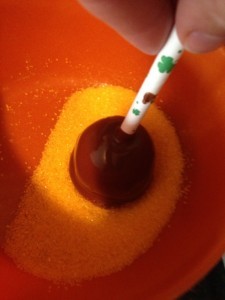
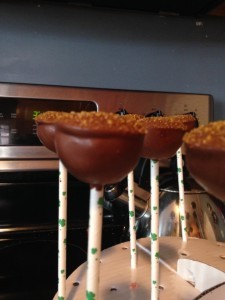
Dip your cake pop while it is wet into the yellow sugar sprinkles to coat just the top of the cake pop. The yellow sugar will appear as shiny gold on the top of the pot once chocolate has hardened. Pressing the cake pop around the edge in the sprinkles will give the appearance of a rim similar to the rim of a pot.
Place your cake pop into the stand to allow chocolate to harden. Continue with same process with remaining cake pops.
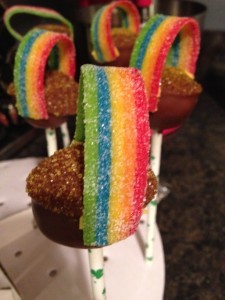
Once chocolate has hardened, it is time to add the rainbow. The most important and cutest part of this treat. You will need to melt only a small amount of chocolate to attach the rainbow candy slices. You may find that you can attach the rainbow candy after dipping in yellow sugar sprinkles if chocolate has not hardened at all. Usually I like to add at the end in order to ensure the rainbow candy will be attached. I cut my rainbow candy into about 4-6 inch strips depending on the size of the cake pop.
Add a small amount of chocolate to each end of the rainbow strip and then attach one end of strip to cake pop and immediately attaching the other end of the strip to the opposite side of the cake pop forming a rainbow. Hold the strip in place for several seconds to assist with attaching it while the chocolate hardens. Allow to stand to ensure rainbow is in place.
This step is optional but adds a little extra to the appearance of a pot. If you use milk chocolate or brown candy melts, take a black edible marker and draw the bottom half of an oval shape on two opposite sides of the cake pop to give the appearance of the handles on a pot. I use the AmeriColor Gourmet Writers that I bought at Joann. They seem to work the best.
Your cake pops are now complete and ready to enjoy. I believe these would be the biggest hit of your child’s class for their snack or for a classroom party. No one can resist a pot of gold at the end of a rainbow.
Enjoy your creation and share it with others. But most importantly, do not forget to enjoy the little things in life- even if it is a golden cake pop!
