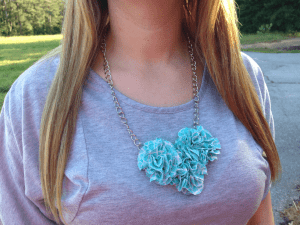
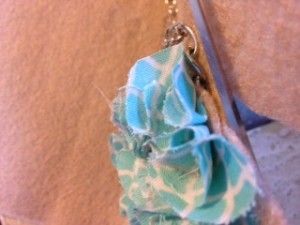
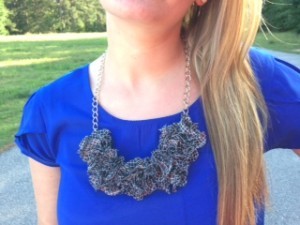
Jewelry is one of my most favorite things and this pom pom fabric necklace is just another great addition to my collection. One of the best things about accessorizing is being able to match my jewelry with each outfit. Making my own necklace is a perfect and very adorable way to do so. No more searching the stores for that perfect necklace to match a particular dress. I will just make it myself. Once you make one of these, I promise you will want to make more in different colors and styles. This necklace is also a great way to use any scrap fabric you may have lying around that you really like but cannot find anything else to do with it because it is too small.
I do want to mention that I first found this idea at Little Miss Momma. I fell in love with the idea and started making my own with my own twist. I hope you enjoy it as well and can add your own personal touch as well.
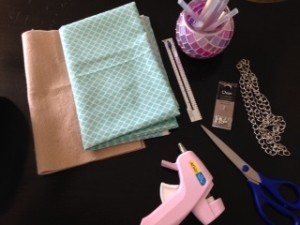
First you will need:
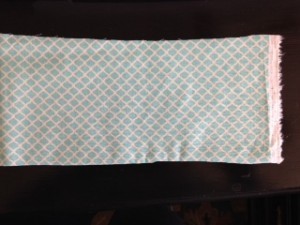
Fabric- I chose a cotton fabric that I had left over from another project and really loved the design.
Felt- Choose a color that will blend in well with your fabric or match so when you do wear your necklace, the felt on the back does not stand out when you bend over or move around. You want it to be hidden as much as possible. I used one of the single sheets that you can buy individually and it was more than enough.
Necklace chain- Any style will work. Also pearls or a beaded chain may work great.
Jewelry clasp- if desired
Fabric scissors
Ruler
Fabric pencil
Hot glue gun and glue sticks
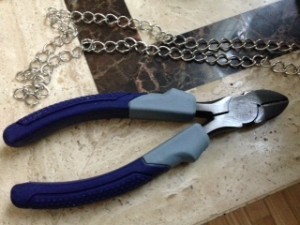
Wire cutters
Let’s get started now so you can soon show off your necklace in style.
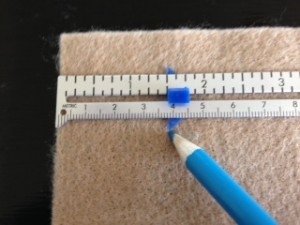
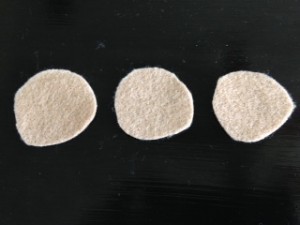
First measure your felt with 1 ½” diameter circle and mark with your fabric pencil.
Cut out the circle. Do not worry if your circles are not perfect. It will not matter when you start gluing the fabric on the felt.
I chose a pattern for my necklace that only required 3 circles. I have made another before where I used 5 circles. The number of circles you will need will vary depending on your style and layout.
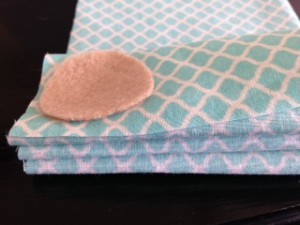
Using your felt circle as a guide. Cut out circles from your fabric. I first cut out a long strip of fabric and then folded multiple times in order to cut out multiple circles at once. This will definitely help to save some time.
I used about 13 circle of fabric per felt circle.
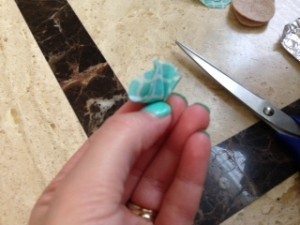
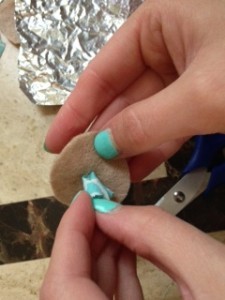
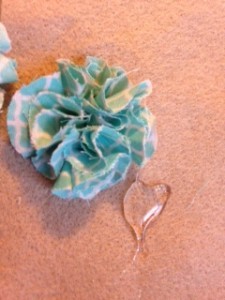
Now that your circle are all cut out, take one fabric circle at a time and bunch it up in the center as shown below.
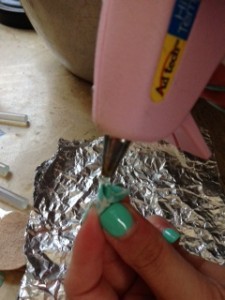
Then place a dot of hot glue on the tip and glue the fabric tip to the felt circle.
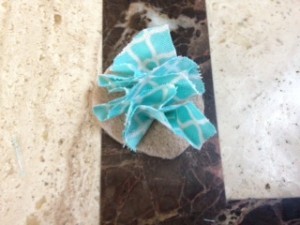
I found it is easiest to first start gluing your fabric circles in the center and work around to the outside until the felt circle is completely covered.
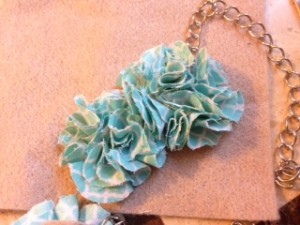
Once all your felt circles are completely covered with your fabric, lay them out on a piece of felt in order to get an idea of the layout and design for your necklace.
After you are satisfied with your design, glue the center felt circles down to the felt sheet in your layout.
Be sure though to not glue down the end felt circles just yet. These will need to have the chain glued to them first.
Now measure how long you will want your necklace to be in order to know where to cut your chain at. I hung the chain around my neck being sure to leave enough room to be able to slip the necklace over my head with no problem. Leave an extra bit of chain on each side when measuring as well that will be used to glue the chain down. My chain measured about 22 ½ inches. I do have a smaller head though and wanted my necklace to hang down a little farther.
Once your chain is measured, using wire cutters cut your chain to the desired length.
If you want your necklace to be shorter and will not be able to slide over your head to put it on, then use jewelry clasp and attach to your chain in the middle.
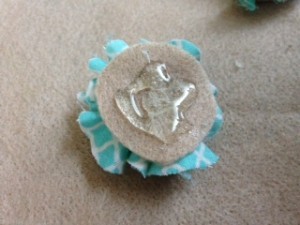
Take one felt circle that will be one end of your necklace and glue one end of the chain to the back of the circle. Glue several links in your chain to the back in order to give more support.
Let dry completely before gluing to the felt.
While one end is drying, do the same for the other end of the chain and glue it to the back of your other last felt circle.
Once both chains have dried and are glued securely, glue the felt circles onto the felt sheet beside your other pom poms in the layout of your choice.
Once dried completely, cut the felt around your pom poms to remove your necklace.
I did place some extra glue between each pom pom once it was cut out to add some extra strength and support and to keep the pom poms from twisting and turning when wearing the necklace.
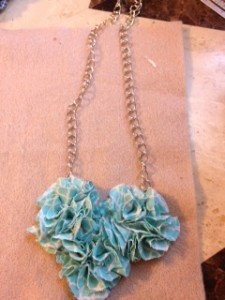
The last thing you need to do is simply wear your necklace and show it off. I have gotten so many compliments on mine. Many people cannot even tell it is homemade and are surprised when I tell them I made it myself.
The black necklace below is also one that I made before and goes with so many different outfits. I love it so much as well!
My favorite part about this necklace is that the possibilities are endless for color and design. I will definitely be trying different size circles and layouts.
I hope you choose to make your own and if you do please share with me and everyone else. I would love to see your creativity. And don’t forget to enjoy the little things in life!
Also if you have not already, please join me on Facebook, Pinterest, Instagram, and Twitter. I would love to hear from you with any comments, suggestions, or ideas you may have.
