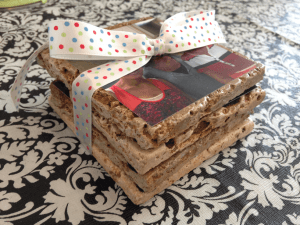
Photo coasters are a beautifully personalized gift for anyone but especially for your mother this Mother’s Day. I do not know one mother that does not love to receive pictures of her children and family as a gift that can be treasured for years to come. After all family is everything. We have nothing without family.
These photo coasters are a great way to display your favorite family photos when having guests over to your house for dinner. They are a great conversation piece and a way to show off your most favorite family photos.
Many mothers are also very diligent about keeping their house clean. That includes keeping those water rings off of her coffee tables. What better way to prevent those nasty rings than with a family photo.
They may be beautiful to look at, but they are also just as simple and inexpensive to make. With a few simple steps, you will have a DIY craft that every mother would love to receive this Mother’s Day. Mothers also love receiving things that their children made for them. Sometimes it is just simply more about the thought that went into a gift than it is the actual dollar amount spent.
Because it is so simple, any age child could make these. You may find that your children would love to make a set for their grandmother with your help a little bit. I also think of women and friends in my life that are special to me that would love to receive these as a gift.
Let’s not waste any time though. Your mother will love opening this special gift this Sunday.
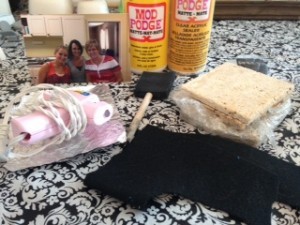
You will need:
Pictures
Scissors or craft paper cutter
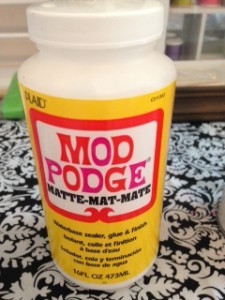
Mod podge- There are many different types of mod podge. I had the matte style. It really just depends on what style you really want.
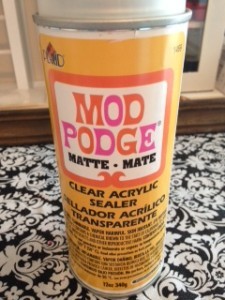
Mod podge clear acrylic sealer- You will not need a lot of the sealant but can definitely use the leftover for any future craft projects. Plus once you make these coasters, you will want to make many more for other occasions.
Foam brush
Tiles- One set is typically complete with 4 tiles. It really is your choice for how many you want to give someone. I chose a tile that was a stone appearance because it matched the décor more of my mother’s living room. Any color or style would work perfect depending on your mother’s home as well.
Felt- I used black. You can really use whatever color you want because it will be going on the bottom side of the tile and will not be seen.
Hot glue gun and glue sticks
Ribbon
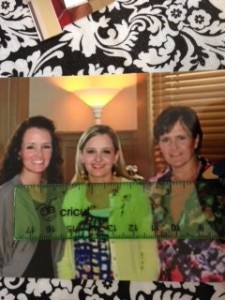
First you will want to measure your pictures to fit your tile depending on the size you choose. I used a tile that measured 4 inches by 4 inches. I measured my photos to be 3 ½ x 3 ½.
Here is a tip also when selecting your photos. Be sure to choose pictures that are not close up or zoomed in too much.
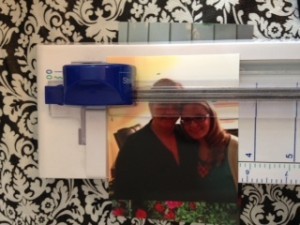
Once you have marked your photos with the measurement you want, cut them out using either scissors or a craft paper cutter. I find the craft paper cutter is quicker and much easier considering you are pretty much guaranteed a straight line.
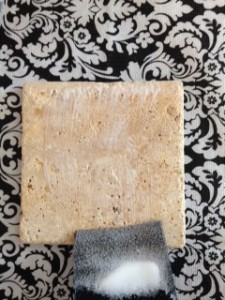
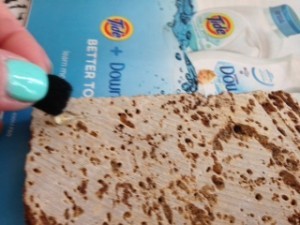
You are now ready to attach your photos to the actual tile which will be your coaster. Using your foam brush, paint a layer of mod podge onto the tile and immediately place the photo on the tile before mod podge starts to dry.
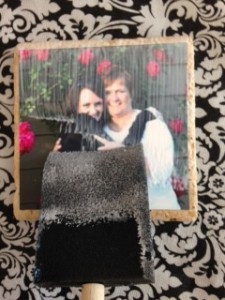
Then paint a layer of mod podge directly onto the photo. Do not paint it on too thick but enough to seal the photo in place.
At first it may seem that you have ruined the photo when you first apply the mod podge especially if you have never used it before. Do not worry. The mod podge will dry clear. Just be sure to paint the mod podge in the same direction on the photo.
Let the mod podge layer dry completely before proceeding.
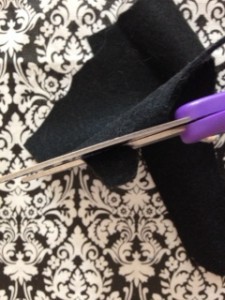
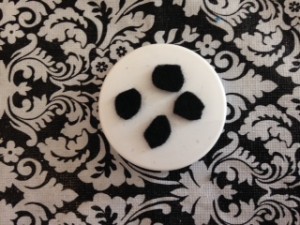
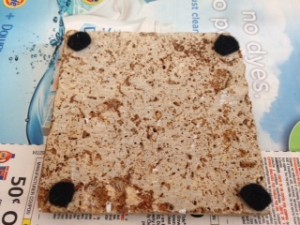
But while you are waiting on the mod podge to dry, you can cut out the felt circles that will be used protect your mother’s coffee table from being scratched or damaged from the tile. Just using scissors, cut out small circles.
I cut out 4 for each tile corner. Place them to the side to use later.
Your mod podge has probably dried now. If you feel that your photo has not adhered to the tile completely, go ahead and add another layer of mod podge, and let it dry as well.
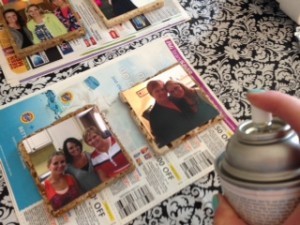
The mod podge clear acrylic sealer is now ready to be sprayed directly on the photo. Follow the instructions on the back of your sealant can depending on the type or brand you choose to purchase. Most will say to shake the can vigorously before applying. This sealant will help the photo to not be ruined from any drink, water rings, or any other liquid. With the sealant applied, you can also wipe the photos off with a damp rag to clean off any water rings as well.
First the first layer of sealant, I sprayed small spurts at a time over each photo being sure to keep a distance some to avoid spraying the sealant to heavy and making it run or clump.
I let the sealant completely dry for about 15 minutes. Once dry go ahead and spray another layer of sealant. But this time, use a sweeping motion from side to side with a constant spray. Be sure to keep a distance once again to avoid spraying too much.
Let sealant dry for another 15 minutes. Two layers of sealant should be sufficient enough. I made some for me and my husband and have not yet had any problems. They have worked perfect for gatherings and parties.
Once sealant is completely dry, flip your coasters upside down and apply a small dot of glue to each tile corner.
Apply a small felt circle that you cut out earlier to each corner. The felt will prevent the tile from scratching the table surface.
Once hot glue has hardened, stack your coasters together and tie a pretty ribbon around them with a bow on top. The coasters are now complete. The ribbon really adds that extra touch to be a homemade gift.
I loved making these coasters because it is so simple but also a great way to display and show off those photos that are probably stored in your phone or camera and just begging to be printed and displayed. I find myself guilty of keeping photos stored in my phone or computer but not actually printing. This is a great way to use those photos as a conversation piece at your next dinner or party.
I hope your mother will enjoy these photo coasters as much as I know my mom will. Happy Mother’s Day to each of you whether you are a mother now or hope to be in the future! And as always, don’t forget to enjoy the little things in life!
Also if you have not already, please join me on Facebook, Pinterest, Instagram, and Twitter. I would love to hear from you with any comments, suggestions, or ideas you may have.
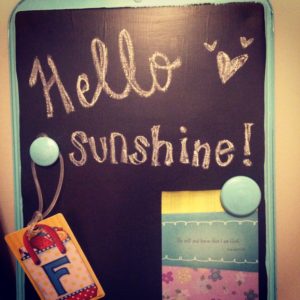
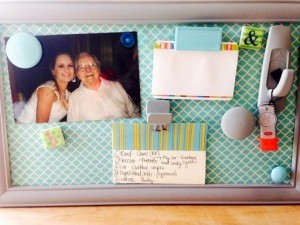
Also check out my magnetic chalkboard and magnetic frame board that would also be a great DIY present for Mother’s Day to help her keep the family’s busy schedule organized or just to display the latest school pictures.
