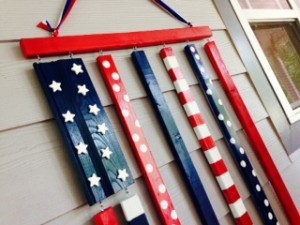
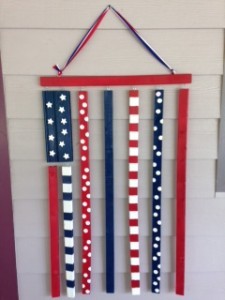
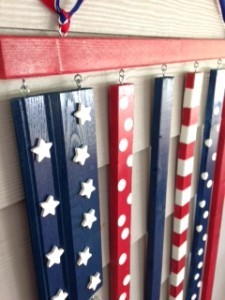
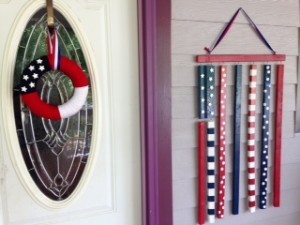
My porch feels complete now that I have this patriotic wooden flag hanging beside my front door. I found the idea from Tatertots and Jello and just had to make my own. I absolutely could not resist. But as I always say, the fun in crafts and projects is that you can admire someone else’s creation but change it some to make it your own. That is just the beauty of creativity!
There are so many different ideas and ways to create a wooden flag, but this one was like none that I had ever seen before. The polka dots and stripes add an extra flair to the traditional stars as well. Who doesn’t love some good polka dots either? I know I do.
Let’s get started now. You will not regret this project.
Supplies needed:
1”x2”x8’ piece of wood- You will need a total of 3.
Measuring tape
Miter saw or a handy husband that can cut wood easily
*I have to give a shout out to my husband here for helping me so much. He was willing to cut the wood pieces into the sections I needed. If you do the cutting yourself, just be sure to be very careful with any power tools. Thanks again honey!
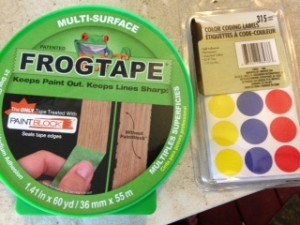
Painter’s tape
Circle/dot stickers- I found mine at the dollar store.
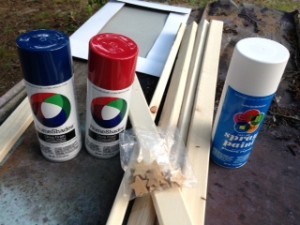
Spray paint- Red, white, and blue
Wooden stars- Mine are ½”, and I found them at Michaels. These are the same stars that I used for my Patriotic Flag Yarn Wreath.
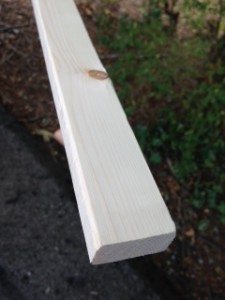
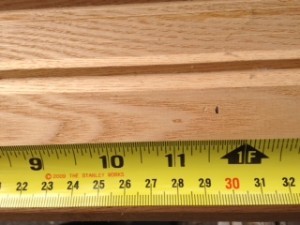
*The picture below is actually showing my wood once it has been cut. I did not want anyone to be confused.
Molding- I found a piece of decorative molding that was left in our garage from the previous homeowner that worked great.
Hot glue gun and glue sticks
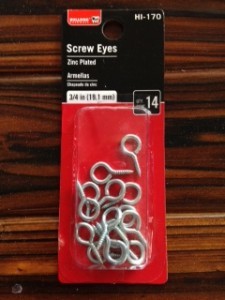
Eye hooks
Needle nose pliers
Drill
Patriotic ribbon
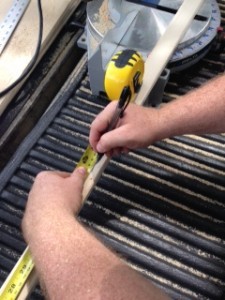
To begin with, you will of course need to divide your wood pieces into sections. Measure each wood piece into a 3’ section, another 3’ section, and then a 2’ section.
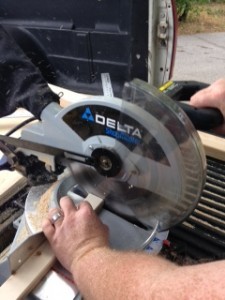
Using your miter saw, cut the wood at the correct measurements. You will have six 3’ sections and three 2’ sections. You will need all of the 2’ sections and then five 3’ sections.
Also cut your piece of molding into a 1’ section.
At this point, take a break to lay out your wood pieces and decide what colors and design you want to use.
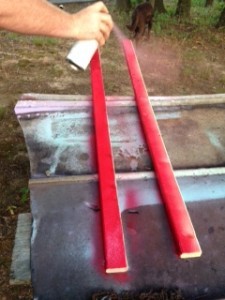
I painted one 3’ piece red and two 2’ pieces red.
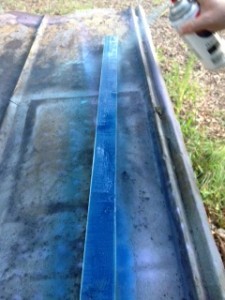
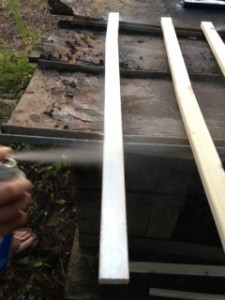
I painted one 3’ section navy blue and one 2’ section and three 3’ sections white.
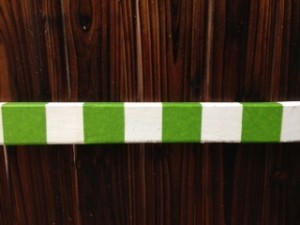
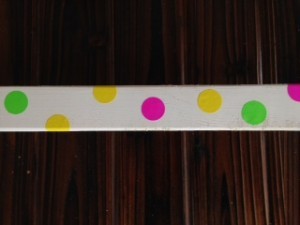
I chose to use painter’s tape and dot circles on the four white pieces to add something extra.
Once the white was completely dry, I painted over the white and stickers/tape with either red or navy blue. Once the paint was dry, I then peeled off the painter’s tape and stickers to expose the polka dots and stripes.
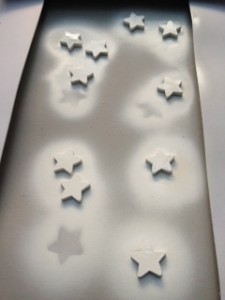
Next paint your piece of molding navy blue and your wooden stars white.
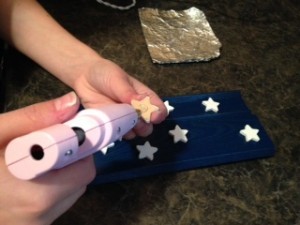
Once they are both completely dry, hot glue gun your stars onto the molding in any design you choose.
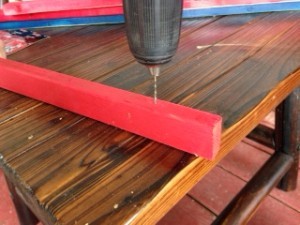
Now you are ready to drill several holes into the wood pieces which is where you will insert the eye hooks in order to attach your flag pieces together.
I laid out the wood pieces first in my design and then marked where to drill with a black ink pen. This extra step will make it much easier to drill.
First drill a hole on the top of each end of one of the red 2’ pieces which is where you will add the ribbon to hang.
On the bottom of this same red piece, you will need to drill a total of 7 holes being sure to space the holes evenly before drilling.
Drill two holes on the top of the piece of molding and two holes on the bottom of it.
Then go ahead and drill a hole in the top of the remaining wood pieces.
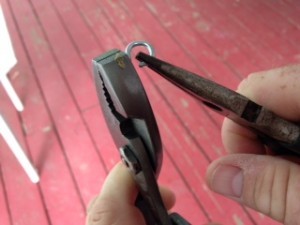
Before inserting your eye hooks into the holes, use needle nose pliers to open the hook just enough to be able to attach two of them together.
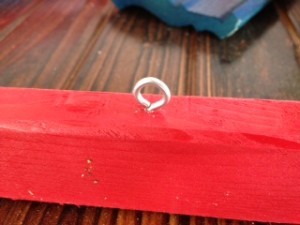
Insert the eye hooks in each hole by twisting them until firmly in place.
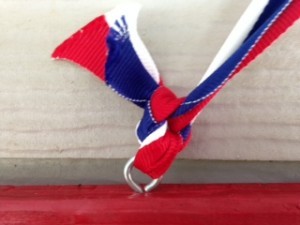
On the top 2’ red piece, thread one end of the ribbon through and tie in a tight double knot to secure in place strong enough to hang the flag.
You may need an extra set of hands at this point to hold the flag where you would like to hang it while you measure how long the ribbon needs to be.
Go ahead and cut the ribbon and thread the other end through the other eye hook and again tie in a tight double knot.
Now for the fun part of attaching all the wood pieces together to see that final product come together. Attach by hooking the eye hooks together. You may need to turn them once finished in order for your wood to hang flat and not twist. Once the hooks are in the correct position, you may want to use the needle nose pliers to tighten the hooks again to keep them together.
Last but of course not least, it is time to hang your beautiful piece of artwork. I hung mine on my front porch beside the front door. I cannot wait for our cook-out to show everyone. This is definitely also a conversation piece.
Another great thing I love about this project is that it can be used multiple times throughout the year for not only Fourth of July but also Labor Day and Memorial Day and many more.
I hope you enjoy making yours and the fun you will have while doing so. It really takes your porch to another level for this fun holiday. But as always and most importantly, enjoy the little things in life whether it’s this wooden flag or time spent with your family this holiday perhaps watching fireworks.
Also if you have not already, please join me on Facebook, Pinterest, Instagram, and Twitter. I would love to hear from you with any comments, suggestions, or ideas you may have.
