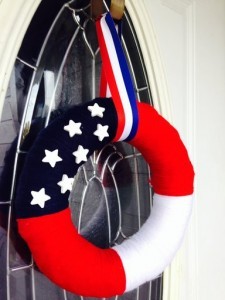
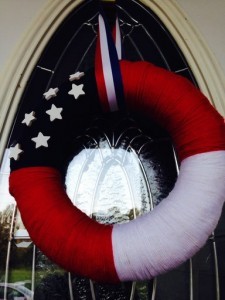
Show off your American pride this 4th of July with a patriotic flag yarn wreath. One of my favorite things about holidays and seasons of the year is being able to change my wreath on my front door for every occasion. My husband and I have an annual cook-out at our house which makes it even more fun to decorate. I will definitely post more pictures of the cook-out and different décor items later. My husband is fantastic with the smoker. I can’t get enough of the smoked BBQ ribs, chicken, and even brisket. I must be hungry talking about all this food so back to the wreath right?
This wreath is also inexpensive to make with only a few supplies. I also love being able to make it once and then reuse it every year if I want to. So let’s get started.
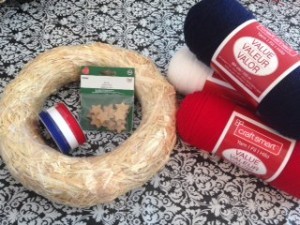
You will need:
Straw wreath with plastic wrapping still intact or Styrofoam wreath- I find that Styrofoam tends to cost much more for some strange reason.
Yarn- red, white, and navy
Wooden stars- I used ½ inch stars that I found at Michaels. You could also use white star-shaped buttons or just plain white buttons.
White spray paint
Hot glue gun and glue sticks
Patriotic ribbon
Scissors
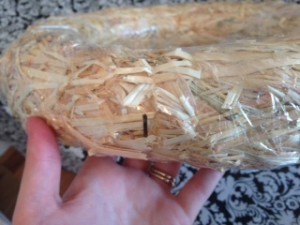
I chose to use a straw wreath because it was so much cheaper than the styrofoam. Be sure the plastic wrapping is still intact as I said before or you will not be able to wrap the yarn around and make it look clean.
After getting started wrapping the yarn, I could definitely see how the Styrofoam would have been some easier due to some bumps in the straw wreath, but it turned out still looking great. I counted it as an opportunity to put my patience to the test.
Before you start wrapping the yarn around the wreath, you may want to use a marker to mark the wreath in four quarters on the outside. This will help you to know when to stop and start the next color of yarn.
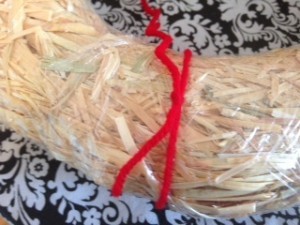
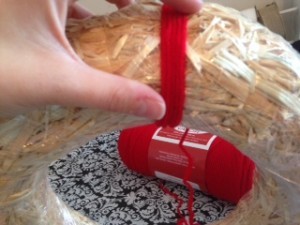
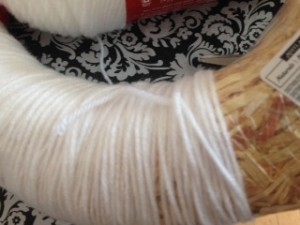
I started with red yarn at the 12 o’clock position. I wrapped it around once and then tied it in a knot on the back to keep it in place. My yarn stayed in place pretty good, but if you want to you could use hot glue gun to glue the knot in place.
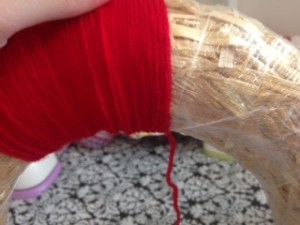
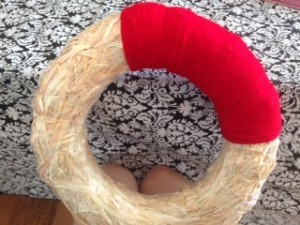
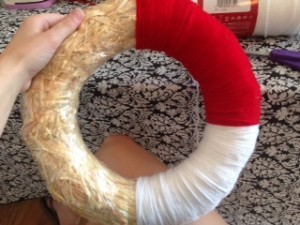
Continue wrapping your yarn around the wreath until you have ¼ of the wreath covered in red yarn. And by continue wrapping, I do mean wrap and wrap and wrap until you think you cannot wrap anymore. Lol!
Be patient at this point as it does take some time to cover the wreath. I sat down and watched some of my favorite shows on the DVR and got caught up on those while making this.
Also do not get too frustrated while wrapping the yarn especially if you are a perfectionist like myself. Once you have wrapped the yarn several times, you will start to get the hang of things. The yarn may want to move some making it seem as if the straw wreath is not being covered completely and will show through the yarn some. Just keep going. I promise it will cover completely the more you keep going. I found myself also going back and double wrapping some sections where needed and that also helped. Once your wreath is completely finished, you can also use the hot glue gun to glue certain spots of yarn in place to keep it from moving and showing the yarn.
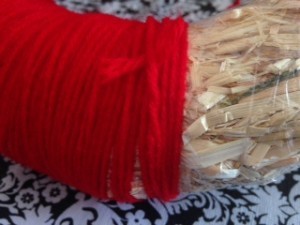
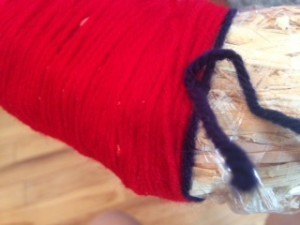
Once ¼ of the wreath is covered in red yarn, cut the yarn but leave enough to tie a knot on the back to keep it from unraveling. I double knotted mine and also wrapped it around another piece of yarn on the back to secure it in place.
Now start by securing your white yarn in place at the 3 o’clock position just as you did with the red yarn.
Wrap the white yarn another ¼ of the wreath stopping at the 6 o’clock position and securing the yarn with a knot.
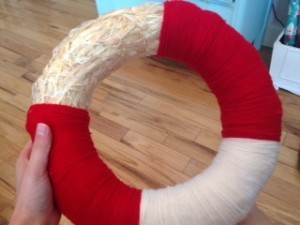
Do the same thing again with the red yarn until you have finished wrapping up to the 9 o’clock position.
Next you will use your navy yarn to wrap the remaining portion of the wreath. I chose navy because I just liked the color but of course a bright blue or royal blue would also work as well.
Once the wreath is completely covered and you have tied and secured the navy yarn, you can now check your wreath to see if there are any places that need to be tweaked or glued in place.
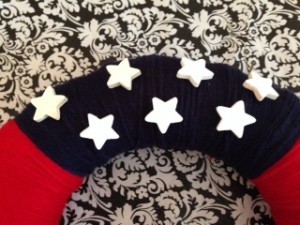
There is nothing like an American flag with those white shining stars. Spray paint your wooden stars. I didn’t pick any particular number but just laid some out on my wreath before painting in order to figure out how many I would need. (Skip this step if you are using white buttons.)
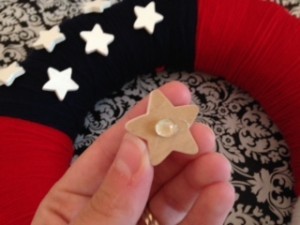
Once your stars are dried completely, lay them out on your wreath until you have the perfect layout you like. Then glue them down using your hot glue gun. Be sure to not put too much glue on the star or the glue will run out the sides of the star when you push it down and will show.
The last step that really adds that perfect little touch is a patriotic ribbon to hang your wreath with. You could just directly sit your wreath on the wreath hanger, but because the wreath is smaller than my normal size I wanted it to hang a little lower on my door. Plus the ribbon just tops it off.
I chose a red, white, and blue striped ribbon. Hold your ribbon around your wreath and then hold up against the door and wreath hanger to measure how long you will want your ribbon to be. If you want to tie a bow at the top of the ribbon, then of course be sure to leave extra ribbon to allow room to tie it. I chose to leave it simple because I did not want anything to take away from the stars and the actual wreath.
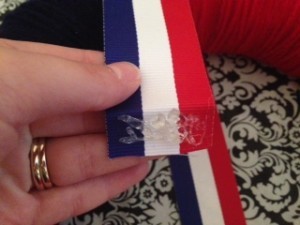
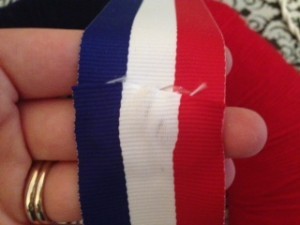
Put some glue on the end of one ribbon and then lay the other end of the ribbon on top of it to glue it together in place.
Be sure that your ribbon is looped around your wreath before gluing the ends together. I almost forgot to do this very important step which would not help me at all. At least my blonde roots did not kick in that time.
Once your glue has dried, the wait is finally over. You can now hang your wreath and enjoy the beautiful patriotic colors this 4th of July.
Enjoy your holiday. Be sure to eat some smoked ribs, indulge in some homemade peach ice cream, and watch some beautiful fireworks. But most importantly, don’t forget to enjoy the little things in life!
Also if you have not already, please join me on Facebook, Pinterest, Instagram, and Twitter. I would love to hear from you with any comments, suggestions, or ideas you may have.
