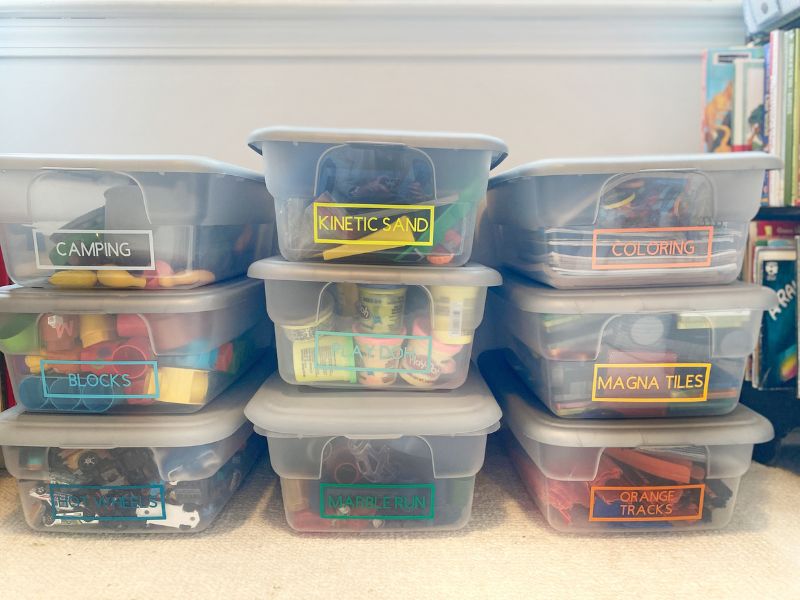
Toy organization made easy with Cricut and Smart Vinyl using this simple tutorial and label design for any busy mom of littles.
Thank you to Cricut for sponsoring this post. All opinions are mine alone. I pinky promise! Some of the links below are “affiliate links.” This means if you click a link and purchase an item, I will receive a small affiliate commission that helps me to be able to continue with this blog and hopefully continue to inspire you as well.
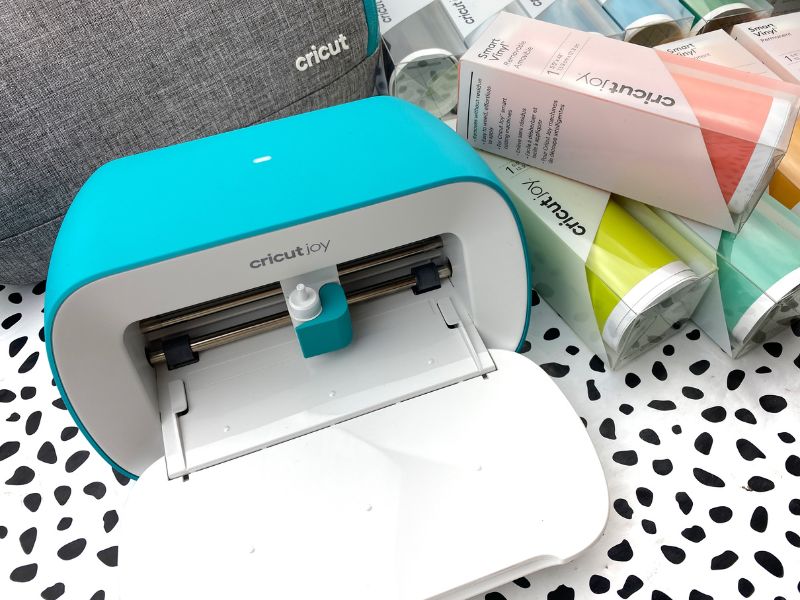
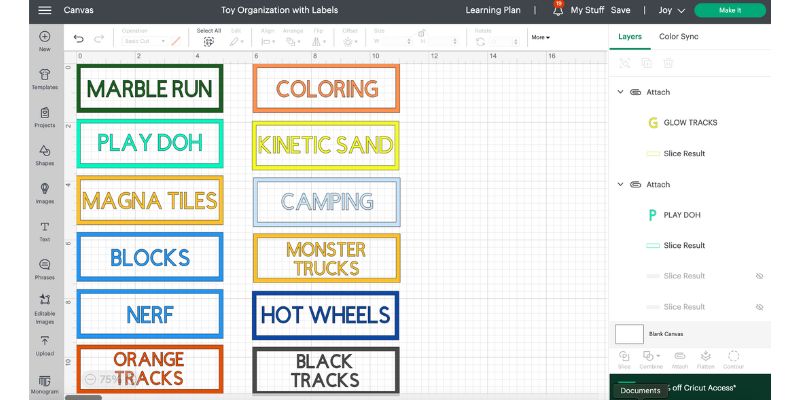
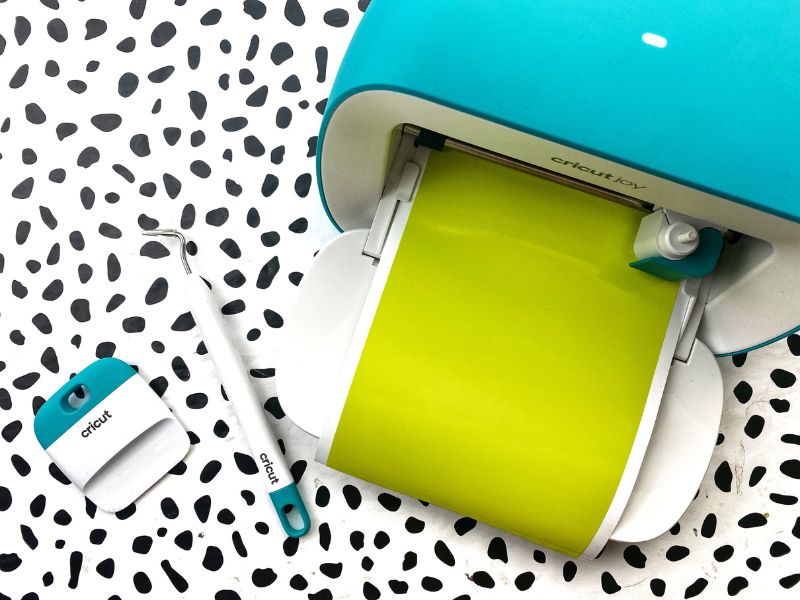
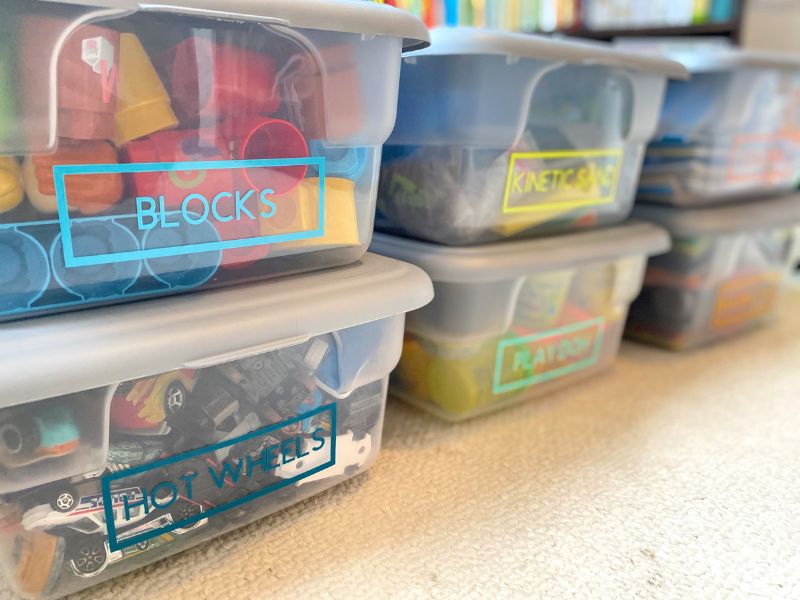
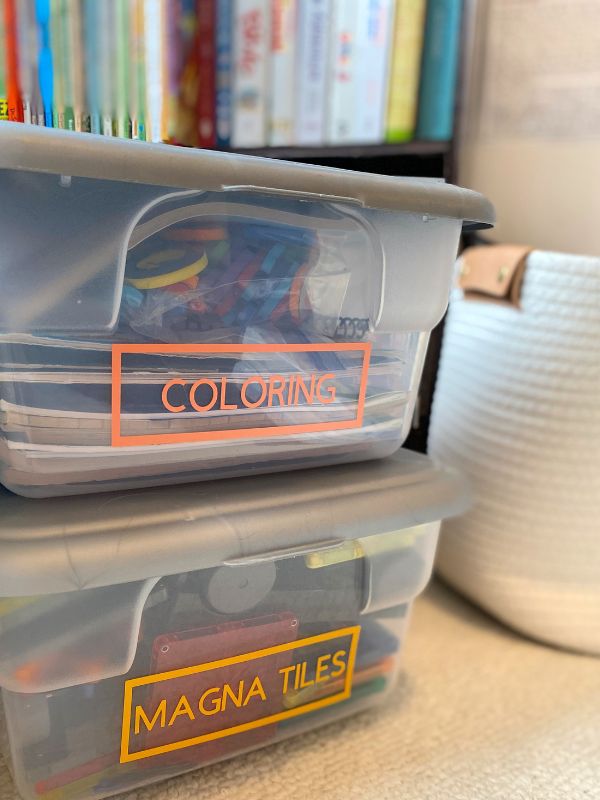
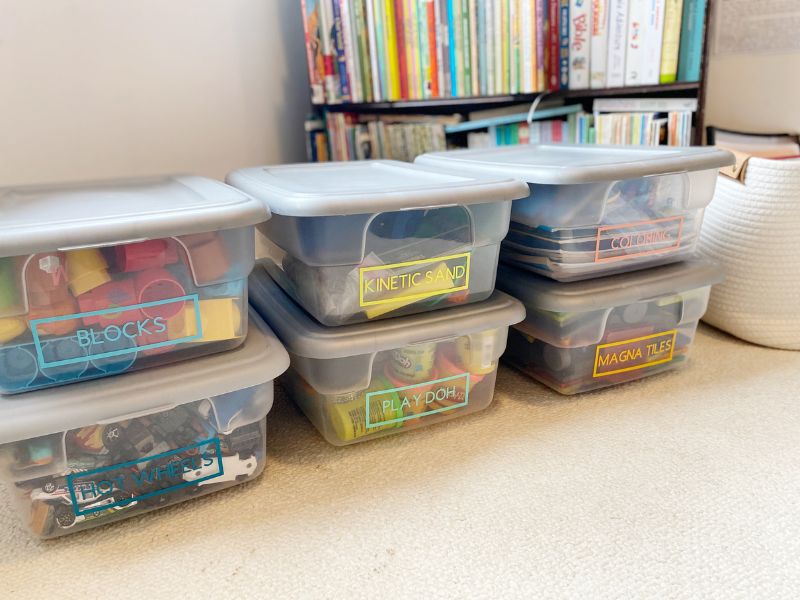
Every parent knows that after Christmas toys seem to be lying around the entire house. Our children are so blessed, but along with that comes some organizing for us parents. That is where my Cricut Joy comes in and its amazing Smart Vinyl. I made lots of colorful labels in Cricut Design Space for each plastic tub and its category of toys.
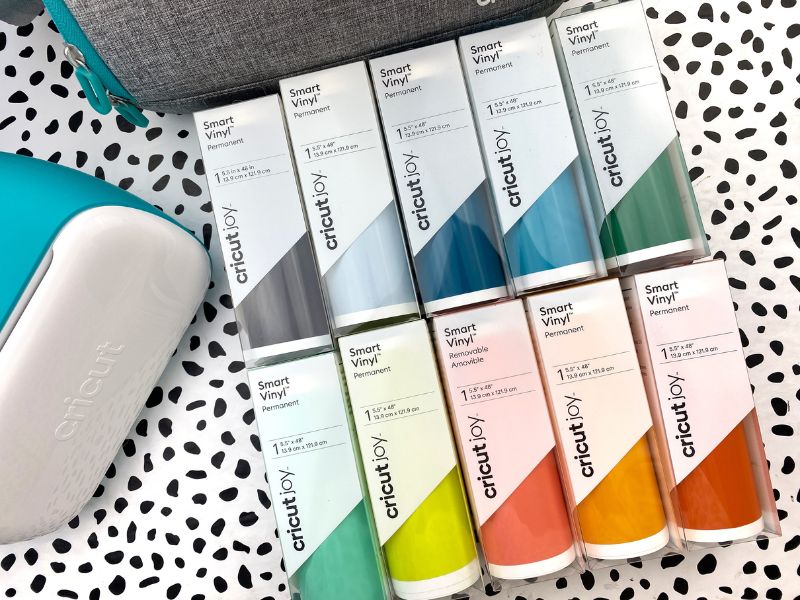
You may be wondering, “But why Cricut Smart Vinyl?” Below are just a few of my favorite features and the reason I chose it specifically. (I’ve tried other brands of vinyl, and let’s just say I won’t make that mistake again.)
- No cutting mat necessary with Smart Vinyl
- Smart Vinyl is designed for a continuous or extra-long cut up to 12 ft.
- Cricut material is made to work flawlessly with their Cricut machines.
- Cricut machines and material are pre-calibrated to be compatible.
- Cricut has a huge variety of materials for any project and always adding new ones.
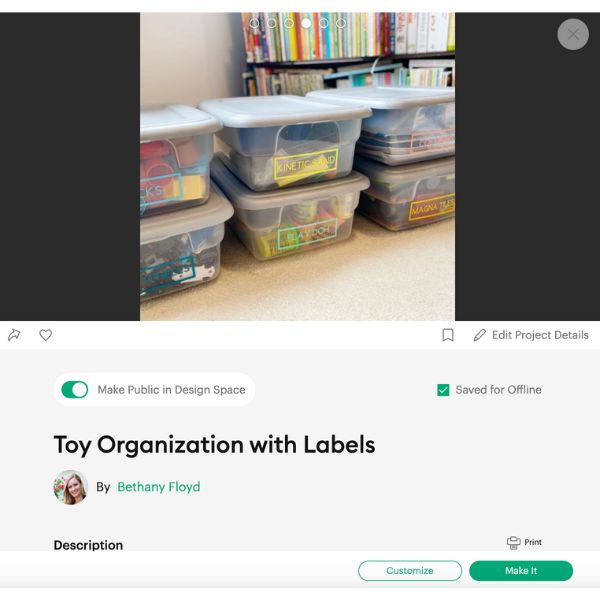
Let’s get organized! Click HERE for the design I used and customize your own vinyl labels in Cricut Design Space.
Once inside Design Space, you can double click on each word and customize it for your child’s toys or any other organizational project you may be working on.
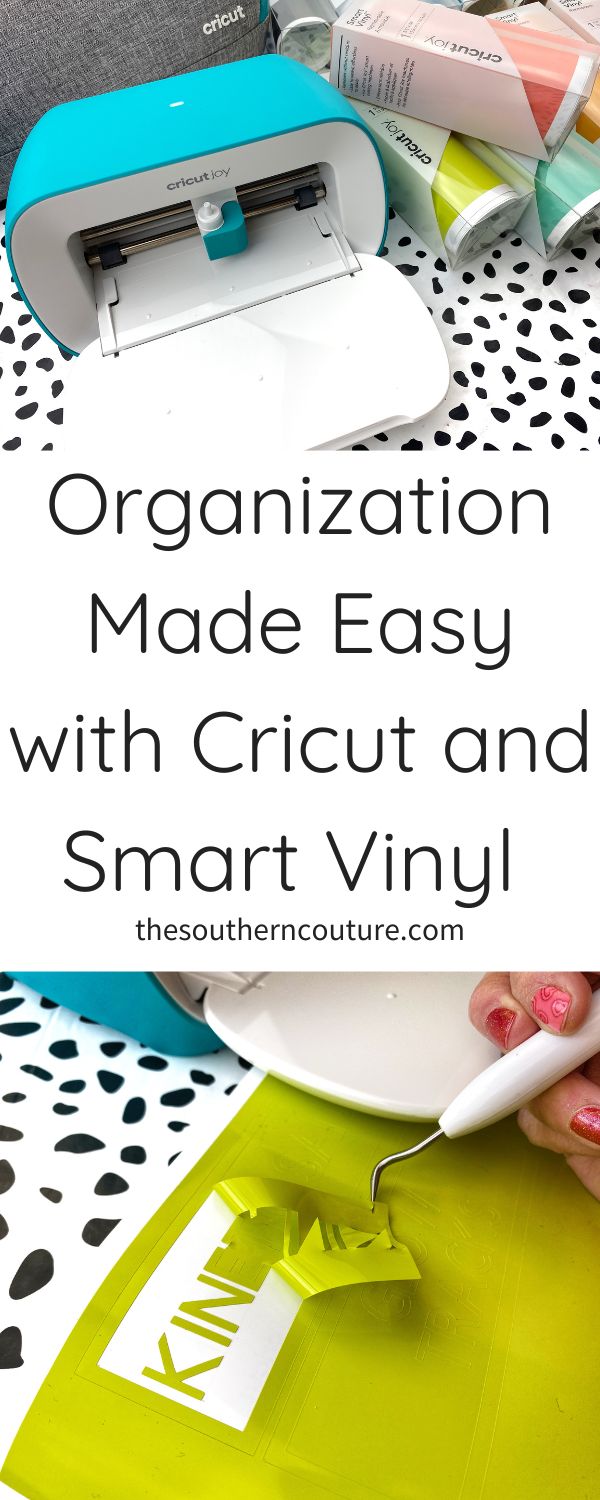
My absolute favorite part of this project is the Smart Vinyl. I can get crafting done easily and quickly in between running around after my little ones. I don’t even have to have a cutting mat to load the vinyl. The compact size is so easy to move around the house for 0n-the-go.
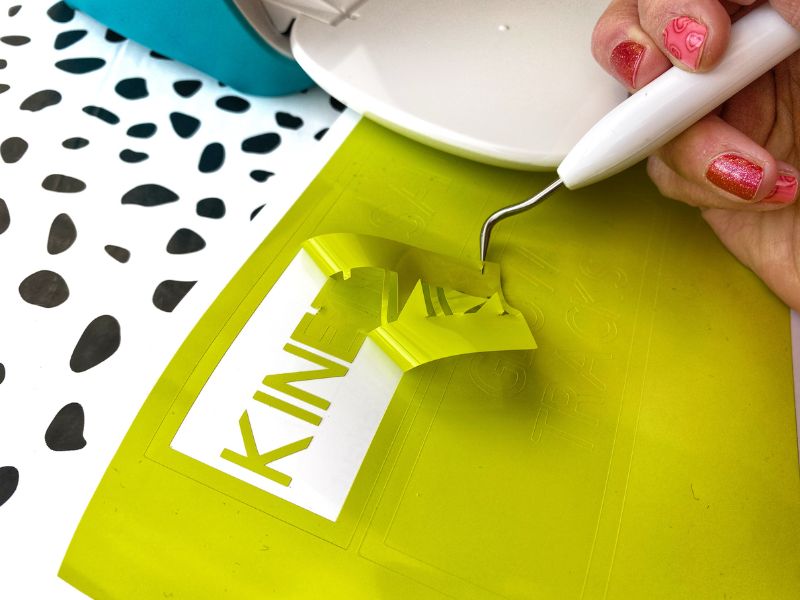
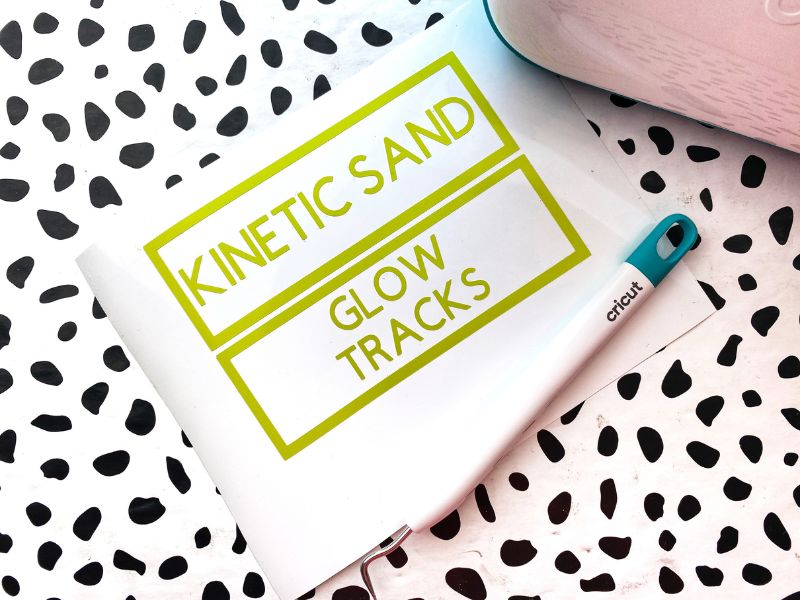
Once the designs are cut out, I use the Cricut weeding tool (which is also a favorite of mine) to remove the negative vinyl. The cuts are so precise as well that the vinyl peels away so easily.
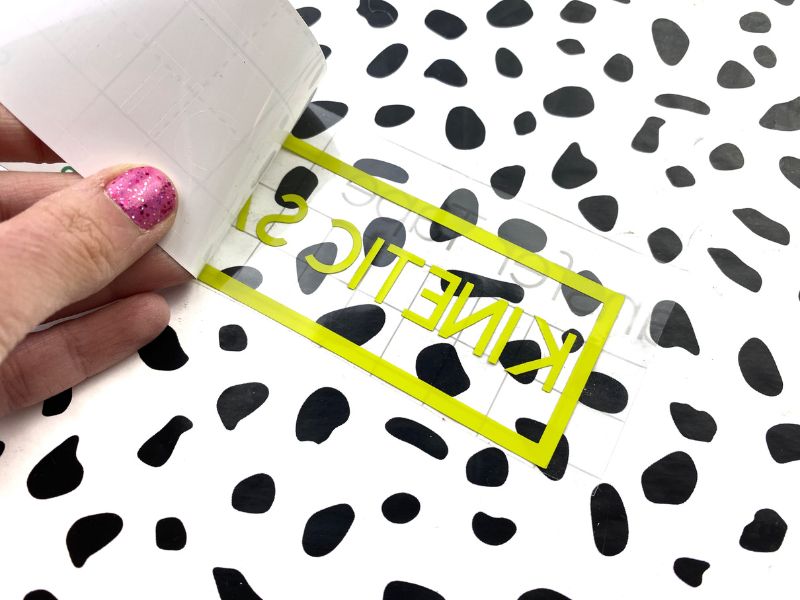
Place the Cricut transfer tape on top of the design and then remove the Smart Vinyl backing. I use the scraper tool from Cricut to be sure the transfer tape is adhered to the smart vinyl which just makes it easier when removing the backing.
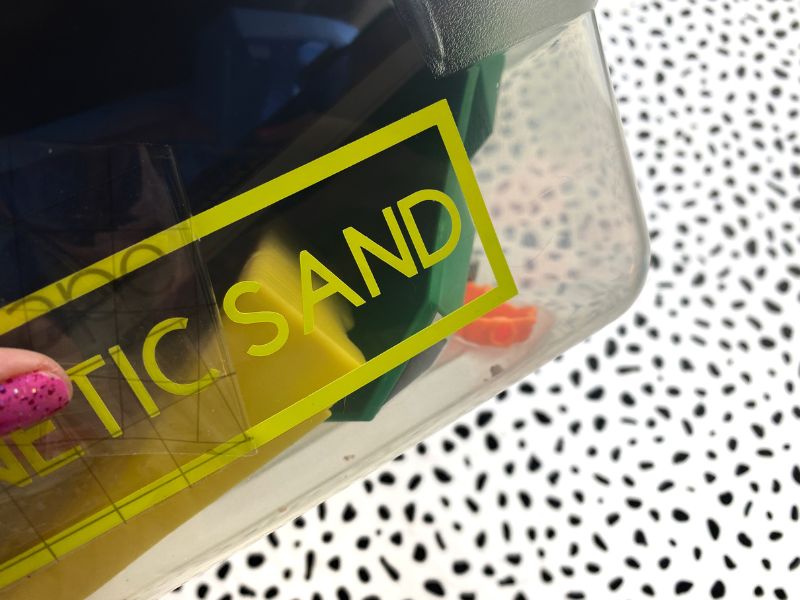
Now just apply the vinyl cut to your plastic tub. The scraper tool also helps when adhering the cut. Peeling the transfer tape off slowly makes a huge difference.
I love having these clear, plastic tubs with lids to keep all my kiddos toys organized. This helps tremendously for those toys that have lots of parts too.
If you enjoy transitioning toys in small groups while packing up others and then trading them out again, then you will love these tubs and organizational system. It makes it so much easier and keeps your kids from getting bored with seeing the same toys all the time.
Don’t forget to check out the Cricut Joy cutting machine which is perfect for busy moms and also the Smart Vinyl if you haven’t already. Cricut also has smart vinyl for the Cricut Maker 3 and Cricut Explore 3. Let me know in the comments below if you have any good organization tips for busy moms. God bless!
