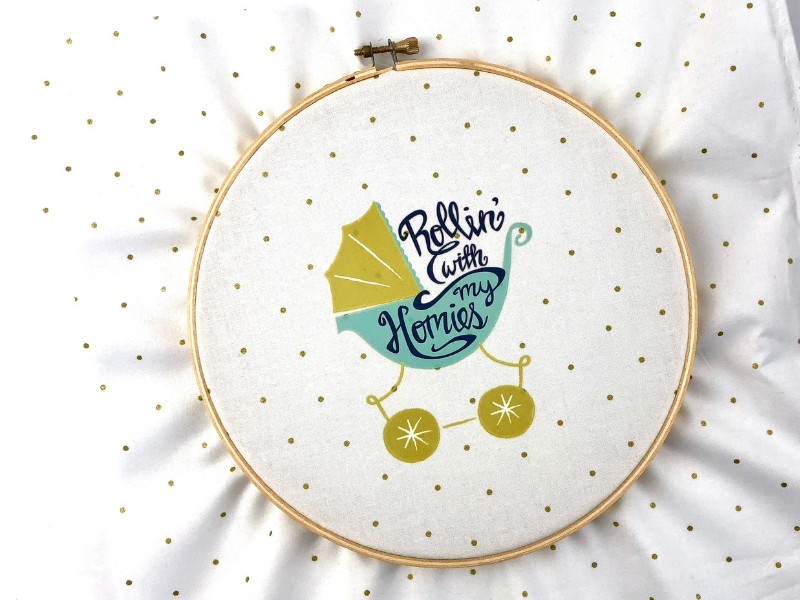
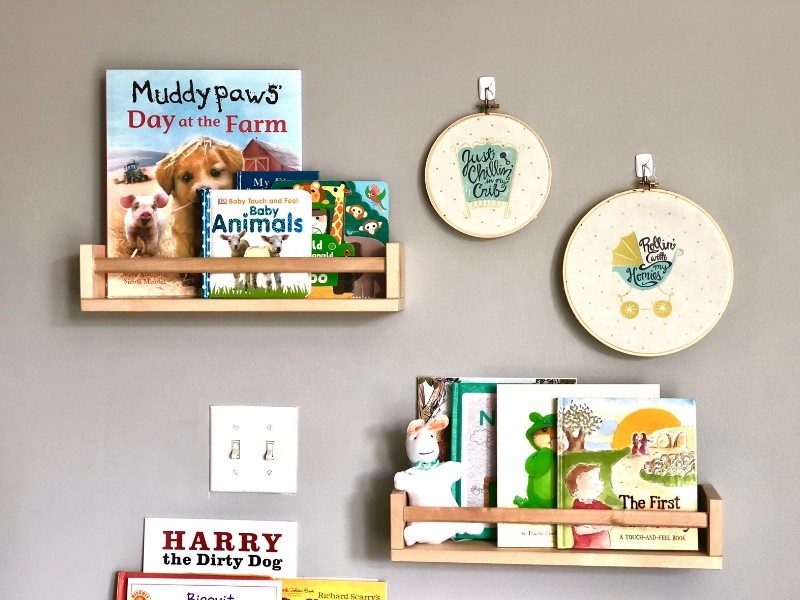
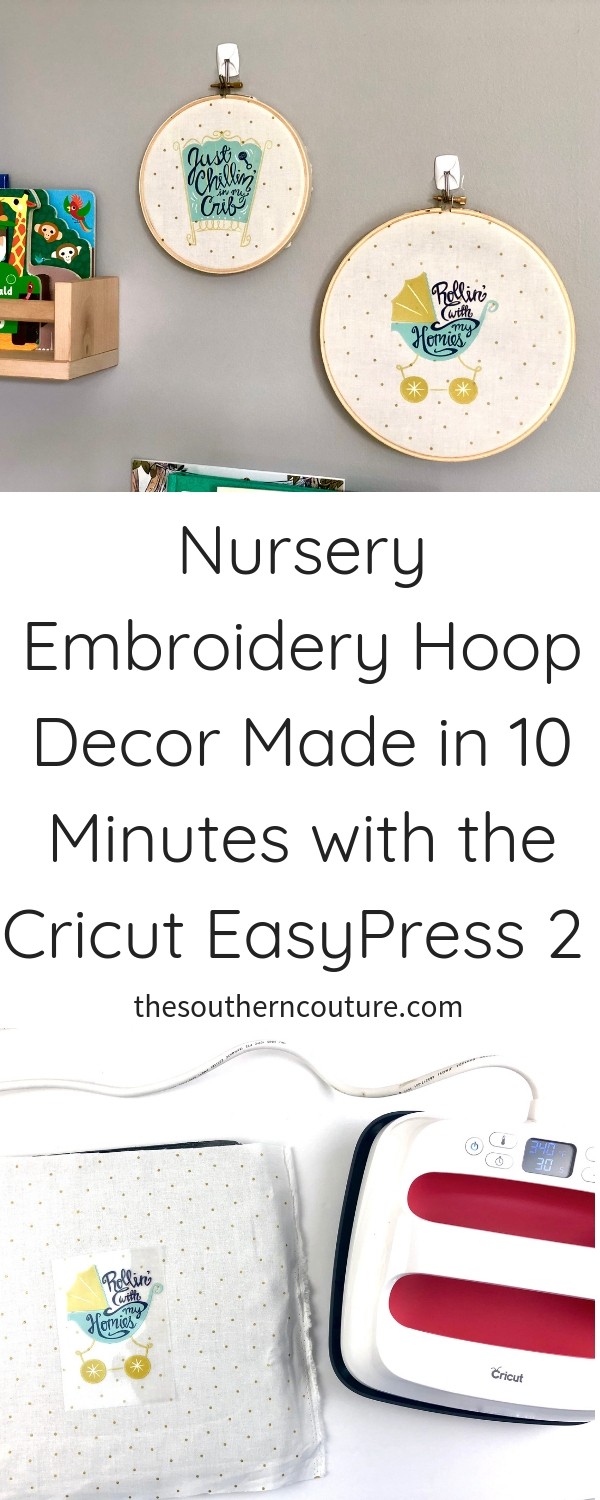
Decorating for a baby’s room is one of the most exciting times and can be so fun with this tutorial for a nursery embroidery hoop decor made in 10 Minutes with the Cricut EasyPress 2.
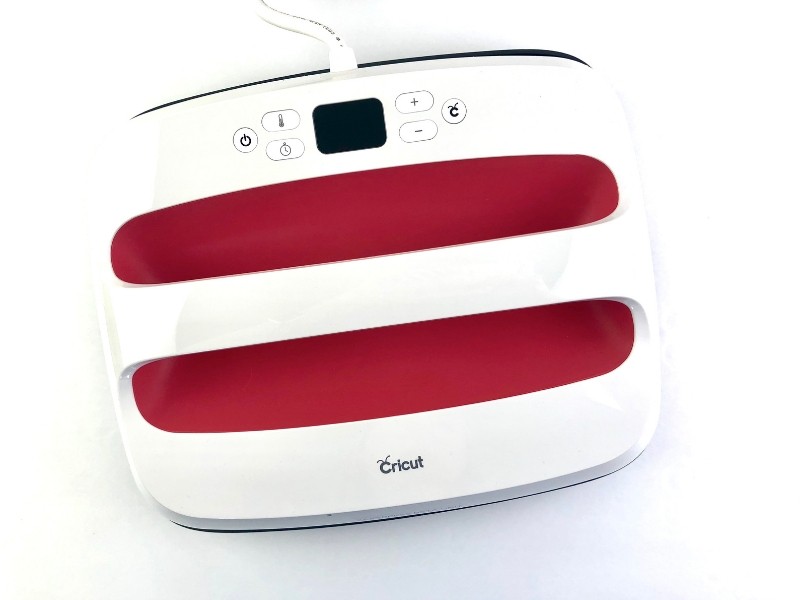
Decorating for my son’s room was and continues to be one of the most rewarding and gratifying projects. Everything baby is just so adorable and so much fun to decorate with. Because I love all things DIY, I knew I would want to make some decorations for his room using my Cricut Maker. Then all of a sudden, Cricut took my whole crafting world to another level (which I didn’t think was possible) when they introduced the EasyPress 2. And how adorable is that raspberry color too?
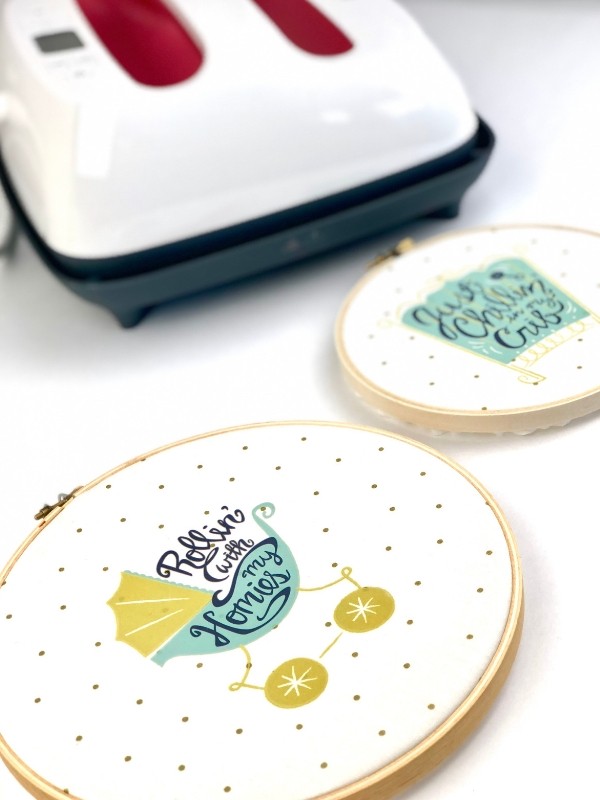
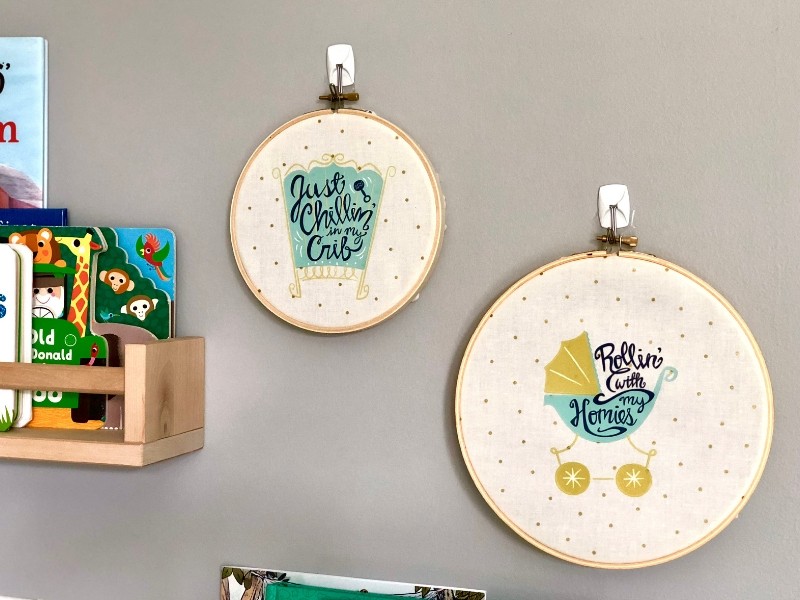
I made this embroidery hoop decor in less than 10 minutes thanks to the faster heat up time of the EasyPress 2 and Cricut’s Iron-On Designs. They have lots and lots of designs ready for you to just apply to anything you want. Several are also baby themed and perfect for a nursery. You have no excuse for not crafting now. 😉
Using Cricut’s everyday iron-on and other various iron-on materials is a favorite go-to of mine. I knew I just had to use mine for my son’s outfits and even his nursery decor. No more using an iron and lots of elbow grease. So what exactly is the EasyPress 2? It has a ceramic-coated heat plate that gives an even, dry heat for applying iron-on materials. The results are flawless and stunning.
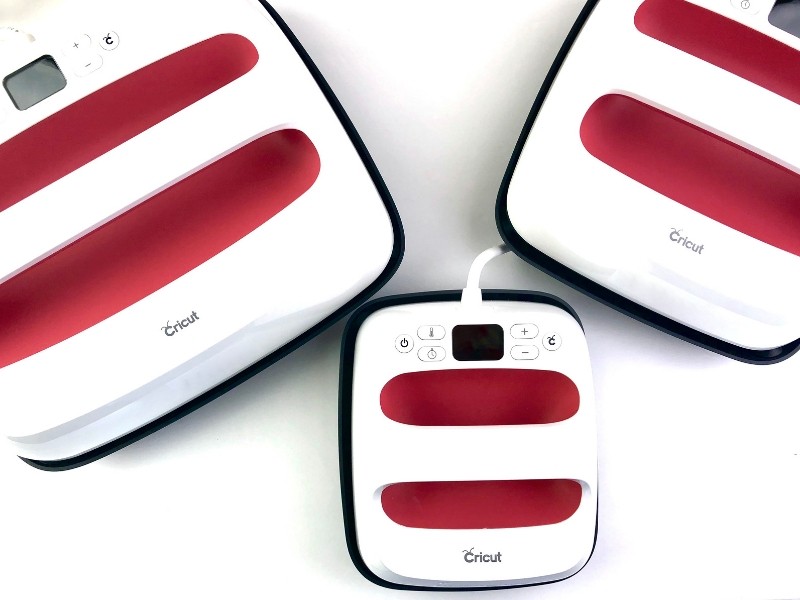
They now have 3 unique sizes in 6×7, 9×9, and 12×10 depending on the size of your project. How fun is that?! They may have just thought of everything seriously. The 6×7 is perfect for making those customized baby onesies too. The EasyPress 2 is so easy and simple to learn how to use so let’s get crafting for that little one in your life too.
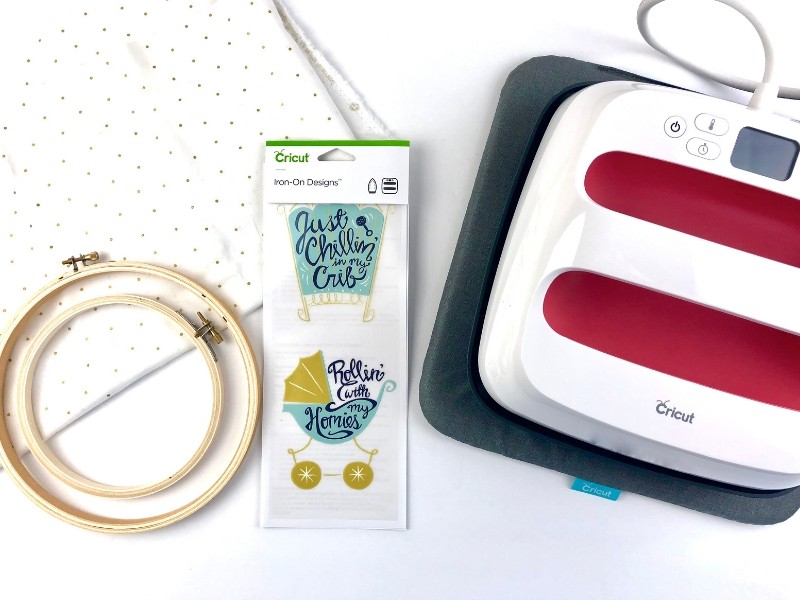
Craft Supplies:
- Cricut EasyPress 2; 6×7, 9×9, or 12×10
- Cricut Iron-on Designs
- Cricut EasyPress Mat
- Embroidery hoops
- Fabric
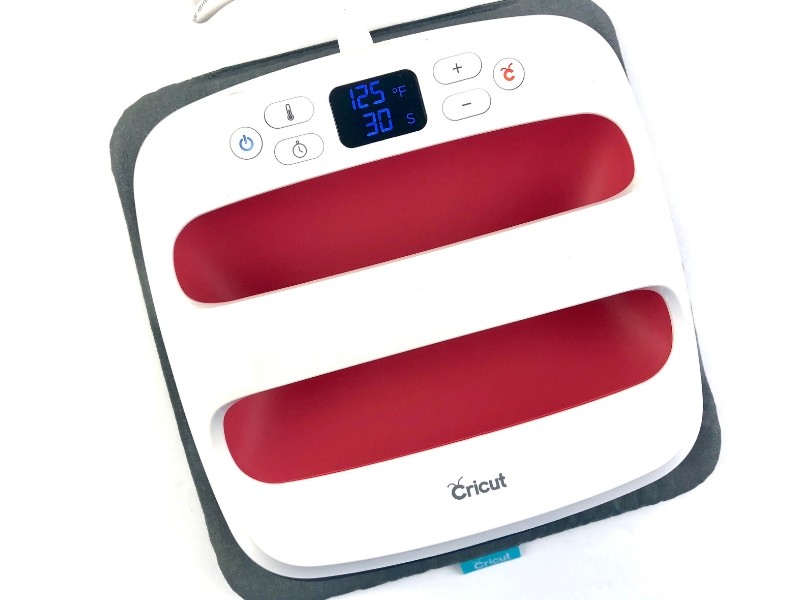
Turn on your EasyPress 2 and let it begin to heat up. It now has an even faster heat up time with temperatures up to 400 degrees F for cotton fabric. Set the temperature for the iron-on designs to 340 degrees F. (You can find more heat setting recommendations Cricut’s website depending on the material you are using.)
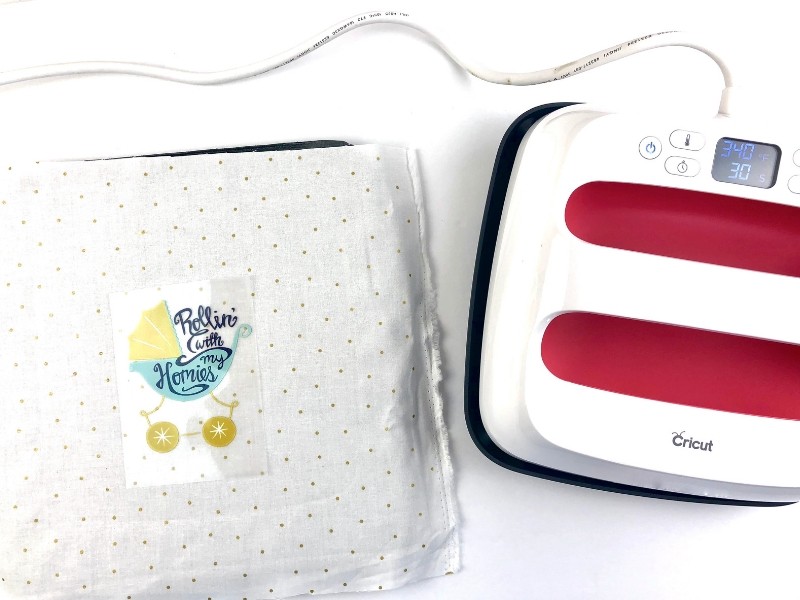
Place the material on top of the EasyPress mat and the preheat your fabric for 5 seconds by placing the EasyPress 2 directly on the material.
Then place the EasyPress 2 back on its safety base while you position the design. I absolutely love this base because I don’t have to worry about my workspace when I’m not using it.
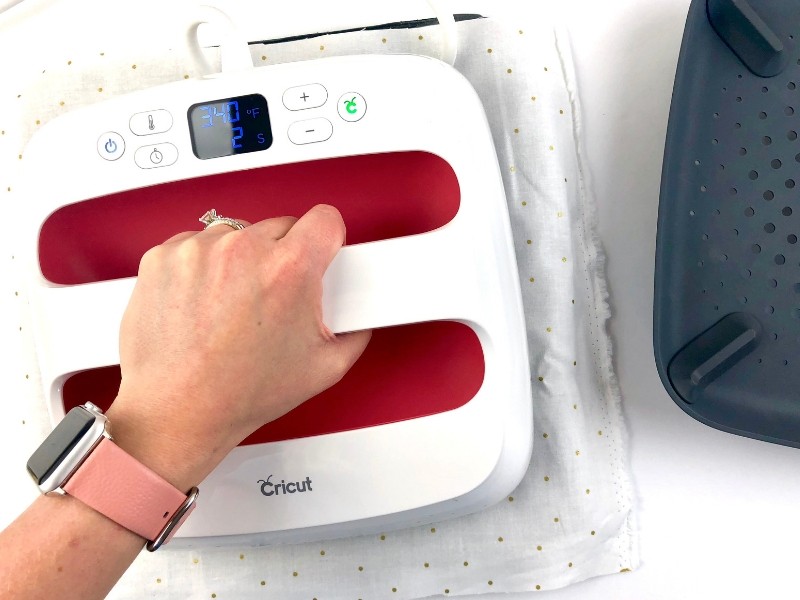
Position the design on your fabric and then position the EasyPress 2 directly on the lining with moderate pressure. Press the Cricut “C” button to start the timer for 30 seconds.
Apply heat to the back of the fabric for about 15 seconds. Allow the liner to cool and then remove.
Now that your design is applied in less than a minute, you just need to position it within the embroidery hoop, tighten the hoop, and then trim the excess fabric.
And that’s all there is to it. I’m absolutely in love with my little boy’s and can’t wait to make even more very soon. What would you like to make with the EasyPress 2?
This is a sponsored conversation written by me on behalf of Cricut. The opinions and text are all mine.
ENROLL NOW IN MY 5 DAY BIBLE JOURNALING ECOURSE FOR FREE!

Get exclusive tips and tricks with my 5 Day eCourse available exclusively to subscribers!
