Check out the new Cricut Maker 3 details and crafts to get started with your cutting machine without feeling intimidated.
Thank you to Cricut for sponsoring this post. All opinions are mine alone. I pinky promise! Some of the links below are “affiliate links.” This means if you click a link and purchase an item, I will receive a small affiliate commission that helps me to be able to continue with this blog and hopefully continue to inspire you as well.
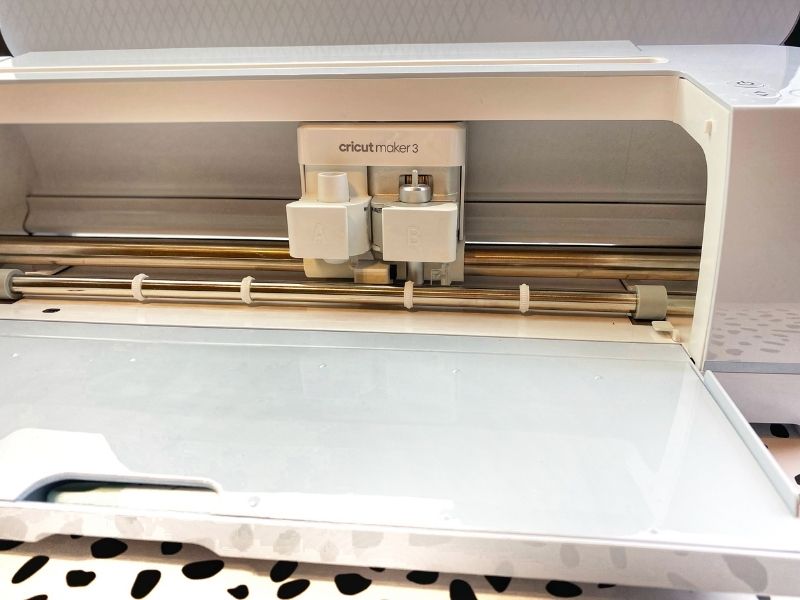
Your whole crafting game has just been taken to a whole other level with the new Cricut Maker 3. Plus I can’t wait to share some crafts to get started and shake off any intimidation you may have about a new cutting machine. You can also grab your Cricut Maker 3 HERE!
So what makes the Cricut Maker 3 different from other machines?
- 2x the cutting speed than the previous model
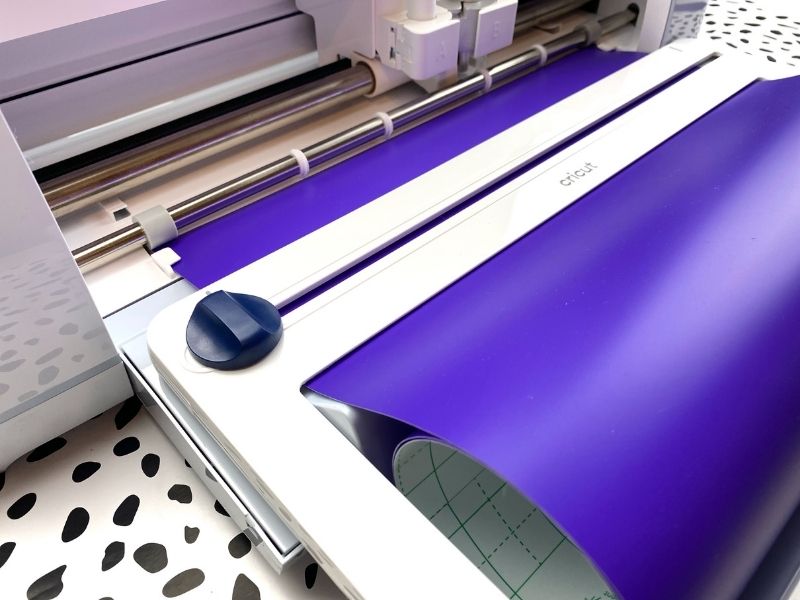
- Compatible with smart materials for a single cut up to 12 ft.
- Compatible with Cricut Roll Holder to support rolls of smart material up to 75 ft.
And this doesn’t even include all its amazing features that still remain:
- Cuts 300+ materials including fabric, leather, and more
- Compatible with 13 tools
- 10x the cutting force
- Docking slot with USB port for charging devices & built-in storage
- And more…
Now check out the video below to see the Cricut Maker 3 up close in all its beauty. I also share some recent craft projects I made using mine too.
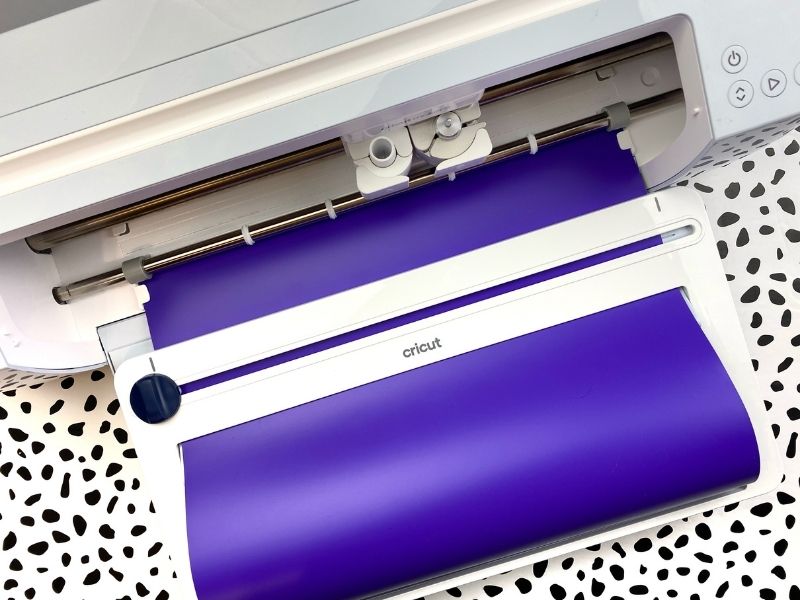
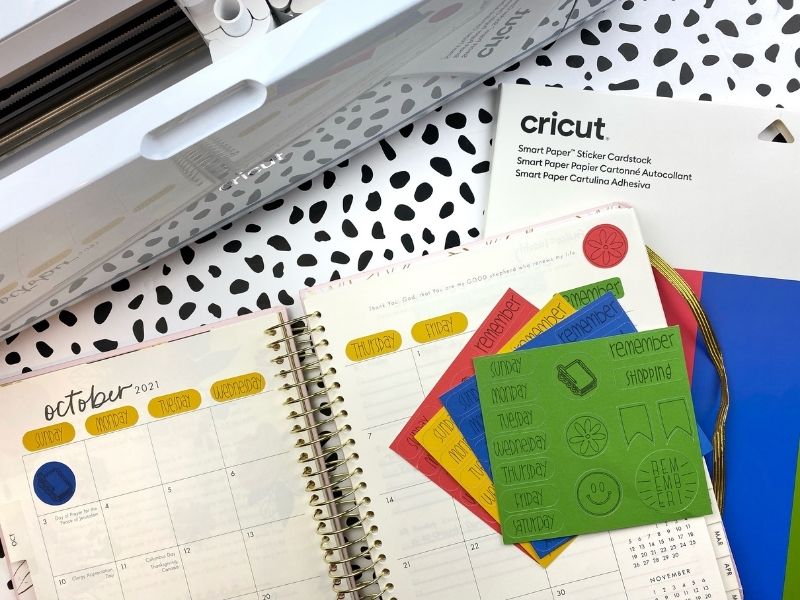
One of the neatest features of the new Cricut Maker 3 is the Smart Materials. You no longer need a cutting mat! Just load into the machine and let the cutting begin. I used the Smart Paper Sticker Cardstock to make my own planner stickers. I can’t wait to make some for my Bible during Bible studies.
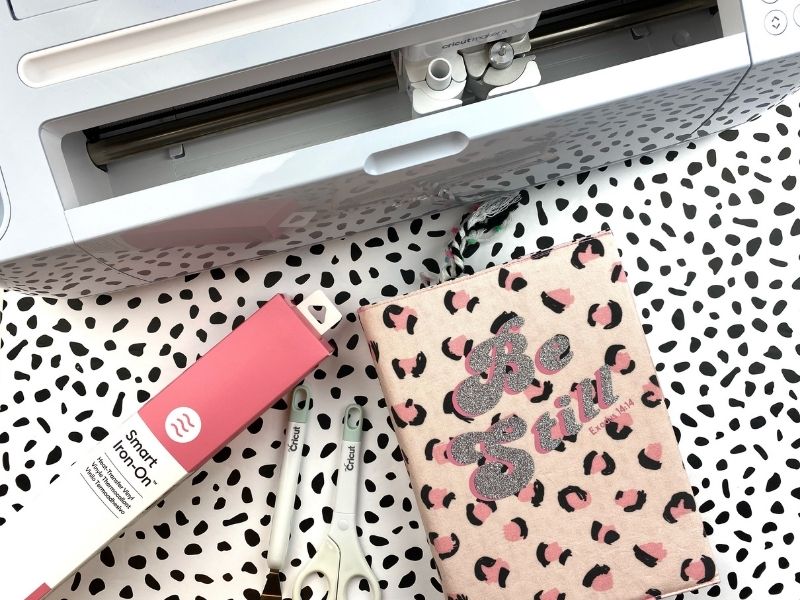
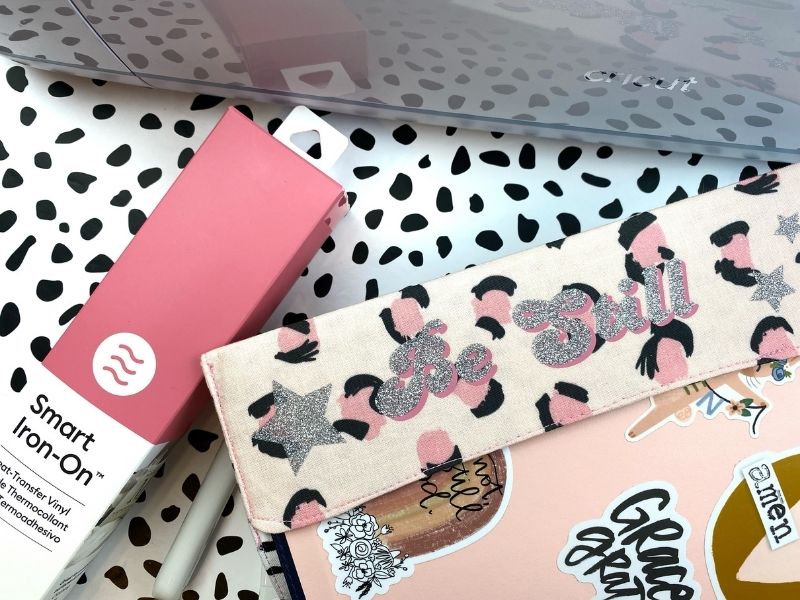
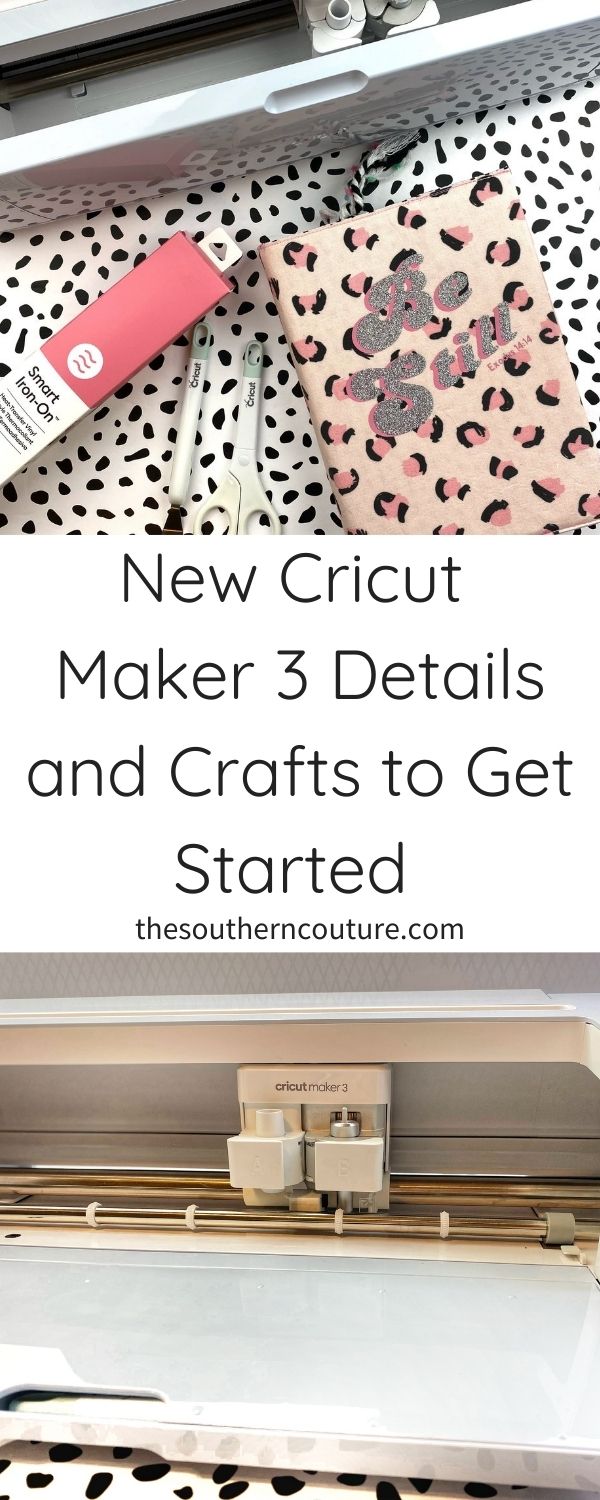
Now y’all know how much I love my One Step Closer Bible from DaySpring. Earlier this year I got a custom made cover for it from NenaPazLuv. I decided to customize it with a scripture that has been special to me this year as “Still” is my word for this year. I used Smart Iron-On and Glitter Iron-on.
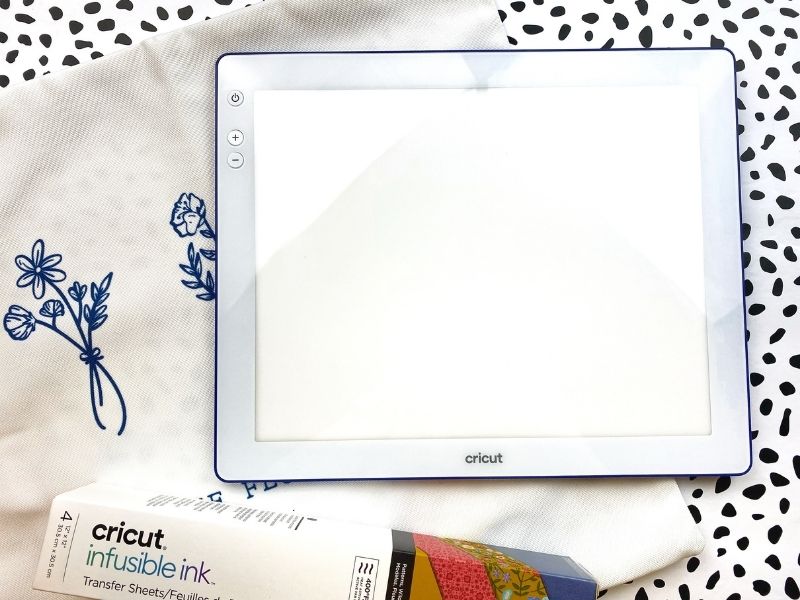
What makes it even easier is that with some of the more intricate cuts especially for the tiny cuts of the scripture reference, you can use the BrightPad Go to weed the vinyl. (Check out more details about the BrightPad Go HERE.)
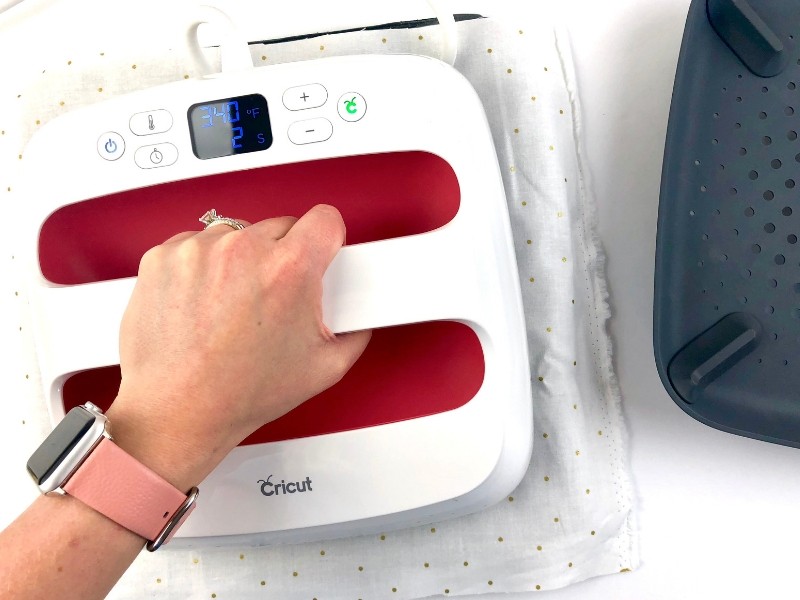
Then I just applied it to the cover and inside cover using the EasyPress 2. (Check out more details about the EasyPress 2 HERE.)
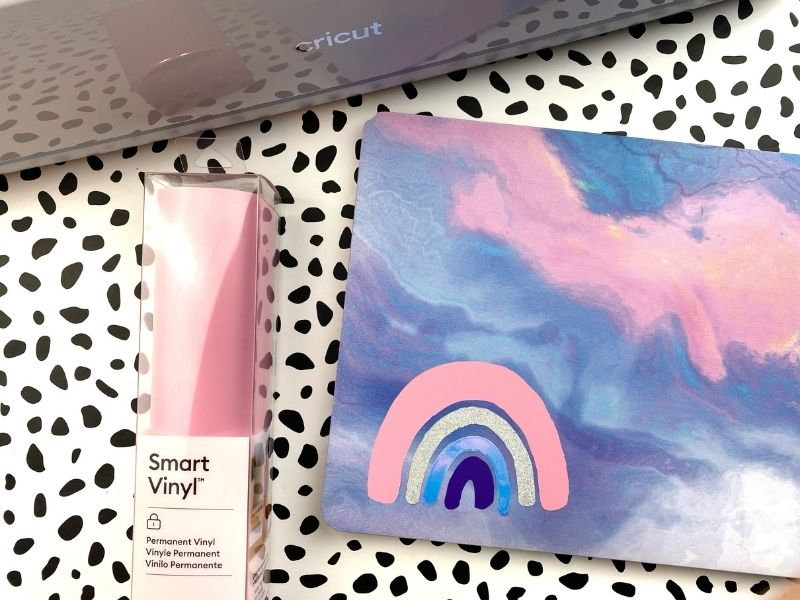
But no worries if you think all this sounds more complicated, you can still use the Cricut Maker 3 for more simple projects like using vinyl to create stickers to personalize your laptop, water bottle, journals, and more.
I absolutely love the Cricut Maker 3, and I knew y’all would too. I couldn’t wait to share. Please let me know if you have any questions in the comments below. I would also love to hear what project you would make first with your Maker 3. God bless!
ENROLL NOW IN MY 5 DAY BIBLE JOURNALING ECOURSE FOR FREE!

Get exclusive tips and tricks with my 5 Day eCourse available exclusively to subscribers!
