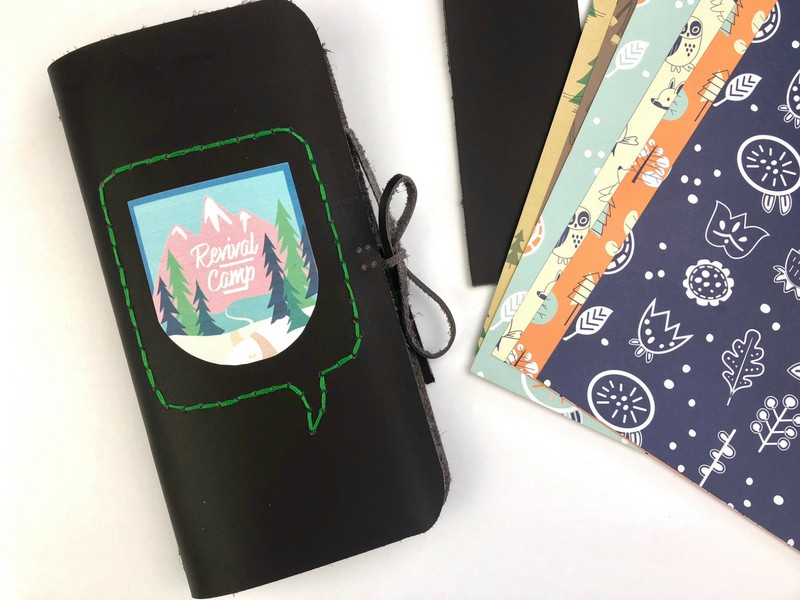
I love having small journals to use for my devotionals and now you can make your own with this tutorial to make a leather travelers notebook with the Cricut Maker.
Some of the links below are “affiliate links.” This means if you click a link and purchase an item, I will receive a small affiliate commission that helps me to be able to continue with this blog and hopefully continue to inspire you as well.
It’s no secret that every month when I start a new devotional that I love to have a place to write notes and ideas so that I can look back at them later and reference them. When I found a way to not only personalize a journal but also create one myself, I was hooked. I am currently working through the Revival Camp devotional series and couldn’t be more excited to share this little creation with all of you. No matter what you choose to use the travelers notebook for, you are absolutely going to love it.
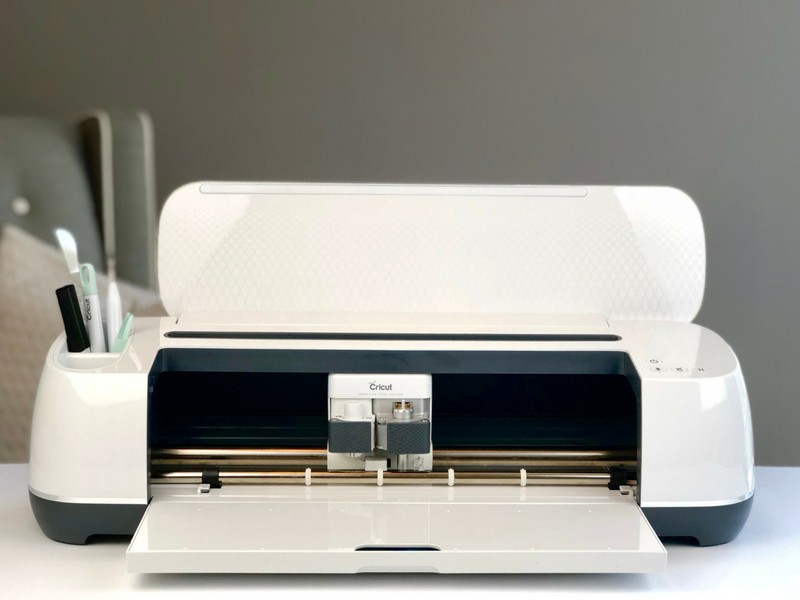
I recently shared with y’all my love for the Cricut Maker and even shared 10 Things I Love about the Cricut Maker. In that post, I gave a little sneak peek of this travelers notebook. I have been so excited and anxious to finally show you how you can make one too, especially if you are joining Revival Camp. You can actually cut genuine leather at home in any design you want using the Maker. This is a total game changer for someone like myself that enjoys Bible journaling and papercrafting in general.
Below are some screenshots of Cricut Design Space to help guide you through the process, but I thought it would be fun to also share a video showing you what I did to hopefully make it even easier. Grab yourself a sweet treat and enjoy. Then wash those sticky fingers and start creating.
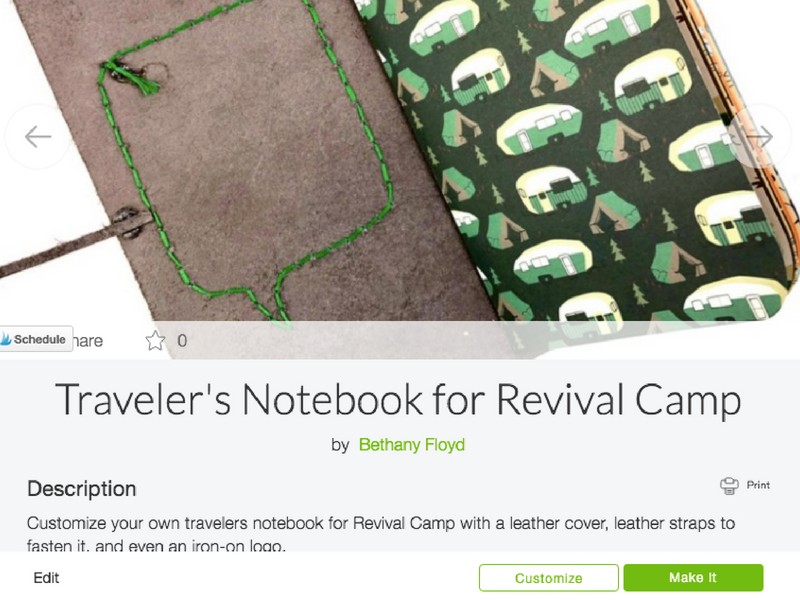
To get started, all you need to do is click MY SAVED PROJECT HERE that will take you through the whole process. You can click “Make It” to have your Maker start cutting right away or “Customize” if you would like to change any of the dimensions or add any other design elements.
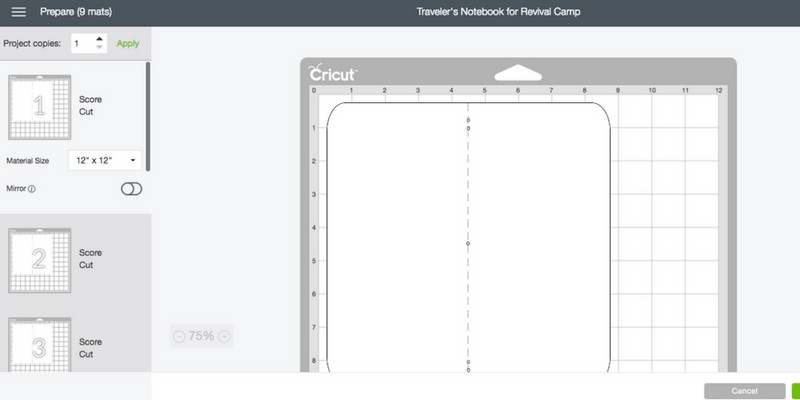
Once you are ready to make your project, Design Space will walk you through the entire process of setting up your mats and even checking for the correct blade.
Below is a process video showing you the specifics of using the Cricut Maker and how the whole travelers notebook came together.
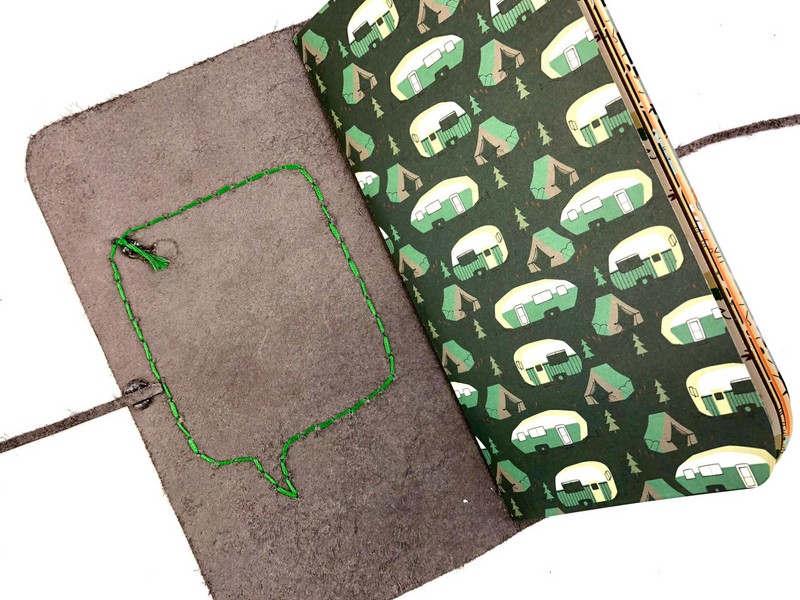
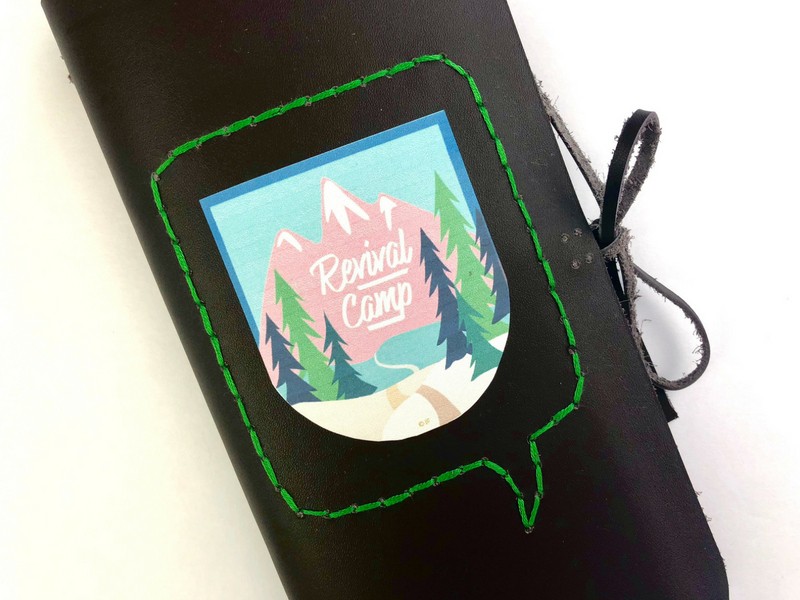
I used embroidery floss as mentioned in the video to add some color and design to the front cover for which I tied in a knot on the back cover and then hot glued the floss in place to secure it more.
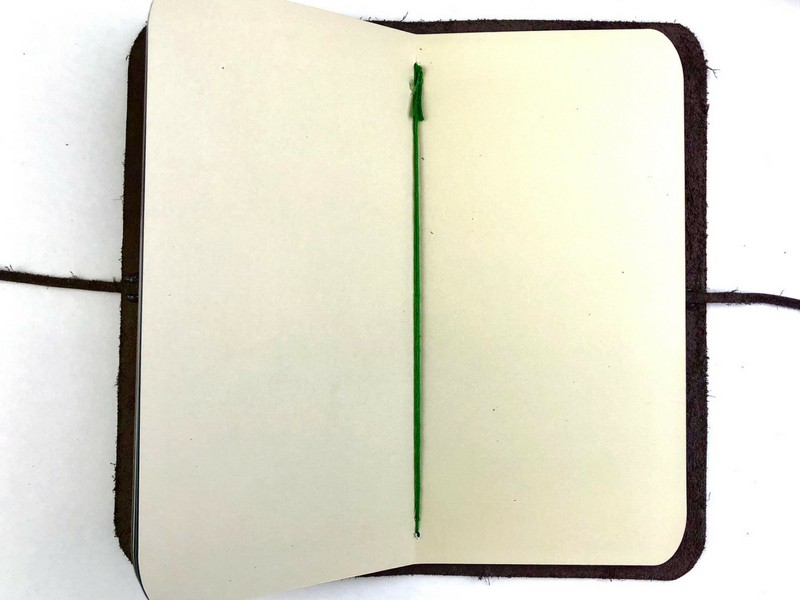
I also thread the embroidery floss through the center of the pages and tied in a knot with hot glue to secure.
If I haven’t said it enough, this Cricut Maker has become a real game changer for me. I love that I can make my own personalized journals and add my own little touches of journaling cards, diecuts, and so much more. Make sure to check out the Maker and Revival Camp for August before the kits are sold out.
ENROLL NOW IN MY 5 DAY BIBLE JOURNALING ECOURSE FOR FREE!

Get exclusive tips and tricks with my 5 Day eCourse available exclusively to subscribers!


Hi Bethany –
I love, love your blog and YouTube channel – I so appreciate everything you share!
I have been looking for a traveler’s notebook pattern to make with my Cricut Maker – loved your tutorial, but when I click the link to the Cricut project, it says it’s private… am I doing something wrong?
Thank you!!!
Thank you so much for your sweet words. I am glad that you found this pattern. Man it is so addicting now to want to make a leather TN for everything.
I just checked the project in Design Space and it is saying it is visible to others. Please try again and if it still doesn’t work, I can try to find out what is going wrong. Here is the direct link to the project as well and let’s see if that works: https://design.cricut.com/#/design/new/projects/user-project/104272993?category=My%20Projects