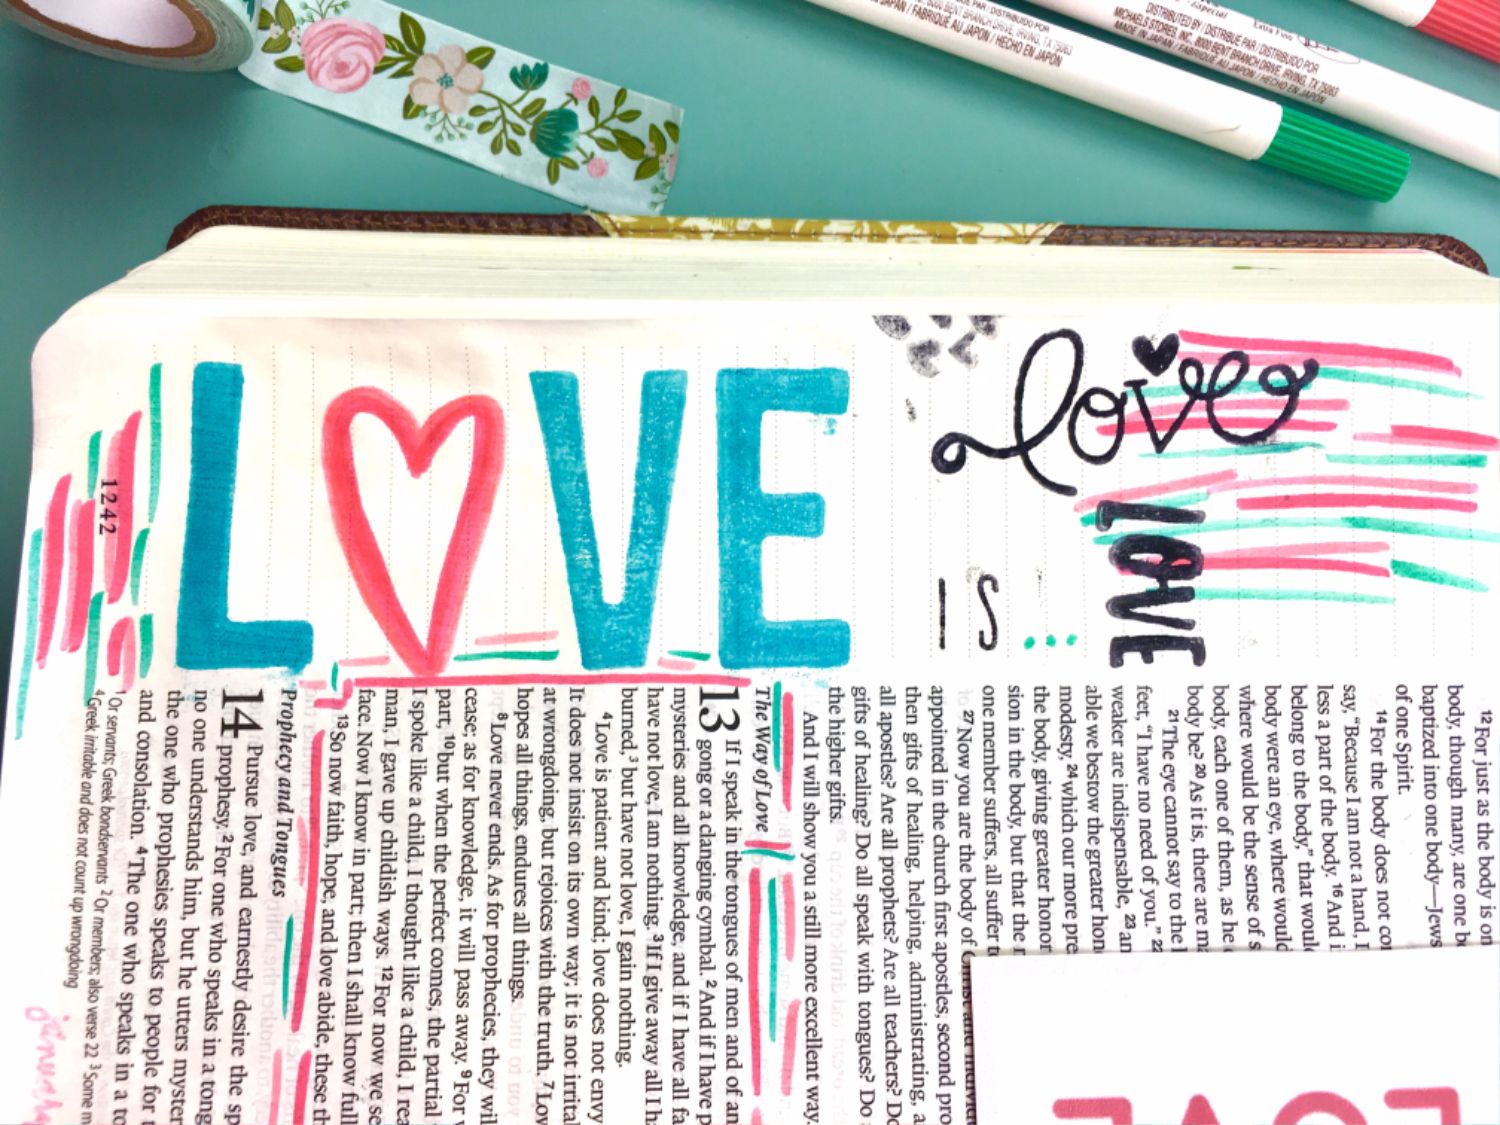
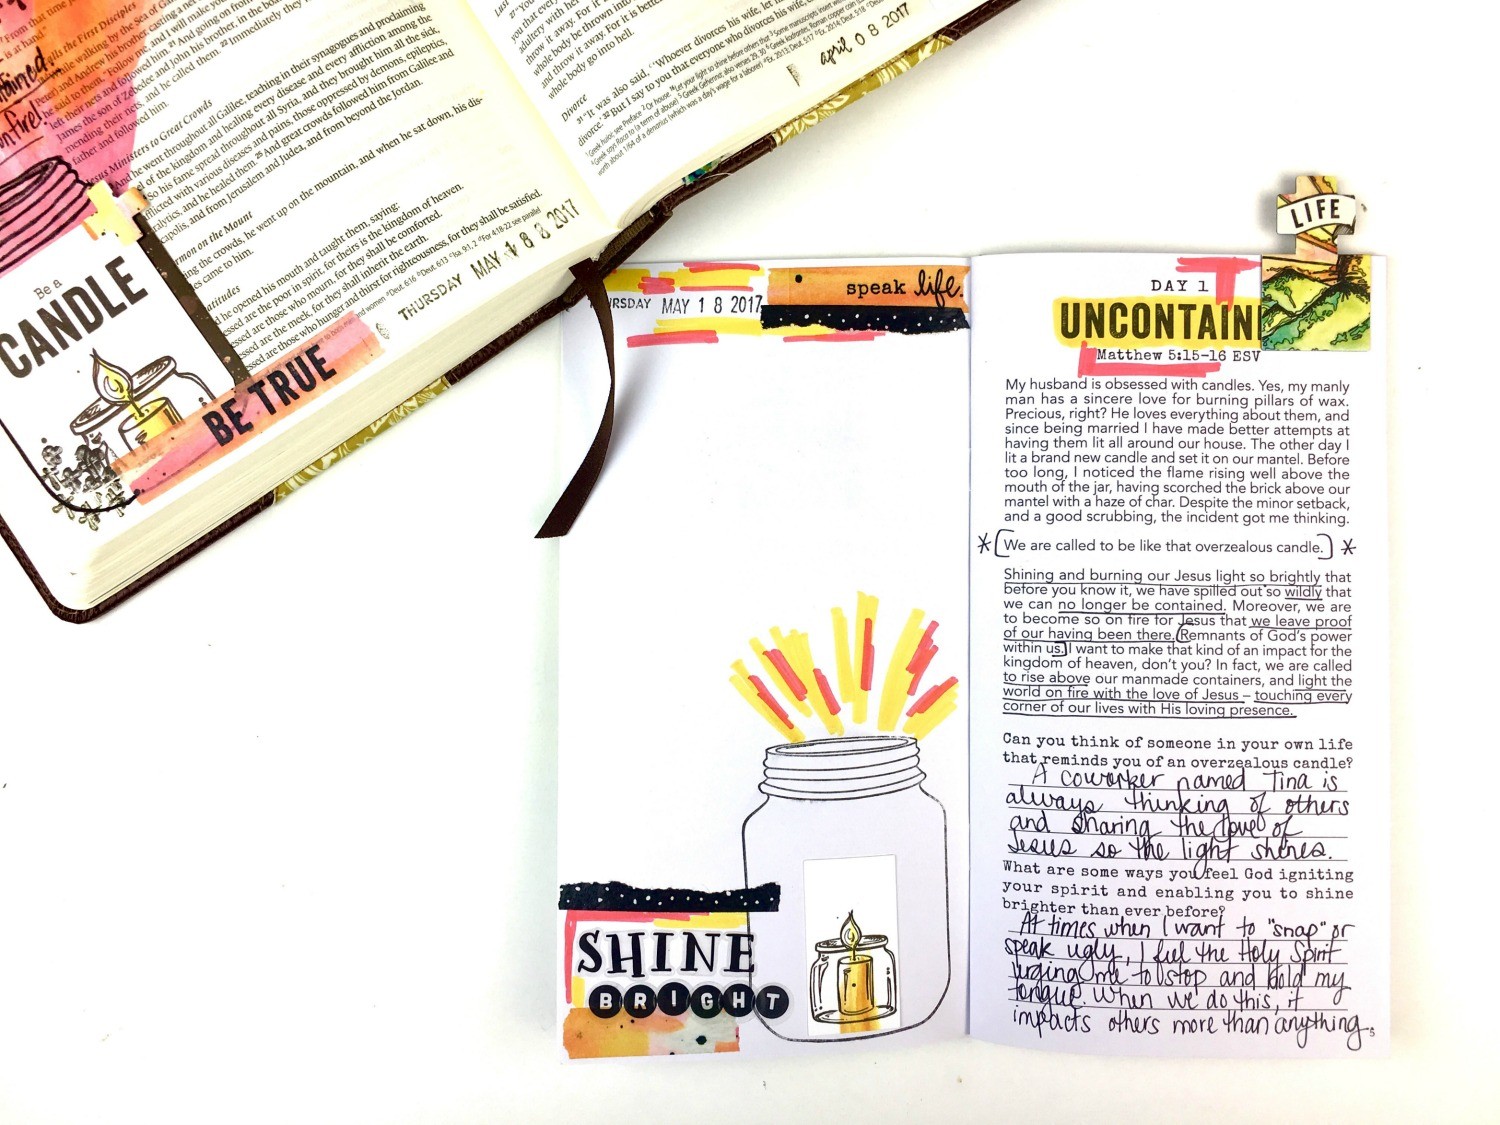
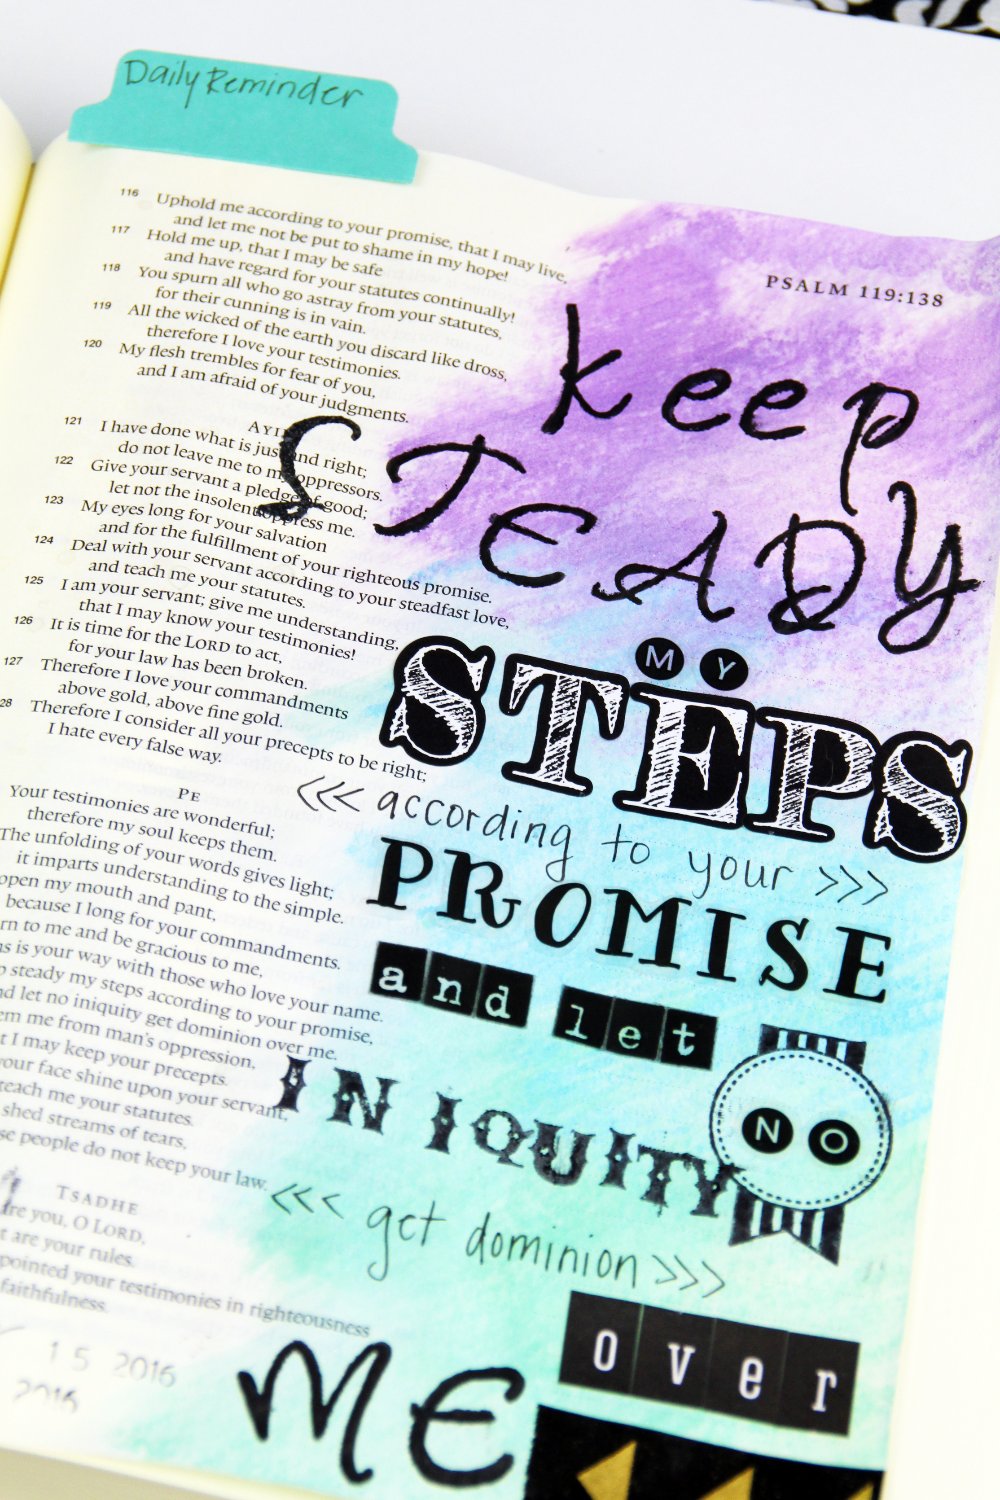
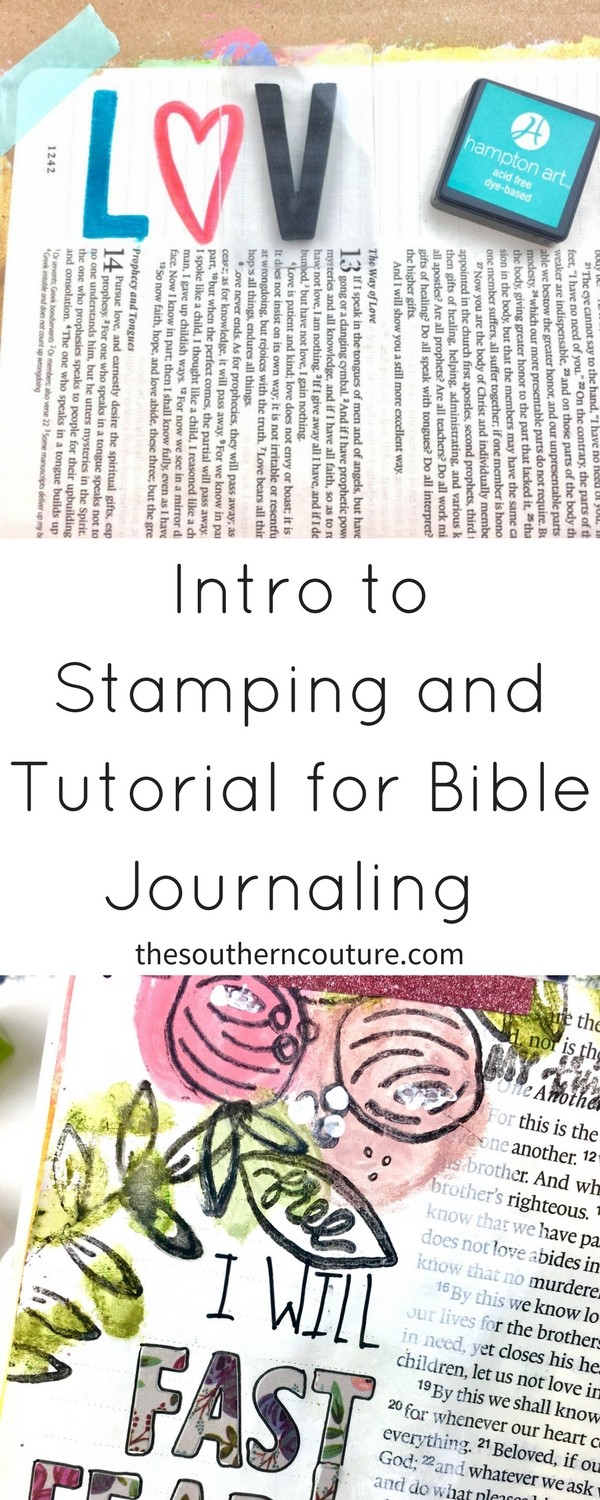
Check out this intro to stamping and tutorial for Bible journaling for a new layer of design and texture on your next entry and Bible pages.
Some of the links below are “affiliate links.” This means if you click a link and purchase an item, I will receive a small affiliate commission that helps me to be able to continue with this blog and hopefully continue to inspire you as well.
In the last part of my “All About the Bible Journaling” series, we learned how to actually use paint on our Bible pages without ruining our entire Bible. Today is a fun and simple tutorial that anyone can do easily but adds another option for adding texture and design to your entries.
Stamping is another one of those techniques that the more you do it, the more addictive you will become in wanting to collect more and more stamps. You will find all sorts of different alpha stamps and different designs that you “just have to have.”
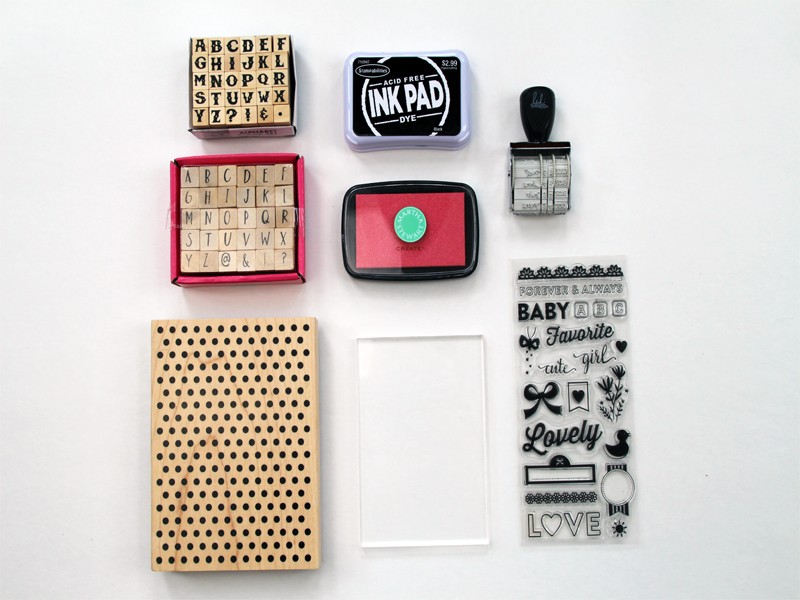
There are 2 main different types of stamps out there.
Rubber Stamps: have a wooden block that the stamp is attached to making it easy to hold. The one drawback is that you cannot see exact placement of the stamp on the page when compared to clear stamps.
How to Use:
#1. Apply the ink to the stamp by either pressing the stamp gently onto the ink pad or swiping the ink pad across the stamp. Be sure the stamp is entirely covered.
#2: Practice a few times on scrap paper before using on the page to be sure there is not too much or too little ink.
#3: Reapply ink if needed and place stamp onto page. Do not press too firmly as the ink may run together on the page. You do want to press hard enough that your stamp provides the full image onto the page.
Clear Stamps: are clear and flexible. You will need to use an acrylic block to apply the stamps to. With the acrylic block and stamps being clear, you are able to see the placement of your stamps on the page. Some acrylic blocks also are lined making your placement even easier so you know the stamps are lined up straight and even.
How to Use:
#1: Apply your stamps to an acrylic block.
#2: Apply the ink to the stamp by either pressing the stamp gently onto the ink pad or swiping the ink pad across the stamp. Be sure the stamp is entirely covered.
#3: Place stamp onto page with acrylic block. Do not press too firmly as the ink may run together on the page. You do want to press hard enough that your stamp provides the full image onto the page.
Cleaning the Stamps: Gently press the stamp onto scrap paper to remove any excess ink or marker. For any stubborn ink left behind, I usually just wipe them off gently with a cloth. I do not wash mine with soap or water.
As I have said before, I always recommend practicing on the extra blank pages in the back of your Bible first to see how the page will handle a certain technique and just to give you practice if it’s your first time. Let me know if you have any questions in the comments below. I hope you enjoy and God bless!
If you are so excited and anxious to get started, then you may want to go ahead and sign up for my free 5 Day eCourse that is perfect to jump start this new study tool of Bible journaling. You will receive a new email each day discussing a different topic or aspect with a little fun “homework” assignment each day to keep you accountable with getting started.
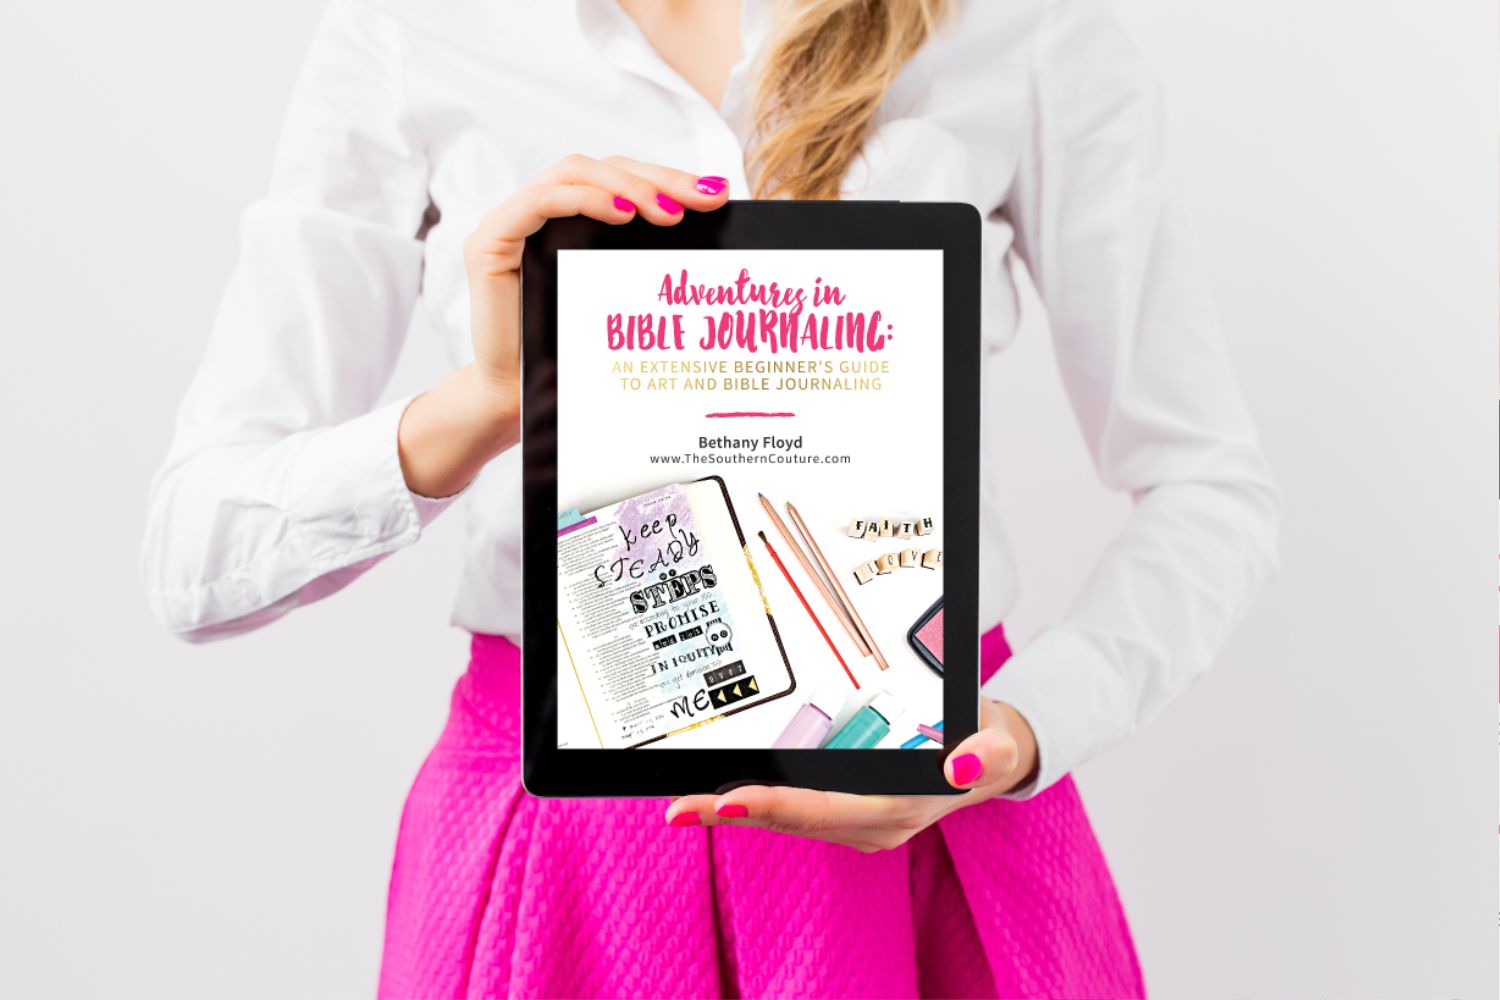
If you are even more ambitious, then check out my eBook, Adventures in Bible Journaling: An Extensive Beginner’s Guide to Art and Bible Journaling, to get even more information and tutorials. I have a Gold, Silver, and Bronze package depending on what you are looking for specifically. There are printables and also step-by-step video tutorials that make it even easier to understand so you can work right alongside me in your Bible.
ENROLL NOW IN MY 5 DAY BIBLE JOURNALING ECOURSE FOR FREE!

Get exclusive tips and tricks with my 5 Day eCourse available exclusively to subscribers!
