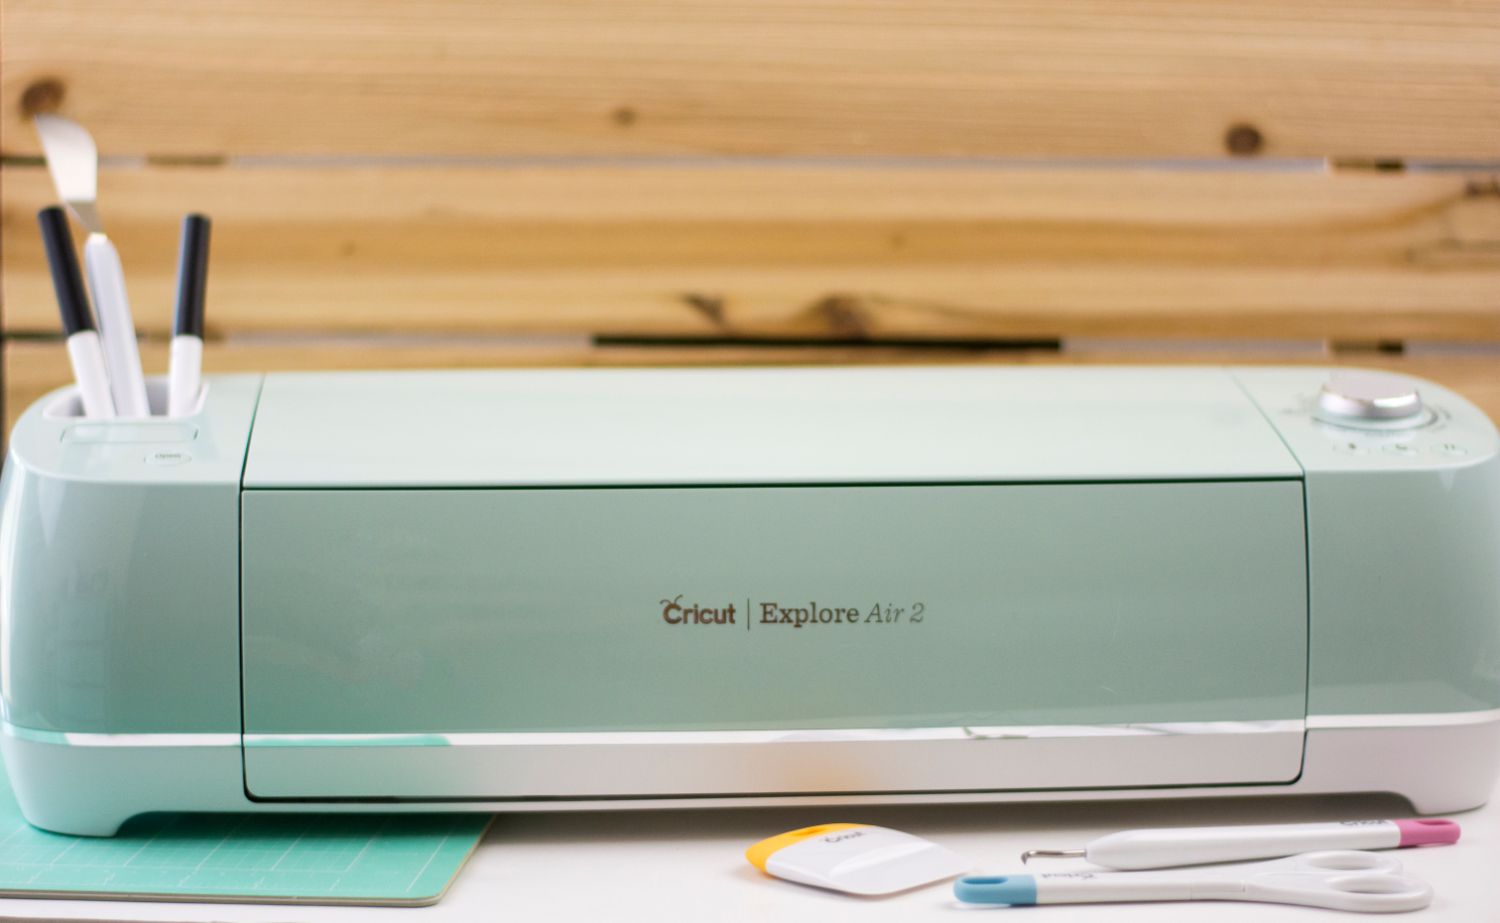
Open a whole new window of opportunity in your crafting world by learning how to use iron-on vinyl with Cricut Explore Air 2.
Do you ever walk through your favorite store or mall and see those adorable shirts with the hand lettered quotes and designs? I see them all the time now with handlettering becoming so popular and wish I could buy all of them. But let’s be honest. My budget will just not allow for it and neither will the lack of space in my closet due to all the other stuff.
Well here’s the fun part of this whole “catastrophe.” You don’t have to worry about walking away from that gorgeous shirt you just think you can’t live without because now you can make your own!! Thanks to the Cricut Explore Air 2! (Remember me mentioning it last week in THIS post. Well we are back for Part 2 of this series.)
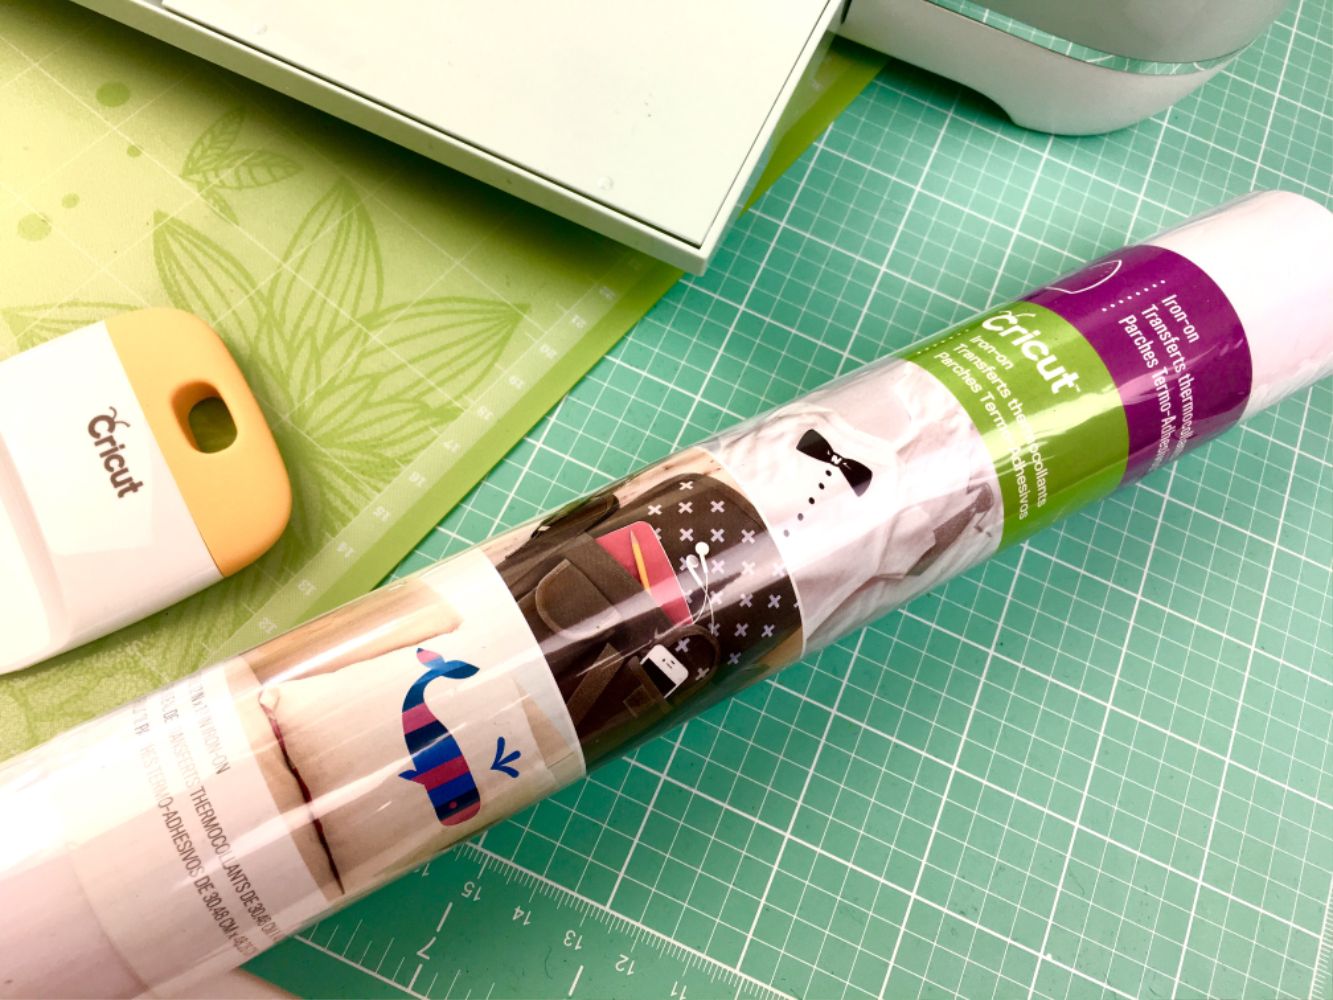
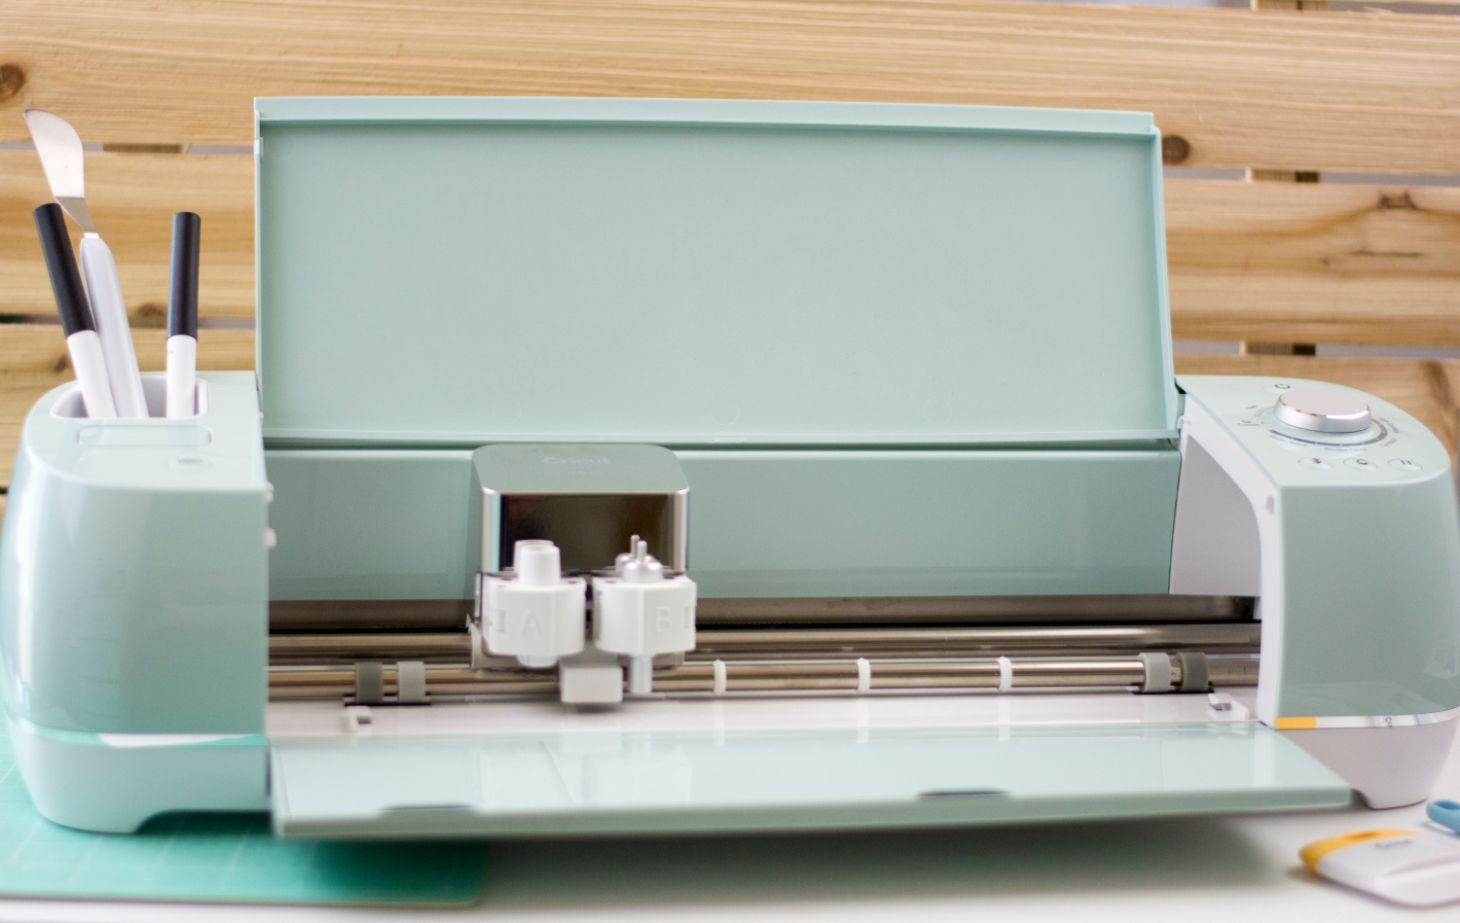
The Cricut Explore Air 2 can cut just about any material you can think of. One of those is Iron-On Vinyl which means your budget can now afford to have those beautiful shirts plus anything else you can think of that you want to personalize.
How to Use Iron-On Vinyl with Cricut Explore Air 2
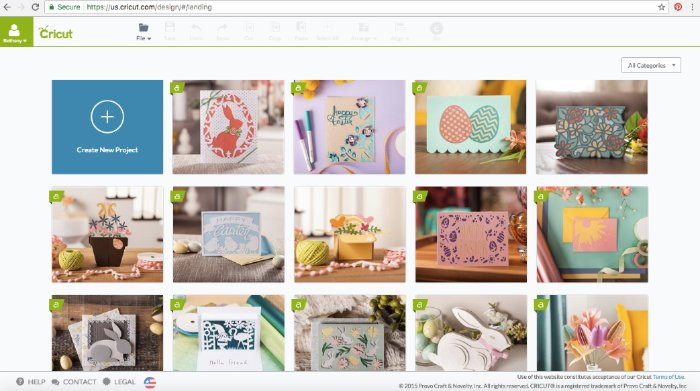
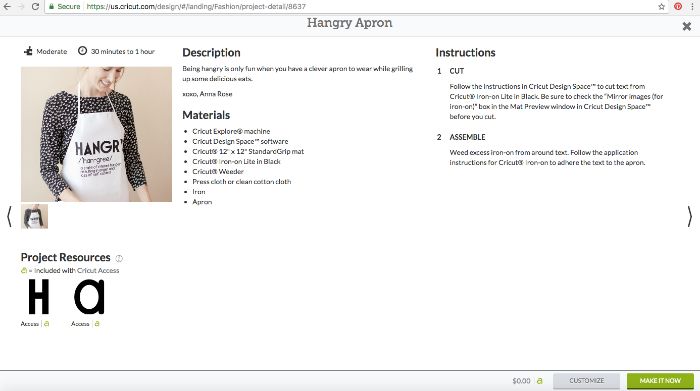
Now don’t feel intimidated or worried that this is difficult or think you will ruin all your clothes in the process. With a few tips and tricks, you will be starting in no time. You don’t even have to come up with your own design. With the Cricut Design Space software, you can pick a ready-to-make project and have your project finished in no time. Below is what the design space looks like when you first open it.
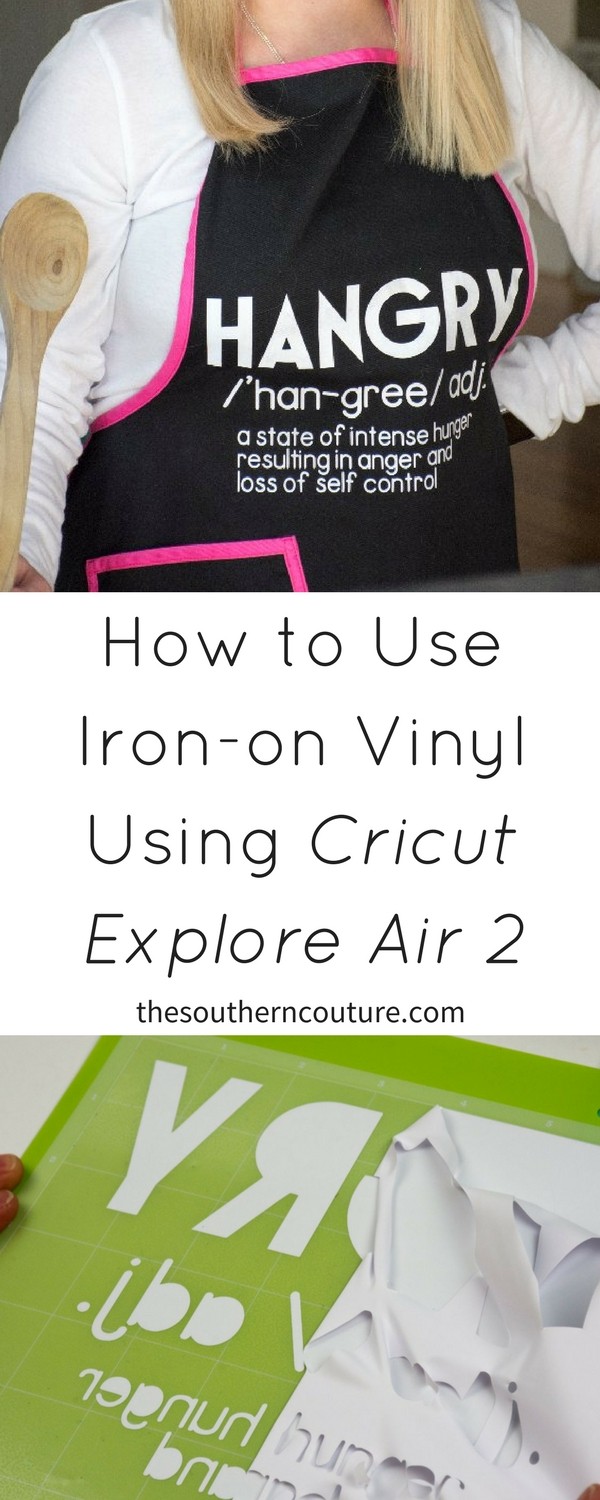
Below is also the apron I made so you can see the finished project, but keep reading for more detailed instructions.
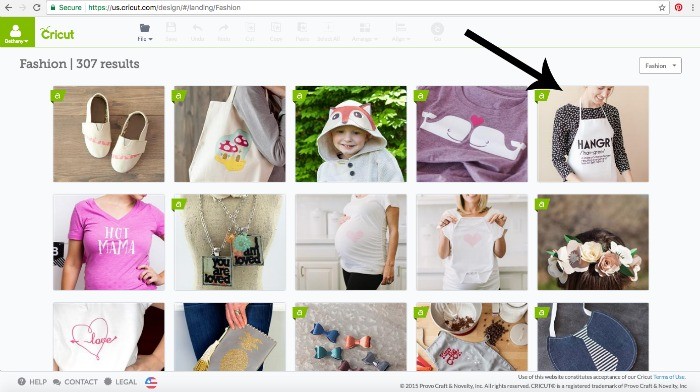
I searched under the Fashion category to see what projects were there because I knew I really wanted to use the iron-on vinyl. I came across this apron that read “Hangry” with the definition below. Anyone that knows me knows that Hangry is basically my middle name. I have been like this from birth so it’s not really my fault, right? 😉
Once I clicked on the project, a list of supplies that I would need along with simple instructions to complete the project were right there at my fingertips. None of us can use the excuse that we just aren’t creative enough because Cricut has taken care of the hard part for us with their ready-to-make projects.
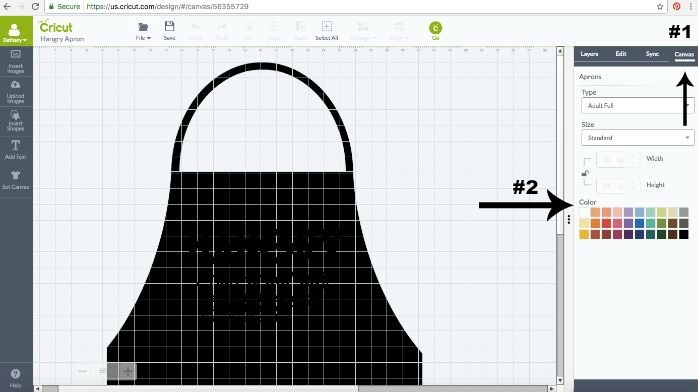
The apron originally showed up on the cutting mat in the software as a lighter grey or white. My apron I used is black so I wanted to change the color so it would appear more realistic of my final project.
- #1 Look on the right side of the screen and click Canvas. You can then choose the type and size of your apron. This is especially helpful to make sure your vinyl cut isn’t too large at the end.
- #2 Change the color of the apron if needed.
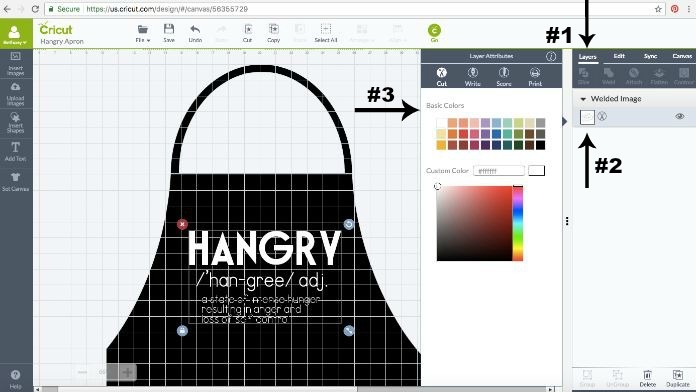
You notice above the lettering was black automatically therefore I needed to change the font to the color of the iron-on vinyl.
- #1 Click on Layers.
- #2 Click on the white box for the layer you are working on. For this project there is only one layer so I clicked the white box below welded image.
- #3 Click the color of the iron-on vinyl you are using.
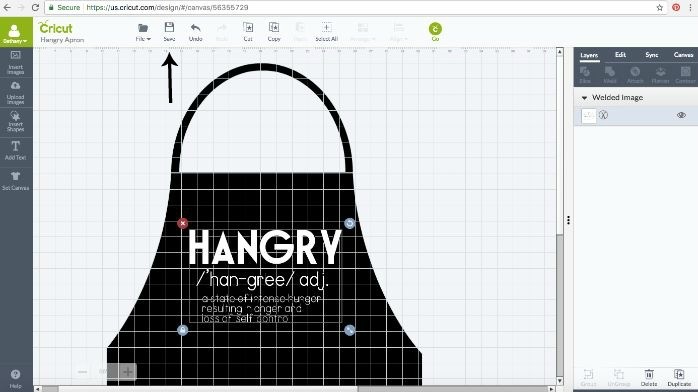
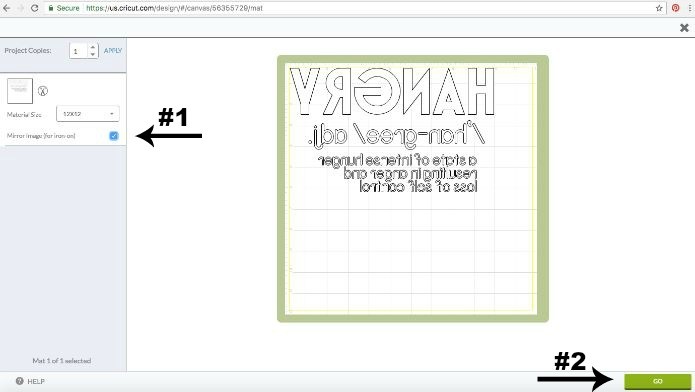
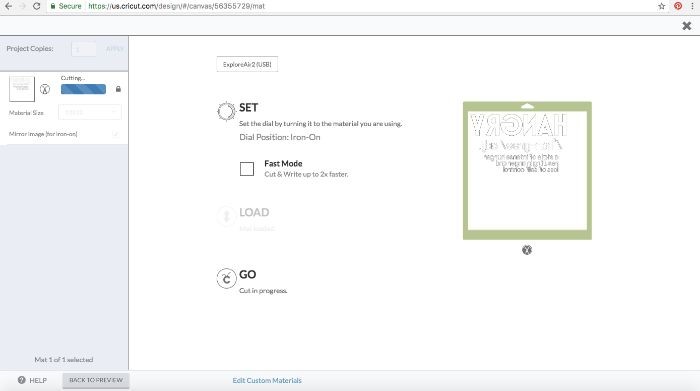
If you are happy with the way everything looks, then you are ready to save. Once you click save, you will see a screen to name your project. After you have saved, click the little green Cricut logo at the top that says “Go” and you will next see a preview screen of the cutting mat.
On the left, you will see the cutting settings.
- #1 Make sure you have the correct mat size chosen. Be sure to click the small box to choose “mirror image” due to using the iron-on vinyl or your final project will be backwards.
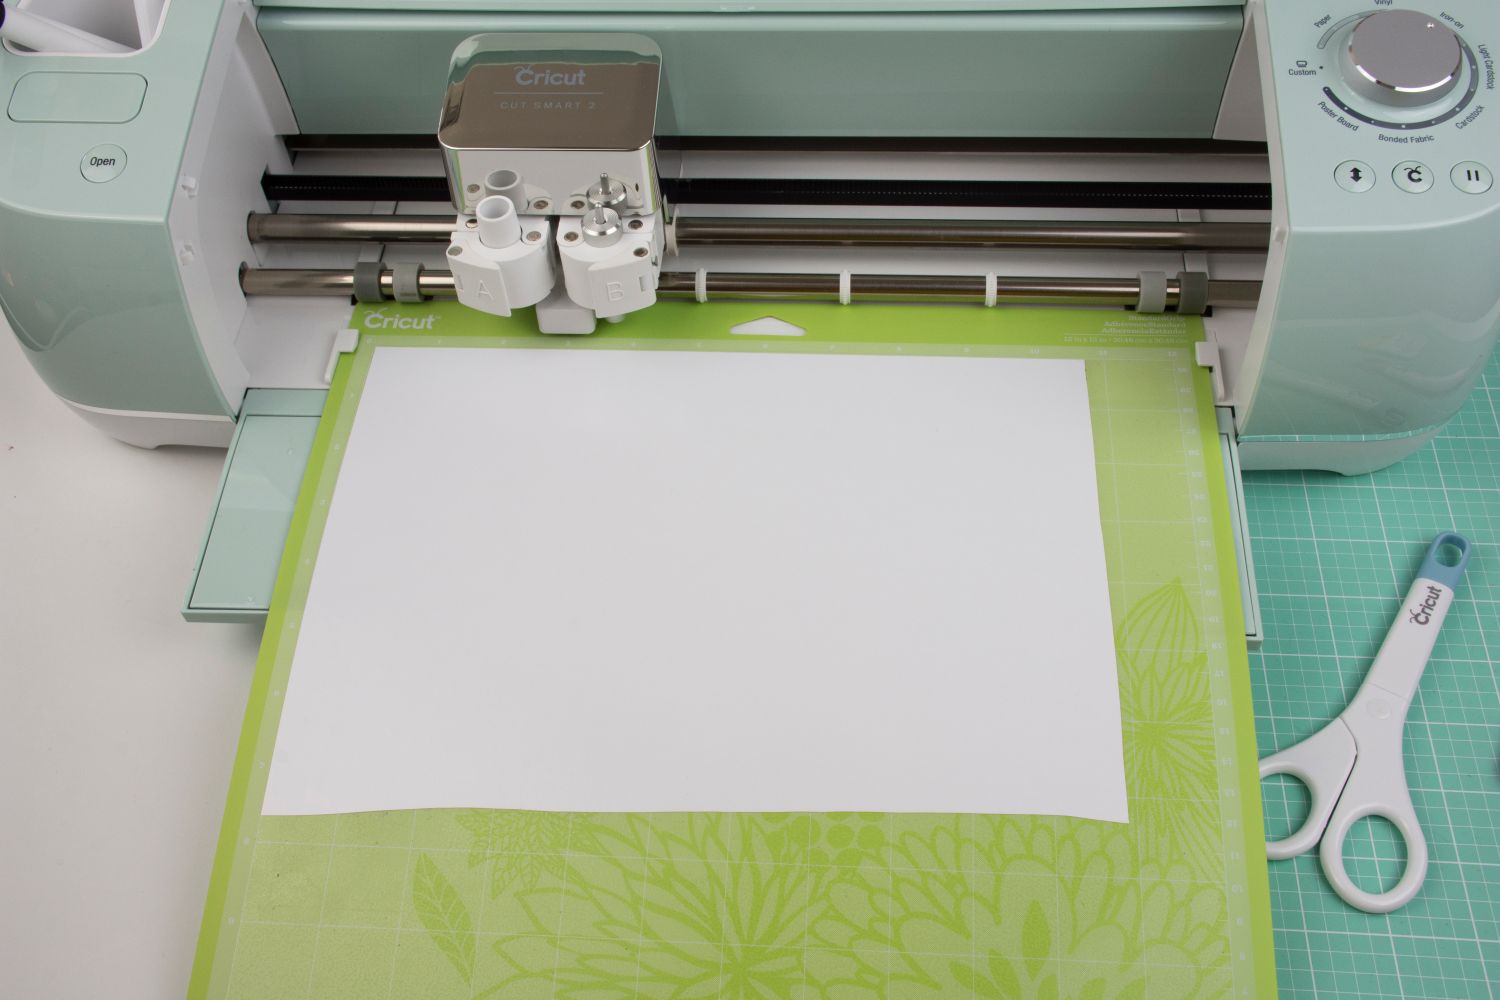
- #2 Before pressing Go, make sure to load your material on the mat as the font is being shown on the preview mat. Place the liner side down when using iron-on vinyl. The machine makes a “kiss cut” because iron-on has a clear backing on it that allows you to transfer the cut to your apron. Then press Go to get started.
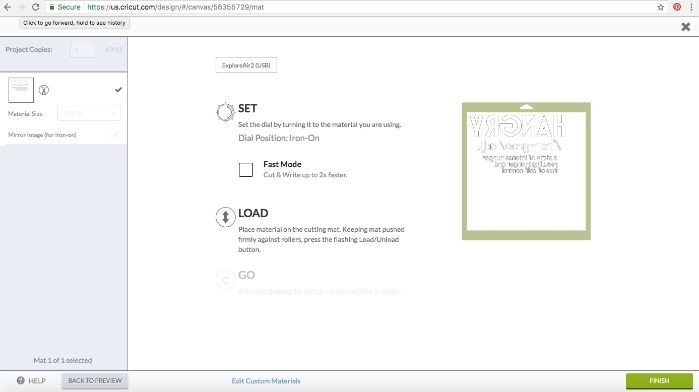
The next screen shows the setting that the actual Cricut machine is set too.
- Be sure to change the dial setting on the machine for the material you are using. Your material should already be adhered to the mat.
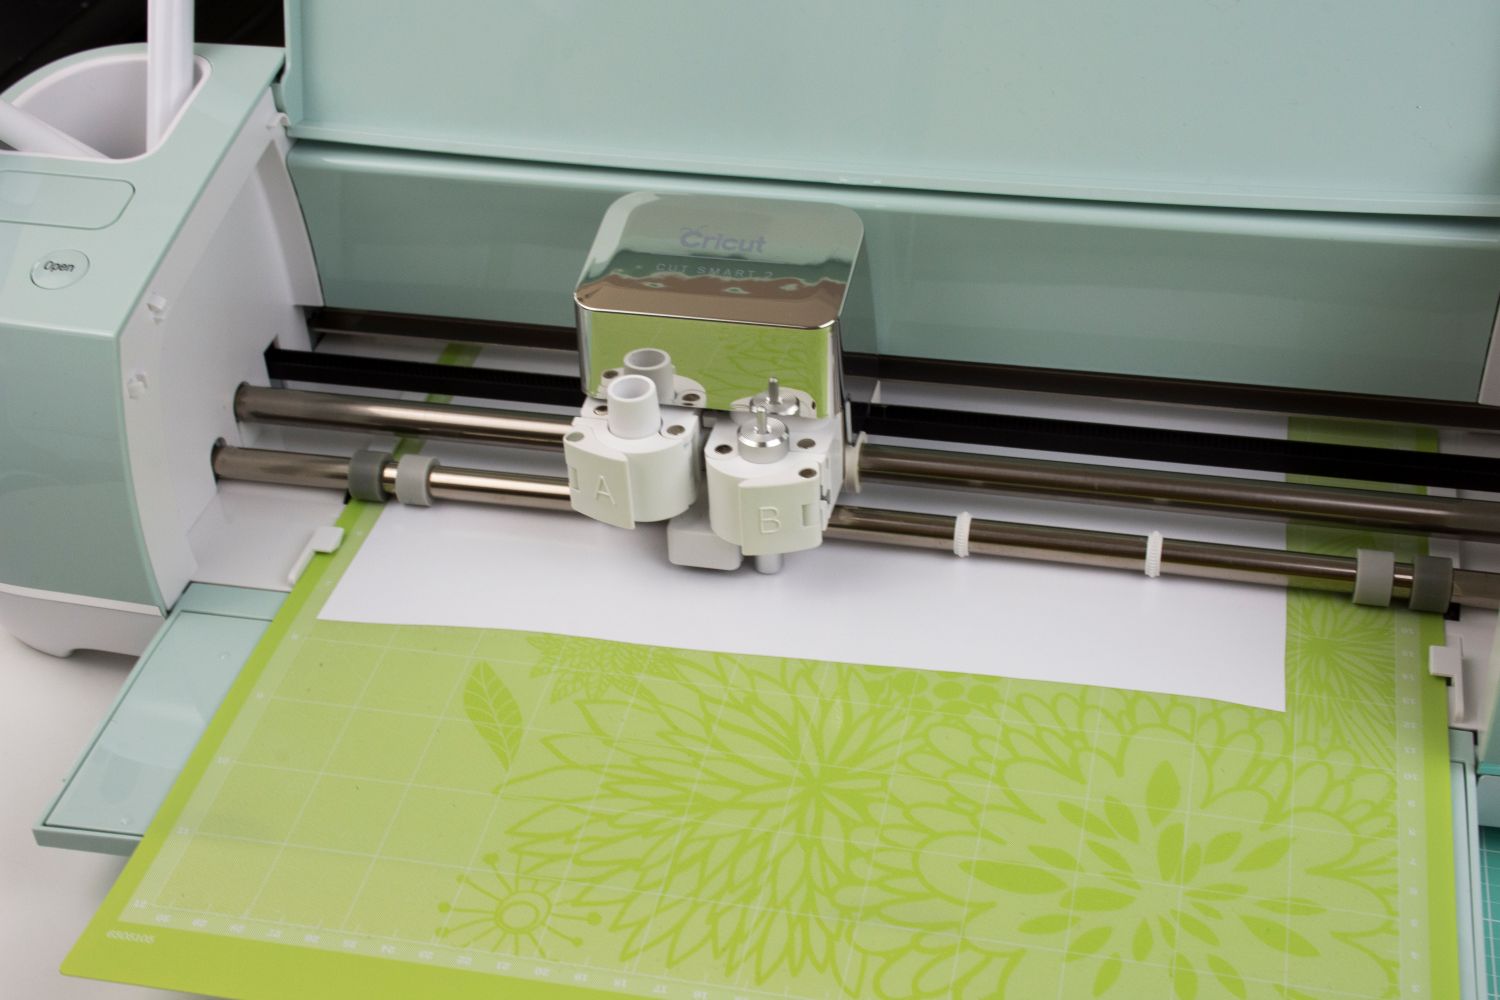
- You will see the flashing double arrow button on the machine waiting for you to load. Place the mat into the machine under the side grooves and press the arrow button. The machine will then pull the mat inside and wait for you to press the final Go button.
- The machine will recognize the mat is loaded and then the Cricut logo button on the machine will start flashing. Push that button and now you just let the machine do the cutting.
While the machine cuts, you will see to the left on the screen I progress bar and also in the middle of the screen telling you the cut is in progress. Once the cut is complete press the flashing arrow button again to unload the mat, and you are ready to remove the vinyl.
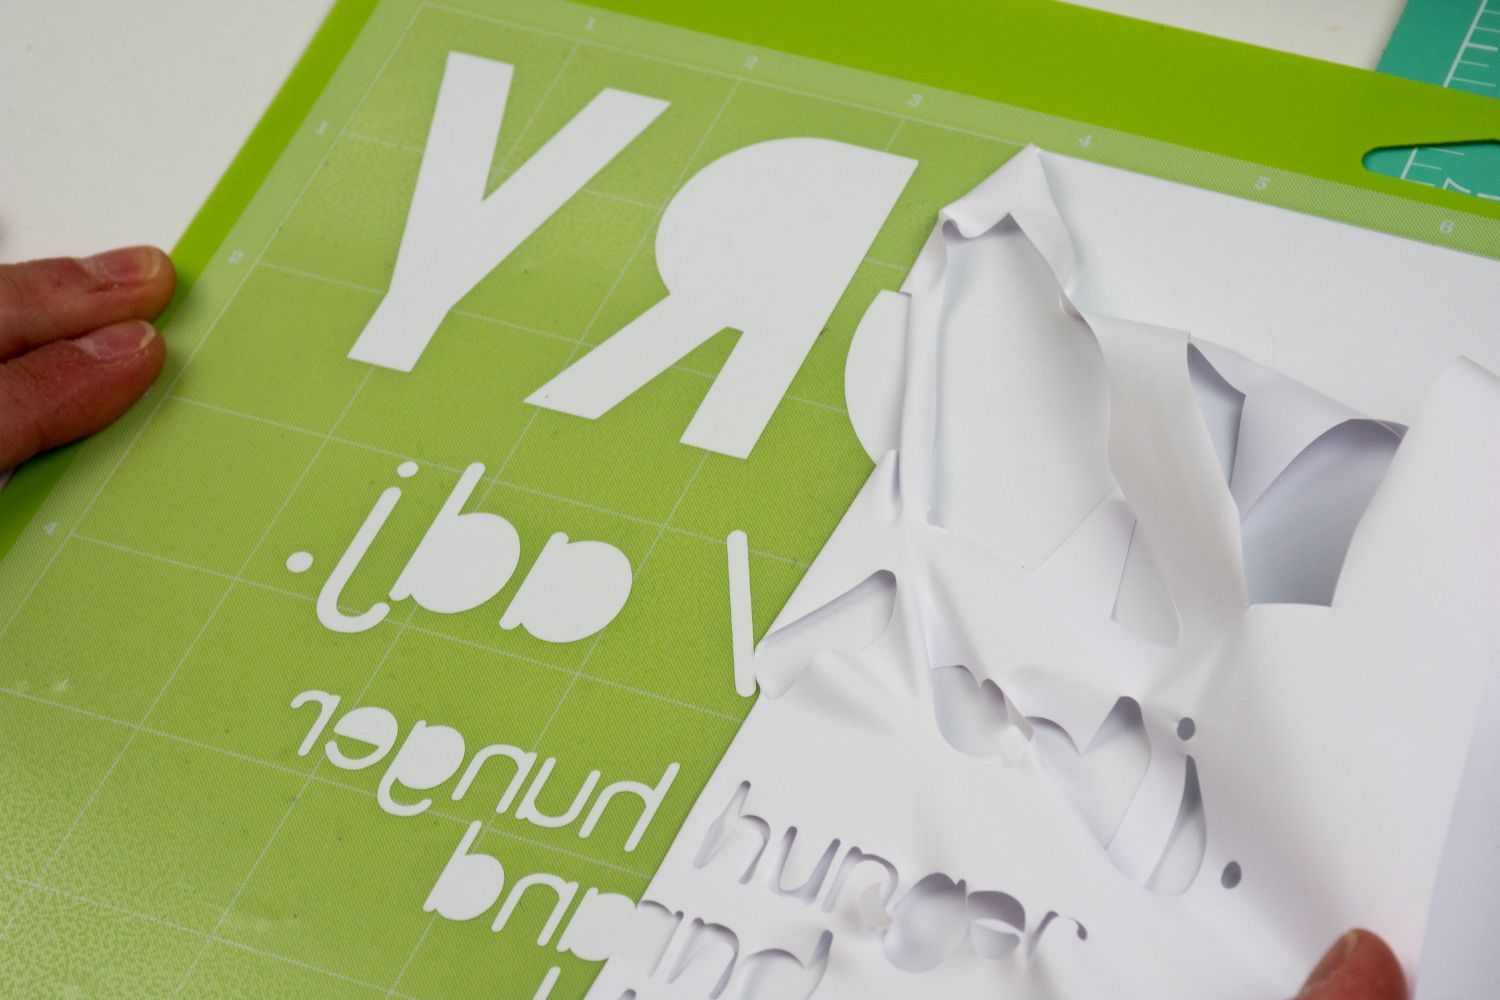
Remove the negative, or unused, vinyl from the mat leaving the font still adhered.
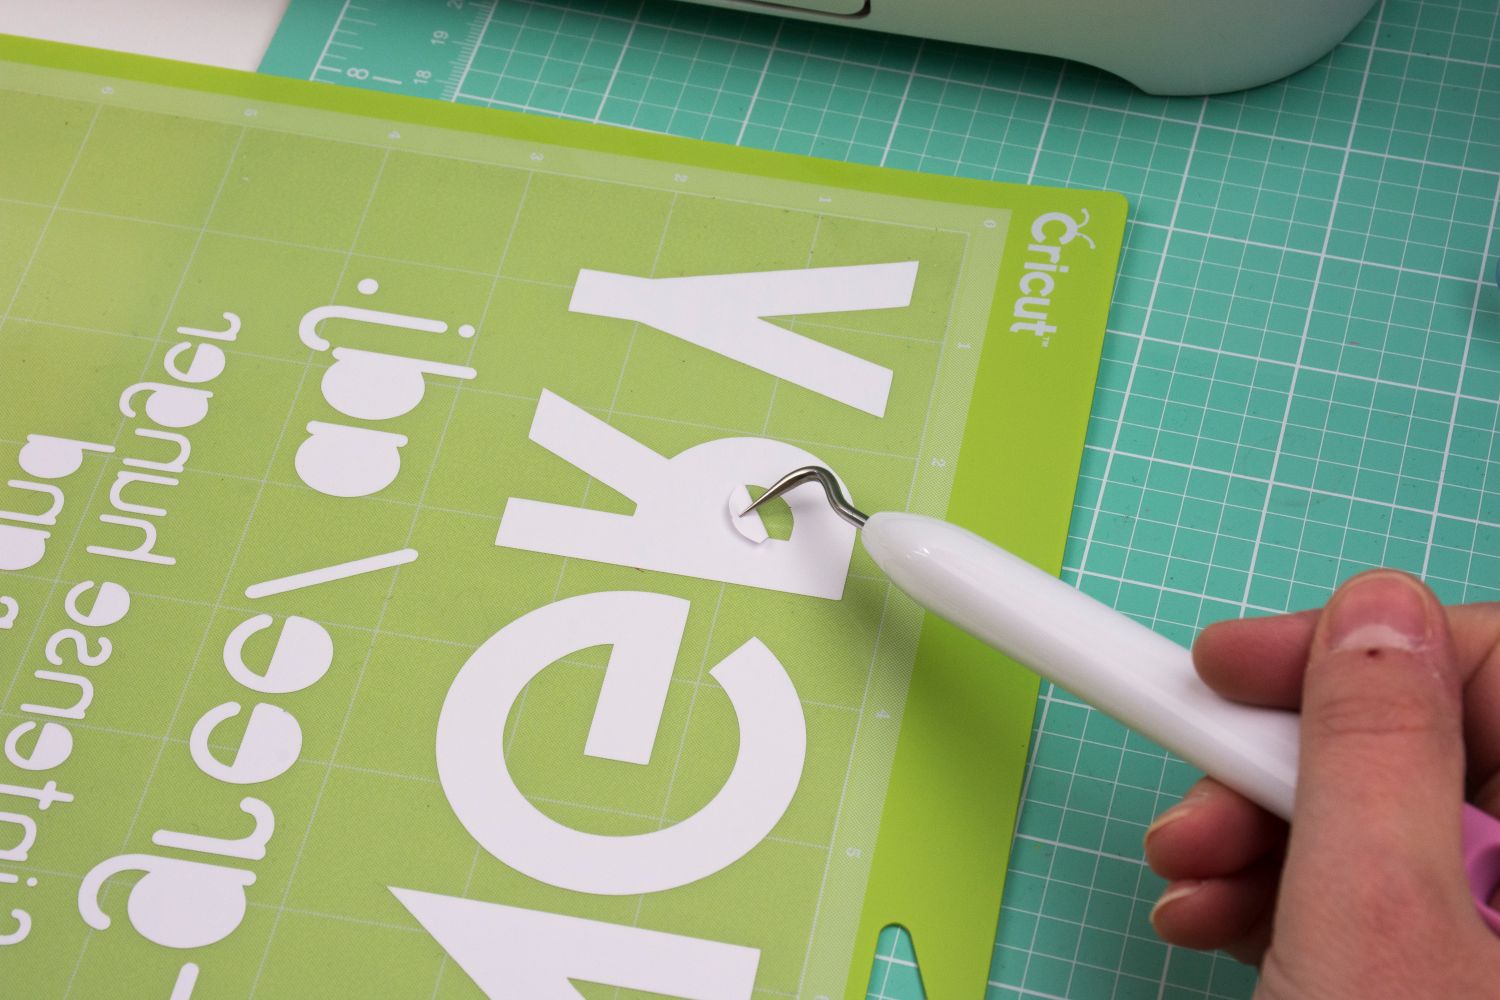
Cricut has a weeding tool that helps to get the small pieces of vinyl when there are more intricate cuts. Underneath the vinyl on the mat, you will notice a clear film after removing all negative vinyl. This is what you get with a “kiss cut” so you can transfer the vinyl easily. Remove the liner with the vinyl attached and set aside.
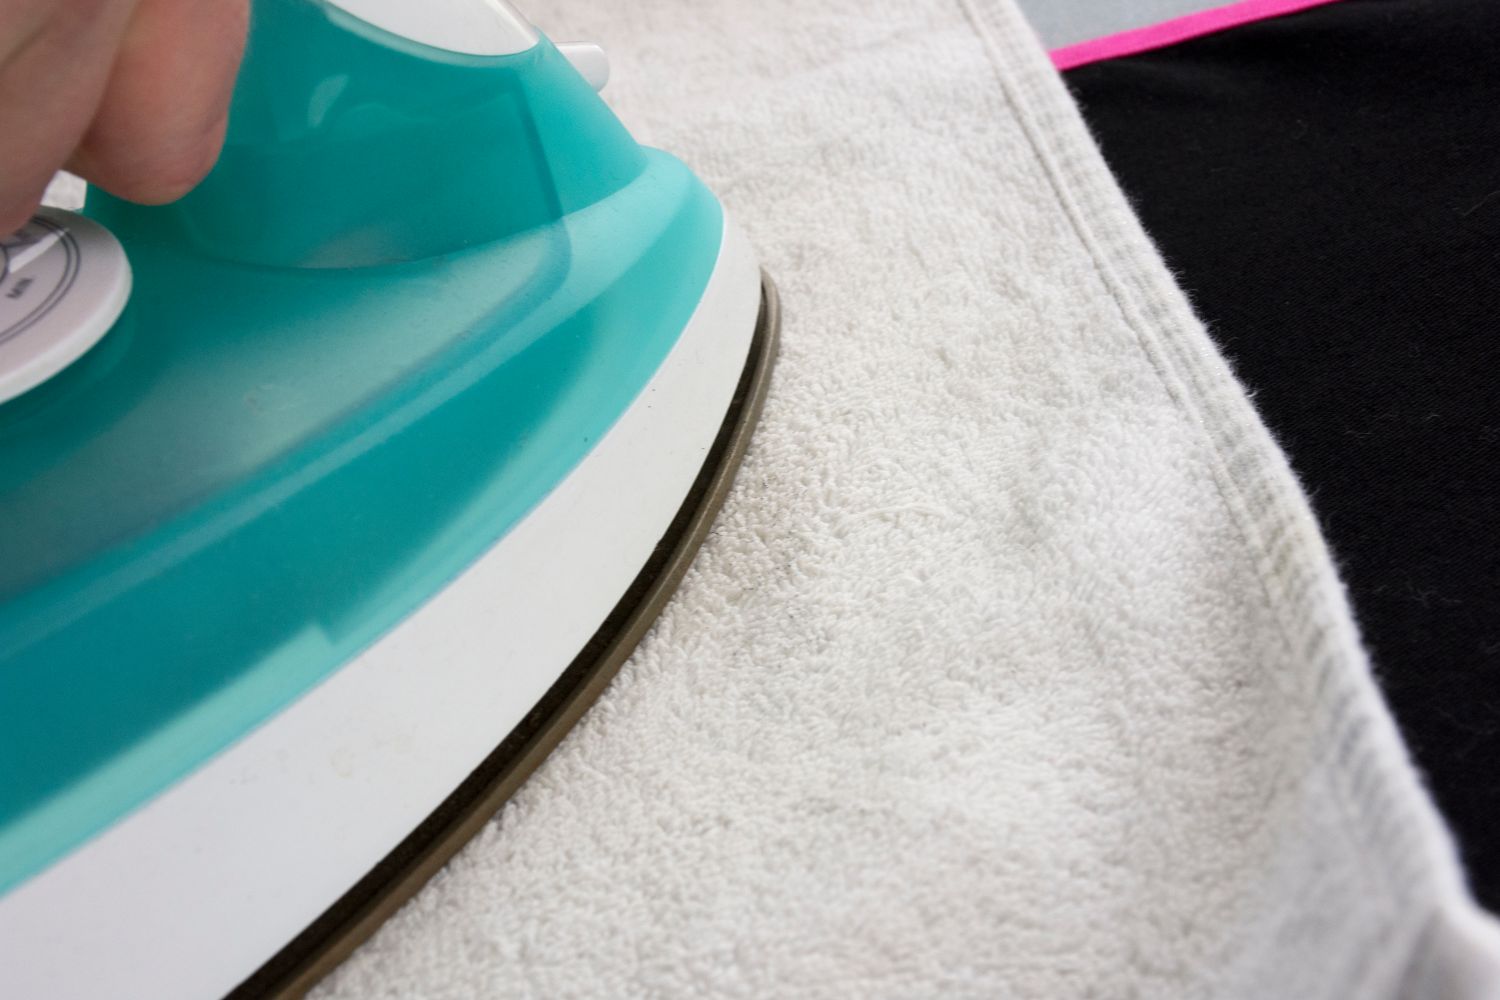
Set your iron to the cotton or linen setting which is usually the hottest setting and turn off the steam function if possible. Use your iron to preheat the area you will be placing the vinyl to for about 15 seconds.
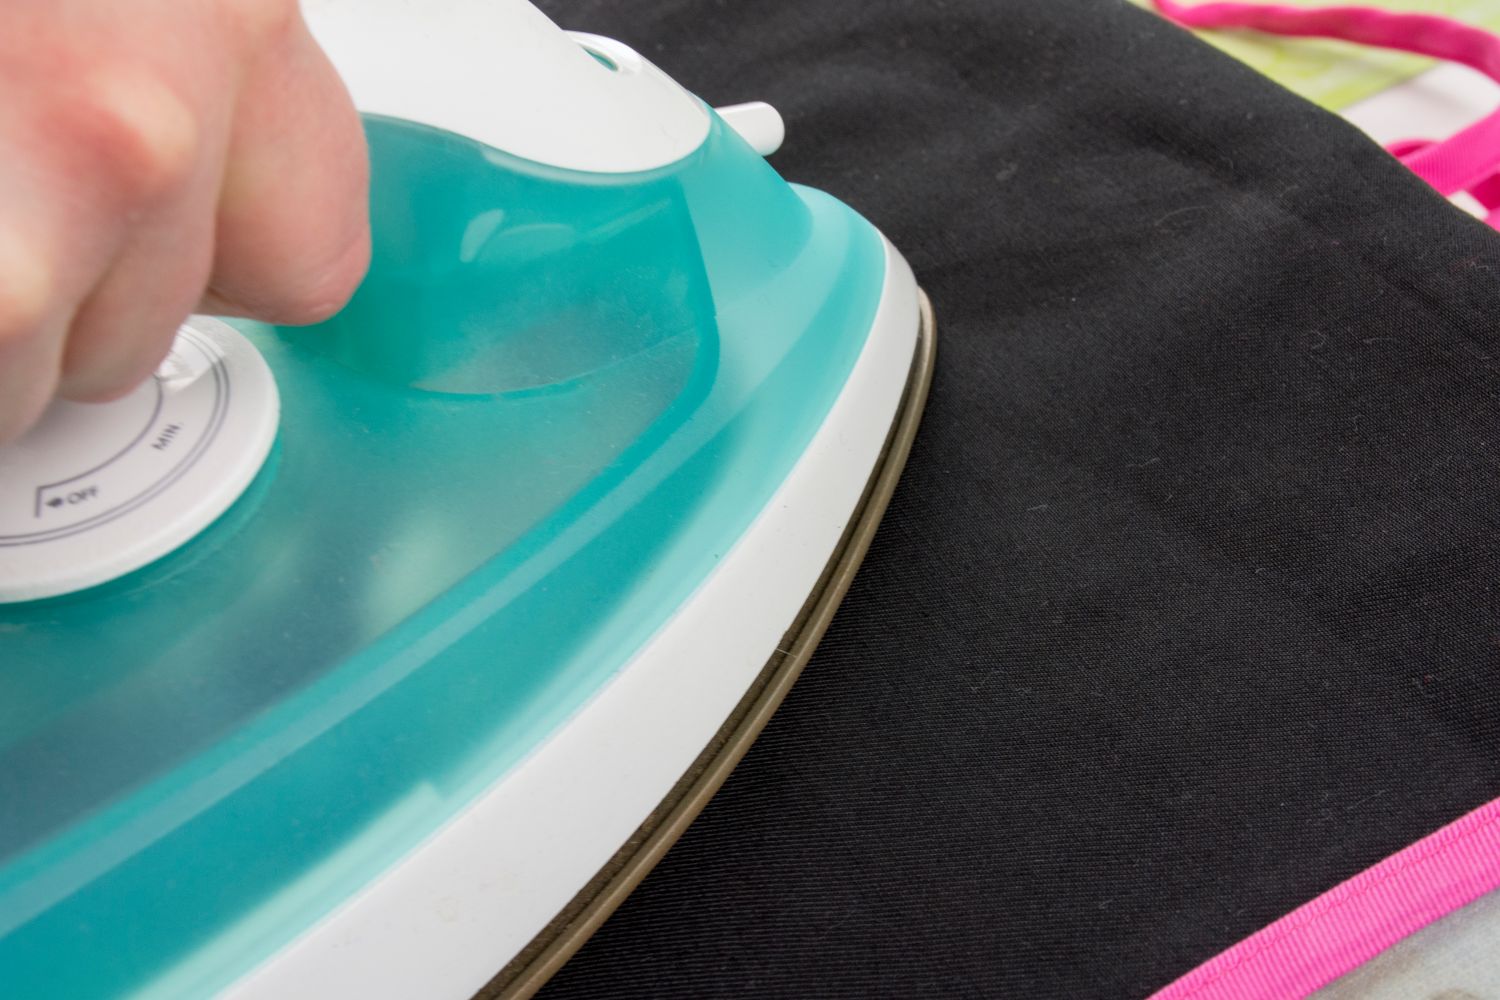
Place the weeded image to the apron with the liner side up. You should be able to read the lettering. Cover the image with a light dish towel and iron over the towel where the vinyl is below for about 30 seconds with medium pressure.
Then flip the material over and iron with medium pressure for another 30 seconds. You do not have to use the dish towel for the back. Do not leave the heat for too long or you will start to see the vinyl melting.
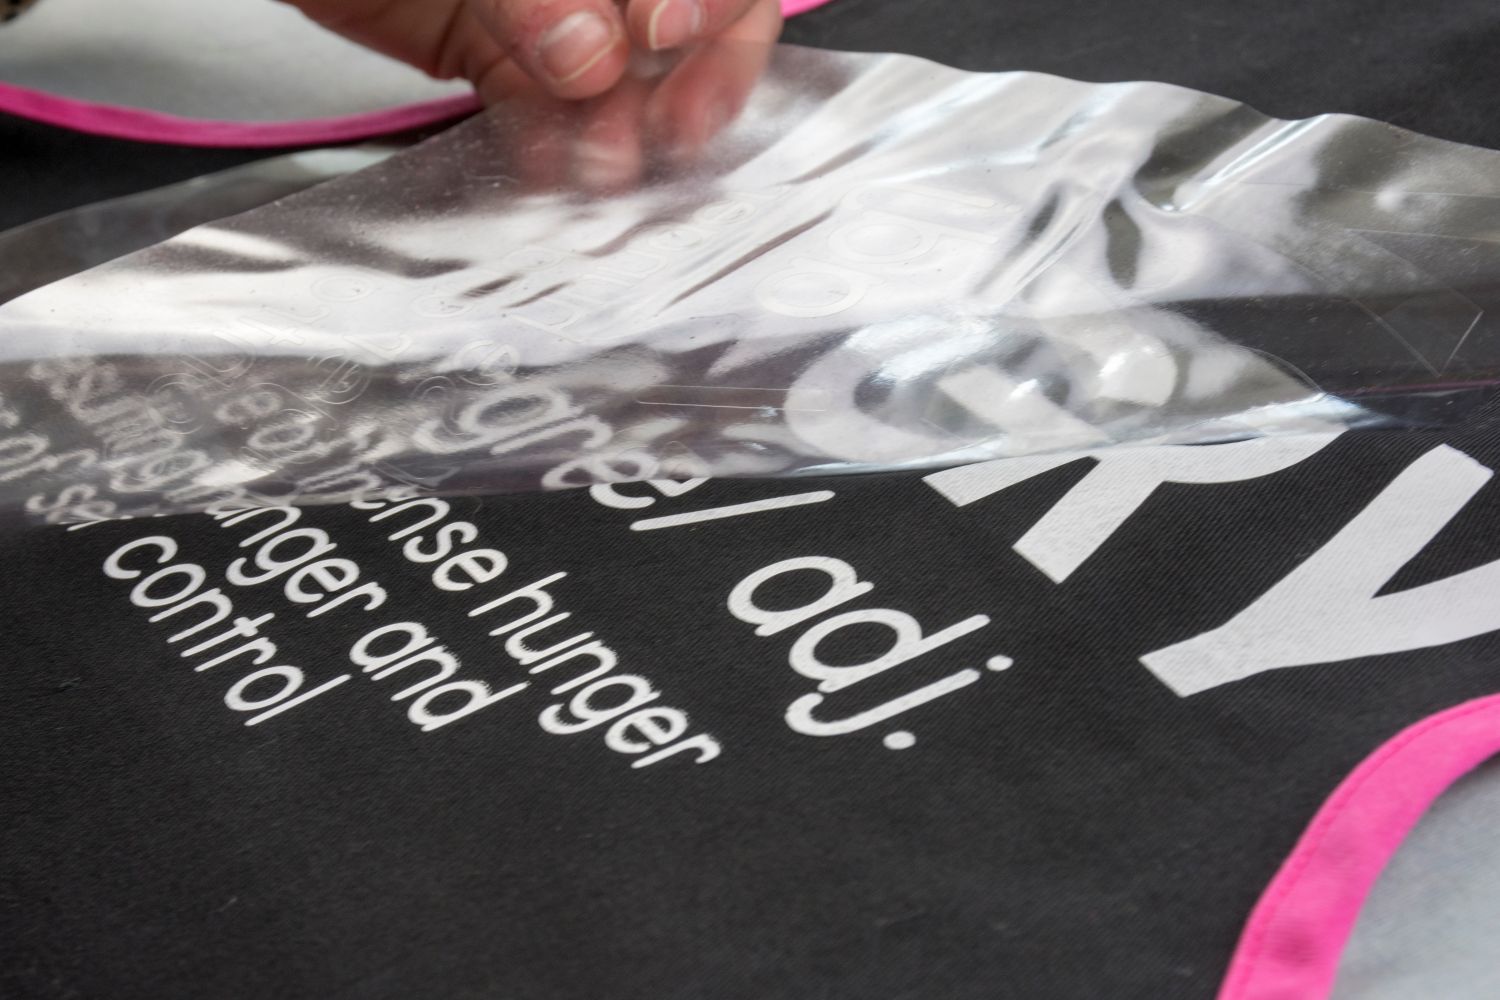
Let the material cool and then remove the film. This is the best part for me as I hold my breath each time in amazement at how easy the vinyl adheres and the film is removed.
Now you get the fun part of wearing the apron of shirt you have made without worrying about breaking the bank or your budget in the process. You will even be amazed at the compliments you of people wanting to know where they can one of their own. What they need to know is that they need a Cricut too and have been missing out.
Let me know what project you have in mind to get started on right away. Be sure to check out the Cricut Design Space software for ideas. If you have more questions about the Cricut Explore Air 2, be sure to check out week 1 of this series from last week with all the details. Stay tuned for next week where I’ll be sharing how you can upload your own designs and images to use in the software. (There may just be a free printable for your Bible journaling or planners too ;).)
Be sure to check out the Cricut Explore Air 2 and even get you some of your own Iron-On Vinyl HERE!
Some of the links in the post above are “affiliate links.” This means if you click on the link and purchase the item, I will receive an affiliate commission. Regardless, I only recommend products or services I use personally and believe will add value to my readers.
This is a sponsored conversation written by me on behalf of Cricut. The opinions and text are all mine.
ENROLL NOW IN MY 5 DAY BIBLE JOURNALING ECOURSE FOR FREE!

Get exclusive tips and tricks with my 5 Day eCourse available exclusively to subscribers!
