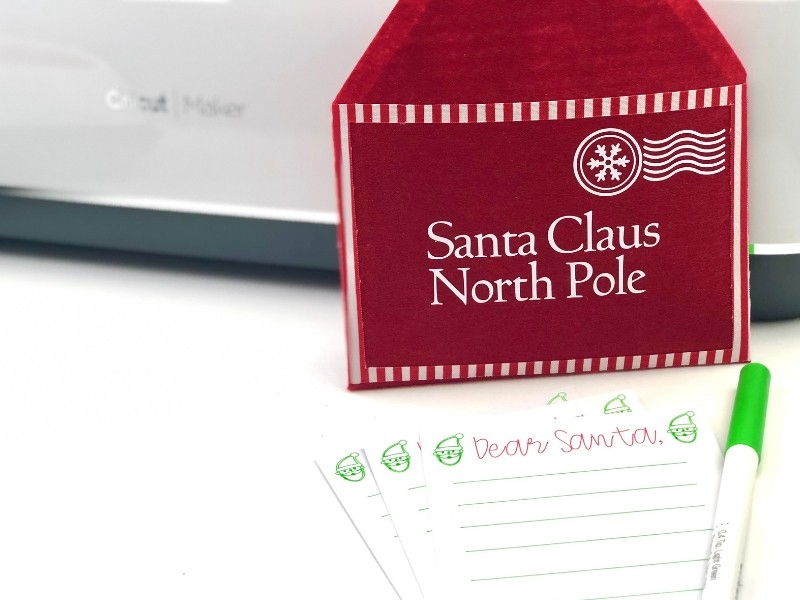
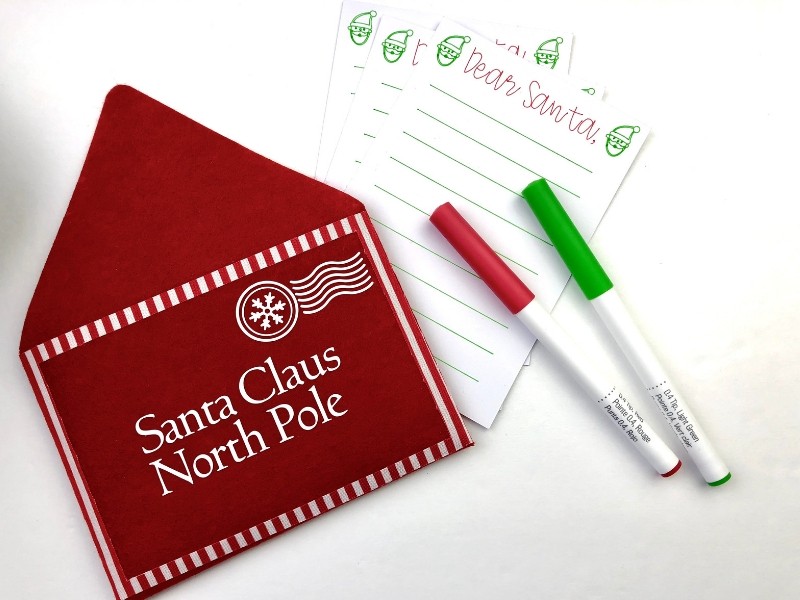
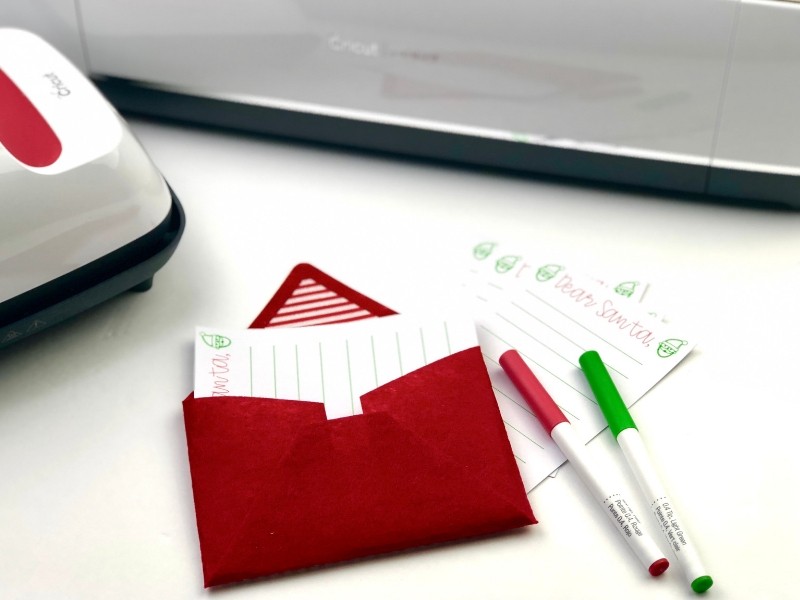
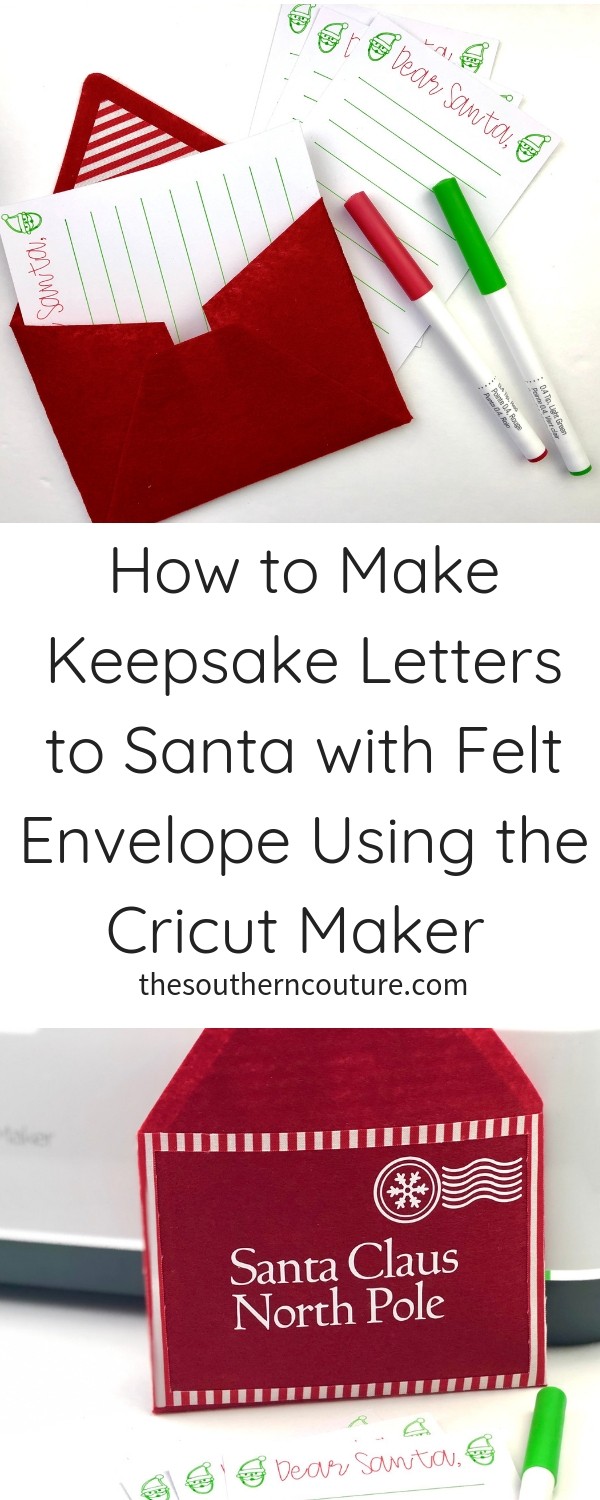
Learn how to make keepsake letters to Santa with felt envelope using the Cricut Maker. You can cut the felt using the rotary blade and even draw your own custom stationery.
Christmas is HERE finally, and I seriously couldn’t be happier! I anticipate this time of year all year long. Seriously, I just can’t help myself. This year is particularly special now that I have my baby boy. It’s his first Christmas which means I get to experience the joy of seeing Christmas for the first time through the eyes of a child. There aren’t too many things much better than that.
As a fun and new tradition that we can start in our home this year, I had to design a fun keepsake letter to Santa for baby boy to send to the North Pole each year. Of course I know what he wants even though he is only 8 months old. Mommy and Daddy will fill out his letter for now. 😉 I can’t wait for you to see how this whole little felt envelope and letters to Santa stationery comes together. Grab the design and cut files HERE.
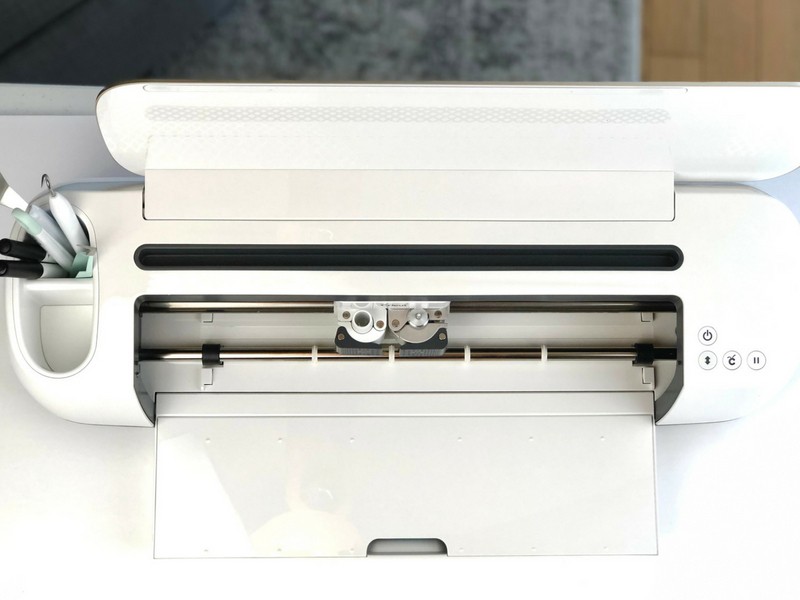
I used my Cricut Maker to literally do everything for me except actually writing the letter. It makes this whole project a breeze and something that would even be fun to give as a gift for another family to enjoy too. Check out this post HERE too if you want to know more about what all the Maker can really do.
To make it easier to walk through the steps, I created a video that does just that if you want to check it out too. Below you will also find more pictures and me sharing my heart behind this cuteness if you enjoy that too.
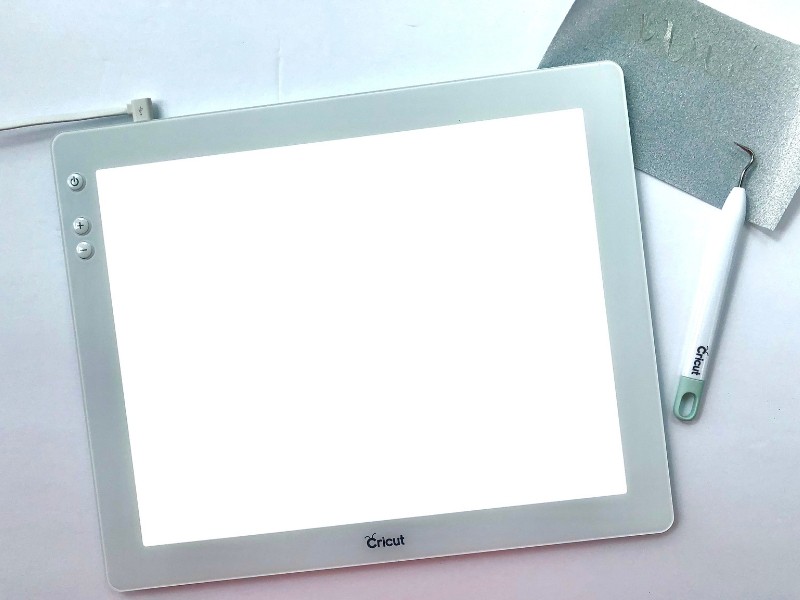
Once you open the project in Cricut Design Space, it will prompt you to follow all the steps to cutting out all of the different elements. Let’s start with weeding the iron-on vinyl. To weed the iron-on vinyl for the front of the envelope, I used my BrightPad. There are several intricate cuts which are so much easier to weed with this little beauty.
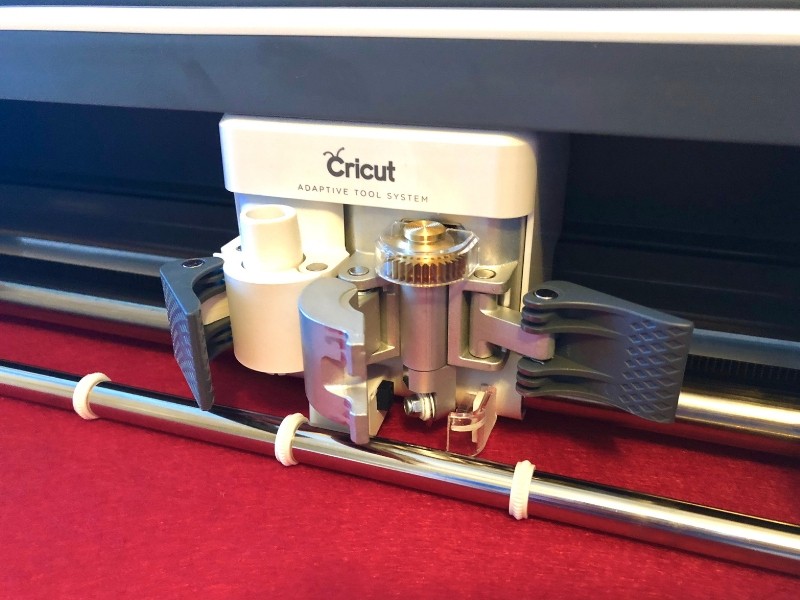
The Cricut Maker also cuts fabric and felt. It’s almost unbelievable. I used the rotary blade for both of these and the scoring wheel made it a breeze for the creases in the envelope when I put it together.
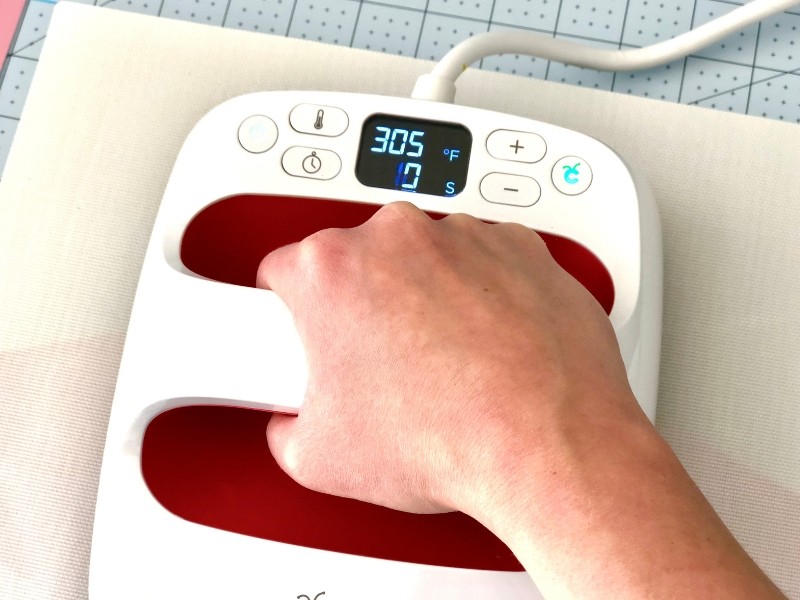
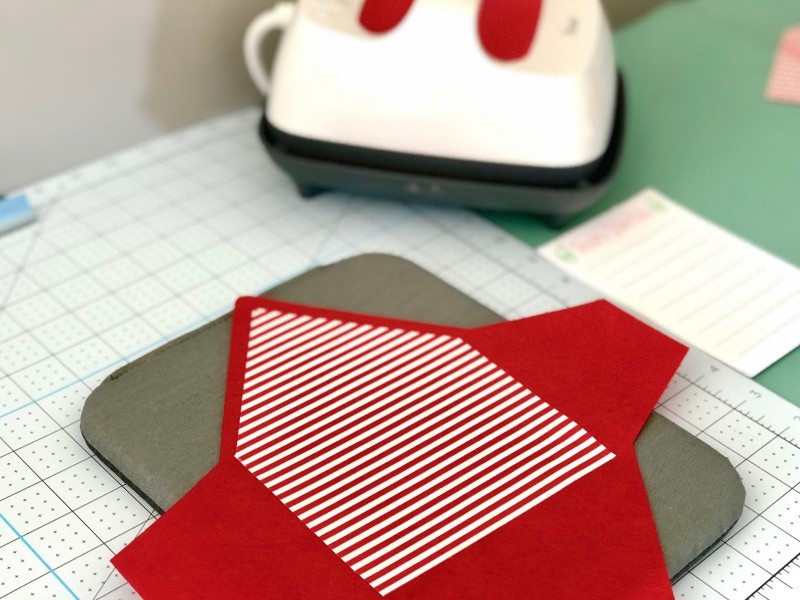
You can’t apply iron-on vinyl and fusible fabric any easier than with the EasyPress 2. I used the 6″ x 7″ and loved how it was done in less than a minute.
Once you have all the elements in place on the envelope, use a hot glue gun to assemble the envelope on the back.
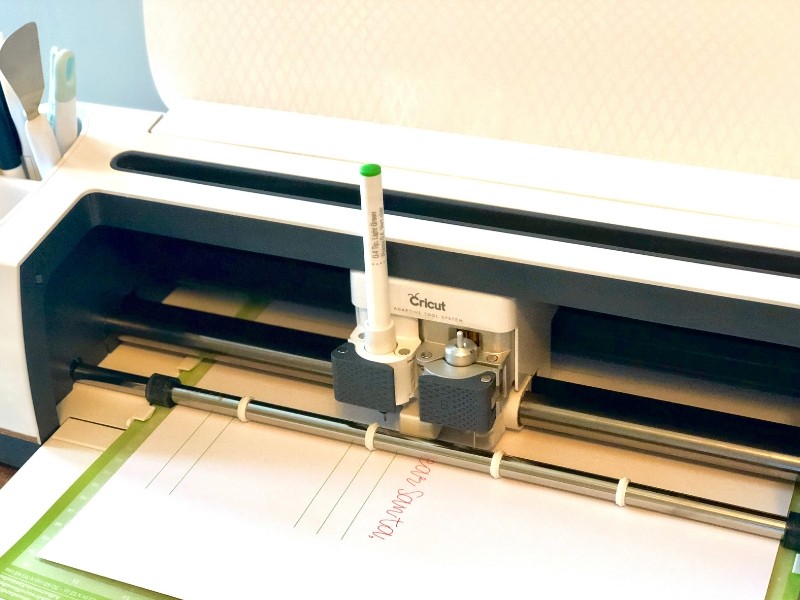
Now what’s an envelope if it’s empty. You have to have the letters to Santa stationery. Your Cricut Maker will not only cut out the notecards but also write on the letters for the cutest design using the Cricut Pens.
Now all you need to do is have your kids fill out their letters and stick them in the felt envelope to be “mailed” to Santa Claus. I love the idea of having this every year for kids to fill out and then us Moms can keep them as a sentimental memory to look back at each year of what the kids wanted. You could even make an envelope for each child to store their letters in each year.
This is a sponsored conversation written by me on behalf of Cricut. The opinions and text are all mine.
ENROLL NOW IN MY 5 DAY BIBLE JOURNALING ECOURSE FOR FREE!

Get exclusive tips and tricks with my 5 Day eCourse available exclusively to subscribers!
