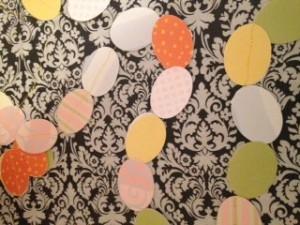
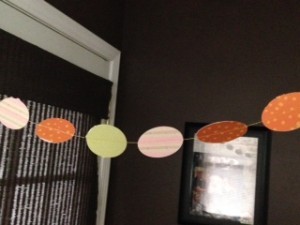
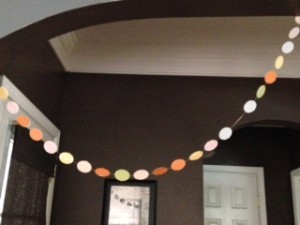
An Easter egg paper garland is the cutest way to add that extra flair to your mantle or other Easter décor. April truly is one of my favorite months for several reasons. I love the spring weather with flowers starting to bloom and showing their pretty faces. Another reason is because it is my wedding anniversary month. I married my wonderful and loving husband Mark on April 30th. Love you honey! But perhaps the most important reason for April is celebrating Easter and the resurrection of my Savior. Easter is fun to celebrate with the cute decorations, chocolate bunnies, Easter egg hunts, but we must never forget the real reason for Easter and that is to celebrate that our King of Kings is ALIVE because He rose from the dead and overcame death and the grave!
Along with remembering the resurrection of Jesus Christ, it is always fun to enjoy the other traditions of baking sweet treats, dying boiled eggs, hunting eggs, and bringing out that Easter décor. A great addition to your Easter décor this year should include an Easter egg paper garland. Paper garland is very popular and is so simple to make for any occasion. Many are usually made with circles, but the oval paper punches that are available make a great Easter egg.
Below are the supplies that you will need:
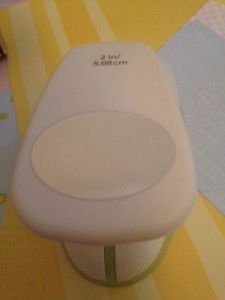
2 inch oval lever or paper punch- The size is your choice but I only found the oval paper punch in a 2 inch size at Michaels.
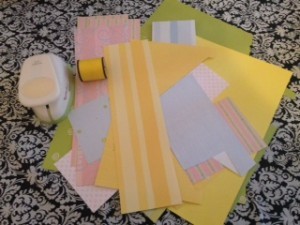
Scrapbook paper- Of course pastels are adorable for Easter or any bright colors would also work great for spring. I will be making an Easter egg topiary to go with my Easter décor and used coordinating paper that would match great with that DIY project.
Thread
Sewing machine
Adhesive roller- if needed
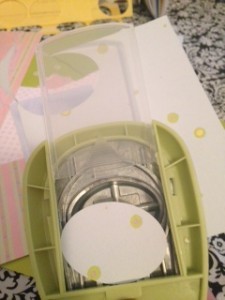
First start punching out your eggs with the oval paper punch.
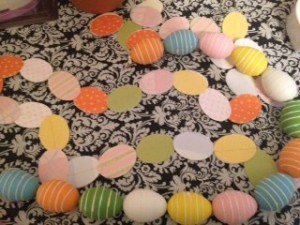
The colors I choose were pastel yellow, pastel pink, pastel blue, bright green, and bright orange. As I mentioned before, these colors coordinate great with an Easter topiary I am making with the same colored eggs. Some of my paper as well had pastel colored designs that added a little touch. The picture below shows the eggs I am using for the topiary and how the paper will coordinate.
Depending on how long you want your paper garland to be will depend on how many ovals to punch out. I just punched out a bunch of ovals with the paper I had. I actually punched out more than I needed for one garland but had such a blast making it that I used the extras to make a second one that was even longer.
If you want an exact pattern of colors or designs, then I suggest laying out the ovals in the order you prefer before you start sewing. Once you do start sewing, this extra step will make it a lot easier.
I did not use any particular pattern but instead just piled my eggs into stacks with each color or design in one stack. Then when I started sewing, I would pick up different eggs to have a more random look.
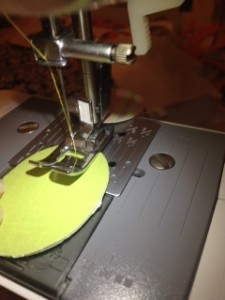
Now you are ready to use that sewing machine. Make sure you have thread in your machine that will coordinate with your egg colors. I had black in mine and of course needed to switch. I used bright yellow thread. I also used a stitch pattern that was a basic straight line. You may prefer a zig zag pattern for something extra sassy. Sew several inches of thread through before actually placing the oval paper under the foot. You will need several inches of the thread in order to hang your garland when you are finished.
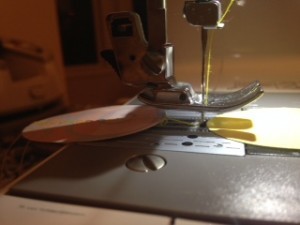
Start by placing your first egg into the machine under the foot. The machine will guide the paper through very easily to aid in having a straight line.
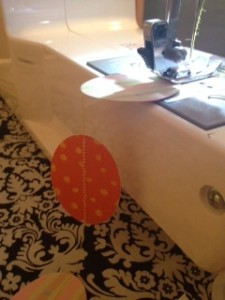
If you want your eggs to hang directly next to each other and to be touching, then immediately start with the next egg. If you prefer a space, then sew several stitches after one egg before sewing the next one.
I did one garland of each kind and both are really cute. I do think I prefer the look of the eggs with the floating appearance where they are spaced out.
Continue inserting your eggs until you have the desired length of your paper garland. Also as we did at the beginning of the garland, stitch several inches of thread at the end to use to hang it.
Another pointer I want to make that caused a little hiccup when I was making mine, is that if you are not using double-sided paper, then be sure to lay 2 eggs against each other and lined up evenly with the design or colored side on the outside where it can be seen. Go ahead and start sewing then with the 2 together with no problem.
What I had to do with one of mine, because I had forgotten until the first one was complete was to go back and attach an egg to the back side on every egg with glue or I just used an adhesive runner and it worked great. On the 2nd one, I placed two back to back and sewed them together, and it worked great.
If you do not have a sewing machine, then no worries. Do not cry. You can still make this paper garland, but it will just take you a little longer. Instead of sewing the eggs together, you can lay a ribbon, string, or even thread down the middle of an egg and then glue the other egg on top to seal the thread in between the two eggs. You will still have the same look when it’s hung but just may take a little longer.
No matter which method you choose to use, with either a sewing machine or gluing by hand, you will have made a new and simple Easter décor that can be used every year to add that little extra touch. Plus I have to admit, it was a blast to make. I may just be addicted and have to make for every occasion now. The possibilities are truly endless.
Enjoy your paper garland, and as always don’t forget to enjoy the little things in life!
