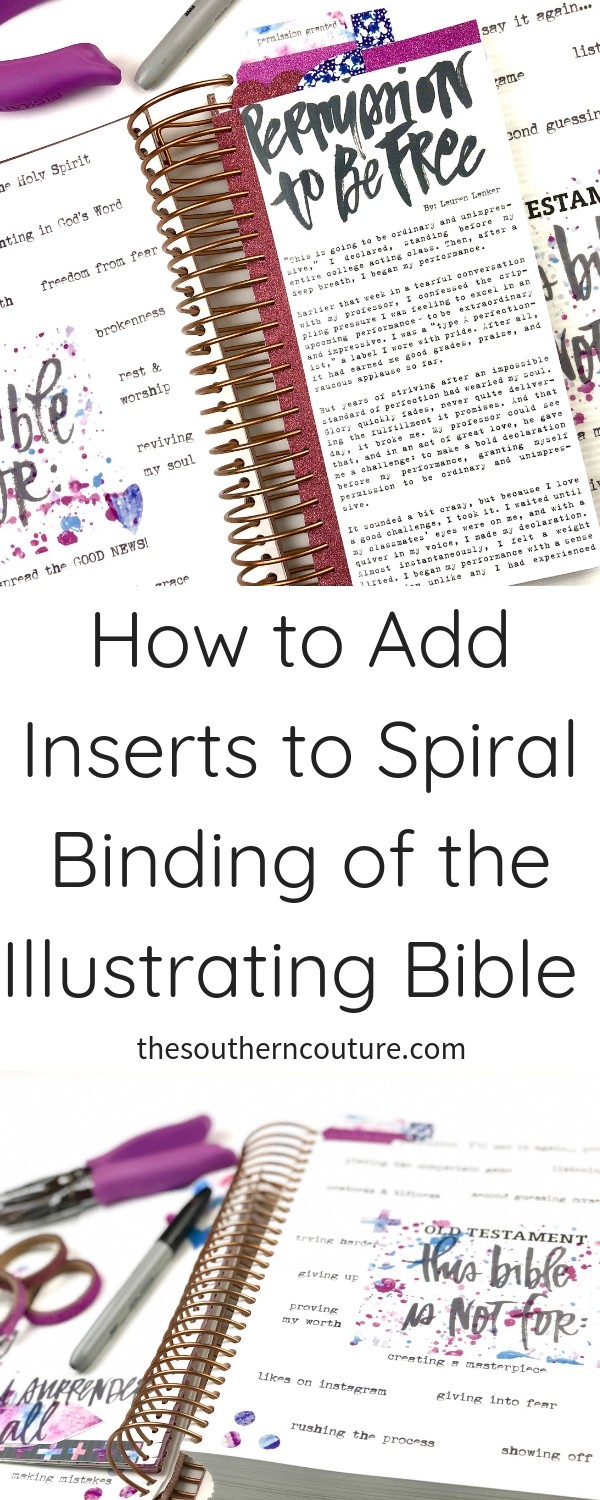
Check out how to add inserts to spiral binding of the Illustrating Bible for devotionals, note-taking, etc. Make your first insert with the Permission Pages Devotional from the Illustrated Faith Print and Pray Shop.
Some of the links below are “affiliate links.” This means if you click a link and purchase an item, I will receive a small affiliate commission that helps me to be able to continue with this blog and hopefully continue to inspire you as well.
As soon as I first layed my eyes on the Illustrating Bible, I knew my Bible journaling would never be the same. From the extra wide margins to the spiral binding, there are so many fun and new things that we can do now that previously were impossible. (If you want to know more details and features about the Illustrating Bible, then check out THIS post and video with a flip-through showing the Bible.)
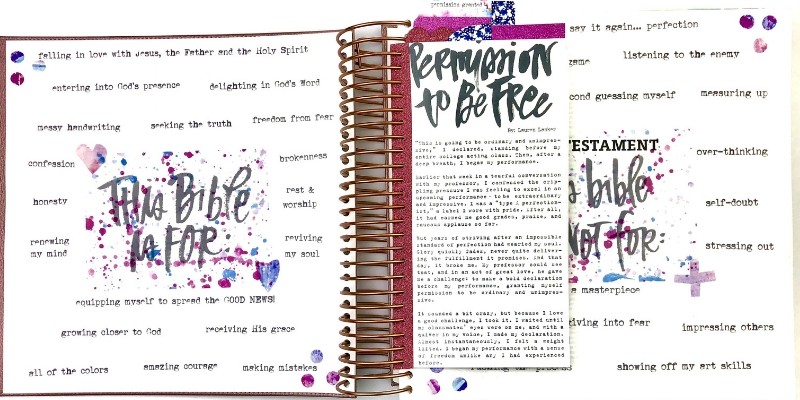
One of those things is adding inserts into the pages using the spiral binding. I have done similar things with journaling cards and extra note pages in my planner but never thought I would be able to in my journaling Bible. The idea came to me while I was working on the Permission Pages set from the Illustrated Faith Print & Pray Shop designed by Lauren at the Thinking Closet.
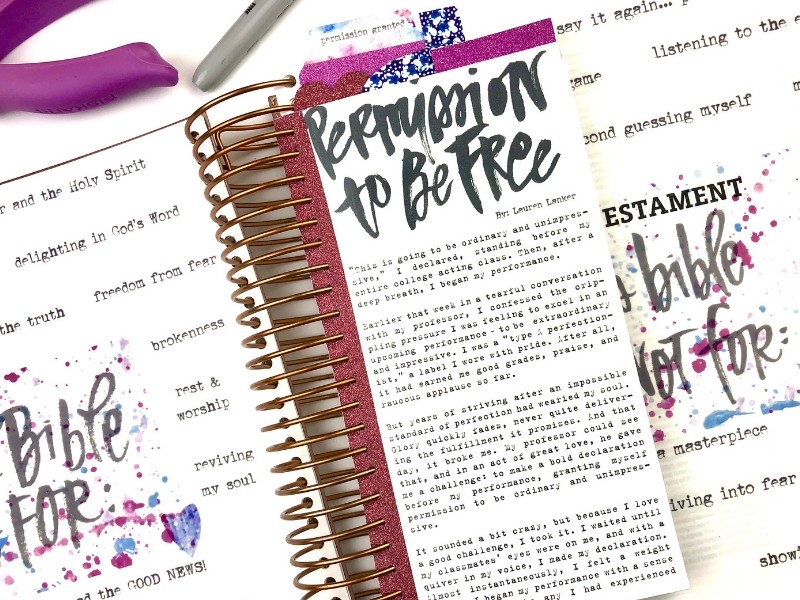
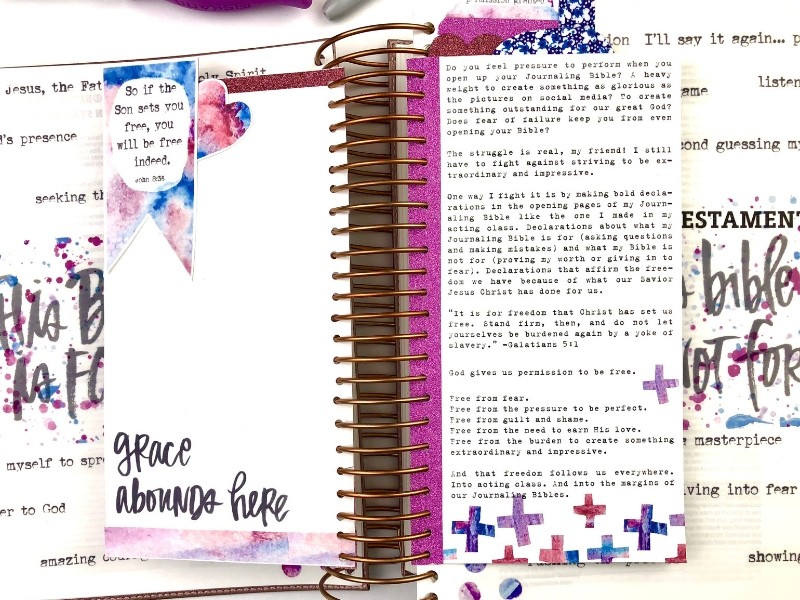
She includes a 3-page mini devotional with the rest of the art elements and printables that I thought would be fun to keep tucked inside my Bible for quick reference. The pages also give me extra room for journaling. Check out the video below showing exactly how I put the insert together in the Illustrating Bible and also how I’m using Lauren’s set. (If reading the steps and seeing pictures is more your thing, then keep reading. I have that too. 😉 )
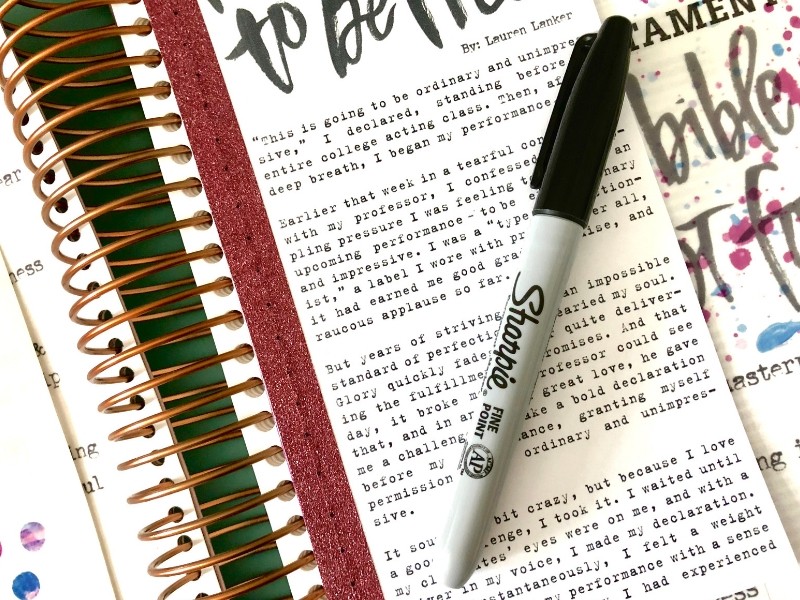
For the devotional she includes, I cut it out using a paper cutter for some nice straight edges and was sure to leave a small margin about 1/4″-1/2″ on the left hand side. To make the page more durable and also add some color, I added a strip of washi tape to the margins. Next I placed it beside the spiral binding and marked with a permanent marker every so often for the rings.
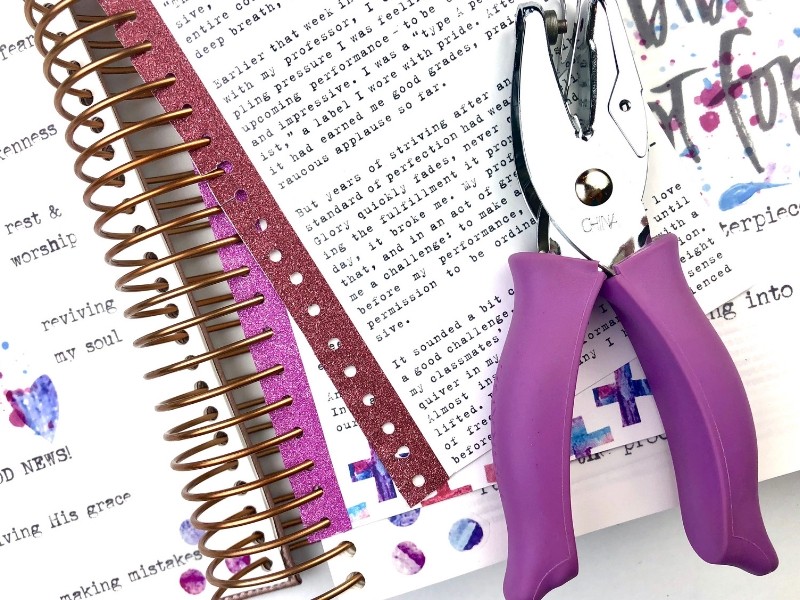
Then I punched holes using a mini circle hand puncher. Cut a small slit at each hole and then just pop the devotional pages into the binding.
To add some touches of color and detail to the devotional pages, I used the art elements of washi tape, word bubbles, hearts, crosses, etc. along with some glitter and fabric washi tape I had already.
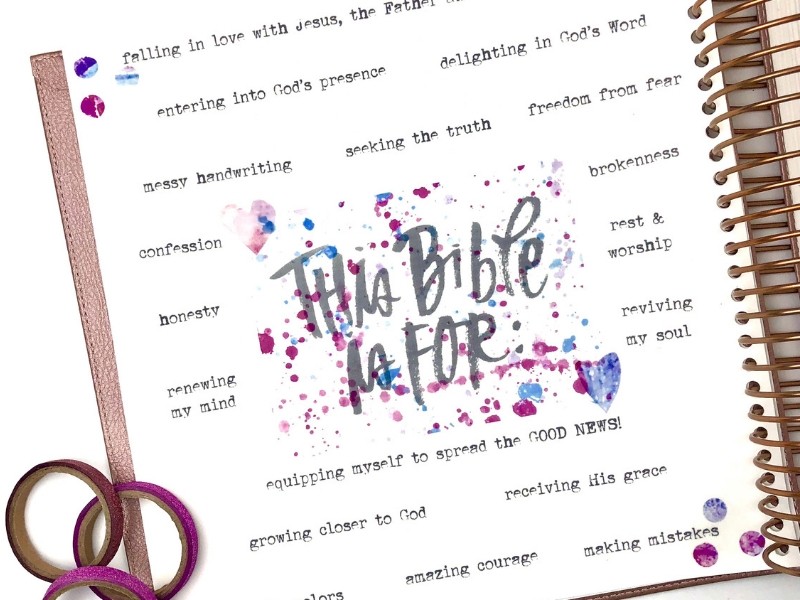
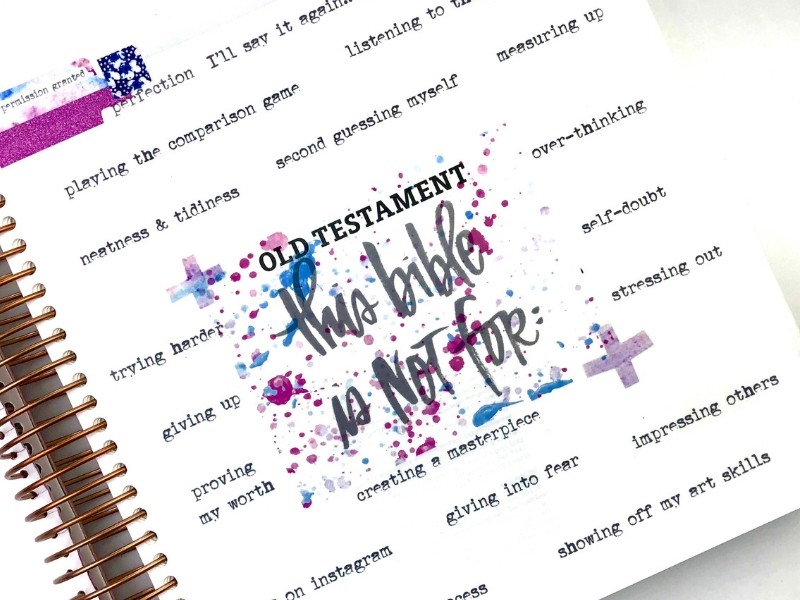
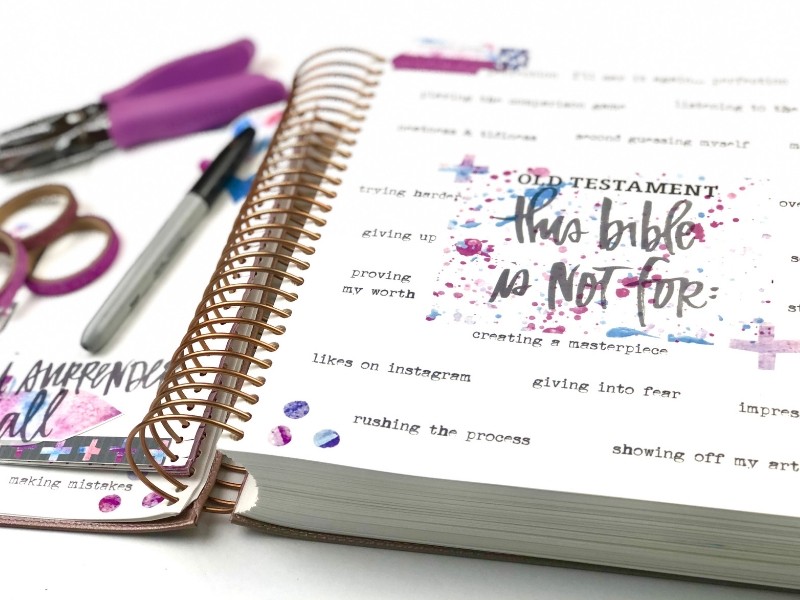
I used the pages titled “This Bible is for” and “This Bible is not for” printed on clear sticker paper for my declarations. As I cut out the different declarations, I used a couple blank pages at the front of the Illustrating Bible to place everything. I also used some of the other art elements, also printed on clear sticker paper, to give the background a little color.
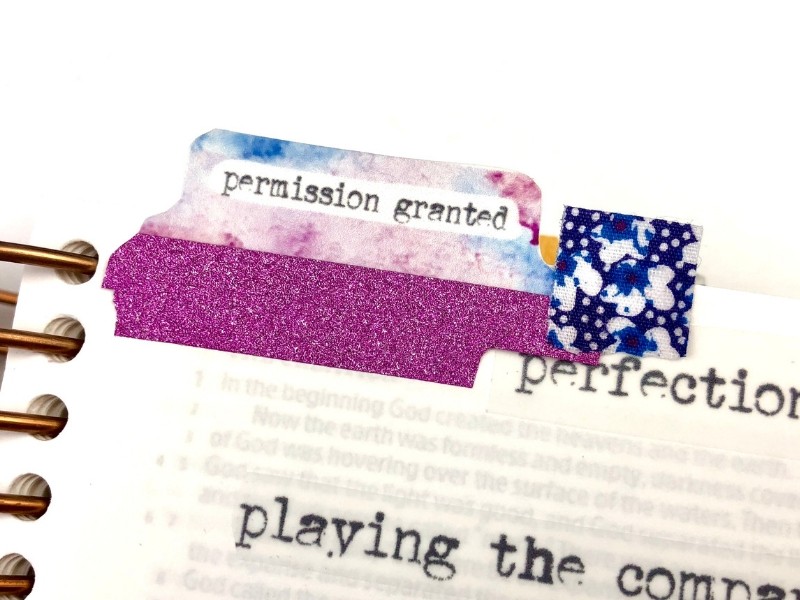
Lauren even includes a tab with a title heading that I placed at the top with glitter and fabric washi tape to mark the page.
How perfect is this whole set for reminding us every time with open our journaling Bibles the reason we are really there. It is definitely not to criticize our art skills or see how many likes we can get on Instagram for our entries. Our journaling should be a pure reflection of time spent with God and heeding his voice.
If you haven’t grabbed your printable set, then what are you waiting for? Plus get ready to use this technique for not only devotional pages, but also for adding extra note pages, envelope pages to hold prayer request lists, and so much more.
And I couldn’t leave you without mentioning one more time how much I’m in love with this new Illustrating Bible. The margins are extra wide and the pages are huge making ideas like this one today totally doable. Head to Dayspring now to order yours and get FREE shipping as well!!!
ENROLL NOW IN MY 5 DAY BIBLE JOURNALING ECOURSE FOR FREE!

Get exclusive tips and tricks with my 5 Day eCourse available exclusively to subscribers!
