There is just something about the adrenaline rush of finding a bargain, steal of a deal, clearance find, whatever you wanna call it. It truly can make my day sometimes.
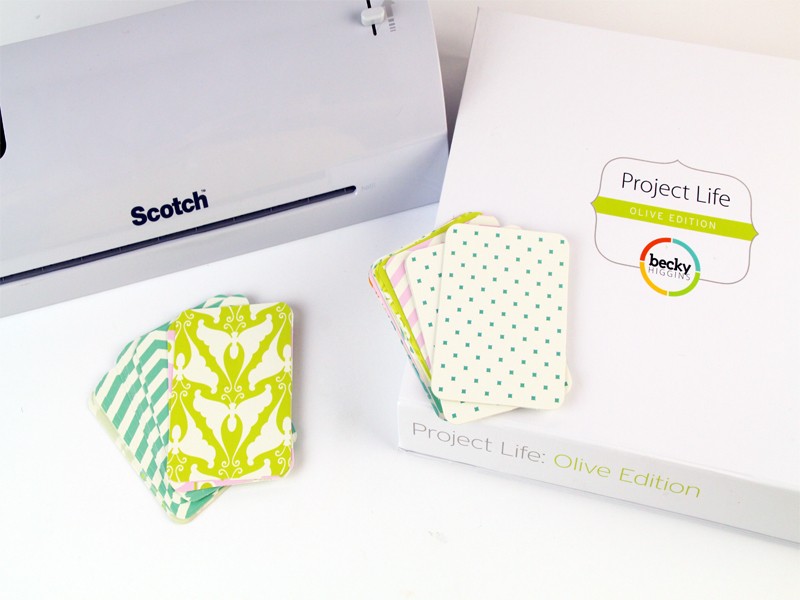
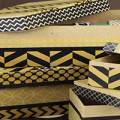
That’s exactly what happened when I was shopping at a local discount store to our house and ran upon this box of Project Life cards for only $5.00.
I just about passed out in the aisle at what a huge discount this was. There were so many different colors and designs that I knew I would have a blast finding other ways to use them.
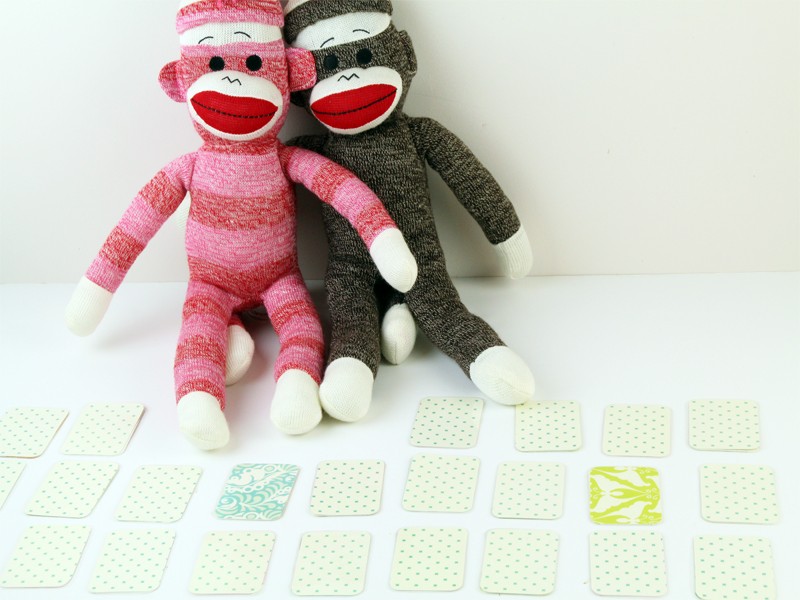
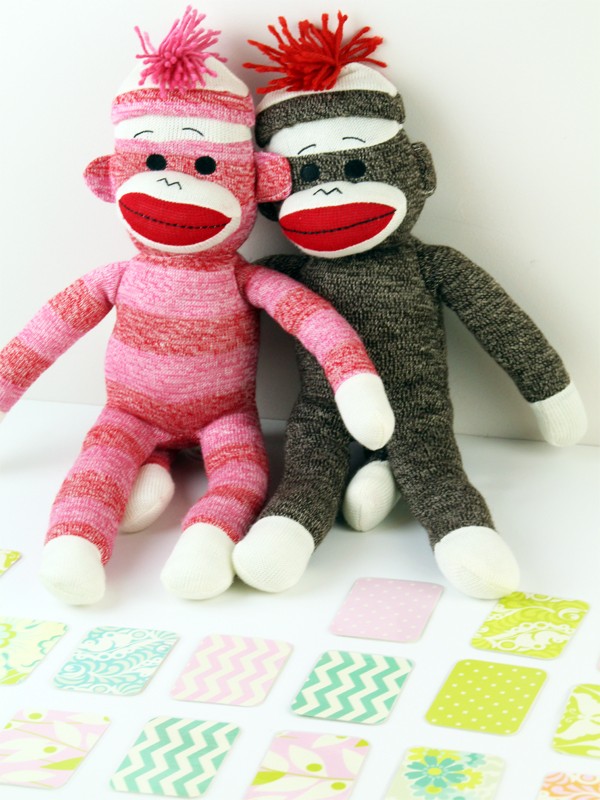
That’s when the idea to make a memory game struck. This was one of my favorite games to play as a child so I thought why not make a really cute version of it. Your kids will have a blast playing, and it’s even great to take on the road too.
Supplies:
- Project Life cards
- Paper cutter
- Rounded corner punch
- Adhesive runner
- Laminating machine or Self-sealing laminating sheets
- Scissors
Find the designs and cards that you want to use. You could also just as easily use scrapbook paper and have your kids decorate it for their own special touch.
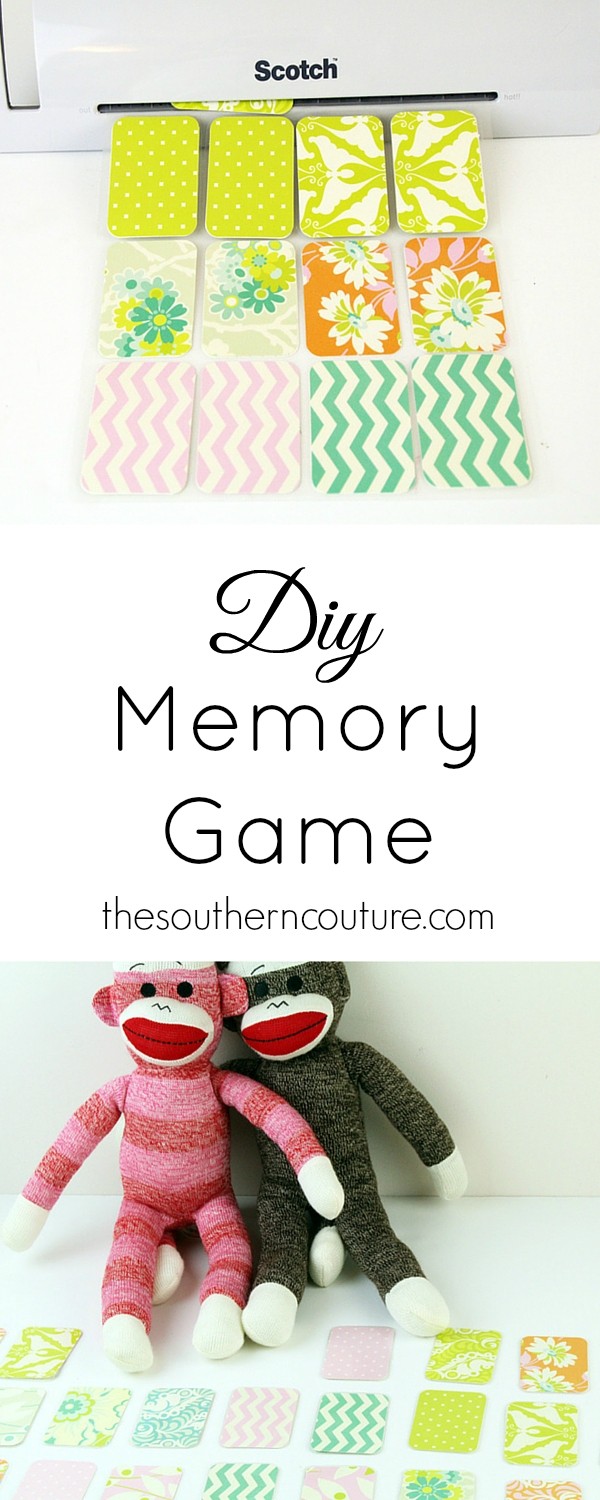
Be sure to choose an odd number of designs so there will be a winner at the end and not a tie. I picked 13 different designs. I also picked 1 other design that I used for the front side that was the same. You will need enough cards in that 1 design to place on the back of the pairs. This same side is what will face up when you are playing.
I chose a simple design for every card on one side and then designs that were colorful and bright for the opposite sides.
Cut the cards in half using a paper cutter and then punch any corners with the rounded punch if needed.
Once you have pairs of 13 different designs, attach the other basic cards on the back using an adhesive runner.
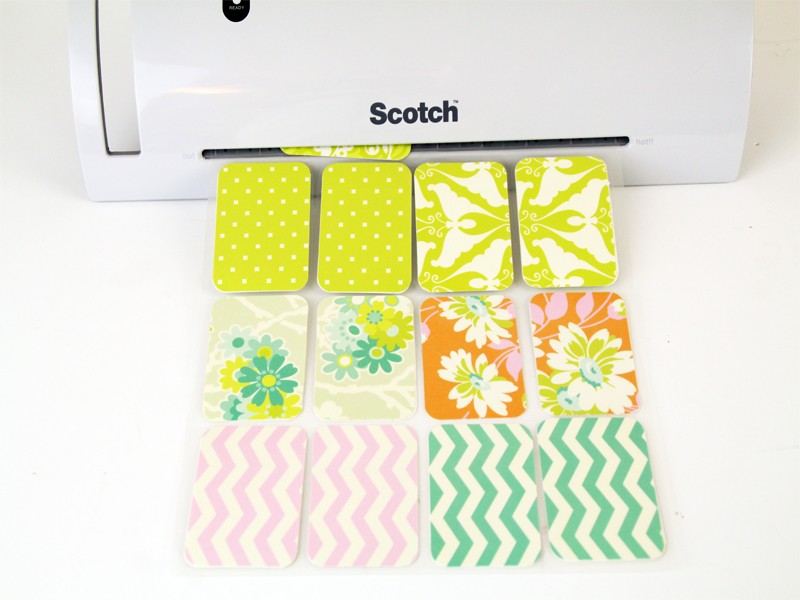
You should now have 13 pairs of cards with 13 different designs on one side and the same design on the opposite side on every card.
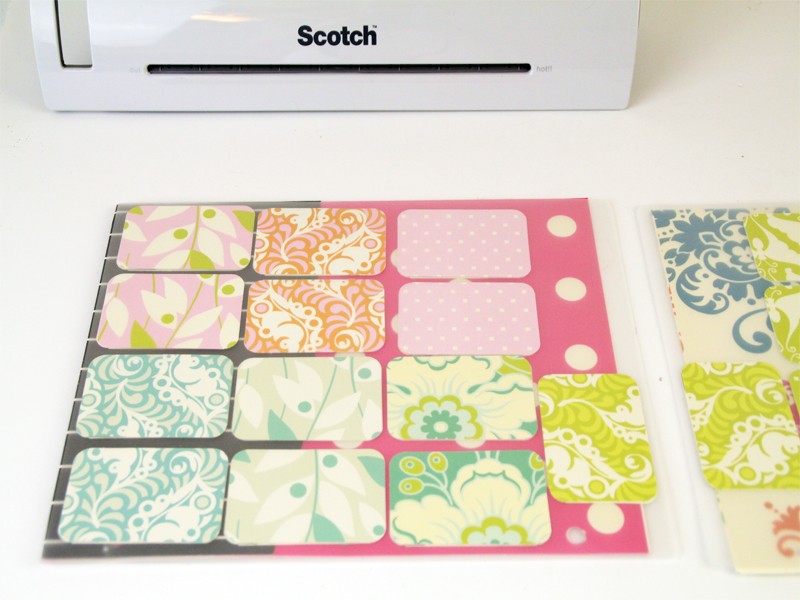
I used a laminating machine to laminate mine so they would last much longer.
Place them inside the sheets and then place them into the machine. I used a notebook under each sheet to help me guide them into the machine and keep them from moving inside the sheet. Just be sure to not stick the notebook into the machine.
Now you can cut them out and get ready to play. If they try to peel open at all, place some adhesive on the inside and you should be good to go.
You are now ready to test your kiddos memory and have fun at the same time.
Talk about a sweet little homemade Christmas gift for your kids’ friends or maybe even for their classroom.
Also if you have not already, please join me on Facebook, Pinterest, Instagram, and Twitter. I would love to hear from you with any comments, suggestions, or ideas you may have.
P.S. Please share this post with others if you enjoyed it and found it helpful. We love when you pass on goodness to others.
This post was originally published on By Dawn Nicole on September 3, 2015.
