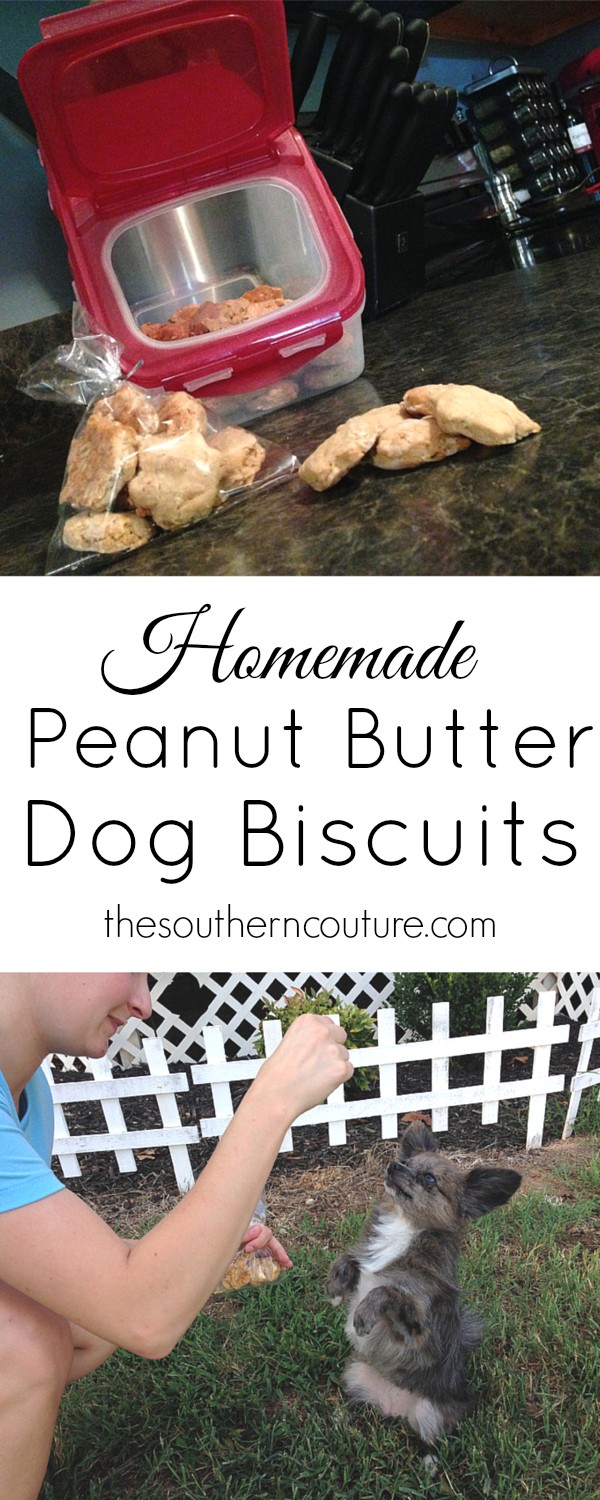
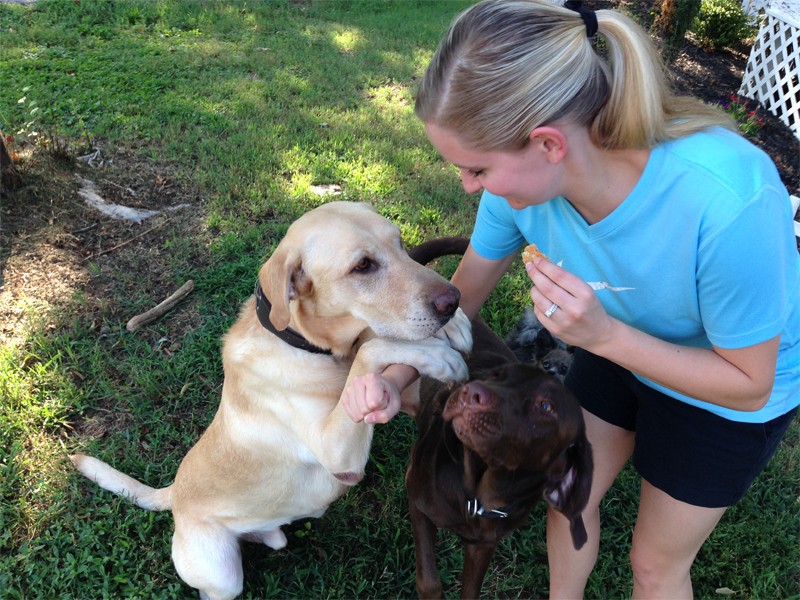
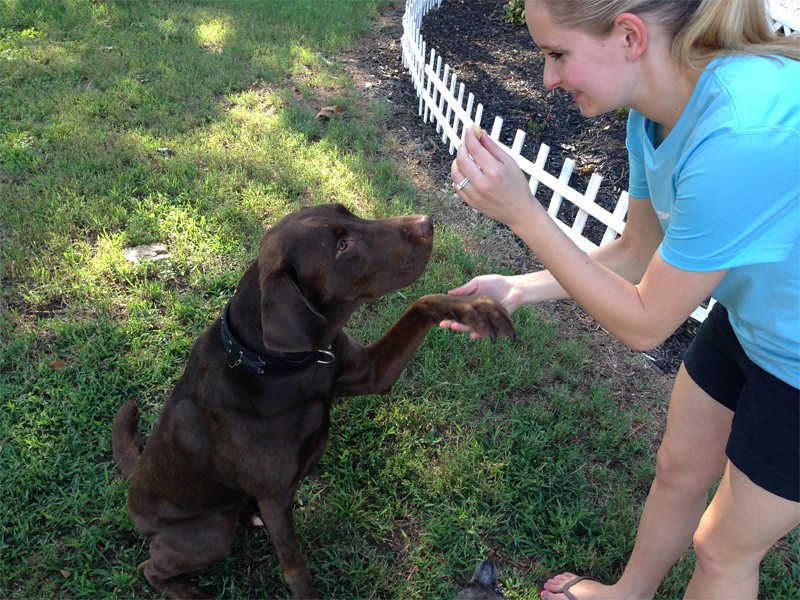
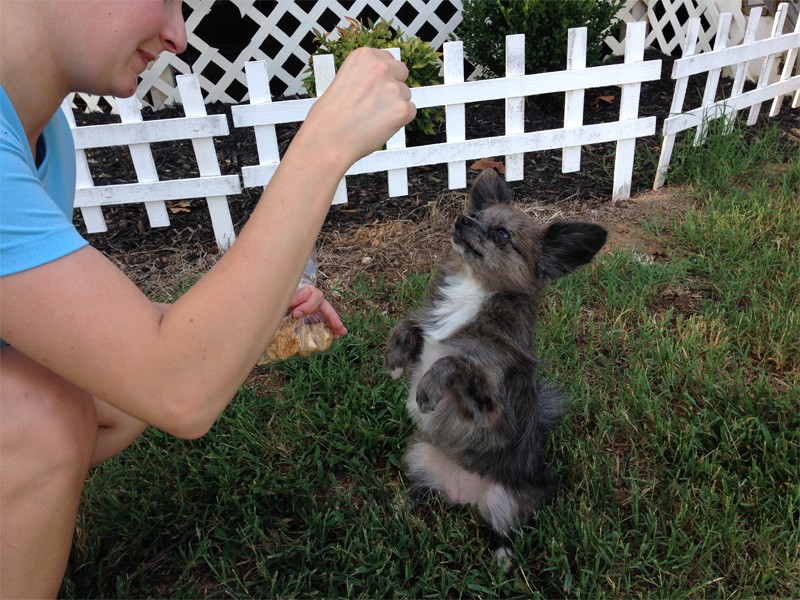
These homemade dog biscuits have my dogs doing just about anything in order to get their paws on one. My fur babies have been known to literally stand in front of the oven while they are baking and stare through the glass. It’s as if they know that I’m making something special just for them. Plus while I’m mixing all the ingredients, they stand by my side the entire time watching every move I make. I really wish that I could read their mind sometimes. I can be a messy cook at times which they have learnt means that crumbs may fall and they will get a taste. When baking these though it seems as if they are all glued to my side and can’t wait for them to be ready.
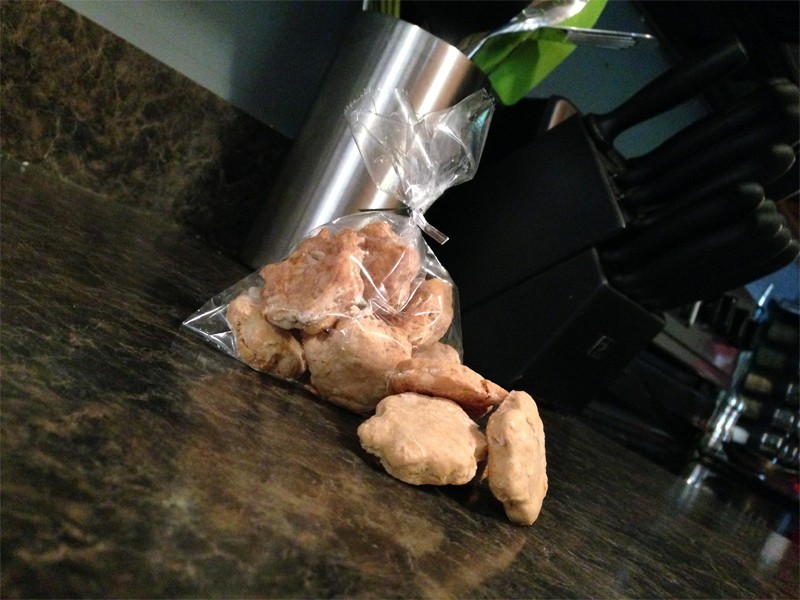
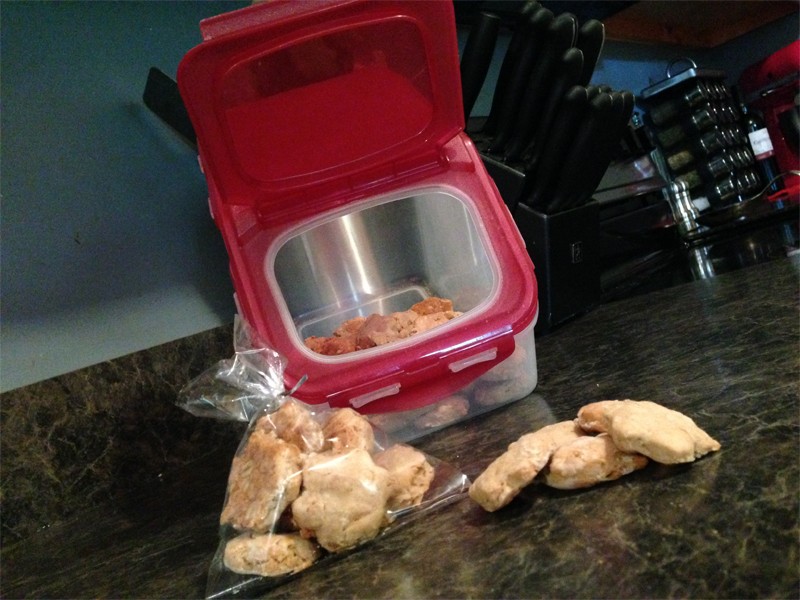
I am definitely a pet lover which means my dogs give Christmas and birthday present to their furry friends and cousins. A great way to give these is placing them in a clear treat bag with a cute ribbon and tag.
Using mini cookie cutters is the perfect size for small dogs. A regular size cookie cutter is great for larger dogs. I usually will go ahead and use the mini cookie cutters for all my dogs though. I don’t like for them to have a large treat all the time especially after they come back in from the bathroom. If it is a special occasion, then a larger size would be great.
A dog bone shaped cookie cutter is perfect to use, but I have also found that other shapes are fun too depending on the occasion.
If you have more than one dog or larger dogs, it helps to double the recipe. Just be careful and make sure they are eaten in time before they start to mold because there is nothing in them to preserve them like the store bought items.
Also these treats are something that you can make just about any time as most of the items you will probably find already find in your pantry or fridge.
I do have to say one other thing though before we get started. My husband was curious what they tasted like so he tried them. Yes they are dog biscuits, and you know exactly what is going into them but the fact that they are dog biscuits makes it seem nasty to even think about trying them.
Now let’s get these dog biscuits baking and let them enjoy!
Ingredients:
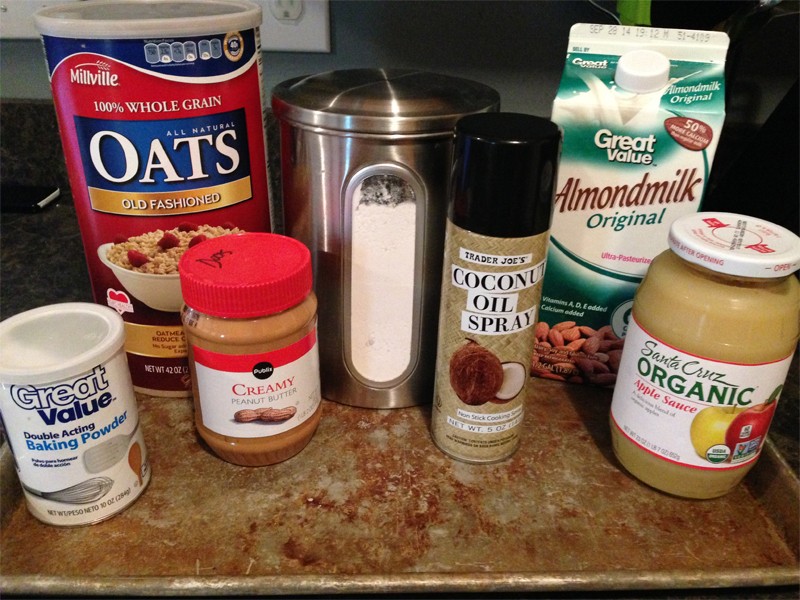
1 1/4 cup of All-Purpose Flour
1/2 cup of oats
½ tablespoon baking powder
½ cup of peanut butter
½ cup of milk- Once you combine the ingredients together, you may find that you need to add a little less or more to get the correct consistency to roll the dough out.
2 tablespoons of applesauce
Spray oil
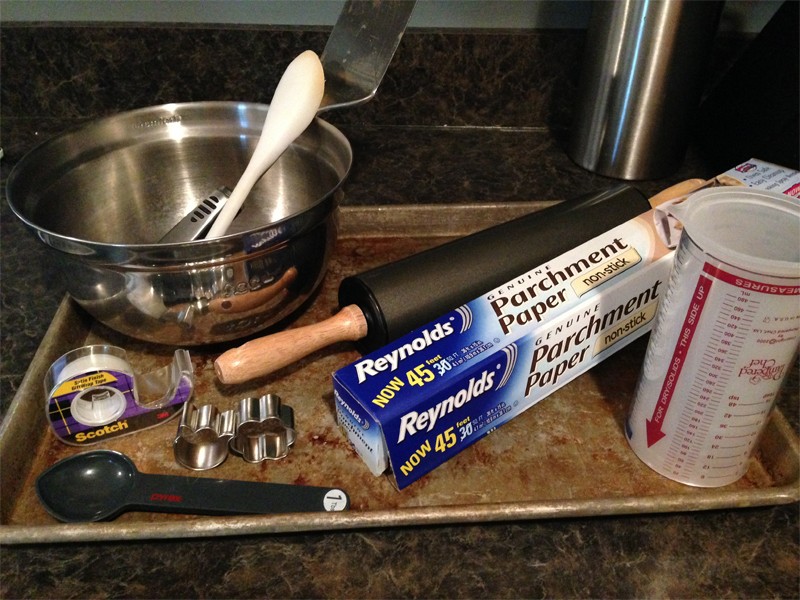
Supplies:
Large mixing bowl
Spoon
Measuring cups- I love my pampered chef measuring cup that can be used for dry and liquid and also only dirties up one cup.
Measuring spoons
Wax paper or parchment paper
Tape
Rolling pin
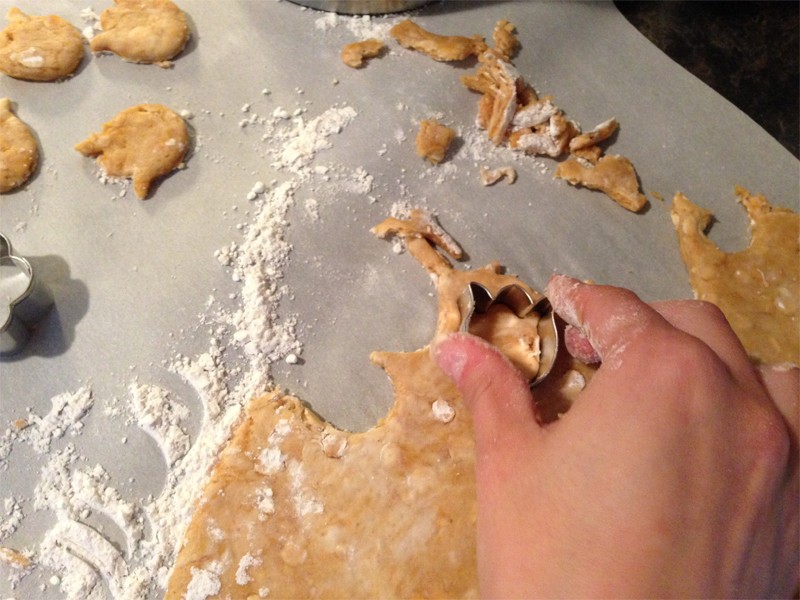
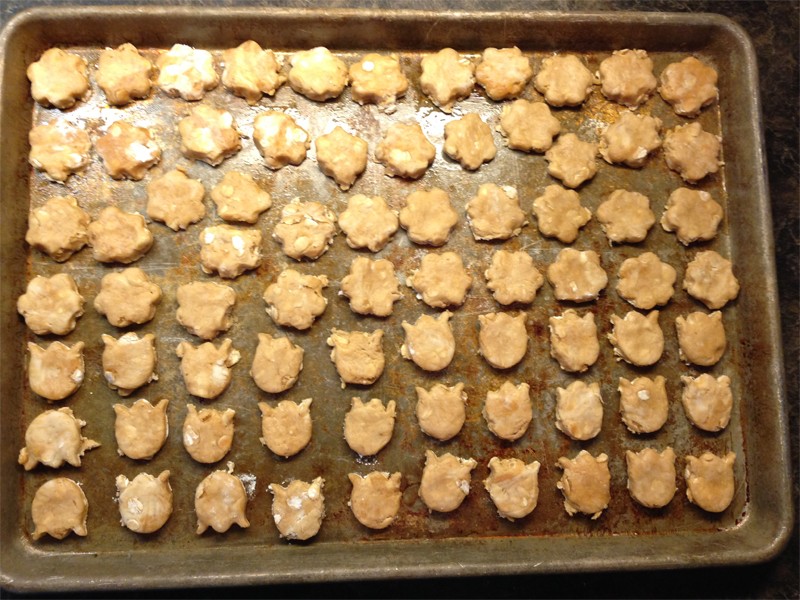
Cookie cutters or mini cookie cutters- With the beautiful sunny weather we have had lately, I decided to use 2 different flower shapes.
Baking sheet
Spatula
Directions:
Preheat the oven to 350 degrees while mixing the ingredients.
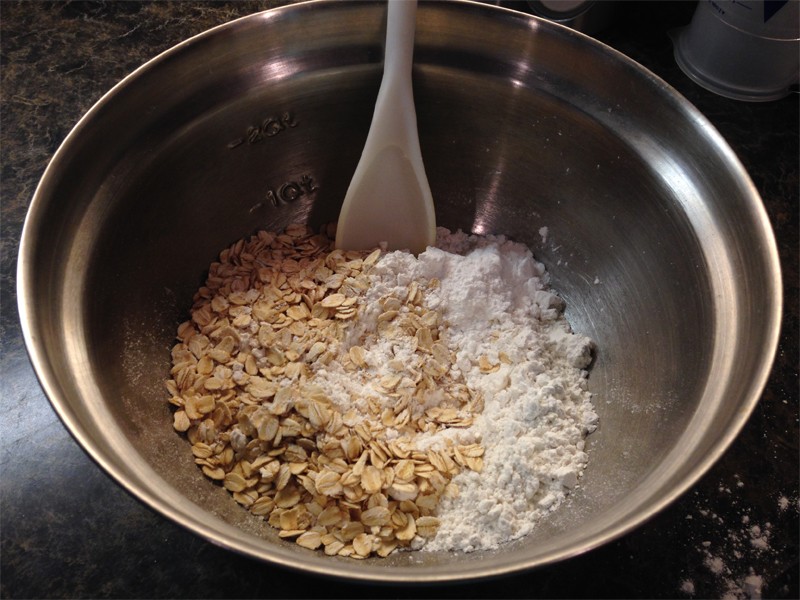
Start with all the dry ingredients: all-purpose flour, oats, and baking powder, and combine together in a large bowl.
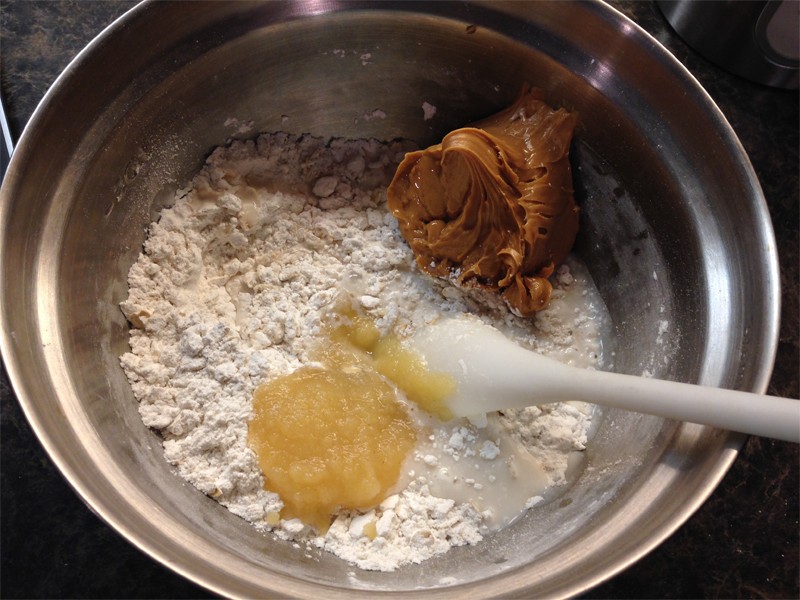
Then next add in your wet ingredients: peanut butter, milk, and applesauce into the dry ingredient combination and mix until well incorporated. I find that it is also easier to use your hands at this point to combine everything plus it is just fun sometimes to get a little messy.
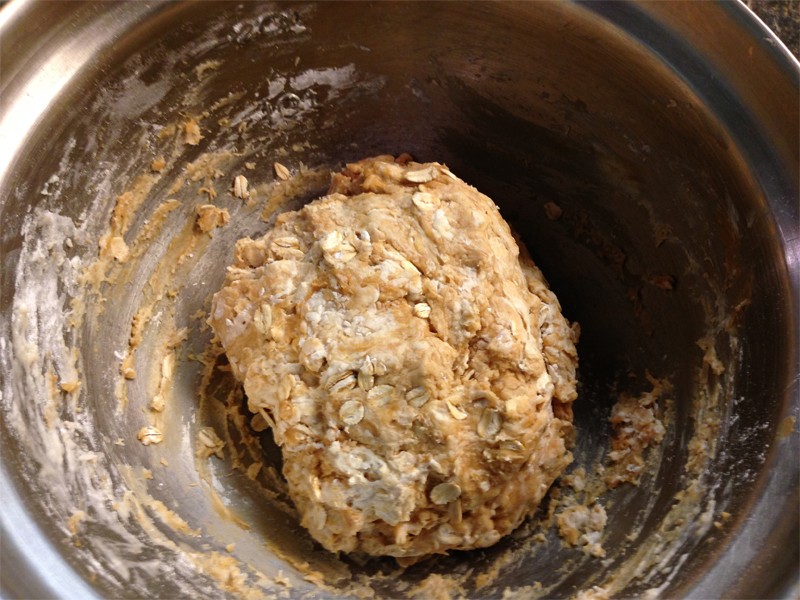
Knead the dough into a ball. If you find that your dough is a little dry, then add a little milk at a time. On the opposite side, if your dough seems to be too wet then simply add a little more flour until the right consistency holds its shape in a ball.
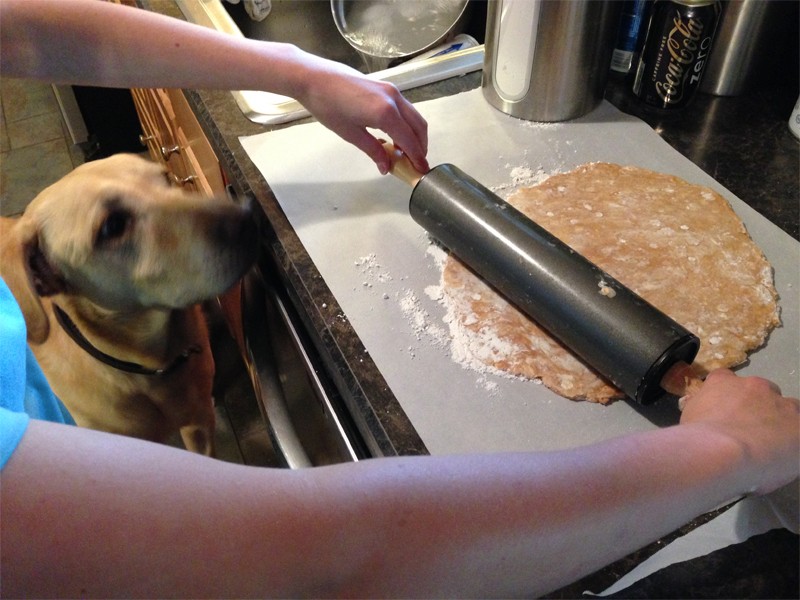
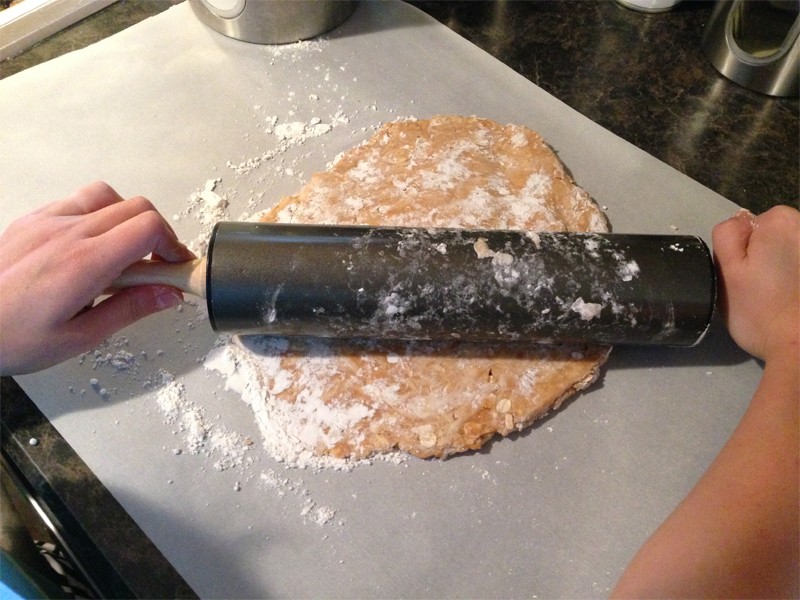
Roll out some wax paper on your kitchen counter and tape down the corners to keep it in place when rolling out the dough. Sprinkle some flour on the wax paper to help prevent the dough from trying to stick.
Place the ball of dough on the wax paper and roll out using the rolling pin to about ¼ to ½ inch thick.The thickness depends on how you want the final consistency of the dog biscuits to be. I usually make mine about ½ inch thick for a more soft biscuit. The thinner dough would also be good for more of a thin and crispy treat.
Once your dough is rolled out to the desired thickness, cut out the treats using your cookie cutters.
Spray your baking sheet with spray oil and then begin placing the dog biscuits on the sheet being sure they do not touch.
Once you have cut out all the treats, place the baking sheet in a preheated oven for about 15 minutes depending on your individual oven. I have found that my oven cooks faster at times than most recommended recipes as well.
The treats should be golden and starting to crisp.
Let them cool before serving them to your dogs. This tends to be the hardest part for my dogs. It’s as if they know I am making these for them and they can’t wait! They want them right away. Once they have cooled, let your fur babies enjoy. Place them in an airtight treat jar to make them stay fresh for as long as possible.
Your puppies will love you and will want to lick you for making these for them. Once you make them once, the second time it’s as if they know what is coming just for them!!
These treats are easy to make which makes it a great activity to complete with your kids as well. They will love mixing all the ingredients together and getting their hands dirty.
Another great thing about these treats is that you know exactly what is going in them and they are fairly healthy for your dog. Much better than some being sold in stores with who knows what ingredients.
Make your sweet dogs enjoy the dog biscuits while you are enjoying the little things in life!
Please leave a comment if you tried baking your own or send us a picture of your dog’s eating their treats! Also if you have not already, please join me on Facebook, Pinterest, Instagram, and Twitter. I would love to hear from you with any comments, suggestions, or ideas you may have.
