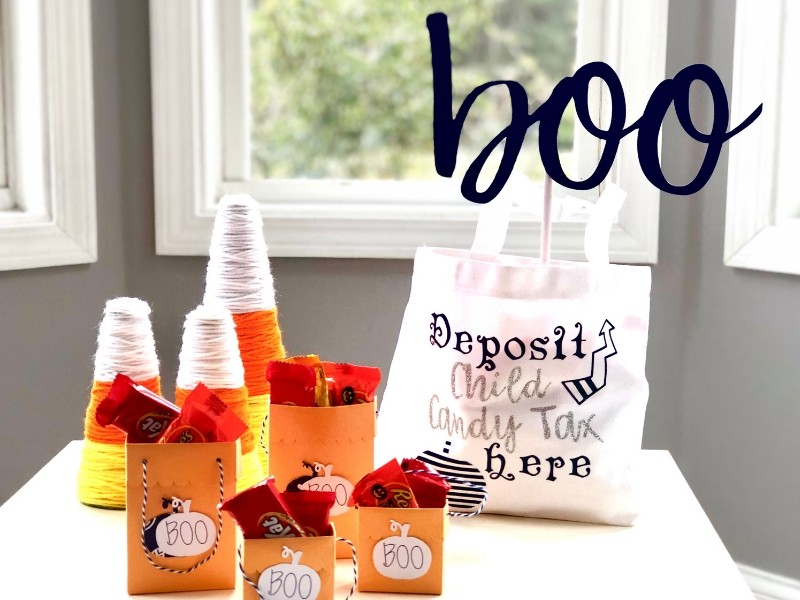
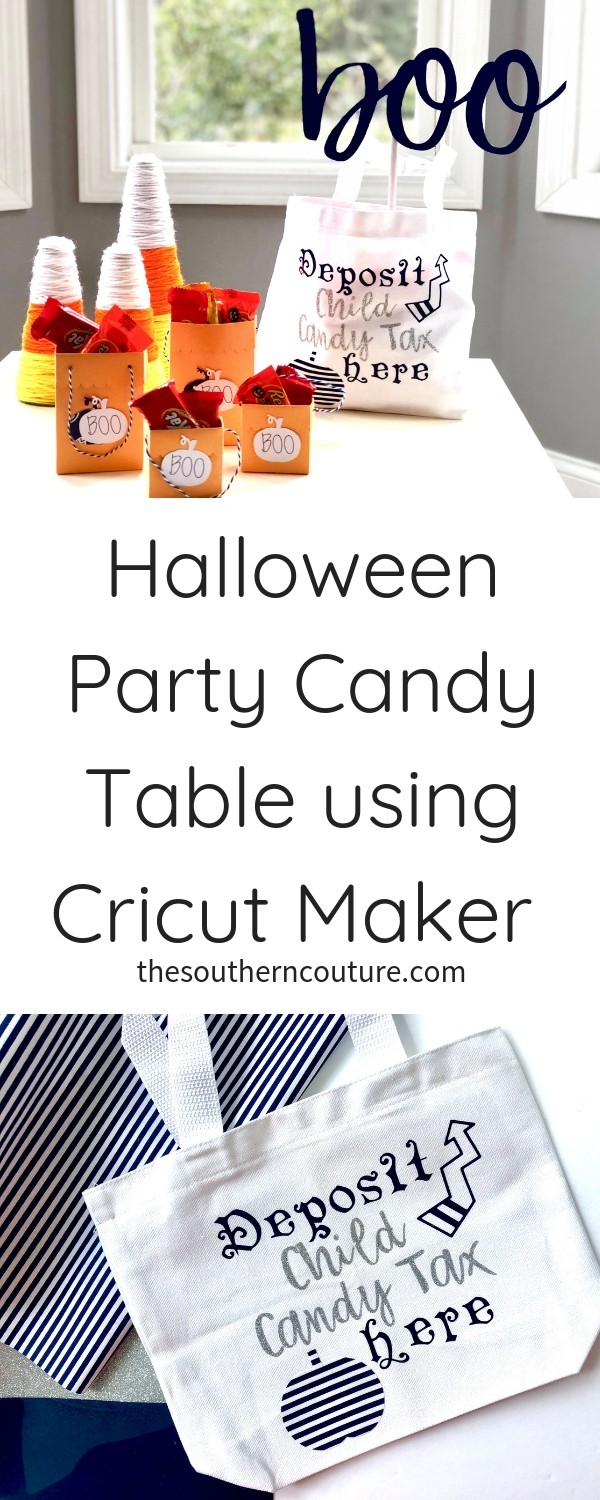
Get ready for those adorable trick-or-treaters with a Halloween party candy table using Cricut Maker. Learn how to make a candy bag, treat bags, and party decor.
This is a sponsored conversation written by me on behalf of Cricut. The opinions and text are all mine. I pinky promise! Some of the links below are “affiliate links.” This means if you click a link and purchase an item, I will receive a small affiliate commission that helps me to be able to continue with this blog and hopefully continue to inspire you as well.
We are officially starting the most fun and exciting season of the year with one holiday after another. Let’s kick these next few months of partying off with a bang. Cue the confetti! We shall begin with Halloween, adorable DIY Halloween costumes, and DIY Halloween crafts. I say we shall declare this year a handmade Halloween starting with my Halloween party candy table using Cricut Maker.
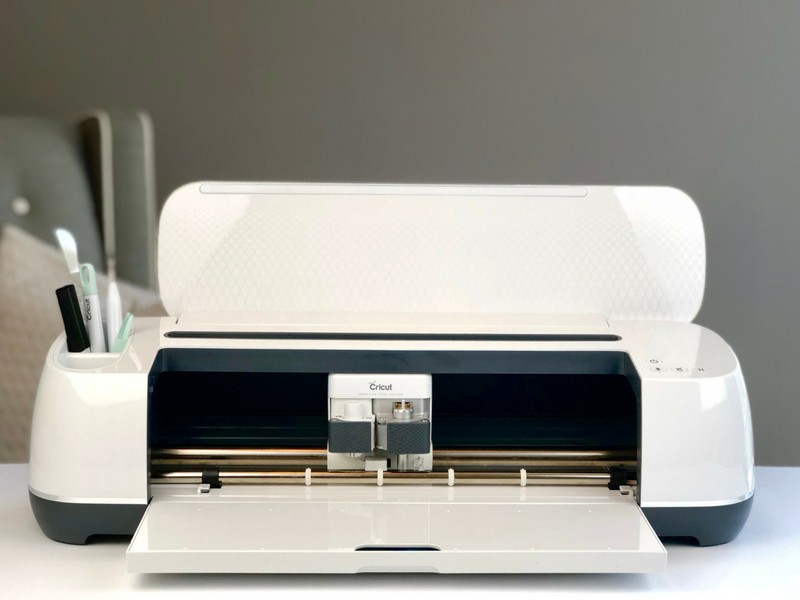
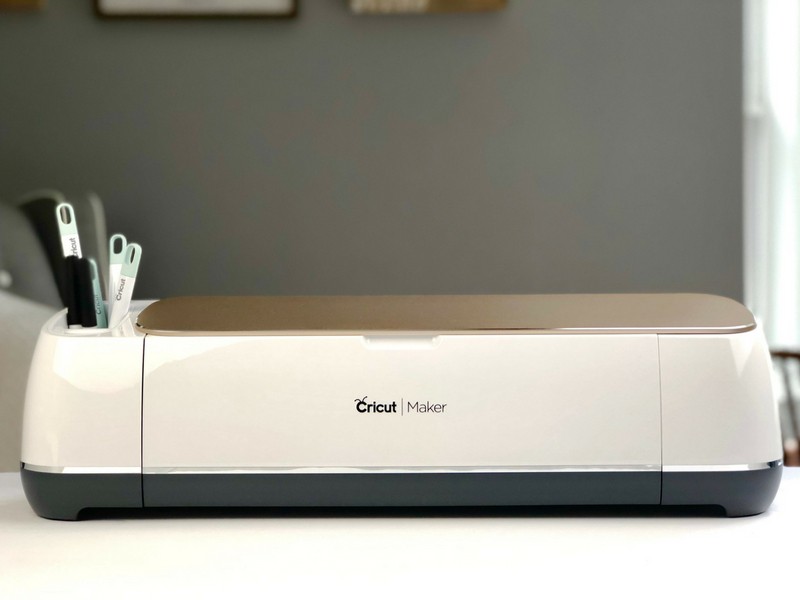
If you have ever wanted to throw a party that looked like something right out of a magazine but didn’t have the time to spend making every last detail perfect, then you have come to the right place. The Cricut Maker is here to make all those dreams come true. I recently shared 10 things I love about my Cricut Maker. Check out that post to see more goodness of all this incredible machine can do.
The Maker can cut hundreds of materials from chipboard to fabric to vinyl. I can’t wait to show you these specific ones today too. It even has a rotary blade that glides through fabric so easily. If you love to sew or what to learn more skills, you will find a huge library of sewing patterns in Cricut’s Design Space to really help out.
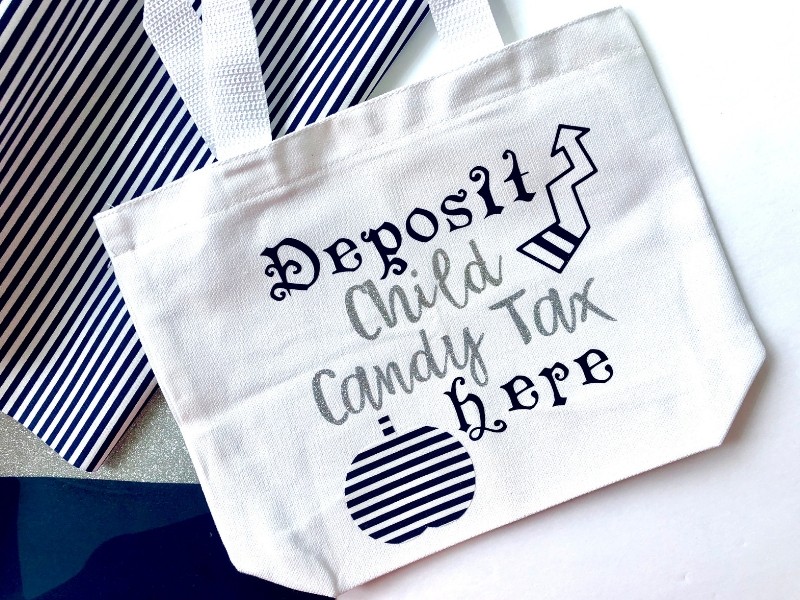
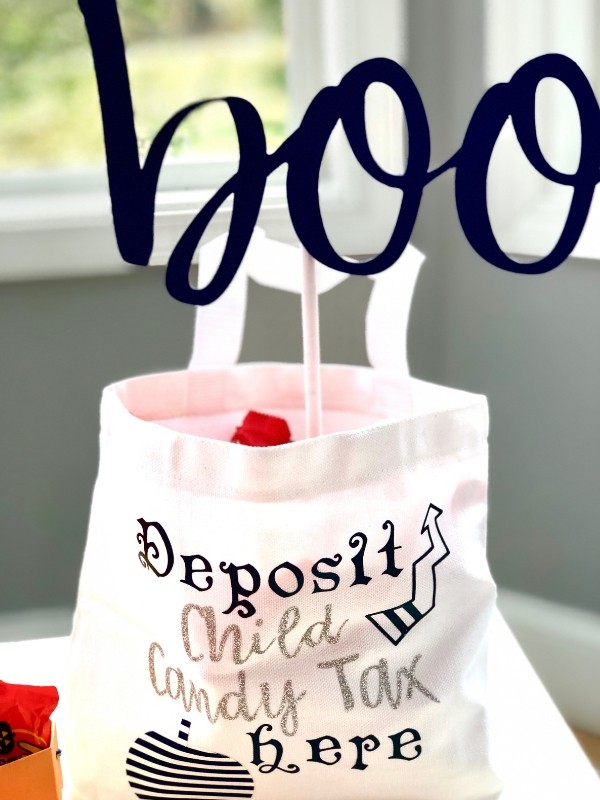
So let’s get this party started and let me show you how to create your own candy table that every kid of any age will enjoy. A candy table isn’t complete without lots of candy right? This canvas candy bag is my absolute favorite. My 2nd favorite thing is the “Child Candy Tax” rule especially when you get those peanut butter cups.
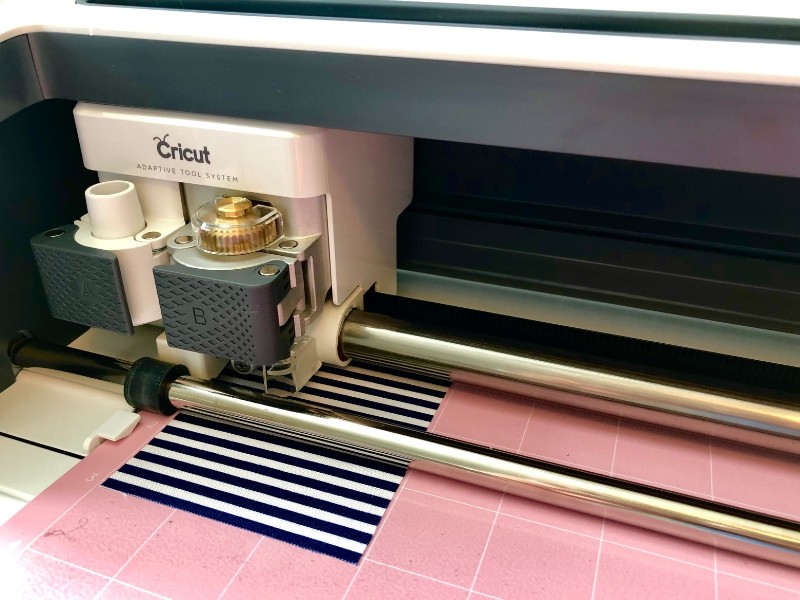
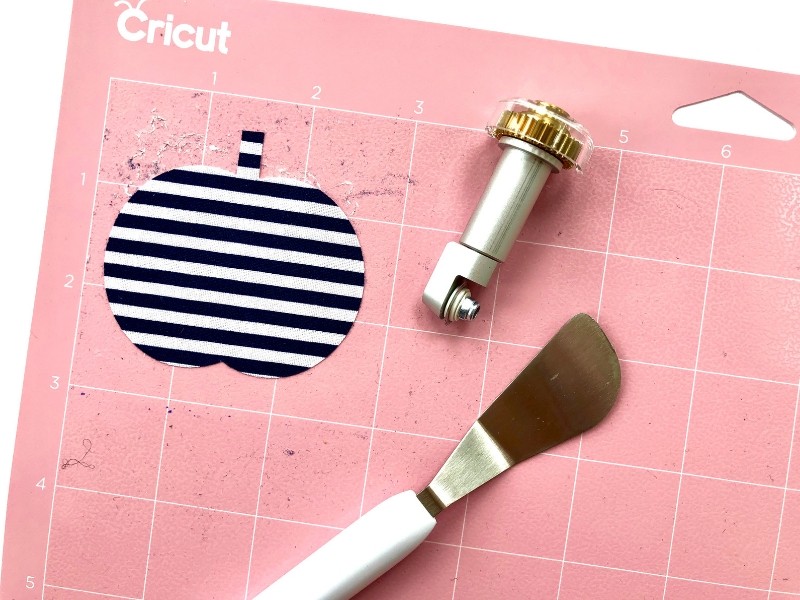
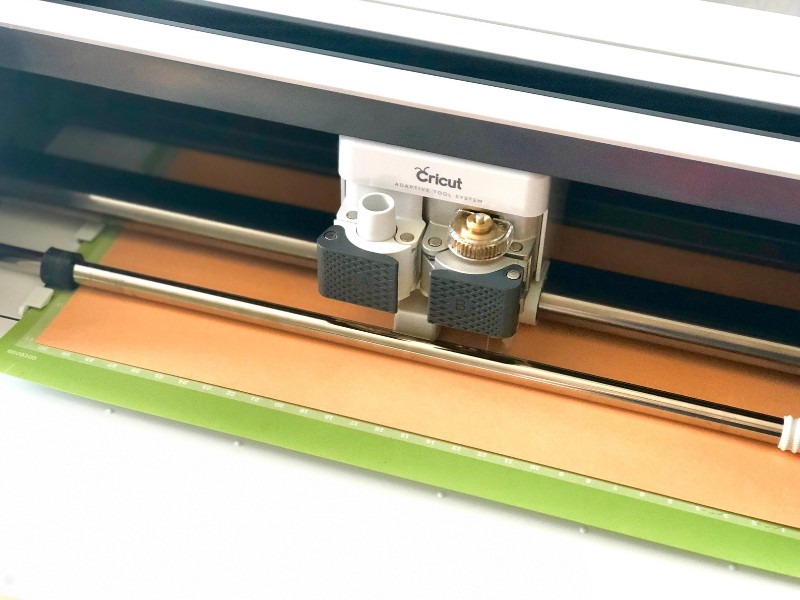
I made this bag using everyday iron-on vinyl and fusible fabric. Yes, the maker even cuts fabric. How cool is that? You can click HERE to go straight to Design Space and find the project there. Cut out your materials first. I used the fine point blade for the vinyl and the rotary blade for the fabric.
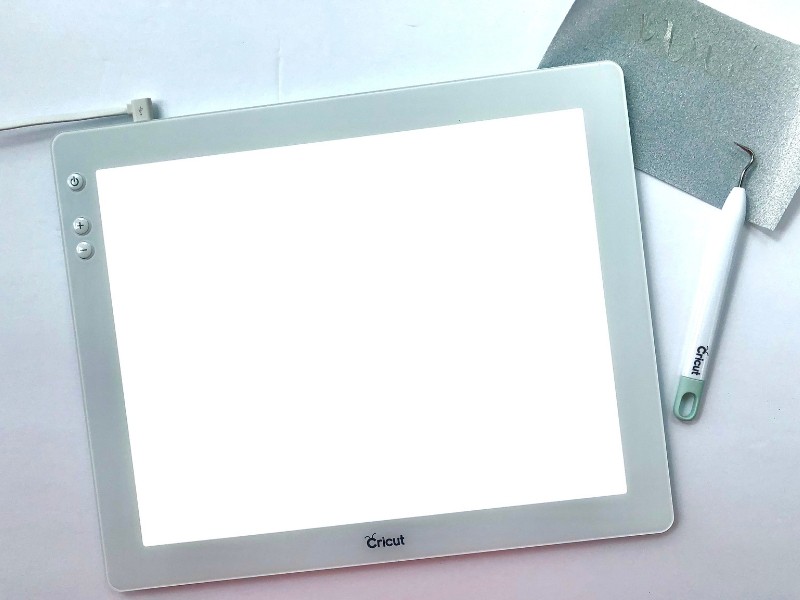
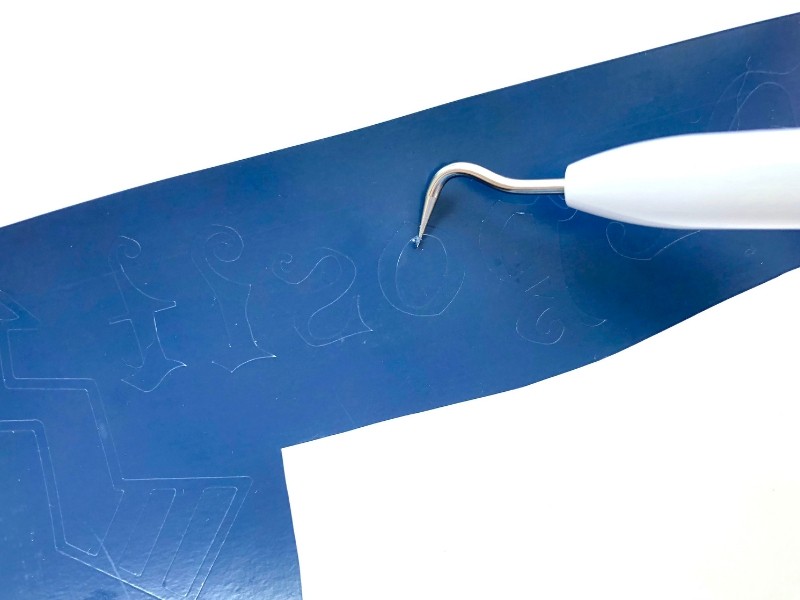
The font I chose for the everyday iron-on has some more intricate cuts which is why I love weeding it with the BrightPad. No more straining my eyes. And trust me when I say this is a lifesaver because there’s nothing worst than weeding the wrong part of your cut and having to redo it. (Not that I know from personal experience or anything. 😉 )
The picture below is my everyday iron-on vinyl placed on top of the BrightPad. You can see the cut lines so easily making it a breeze to weed.
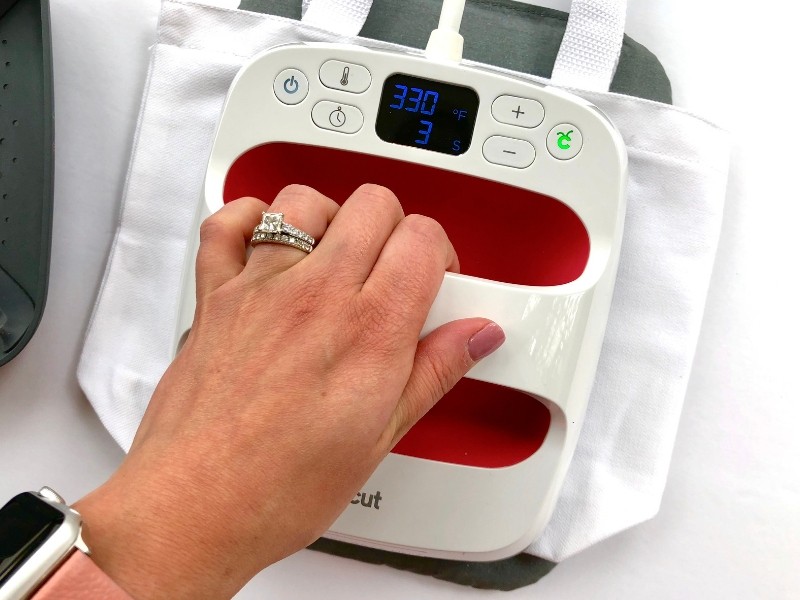
I placed my cuts on the canvas bag and then used my brand new EasyPress 2 to iron them on. Another lifesaver! You can apply your materials in less than 1-2 minutes. No more elbow grease with the iron to get vinyl to actually adhere.
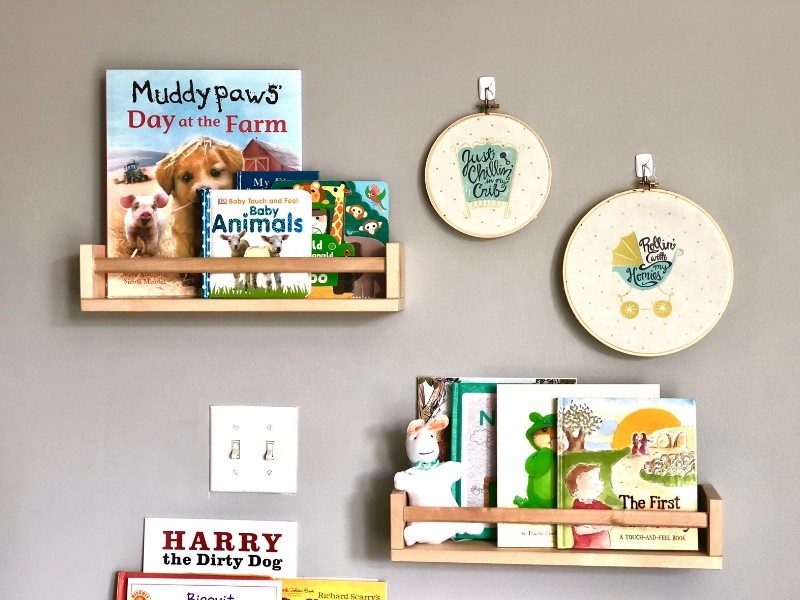
And while I’m talking about the new EasyPress 2, check out my recent post talking more about its features. I share a tutorial for making this embroidery hoop decor for my son’s nursery.
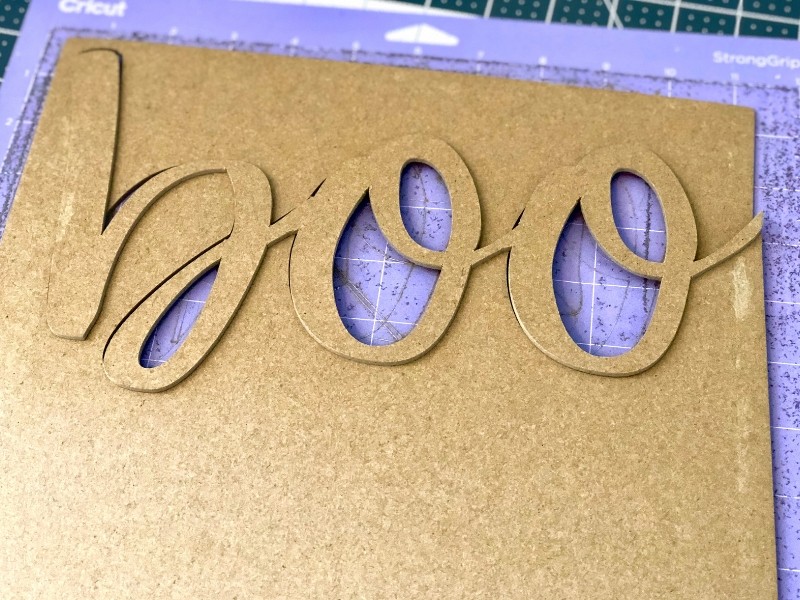
Now for that “boo-tiful” centerpiece. (See what I did there. I just crack myself up sometimes. 😉 ) That “boo” decoration is made out of chipboard. Yes, the Maker can cut chipboard. Click HERE to get the project in Design Space now.
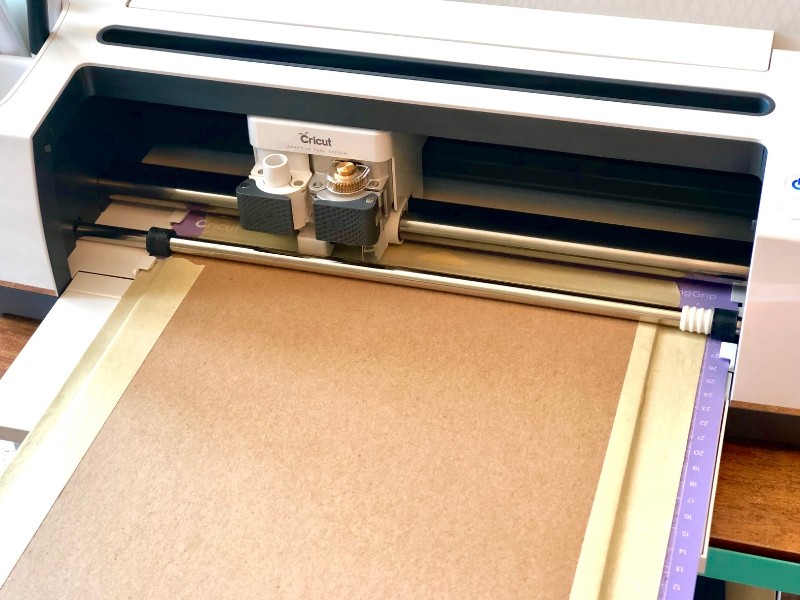
Place the chipboard on the StrongGrip (purple) mat and tape it down using masking tape. This really helps to make sure the chipboard doesn’t move during the cut and mess up. You can easily remove the masking tape once it’s done.
You will use the knife blade to cut chipboard. *Be prepared to wait for the Maker to cut the chipboard as it makes numerous passes to really make sure it has been cut through completely.
After it finished cutting, I painted it navy blue and hot glued a small dowel rod to the back. Place a piece of styrofoam in the bottom of the canvas bag and then the dowel rod will stand easily inside the styrofoam. (This would also be cute to cut one for a wreath.)
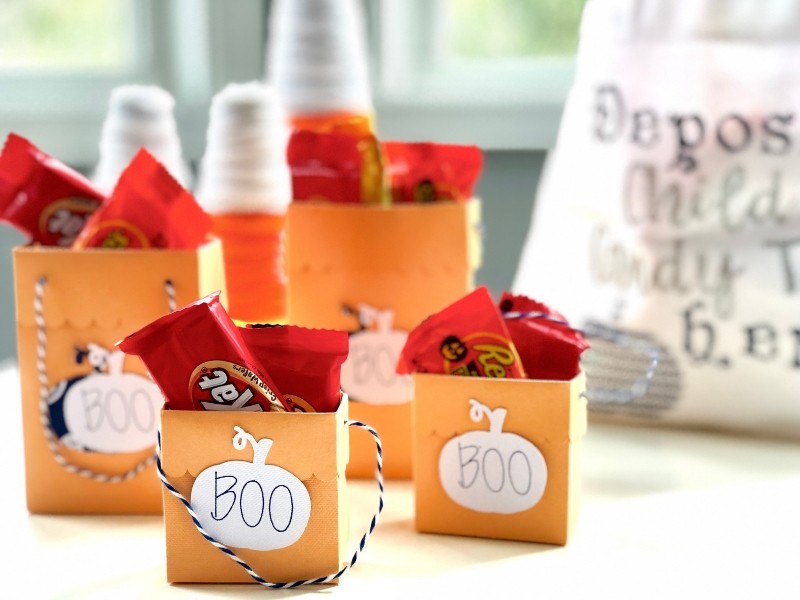
I wanted kids to have a way to take some candy with them as they leave the party as a sort of party favor which is where these miniature gift bags come in handy. Cut your gift bags out HERE in Design Space.
I used the Maker scoring wheel to make it even easier to fold the cardstock to put these together. The scoring wheel gives an extra-deep score line.
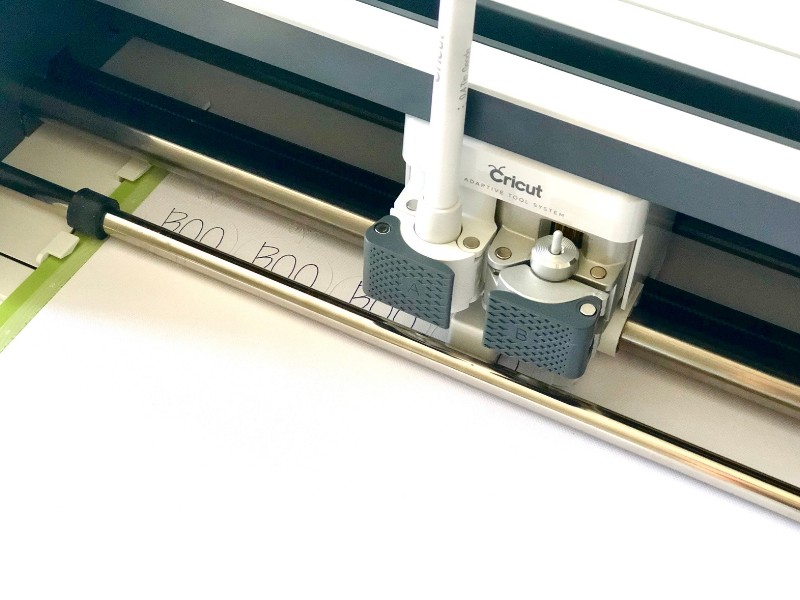
I folded on the score lines and used an adhesive runner to attach the bottoms and sides. For the pumpkins, I used Cricut’s cardstock and deluxe paper. For the word “boo” on the pumpkins, I used the Cricut pens and the Maker to write it out for me. Adhere the pumpkins to the front of the bags and tie bakers twine through the holes for the handles.
The candy corn decorations are a craft I made several years ago. You can find the full tutorial HERE.
Now you just need to add some candy and a few pumpkins and you are all set for a fun Halloween party candy table. Now let’s all give a round of applause to the Maker for doing just about anything I need it to for any occasion.
This is a sponsored conversation written by me on behalf of Cricut. The opinions and text are all mine.
GET ACCESS TO MY FREE PARTY PLANNING CHECKLIST!

Sign up to download your FREE party planning checklist, available exclusively for subscribers!
