I love anything sweet just about so being able to incorporate a sweet treat into a craft is even better with these Candy Corn Yarn Cones. They are both easy and inexpensive to make. Plus the options are also endless. These cones would be perfect on your fall mantle or a centerpiece on your dining room table. Maybe you are throwing a Halloween party. Candy corn cones would be cute sitting on a candy table for your guests. Wherever you choose to place them will be perfect.
Once you start making them, your sweet tooth will be calling for candy corn like mine did. Just don’t be tempted to eat these. I do not think the styrofoam would be too tasty. Let’s get started.
Supplies:
Foam cones– I used two 6” and one 9” cone.
Yarn- yellow, orange, and white
Cake plate and candy corn- optional for displaying
Let’s get started:
First measure each cone and divide it into 3 parts so that the colors of your candy corn are equal. I used an ink pen to place a small hole to divide the sections that would make it easier to know when to change yarn colors.
Start with the yellow yarn and place hot glue around the bottom edge of the cone.
Place the yellow yarn on the glue around the entire bottom to hold it in place before you start wrapping the yarn.
*Be careful with the hot glue gun and yarn. It is very easy to burn the tips of your fingers when placing the yarn.
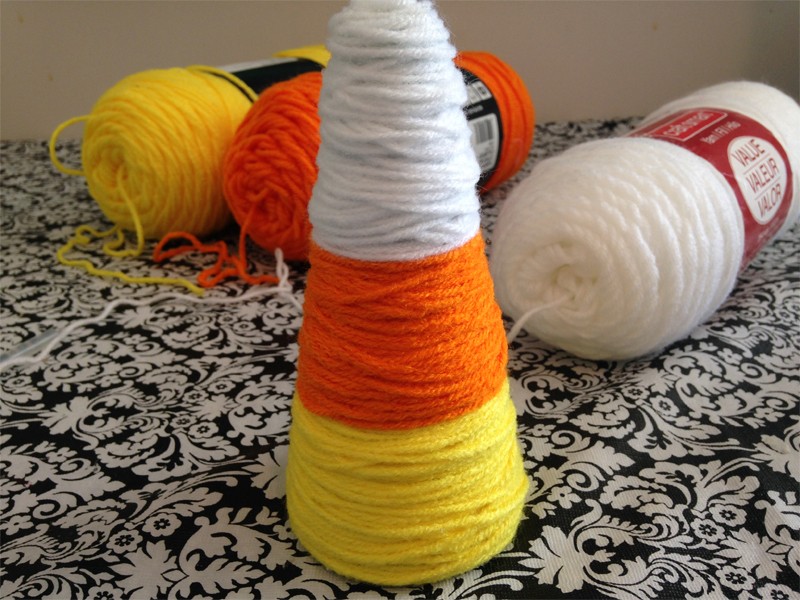
Continue wrapping the yellow yarn around the cone until you reach the first hole that you made that shows where to start the next color. I overlapped the yarn as I wrapped it to give some texture and detail. It also helps to cover the cone completely without any of the styrofoam showing through.
Place a small dot of glue where the yellow yarn ends to keep it in place.
*Be sure to glue the yarn down on the same side where you started the glue before in order to keep all the glue on the same side so when displaying the glue is not showing all around the cone. This just keeps the cones with a cleaner look.
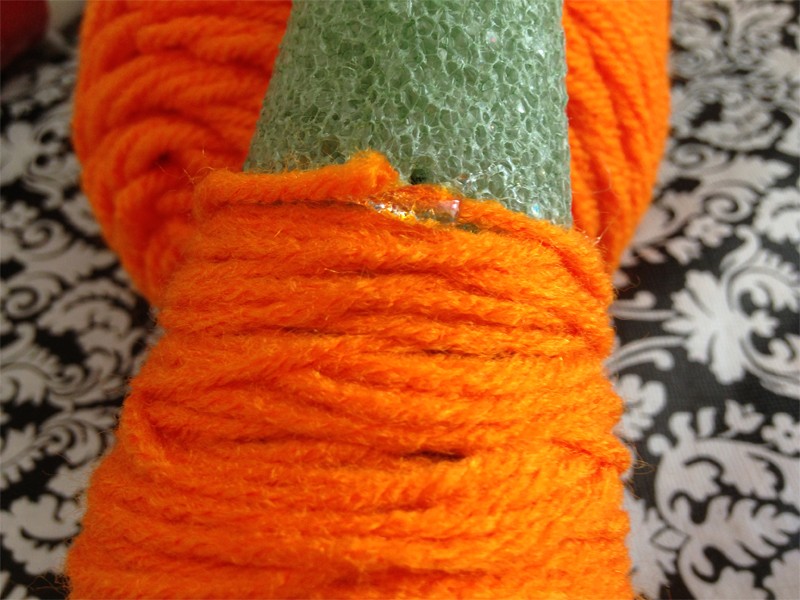
Place another small dot of hot glue and start with the orange yarn by gluing it to the cone.
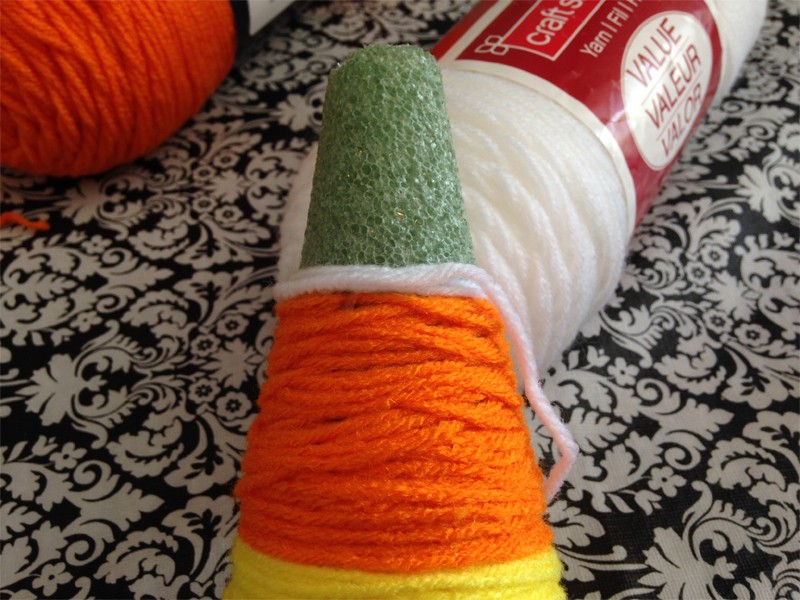
Wrap the orange yarn around the cone in the same way as with the yellow yarn until reaching the top dot that marks where to stop.
Place another small dot of glue to glue the orange yarn to the cone.
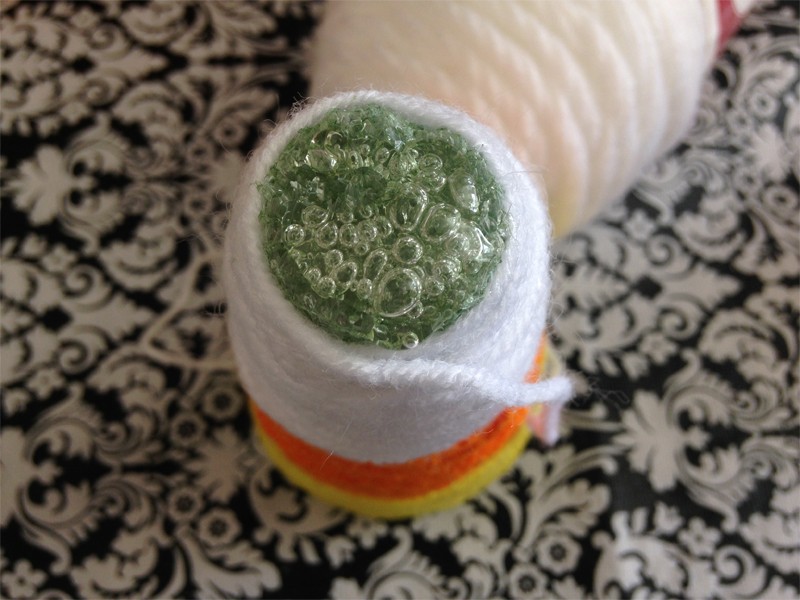
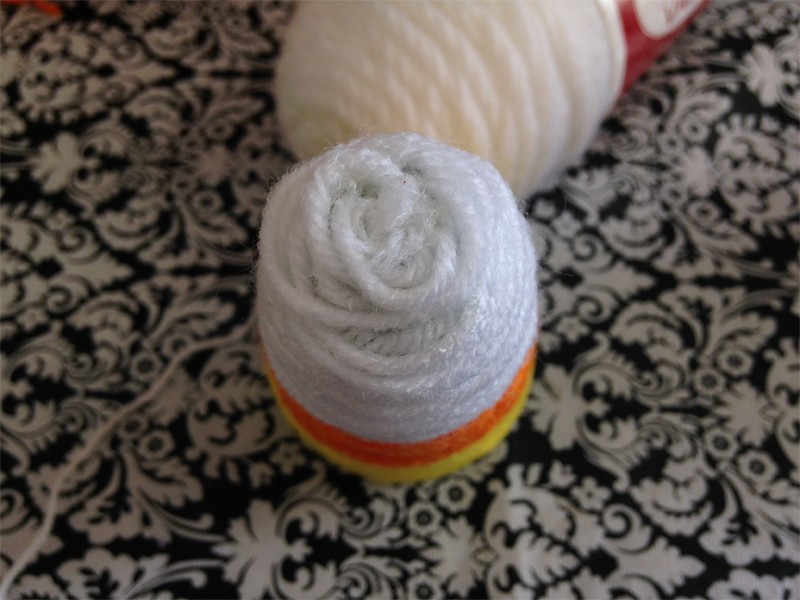
Do the same for the white yarn by gluing it down at the beginning and wrapping around the cone all the way to the top until the cone is completely covered.
Place glue on the top of the cone to help the yarn stay in place.
*I found that the top of the cone was the hardest place to cover and keep the yarn from coming up and unraveling. I had to work with it several times to get it to lay like I wanted it to while also not trying to burn my fingers in the hot glue.
Do the same for any additional cones you would like for your Halloween or fall display.
A great way to display these candy corn yarn cones would be in the kitchen on a cake plate with edible candy corn lying around them. Plus a sweet treat lying around in the kitchen is never a bad thing when walking through and grabbing a handful of candy corn.
I hope you have enjoyed this fun fall craft as much as I have as my favorite season approaches. But most importantly enjoy the little things in life.
Please check out our Frightening Friday series for more Halloween inspiration where we share a new idea every Friday.
Also if you have not already, please join me on Facebook, Pinterest, Instagram, and Twitter. I would love to hear from you with any comments, suggestions, or ideas you may have.
This post was originally published on By Dawn Nicole on September 11, 2014.
Some of the links in the post above are “affiliate links.” This means if you click on the link and purchase the item, I will receive an affiliate commission. Regardless, I only recommend products or services I use personally and believe will add value to my readers.



So, so cute! Perfect for Halloween!
Thank you! Very tasty treat and decoration!
Awww! These are cute! I love candy corn!
I do too! So sweet and tasty!
Sometimes the simplest projects are absolutely the cutest ones! Great idea!
Thanks so much!!! You are so right!!
These are such a great use for the styrofoam cones! I love finding ideas like this that I haven’t seen done all over blogworld! You came up with a fabulous idea, Bethany!
Thank you so much! That is so sweet of you!