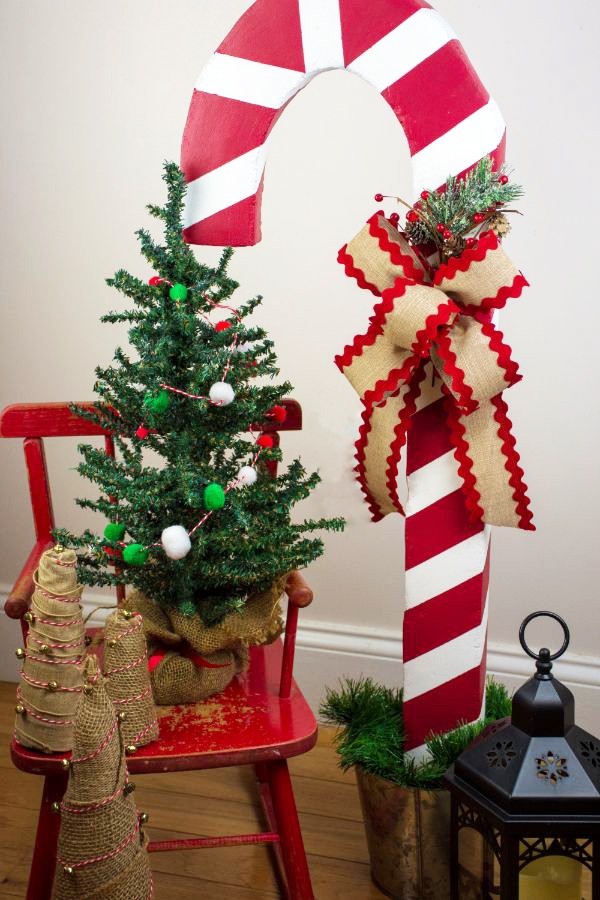
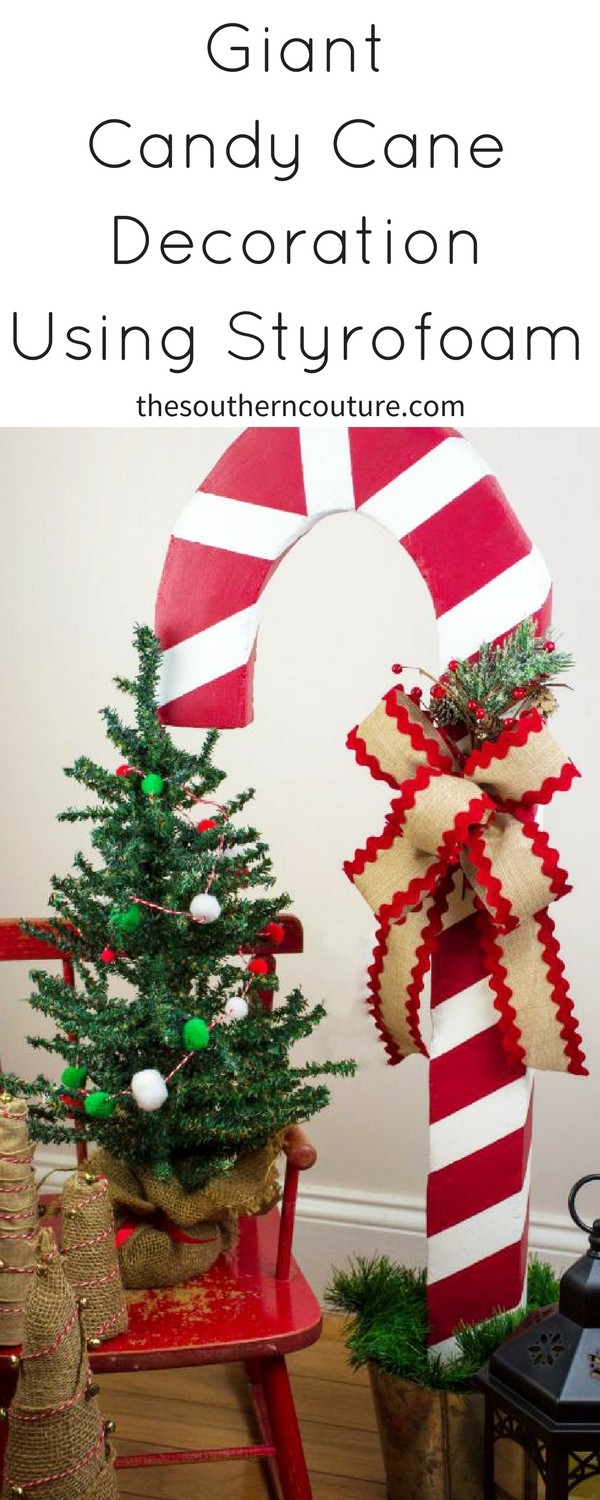
Get ready to turn your Christmas decorations into spectacular with this giant candy cane decoration using styrofoam.
I know y’all are probably sick of hearing me say this, but I can’t help it. Christmas is my most favorite time of year! I turn into a kid again and get excited over every little detail. As you can imagine at this point, I find any reason to buy or make my own decorations.
So a few months when I discovered all that you can do with styrofoam, I knew that I had to make a Christmas project which is where this giant candy cane came from. I was literally blown away with the possibilities that I never even knew existed. I couldn’t believe that I had not known about this before and all the fun I had been missing out on.
I sure don’t want the same for you, which is why I have been going crazy wanting to show you and giving you sneak peeks of this giant candy cane decoration using styrofoam all the time on my instagram stories, @the_southern_couture. With a few supplies and an easy technique, you can truly build just about anything using styrofoam. Plus no one will ever know that it’s really styrofoam; that’s the best part.
Supplies:
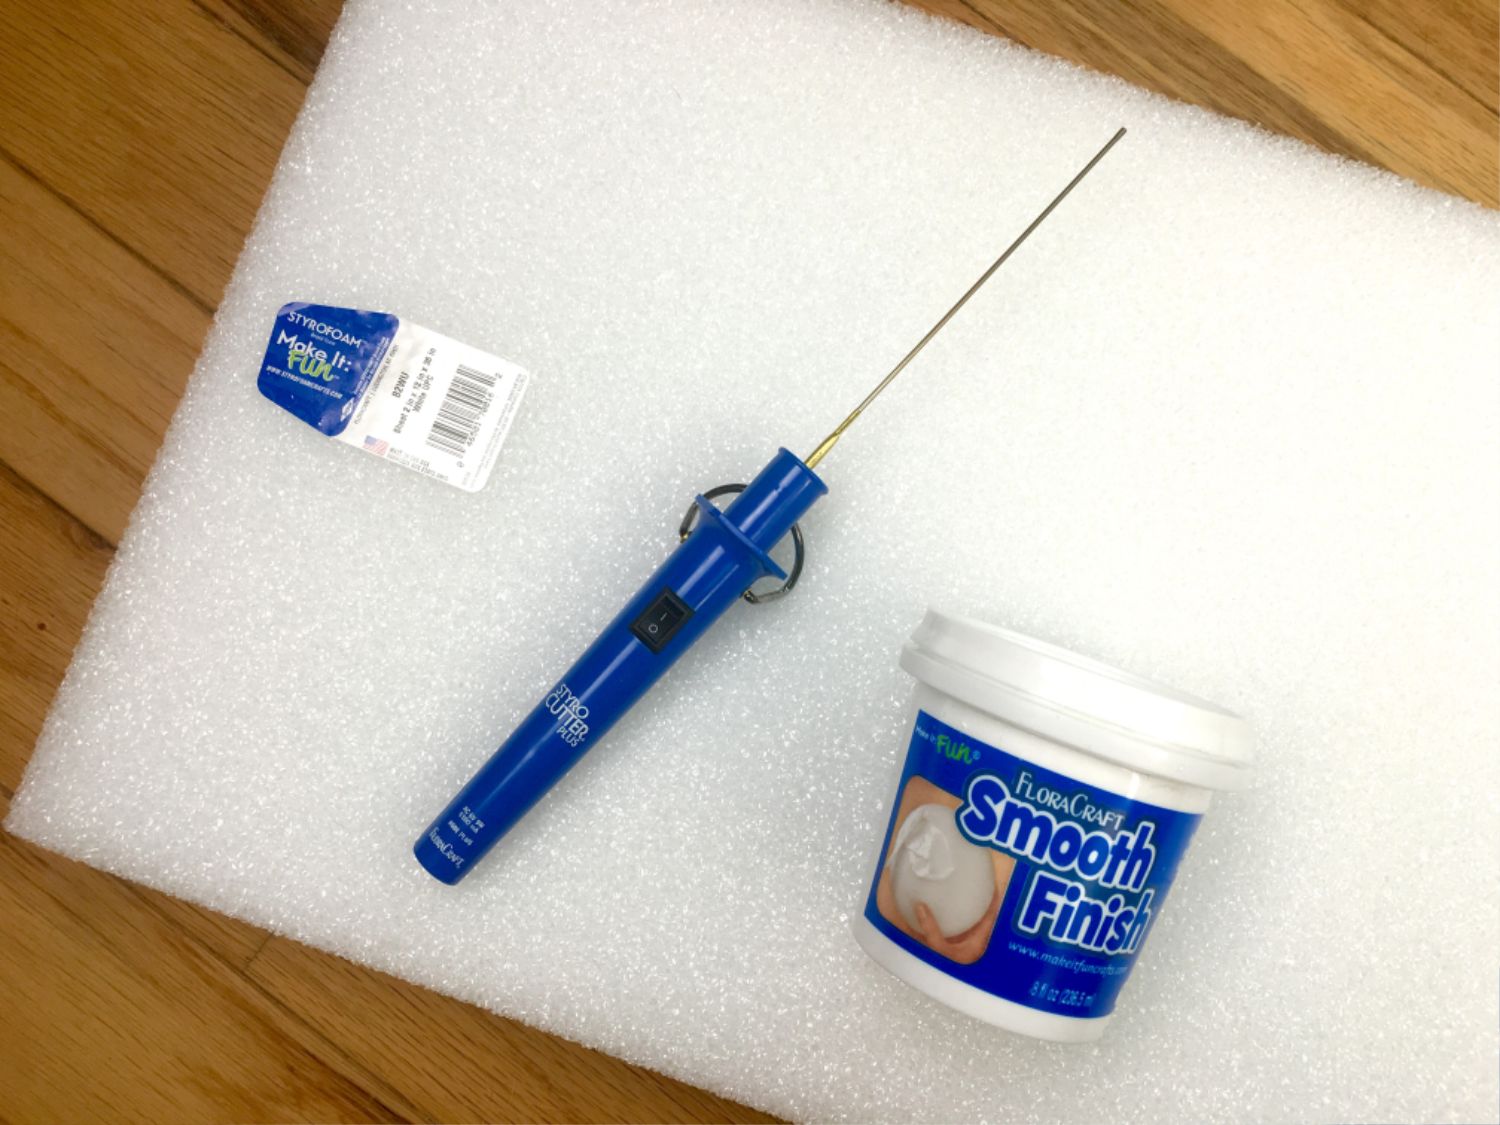
- FloraCraft® Make It: Fun® Foam Sheets
- FloraCraft® StyroCutter® Plus
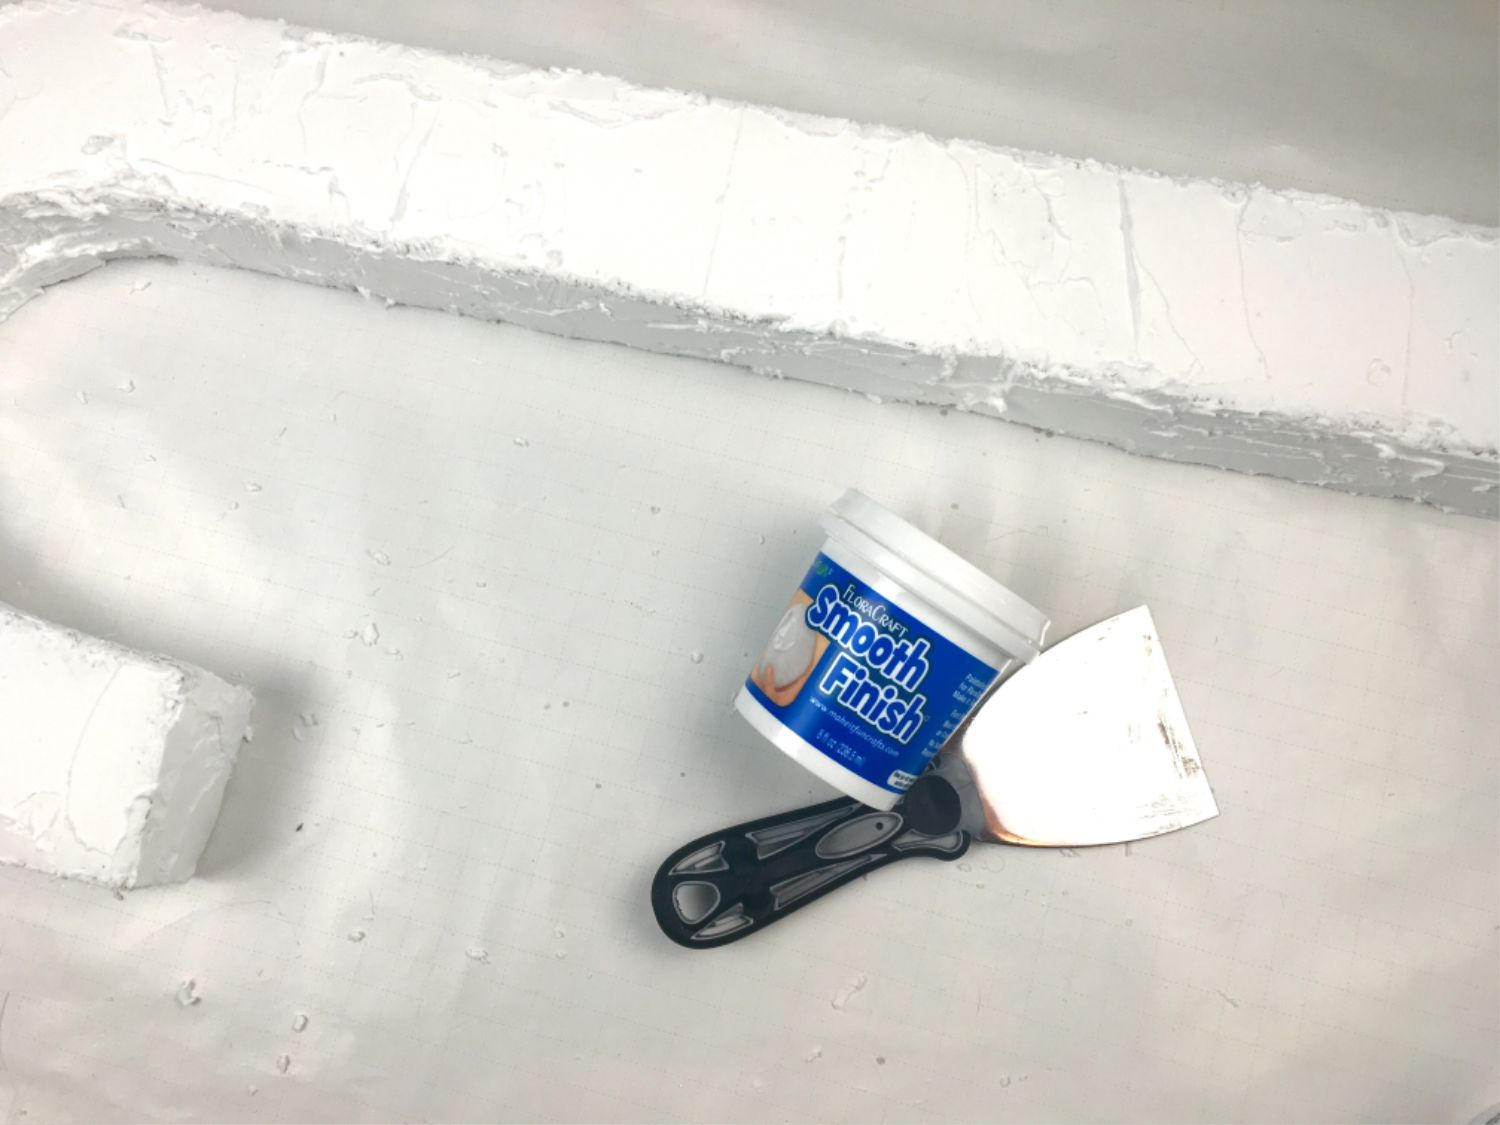
- FloraCraft® Smooth Finish
- Putty knife
- Ruler
- Pencil or marker
- Painter’s tape
- Paint
- Paintbrush
- Sandpaper
- Ribbon
- Floral pick
Getting Started
Gather all your supplies and have them ready and easily accessible. Now is also a good time to think about what paint colors you would like to use. I used brown and 2 different shades of red to give a rustic appearance that matched the rest of my Christmas decor. When you sand your project at the end, you will want to think about what colors you will want to show through.
Step 1
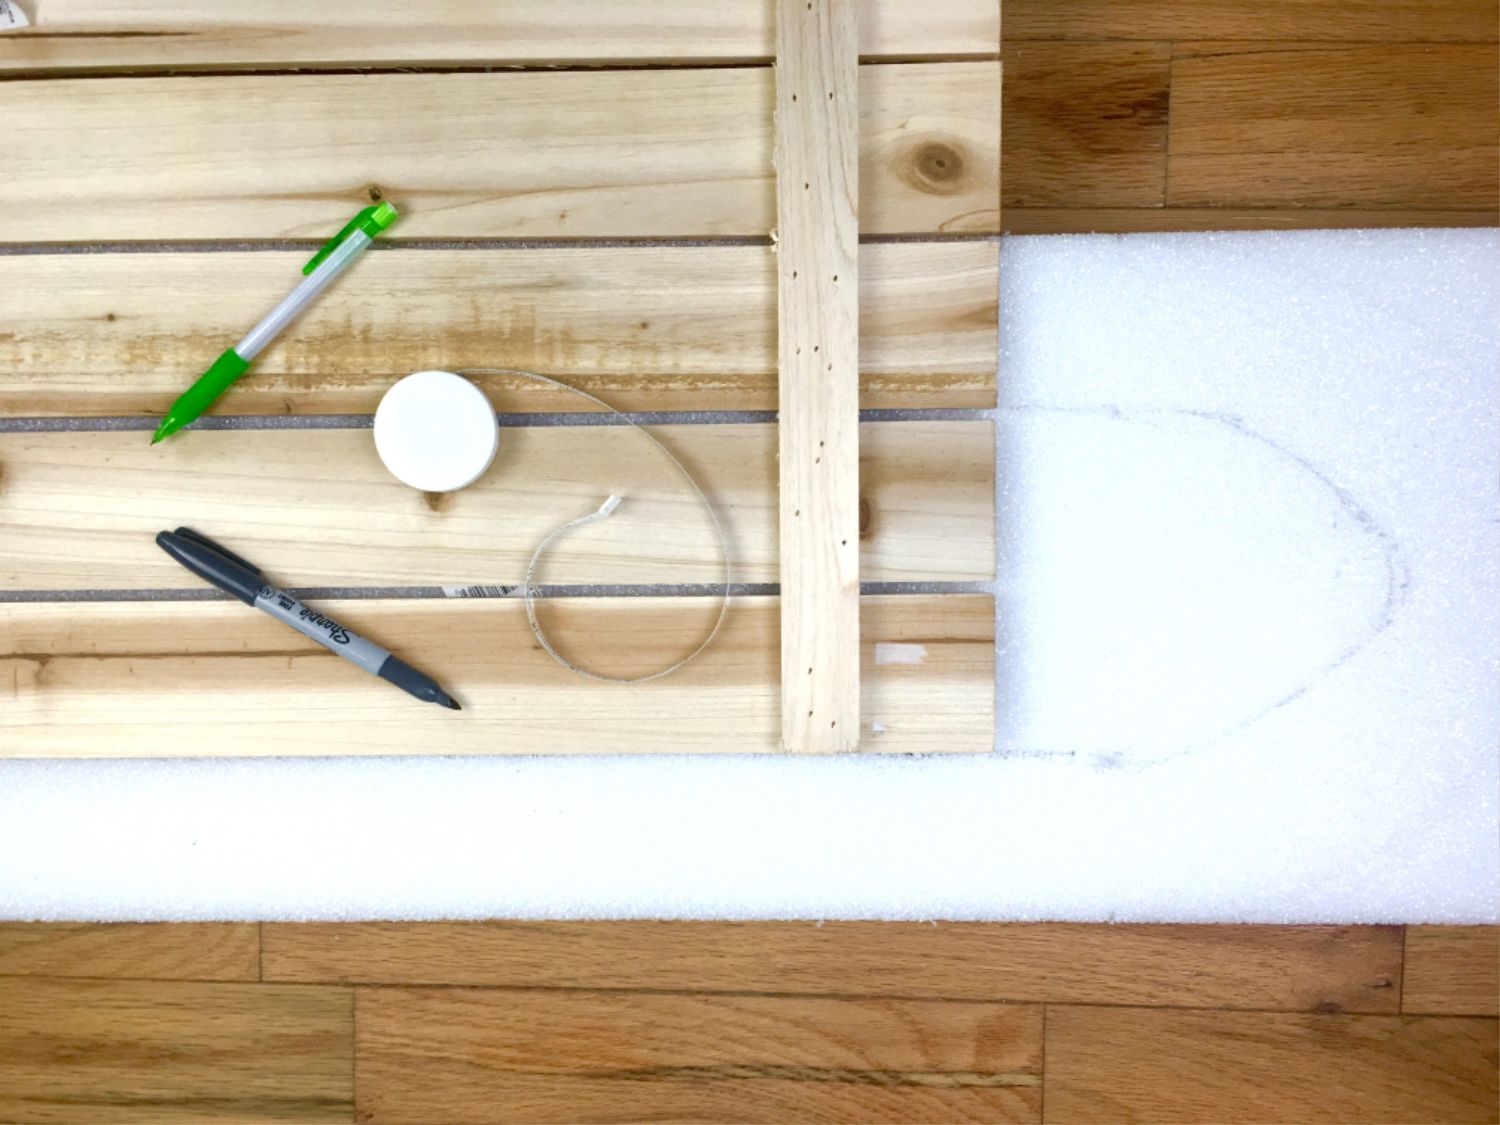
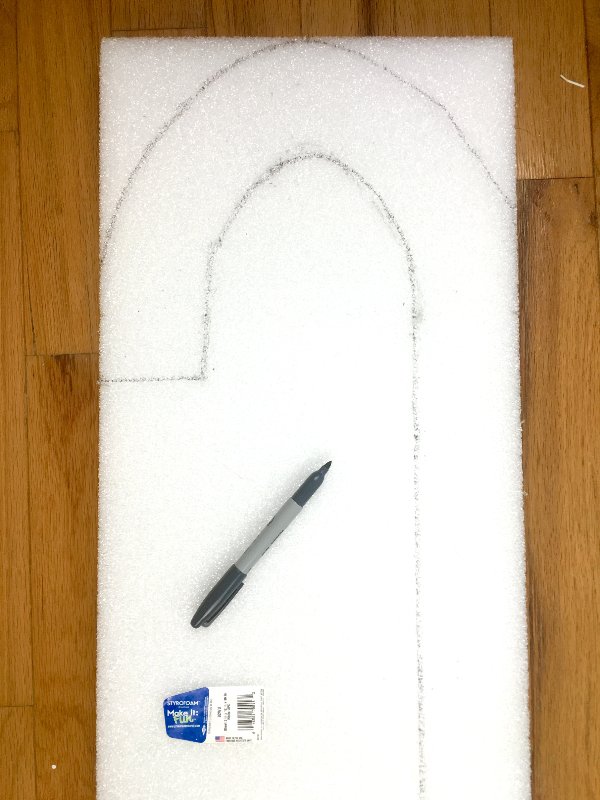
Measure and mark the outline for your candy cane on the foam sheets. I used a ruler and long piece of wood and made the height to be 36” with the width of it being 3 ½ “. The trickiest part was the curve at the top. I continued measuring and playing with the design some until I liked the way it looked.
Use a pencil or marker to draw the outline of the candy cane. I used a ruler to help give me straight lines.
Step 2
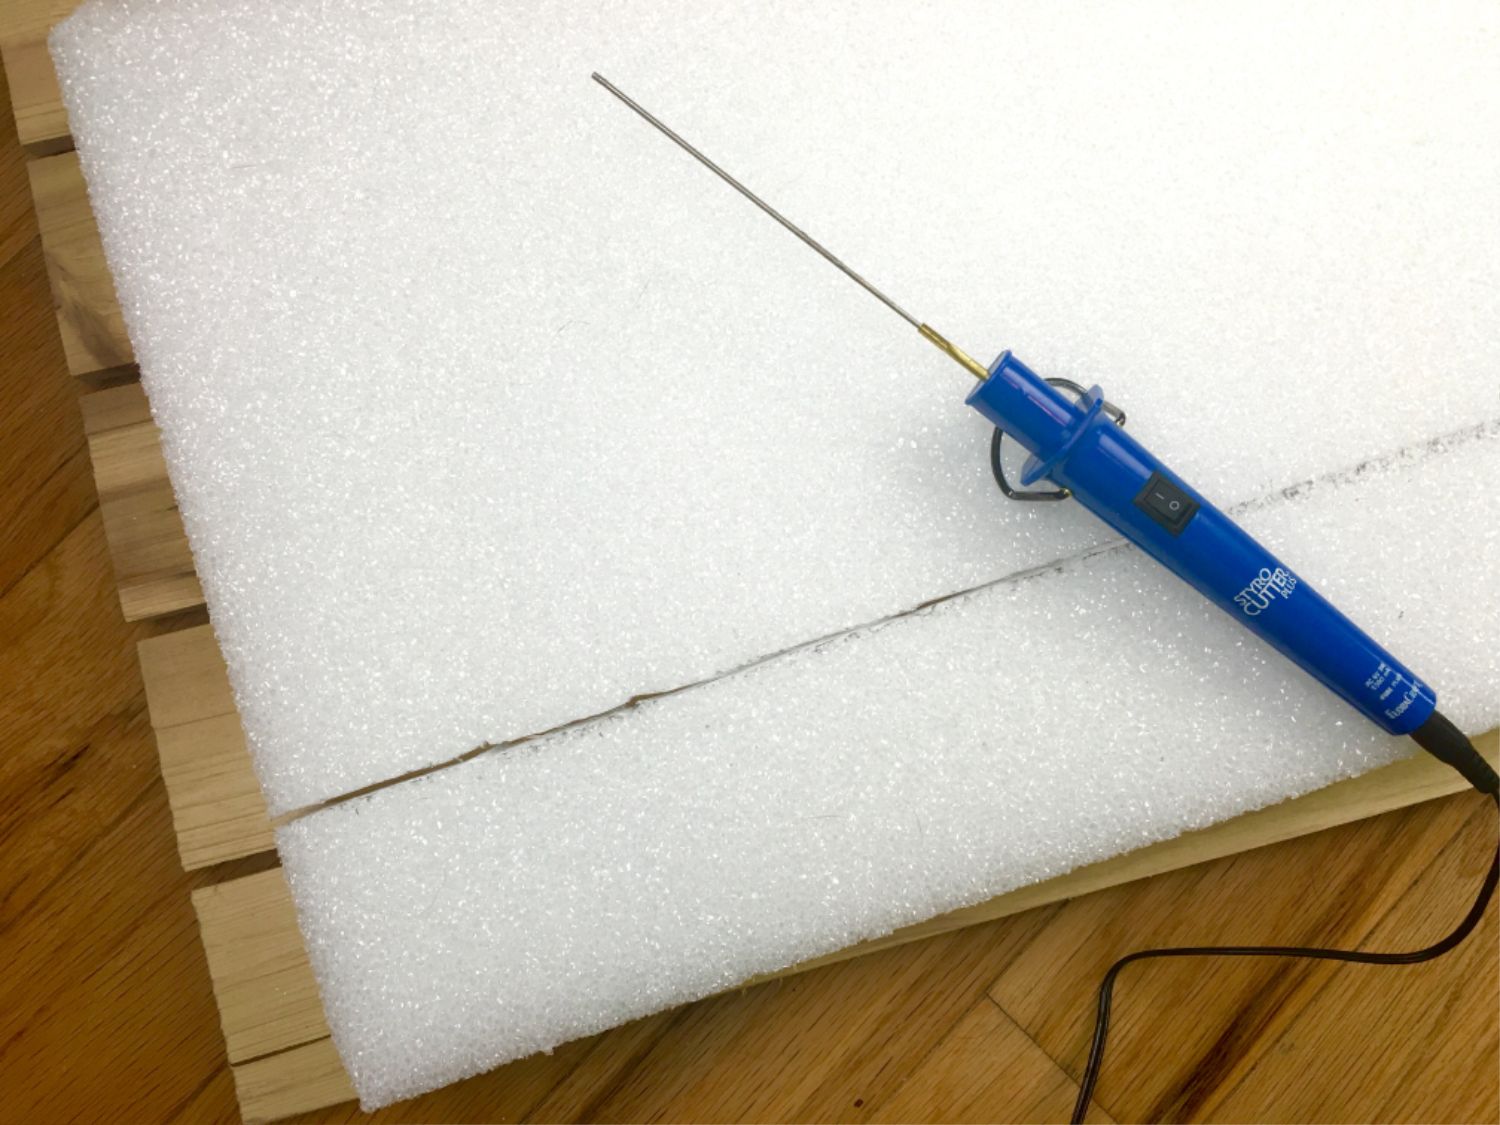
Using the FloraCraft® StyroCutter® Plus, start cutting out the candy cane. You will need to allow it to heat for about 15-30 seconds before using. Be careful because it does become very hot.
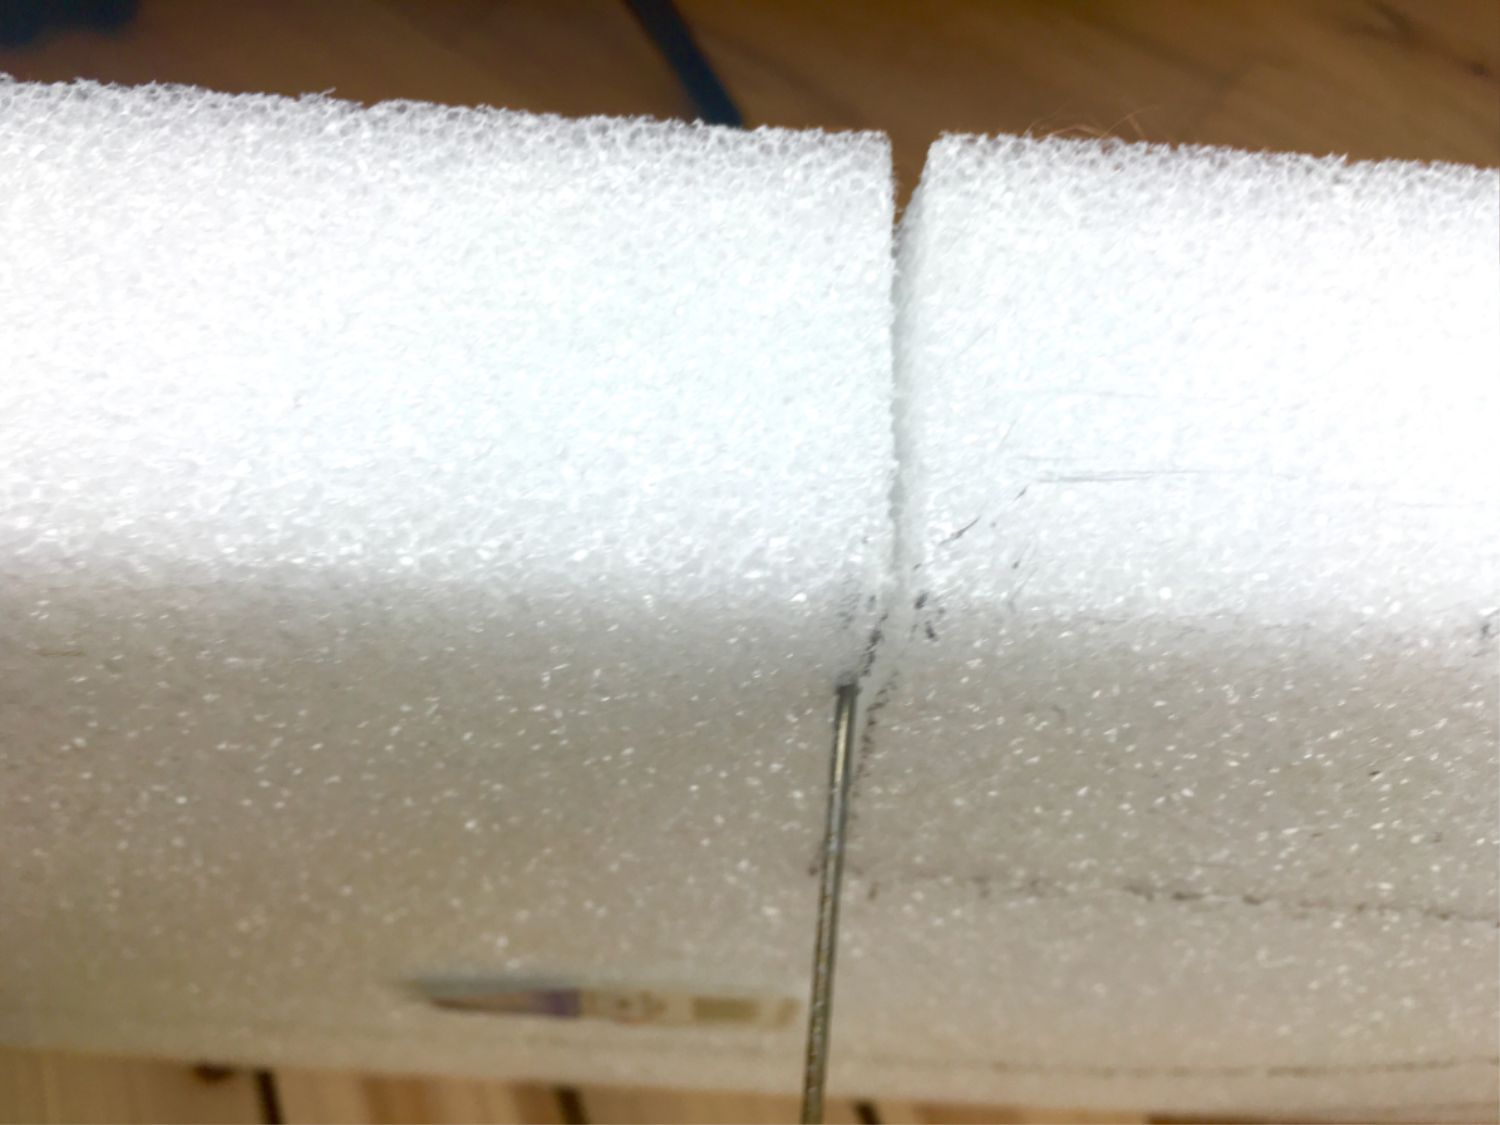
Run the cutter parallel to the styrofoam on the lines you marked earlier as a guide to cut it out. Do not force the cutter through the foam as it will bend the end of it. Let it glide through gently and watch the styrofoam melt under the heat to release your shape.
This was the coolest part for me to see the FloraCraft® StyroCutter® Plus and how easily it worked. Trying to use a knife would have been a nightmare after using this gadget.
Step 3
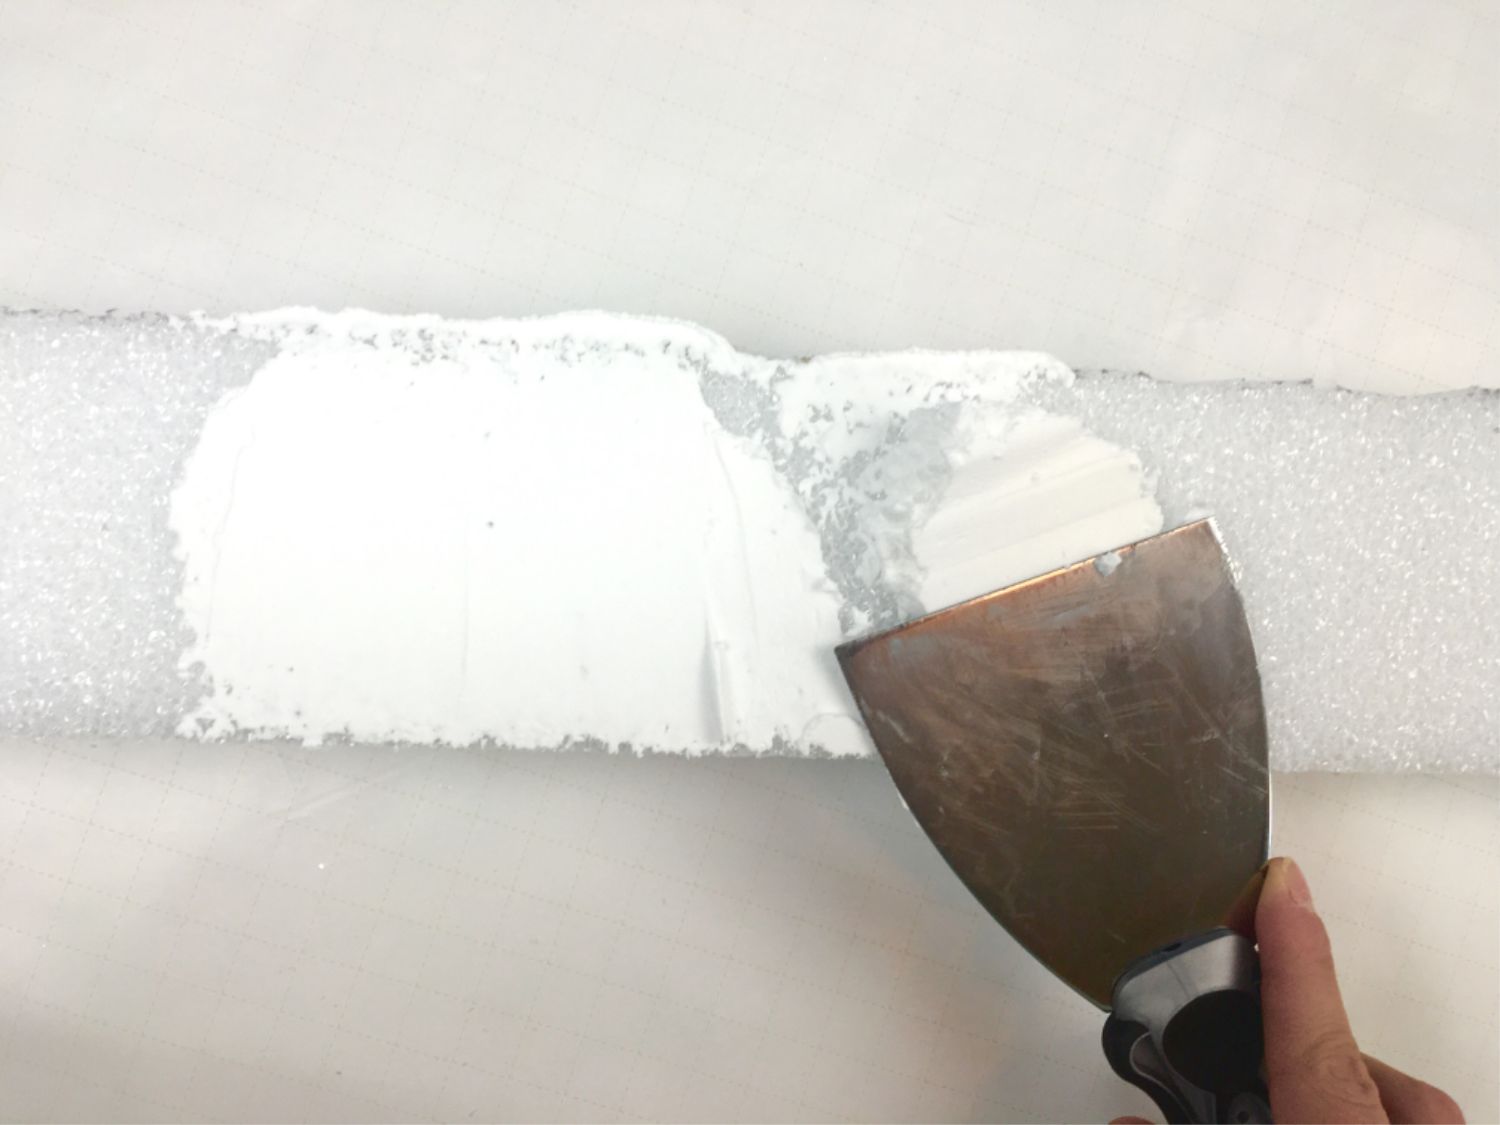
Apply your Smooth Finish putty using a putty knife to cover the entire candy cane. You will want to use it liberally and not leave any foam showing through. Do not worry about having it smooth at this point. You only want to have the candy cane completely covered.
Be sure to putty it over old newspapers because it will get messy and even more so when you have to sand it down.
Depending on where you use this for decoration, you may only need to cover the front and sides. I didn’t cover the back of mine.
Step 4
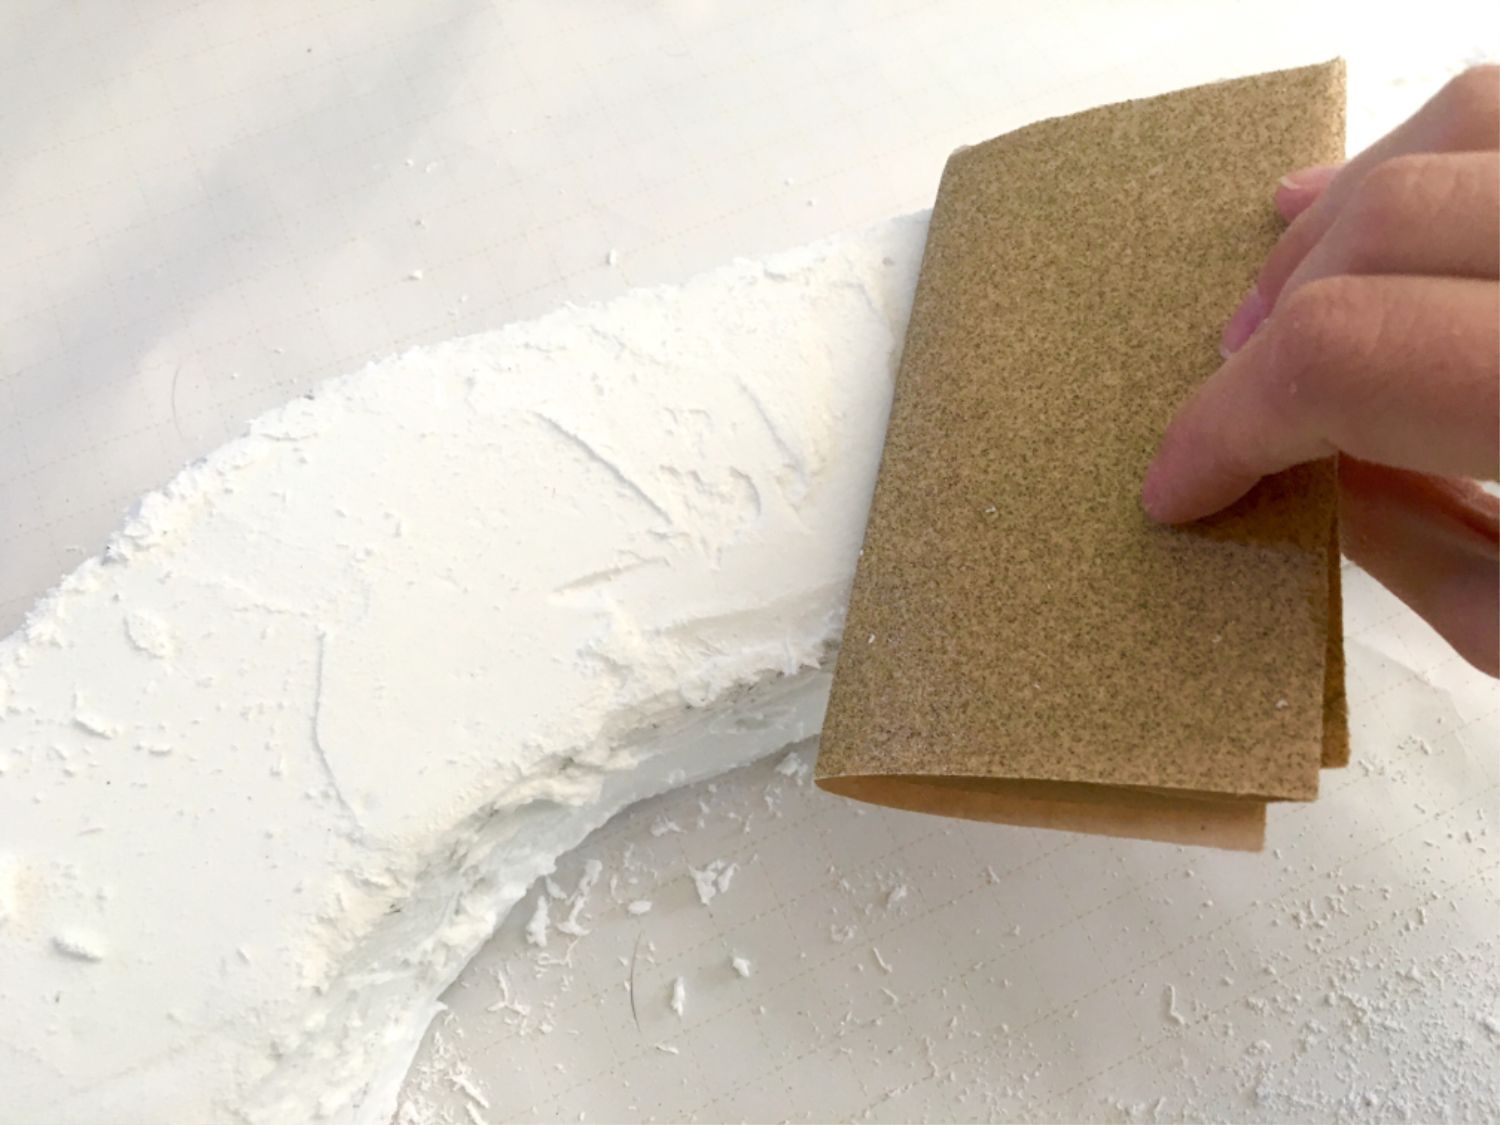
I let mine dry completely overnight and then started sanding it down until it was smooth using sandpaper. If you notice any spots of foam that are peeking through, you may need to re-putty those places and sand down again until you have a smooth and even finish.
Step 5
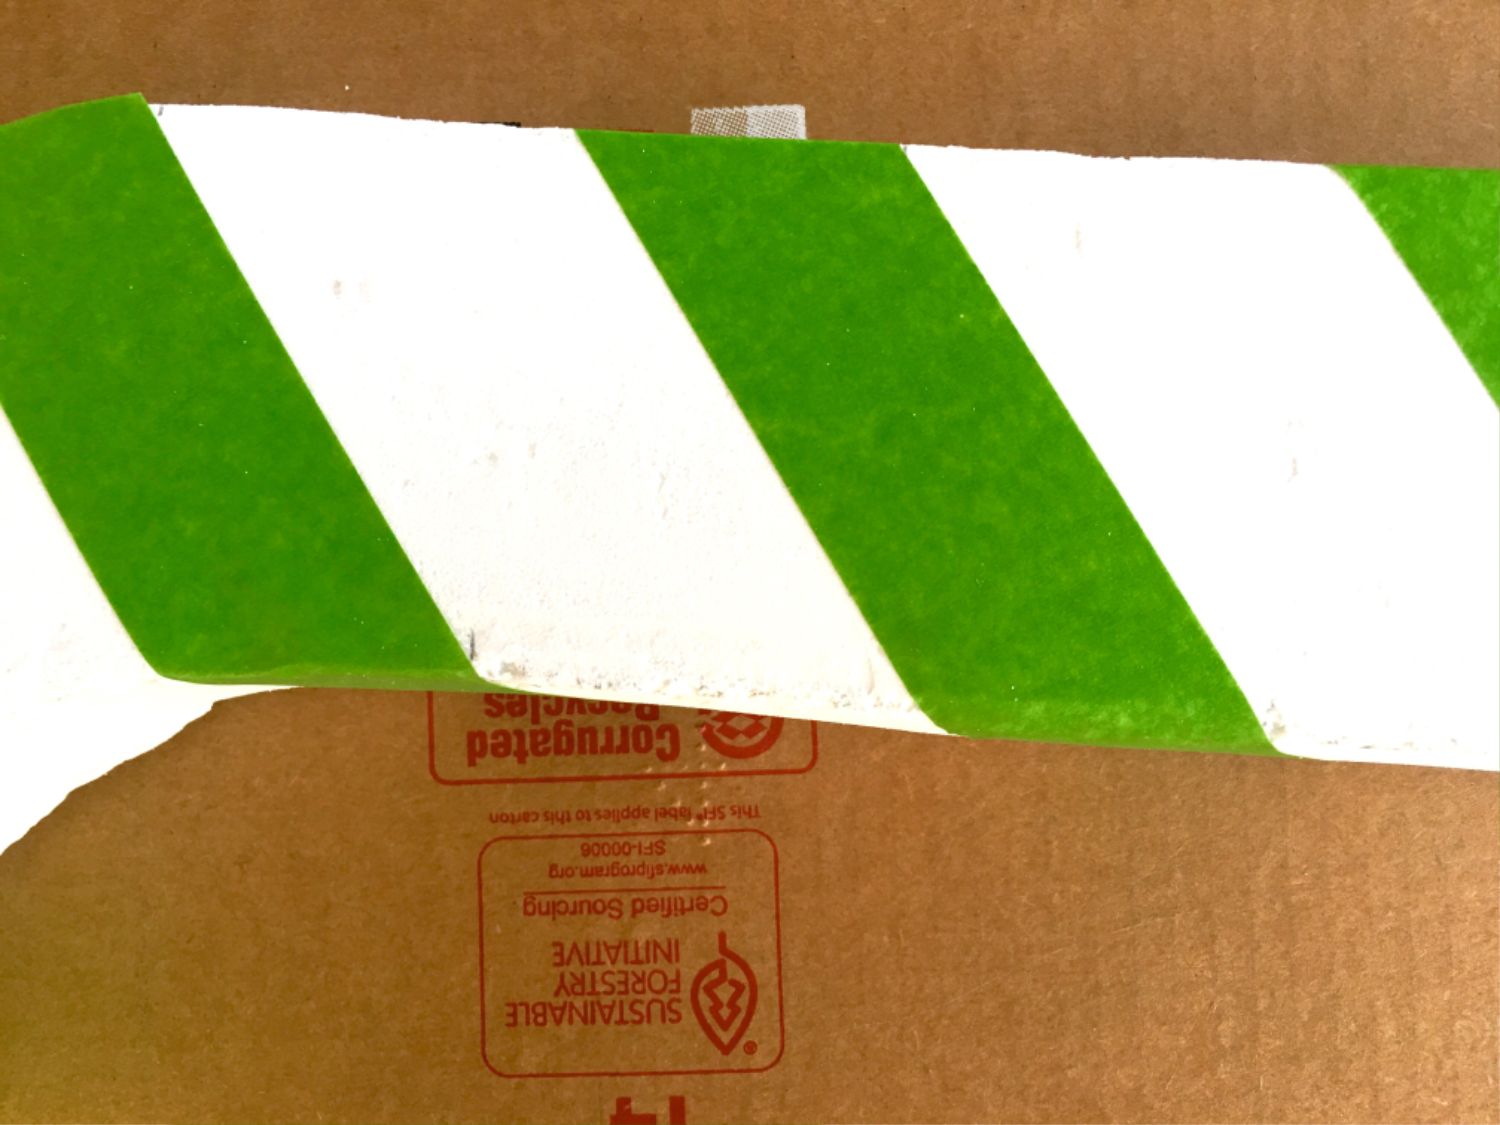
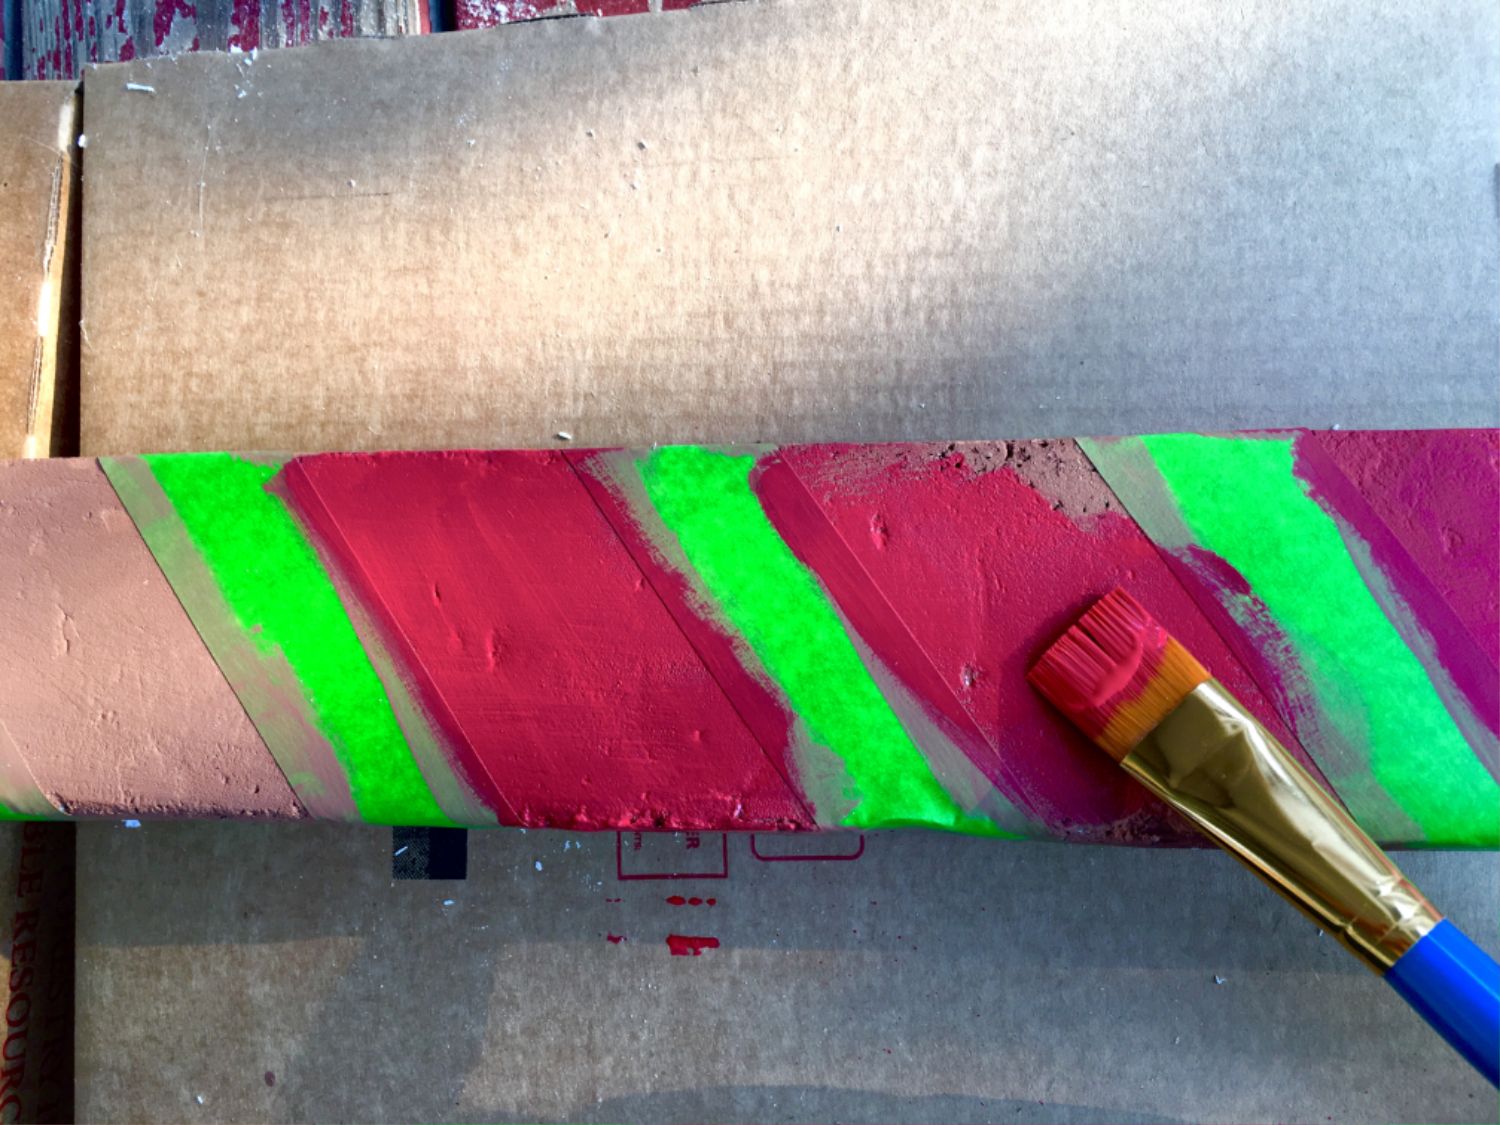
Next measure the stripes for your candy cane using a ruler. I marked them every 4 inches on one side. Place your painter’s tape in diagonal lines to give you crisp, clean lines.
Again the tricky part is the curve at the top. I searched online and looked at several different candy canes. The stripes in the top curve were all different so I don’t think it really matters or has to be perfect.
Step 6
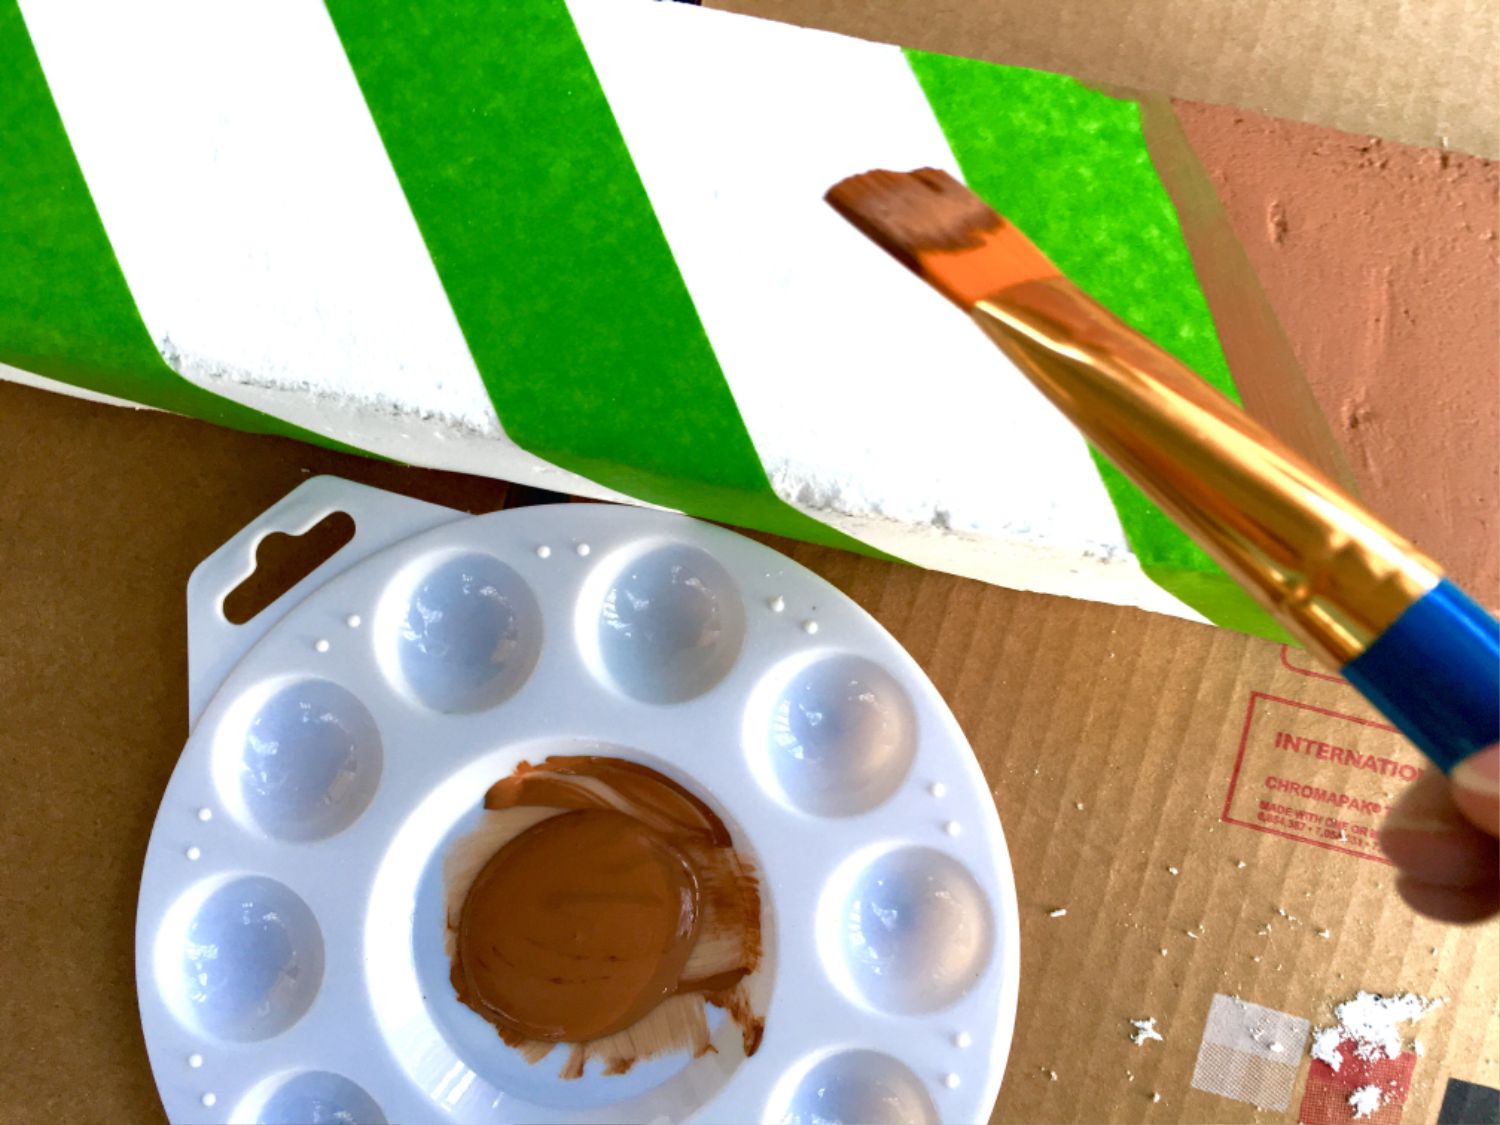
Start painting the foam using a paintbrush with your first base color. I chose the brown as I mentioned before for a more rustic appearance that matched the rest of my Christmas decor. *I had originally planned to sand down the paint with some of the brown peeking through but it didn’t turn out the way I planned. It happens sometimes, right?
Once it dries completely, continue with your next coat of paint until you have all the colors you like.
Step 7
With the painter’s tape still intact, sand over the paint lightly in certain places for a distressed and rustic appearance if you choose. Once you start sanding, you can decide how distressed you want it to be. You can also skip this step if you want more solid and bold pops of color. *As I mentioned above, I painted the brown base layer but decided to not distress it in the end.
Step 8
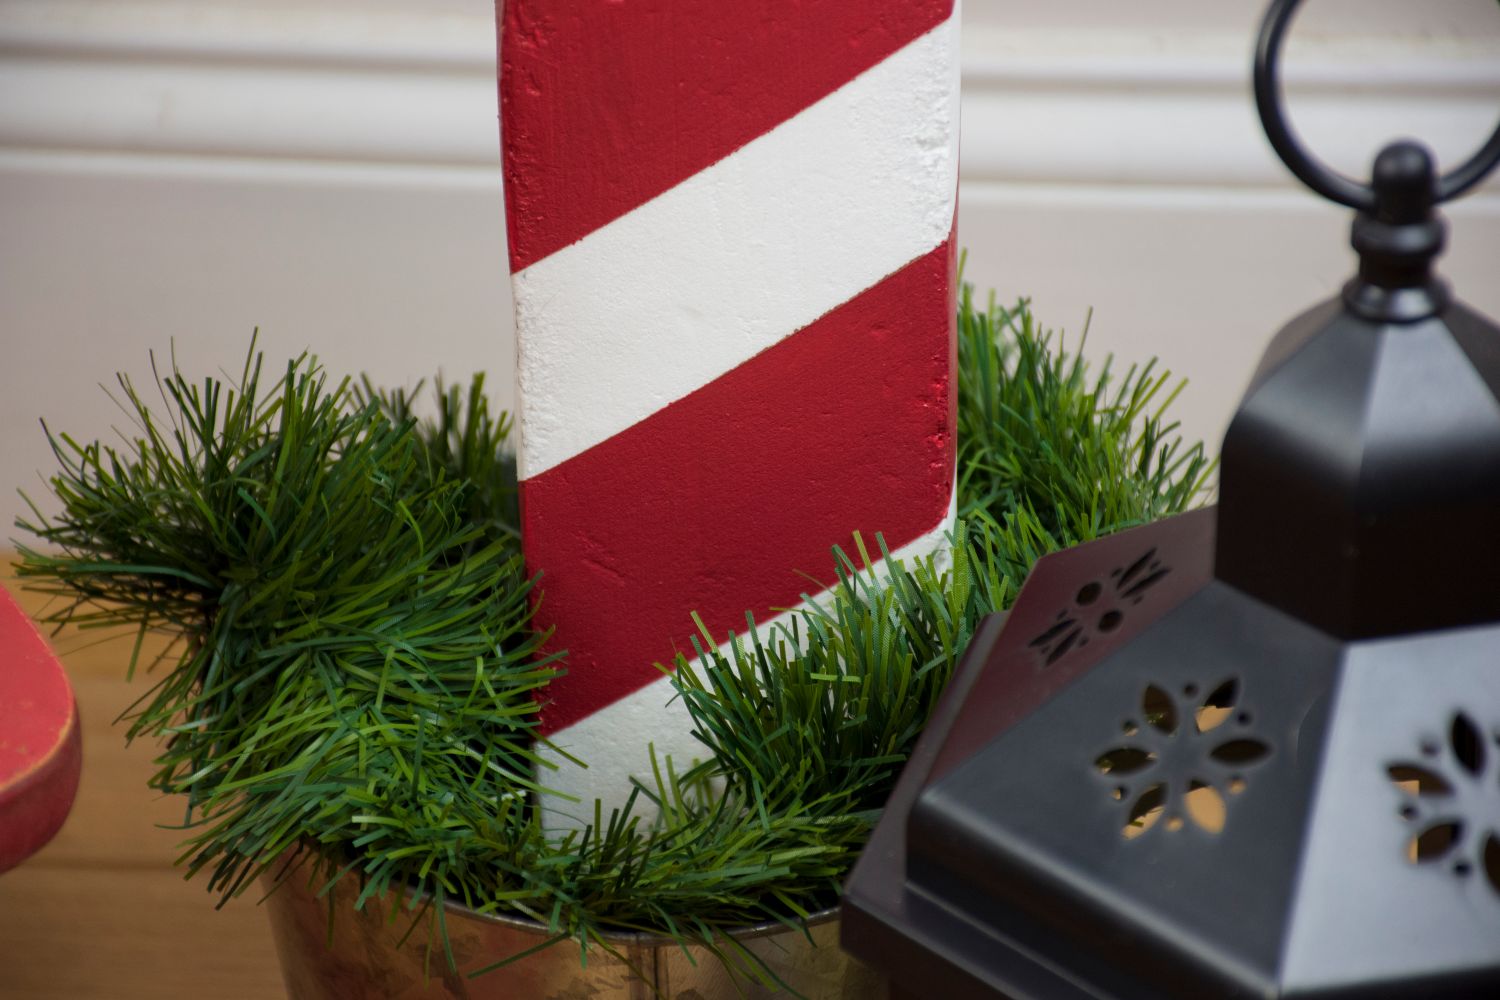
Remove the painter’s tape and see how crisp those paint lines are. This is the part that always makes me nervous as I hold my breath hoping the paint didn’t run. It is totally worth it though when the lines are so crisp and pretty.
You don’t have to worry about painting the white stripe either because of the Smooth Finish putty already being white which saves another step.
Step 9
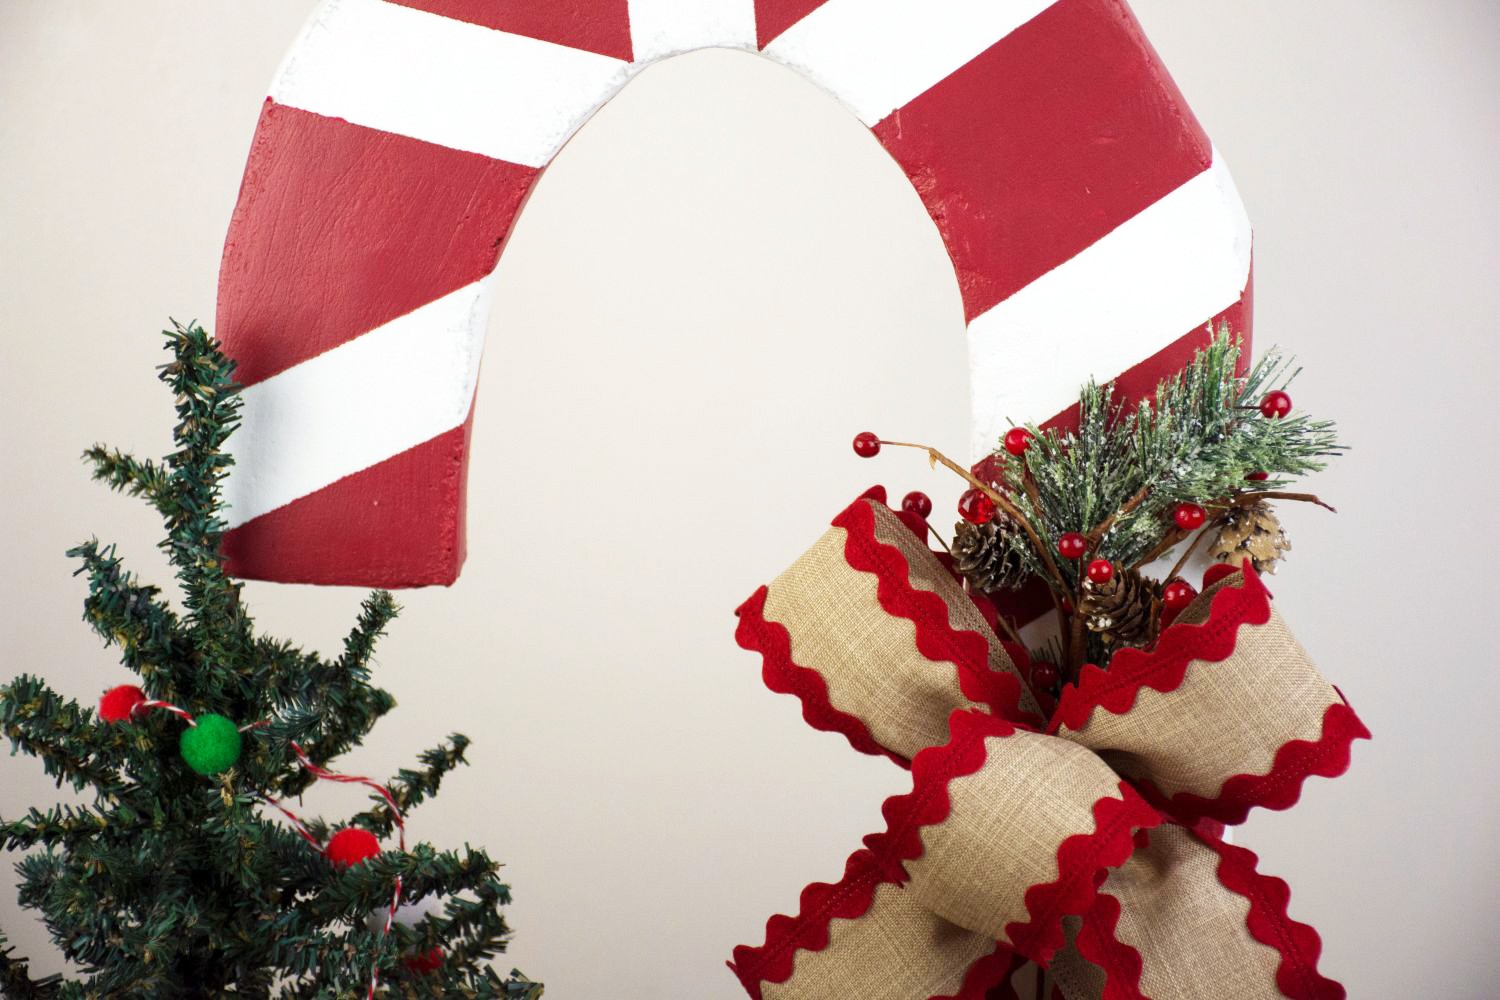
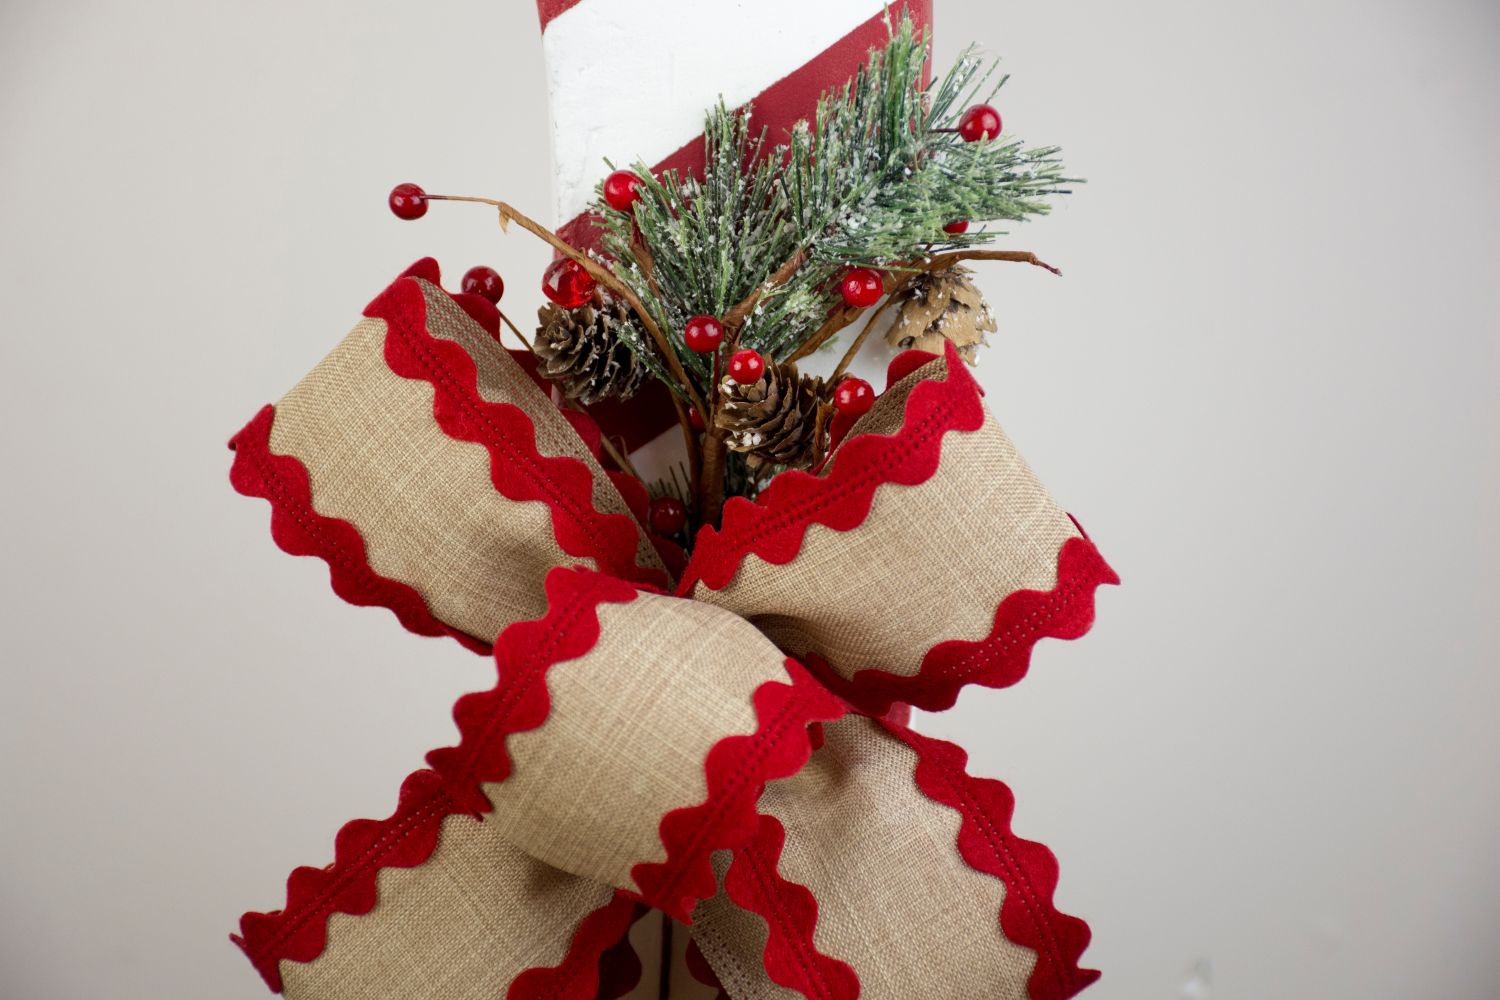
Add a festive ribbon and some decoration to really top it off. I love the rustic look of this ribbon with the pop of red. This floral pick also adds some shimmer with a rustic feel as well.
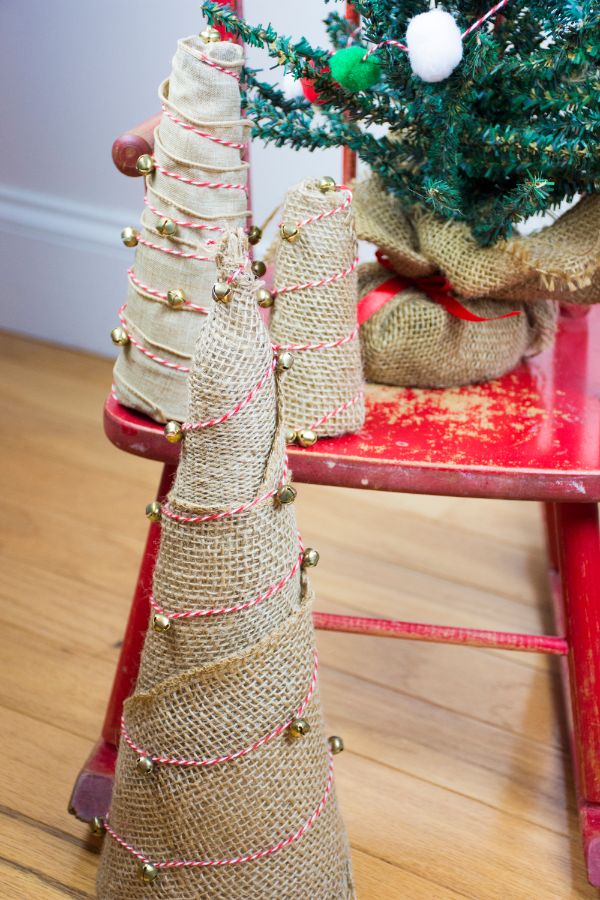
Using some miniature trees with the burlap bottoms, a red rocking chair, and other rustic decorations, this giant candy cane decoration is the perfect addition. I will also have to add one to my front porch in the galvanized bucket.
I made these burlap jingle bell trees last year. Check out the full tutorial to make your own. They match perfectly with the rustic style.
Because the styrofoam is lightweight, you could even hang these on the wall. Try your hand at this fun technique. You will become addicted to finding what other fun projects you can come up with next. I still am in shock at all the fun stuff you can make with styrofoam.
Let me know in the comments below if you have any ideas for future projects you would like to see me try. I would love to have any ideas.
This post was sponsored by FloraCraft® in exchange for product. All opinions are mine alone. I pinky promise!
ENROLL NOW IN MY 5 DAY BIBLE JOURNALING ECOURSE FOR FREE!

Get exclusive tips and tricks with my 5 Day eCourse available exclusively to subscribers!

Love how BIG this decoration is. Will stand out and get lots of attention. Thanks for the easy-to-follow directions. Stopped over here from Carrie’s link-up at Curly, Crafty Mom. Love your burlap trees, too.
Thank you so much! I just love the way it turned out. It matches perfectly with my other decorations this year too. You are so welcome for the directions. I hope you will enjoy making it as much as I did. Those burlap trees are definitely my favorite and one that I enjoy every year.
I honestly don’t know what I love more — the fact that this candy cane is ENORMOUS, or the fact that it’s made out of styrafoam, so it LOOKS heavy, but it’s actually super light I’m sure… Absolutely brilliant. Thanks for sharing!
Well thank you so much!! It turned out to be one of my most favorite DIY Christmas decorations. I love how it looks soooo heavy, but it’s really not. Thank you for having me too.