Fall is definitely in the air which got me in the mood for fall crafting, pumpkins, and fall decor. My mom and sister found some burlap covered pumpkins last year that were gorgeous and very unique. Who doesn’t love burlap these days? My mom bought me some and I absolutely love decorating with them. They gave me some inspiration to try my own burlap covered pumpkins for cheap fall decorations but still have the beauty and elegance of the expensive store bought items. Doing these myself was much less expensive and still with the great quality of buying something that was made professionally if not better.
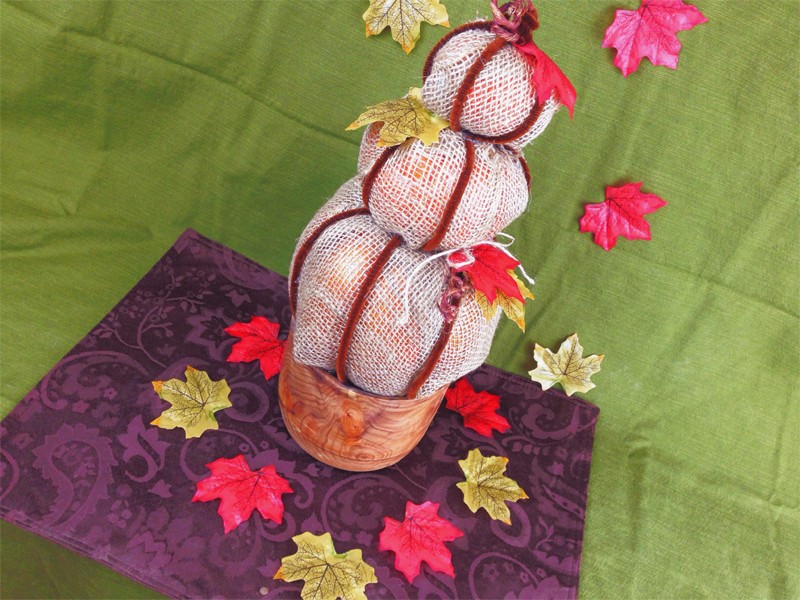
I love the idea of stacking them as well. I made an Easter egg topiary that turned out great and love using the same concept for Thanksgiving and fall. The way it is stacked would be great on a mantle or on the front porch by the front door. I also thought of using it as one of my center pieces on my dining room table. The possibilities are endless.
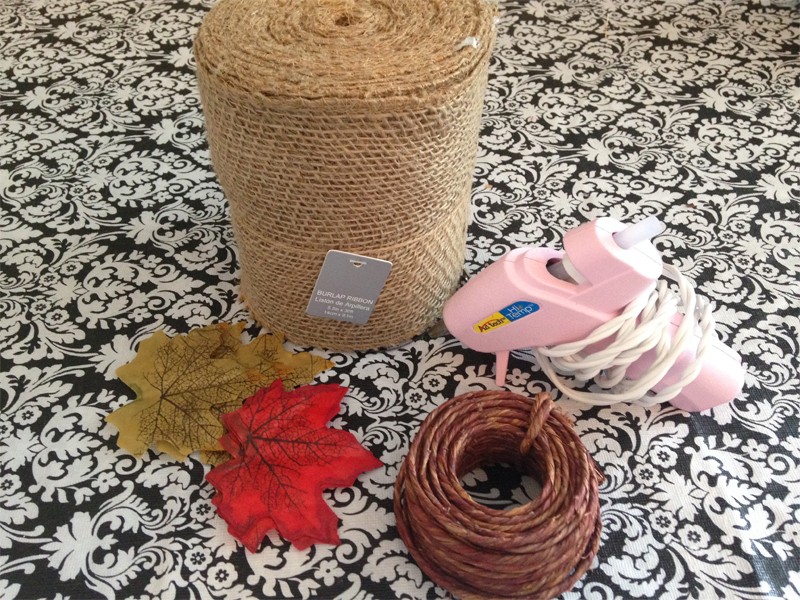
Let’s get started with What You will Need:
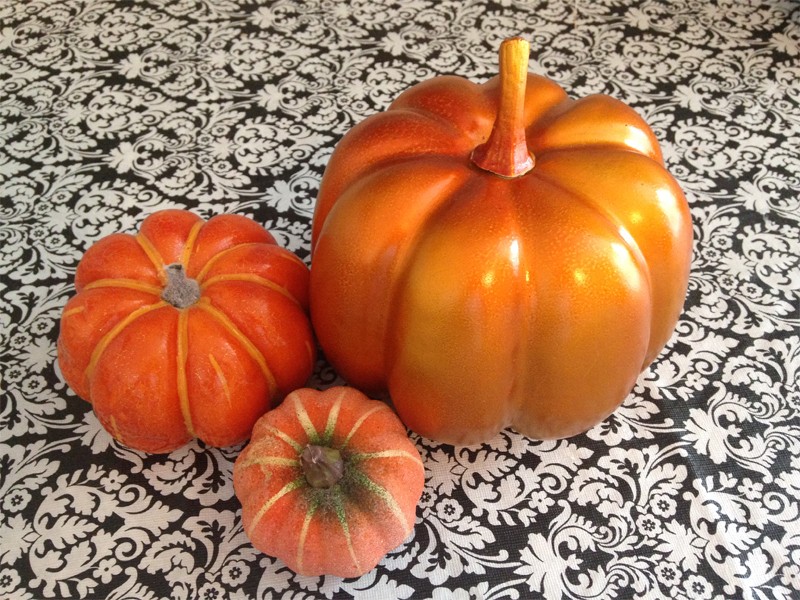
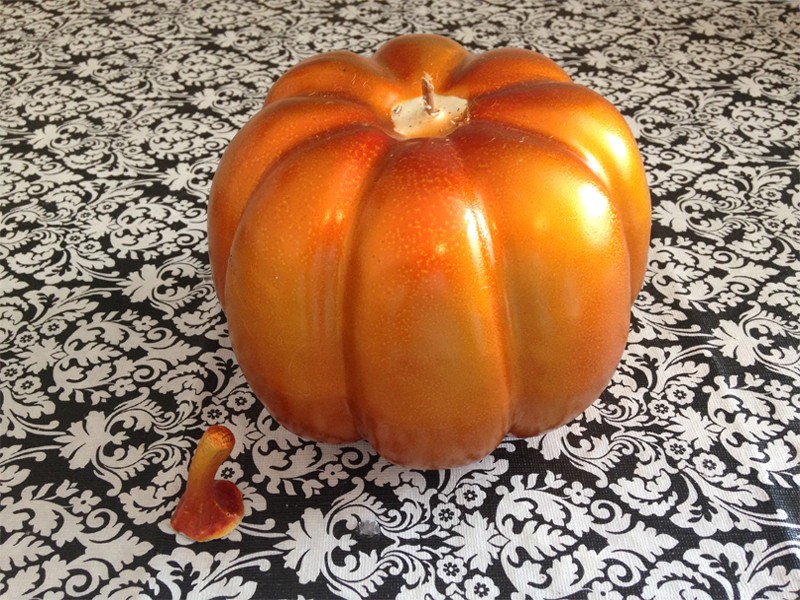
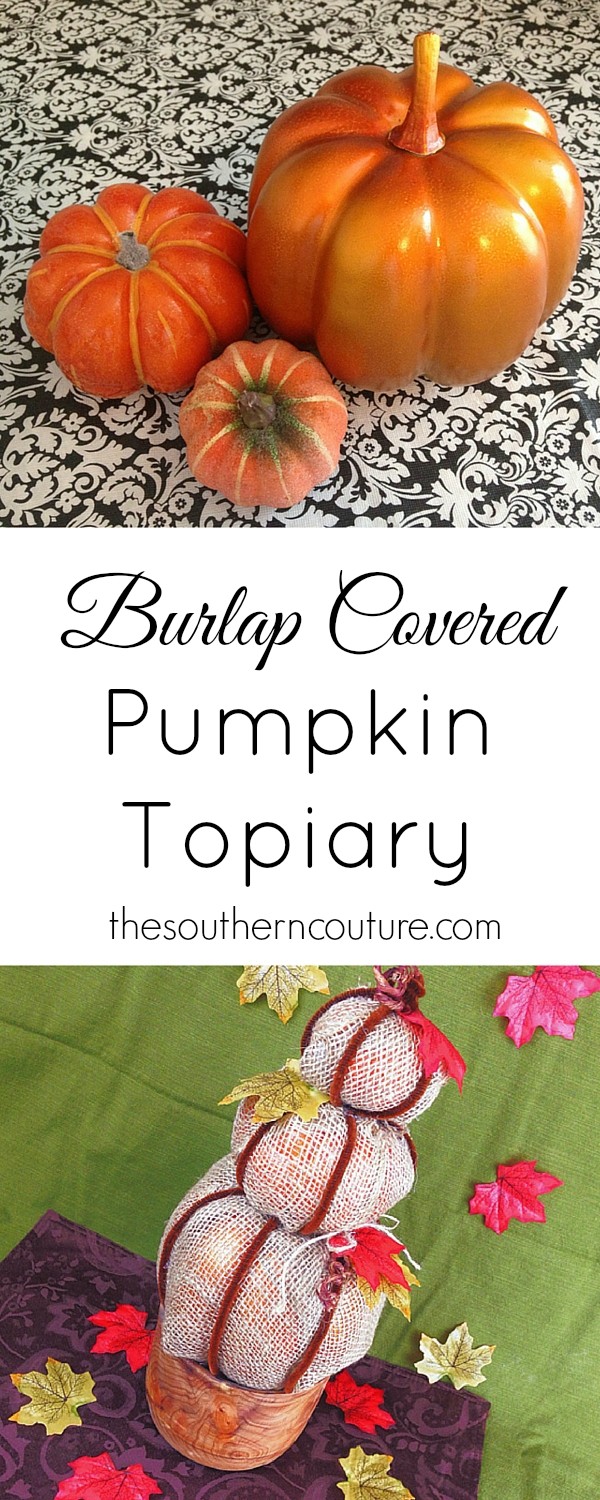
Artificial decorative pumpkins– I chose three different sizes that would be perfect when stacked together. I actually had found some on clearance last year that I used which saved me some money too.You can also find foam pumpkins that are lightweight making it easier to work with as well.
Wired brown floral wire– I honestly can’t remember exactly what this is called but I do know that I found it in the floral department at Michaels
Artificial fall leaves– I found a pack at the Dollar Tree with green and red leaves.
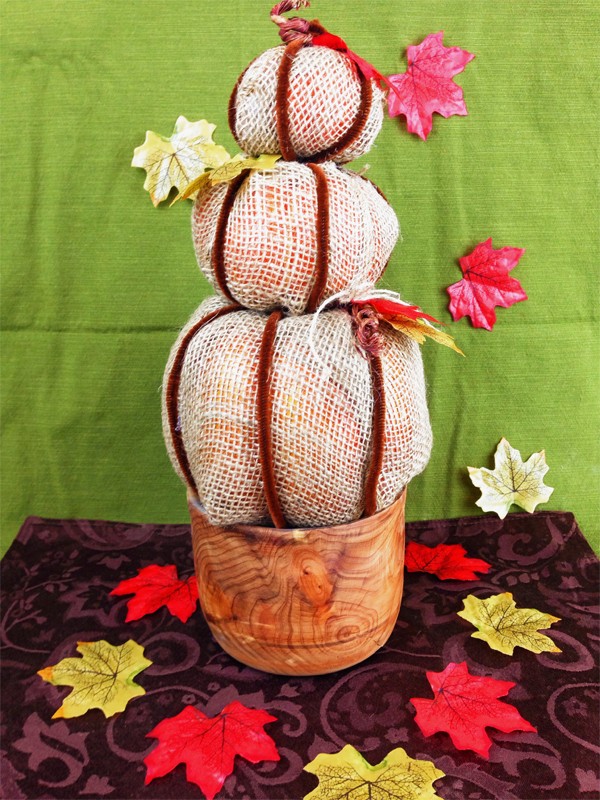
Wooden bowl or planter for display- I love this handmade bowl that my uncle made for me and Mark when we got married. It matches perfectly with the burlap.
First remove the stem from the bottom and middle pumpkins so that you will be able to stack them easily. You should be able to just pull it off with some good effort. Don’t worry how it looks once you remove it because it will not be showing anyways.
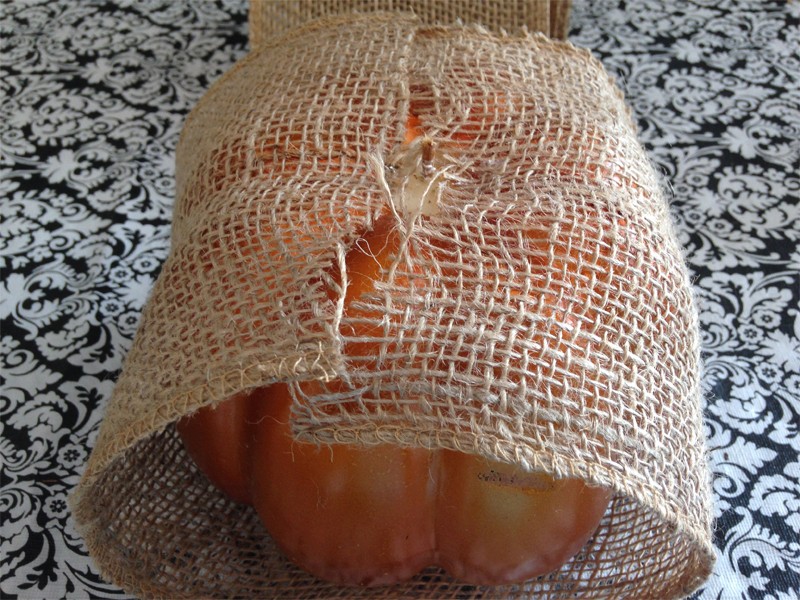
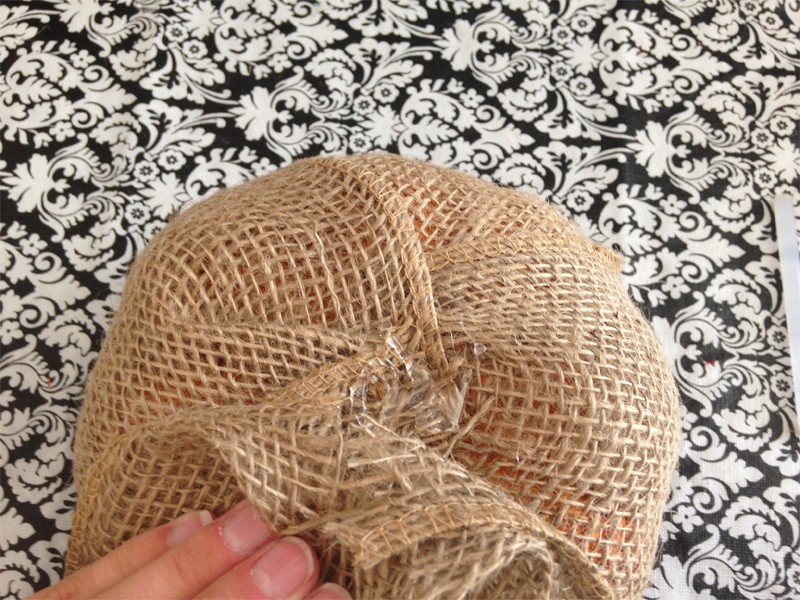
Next lay out your burlap ribbon and start wrapping it around the largest pumpkin to measure about how much you will need for the first piece to cover it and then trim where needed.
Glue the burlap in place as you go.
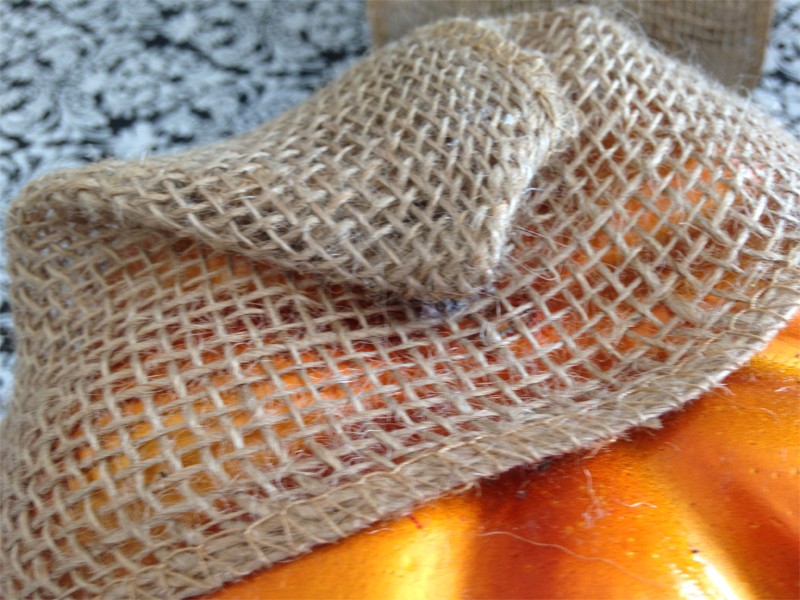
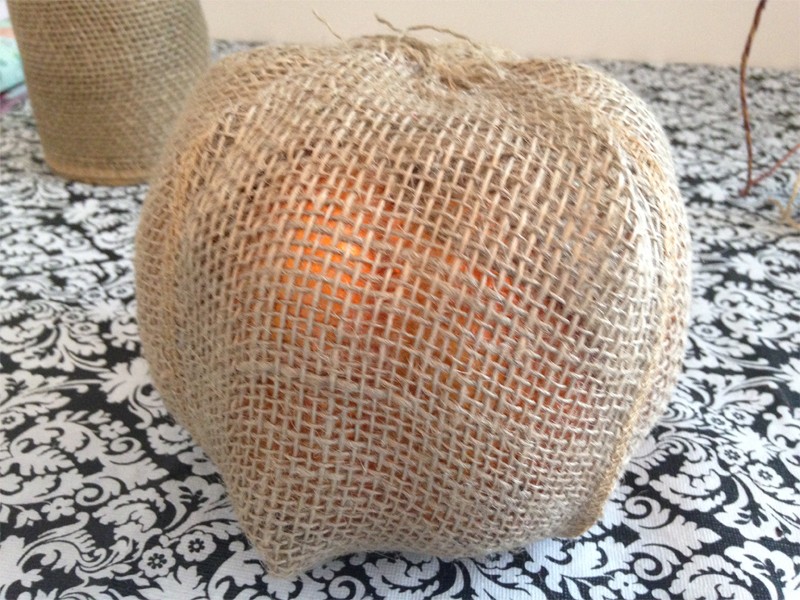
There really is no method or rhyme to wrapping it and gluing it. I just kept working with the burlap and wrapping it around the best I could. Glue any excess loose ribbon to the bottom to keep it from being seen.
Be very careful using the hot glue gun with the burlap ribbon due to the hot glue seeping through the burlap and burning your fingers easily. I find that using a separate glue stick to press down on the burlap once it has been glued to keep it in place works best to keep from always burning my fingertips.
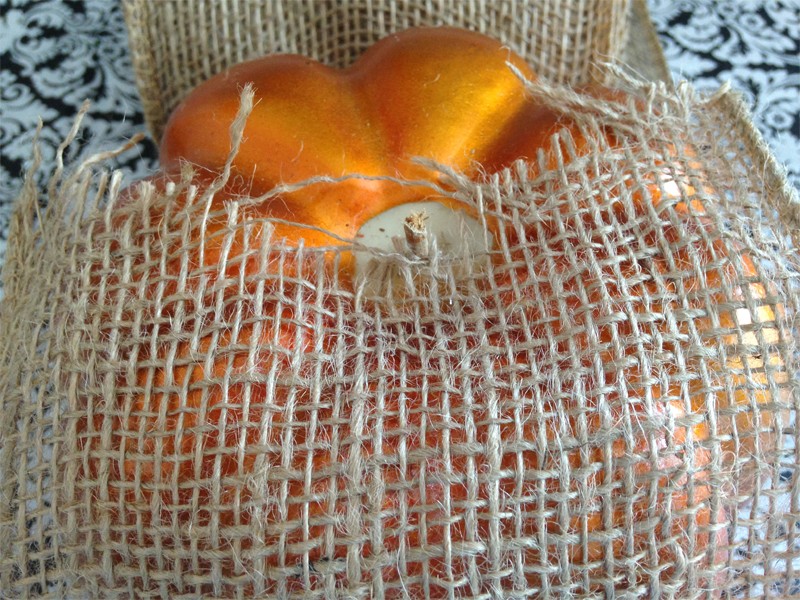
You will see that the orange of the original pumpkin will show through the burlap some so be aware of this when picking your pumpkins or either spray paint them before getting started. I love how the orange shows through some adding that extra pop of color.
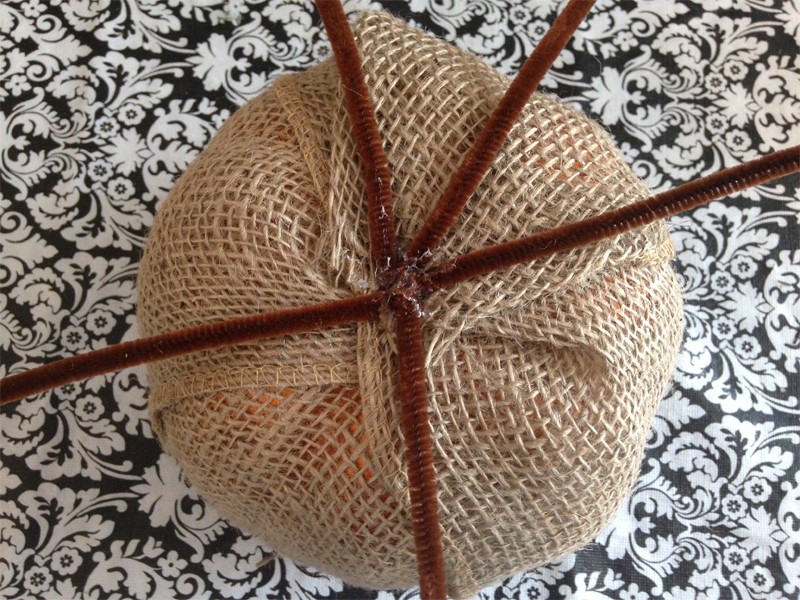
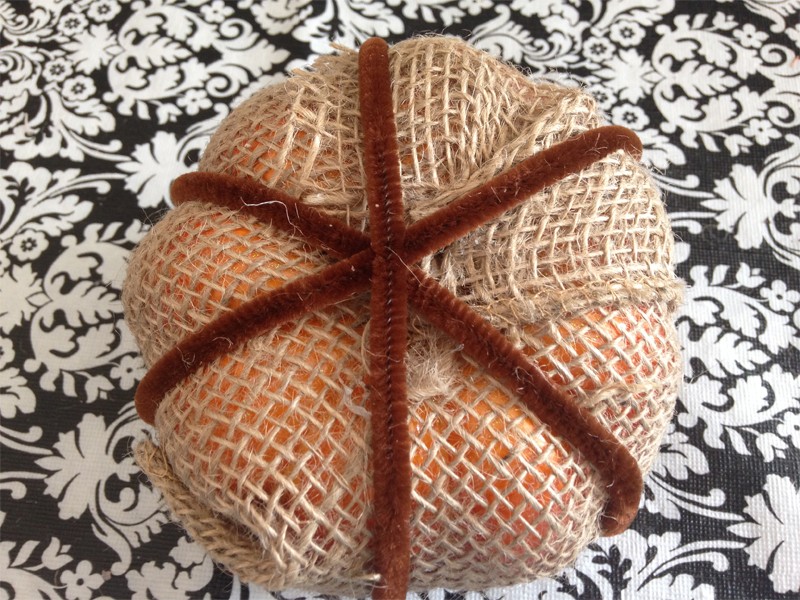
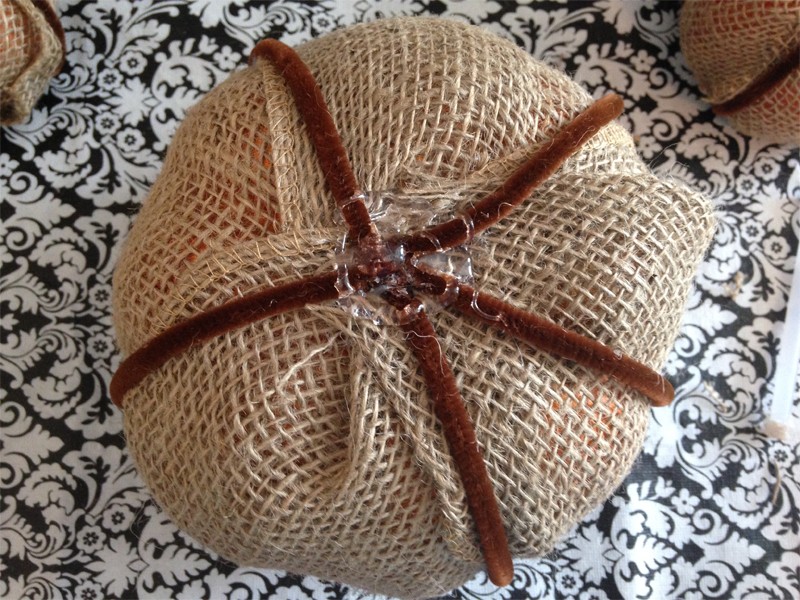
Now glue the brown pipe cleaners in the center of the bottom of the pumpkin as pictured below.
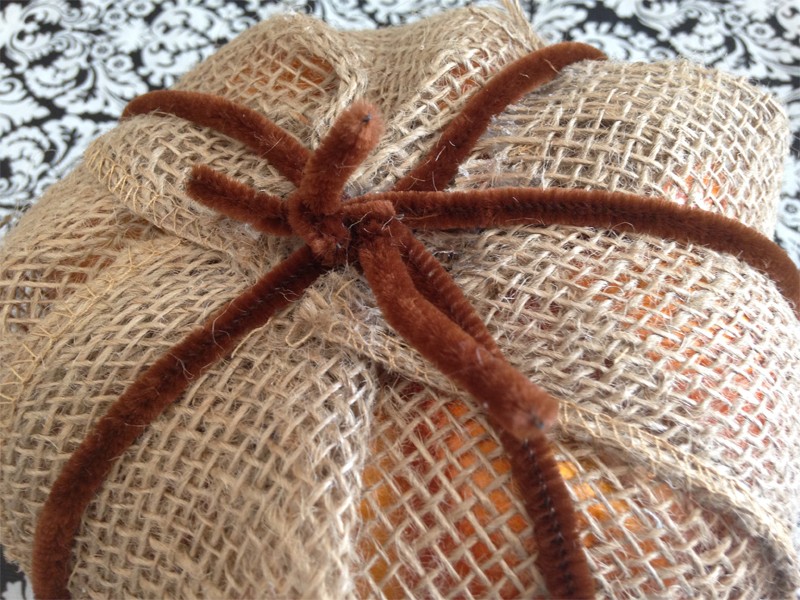
I then wrapped them around the pumpkin placing them where I wanted them and gluing in place on the sides of the pumpkin if needed. You can easily wrap the pipe cleaners around it each other at the top to keep from having to use more hot glue.
Complete the above steps for your other two pumpkins or however many you choose for your topiary.
Once all your pumpkins are covered, start gluing them together by placing hot glue in the middle of the bottom pumpkin and placing the next one on top being sure to hold in place until glue has dried and hardened completely.
Continue gluing and stacking your pumpkins together.
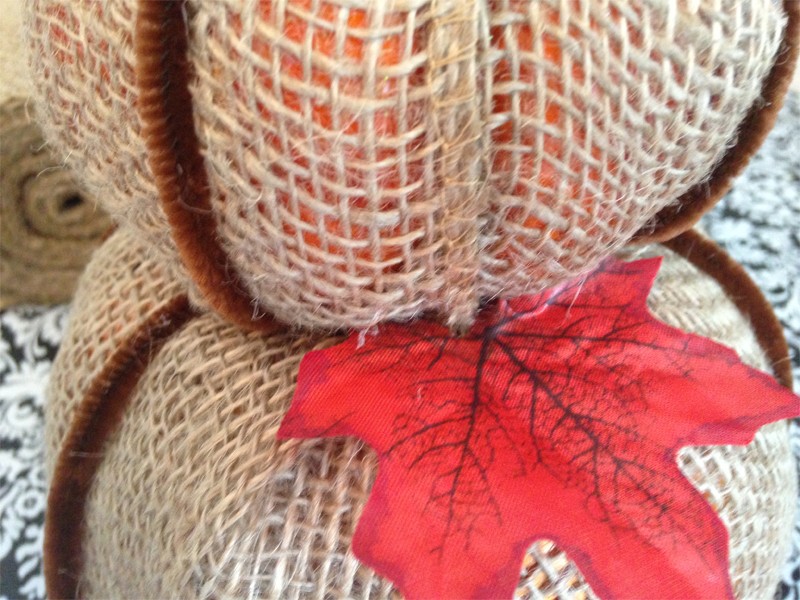
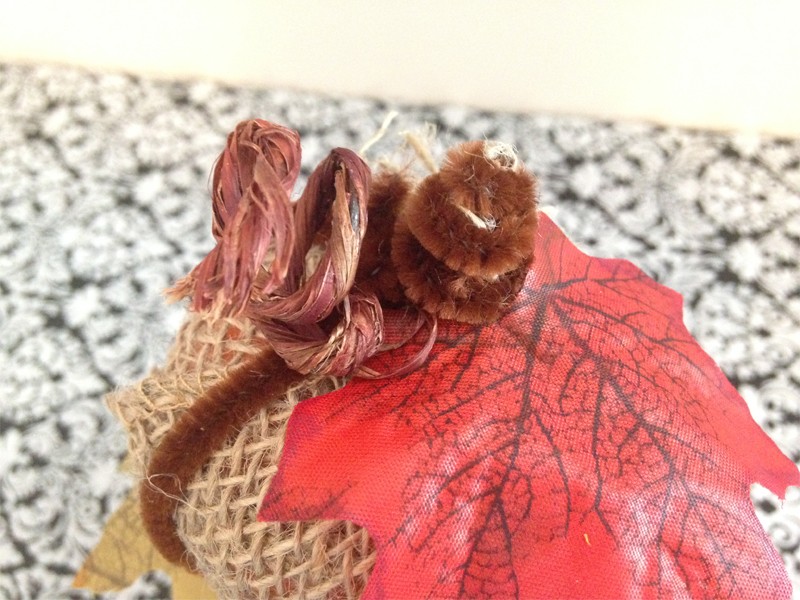
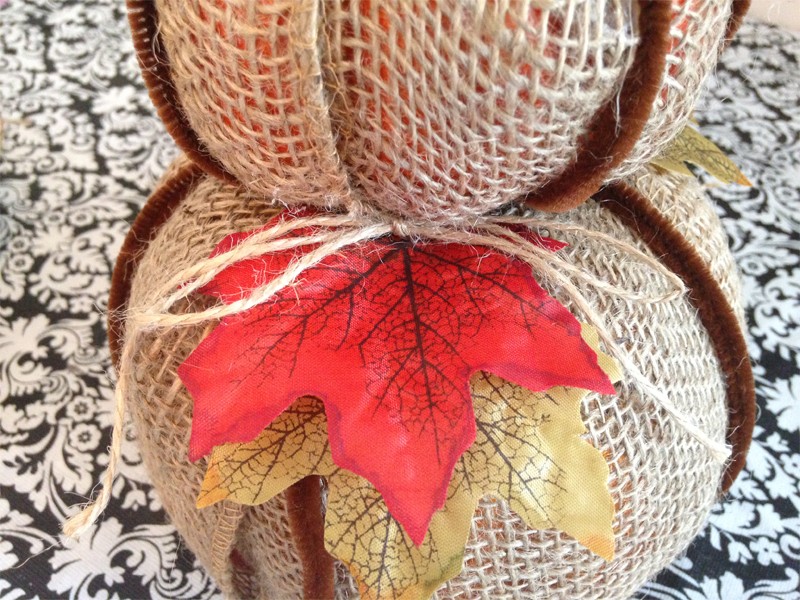
Now for the fun part that will add the extra details to pull this whole project together. I glued some of the fall leaves on to the top of the pumpkins.
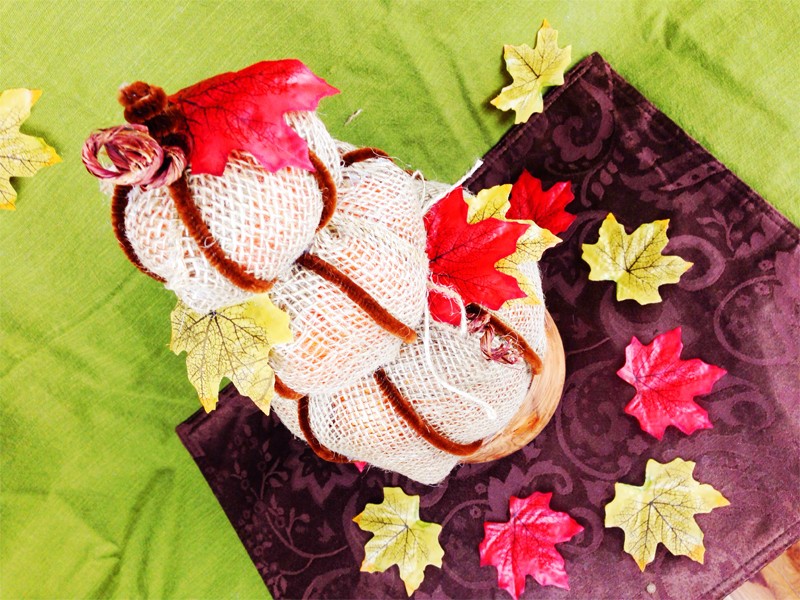
Using the wired brown floral wire, curl it and then place around the pipe cleaners at the top of the pumpkins to hold it in place for the stem of the pumpkins.
I also decided on wrapping the jute in between the pumpkins and tying a bow.
Once you are happy with your extra little decorations, you can now place it where you would like. I love the way mine looked sitting on this wooden bowl. Almost reminds me of a fall themed Christmas tree.
There are so many different things you can do with pumpkins now and this is just one more to add to my Autumn decorations. I hope you will enjoy it too. Enjoy the little things in life even if it is a new pumpkin idea.
If you enjoyed this pumpkin idea, then you will also enjoy these candy corn yarn cones that are perfect not only for Halloween but even through Thanksgiving.
Also if you have not already, please join me on Facebook, Pinterest, Instagram, and Twitter. I would love to hear from you with any comments, suggestions, or ideas you may have.
Some of the links in the post above are “affiliate links.” This means if you click on the link and purchase the item, I will receive an affiliate commission. Regardless, I only recommend products or services I use personally and believe will add value to my readers.


This looks so great!! I love the burlap– a perfect autumn decor material:)
Burlap certainly is great for fall decorations and can be used in so many different ways!
Very cute DIY! will need to give it a try.
Thank you! You will definitely have to try it. If you do, please let me know. I would love to see what you do with it as well.
These are too cute! Great tutorial! 🙂
Thank you and thanks for stopping by!
That’s a cute crafted deco! Thanks for sharing 🙂 Pinned it.
Alex – Funky Jungle
Thanks so much!!!
I love projects that are easy and don’t cost a lot of money to do. This could be something I could do with my boys
I love ideas of letting your kids help too. It so great for them as well and a great way to spend quality time together.
This is adorable! Burlap is one of my favorite craft supplies. This is such a great way to use it!
I can’t get enough of burlap either. Thanks for stopping by.
Cute idea! I LOVE burlap 🙂
Thank you! Burlap is one of my favorites too!
Love the way you took pumpkins and gave them a different twist for fall!
Thank you! I love being able to buy something and turn it into something completely different.
Cool ideas, I especially like the candy corn!
Thank you so much! Glad you enjoyed.
Love these ideas Bethany! I wish I was crafty like that :). I’ll be showing this to my daughter to see if she’d like to try and make these.
Have a great day!
I bet you are crafty. They aren’t hard to make. Hope your daughter can enjoy them too.
I love this. Just bought a hot glue gun!!!!
Perfect!!! It will certainly come in handy when you make this.
This is so sweet! How festive, I love the burlap.
Thank you for stopping by!
I love fall, pumpkins and burlap – this post is perfect 🙂
I love burlap too!!! Thanks so much!
What adorably festive ideas! Thanks for sharing 🙂
Thank you and thanks for stopping by!