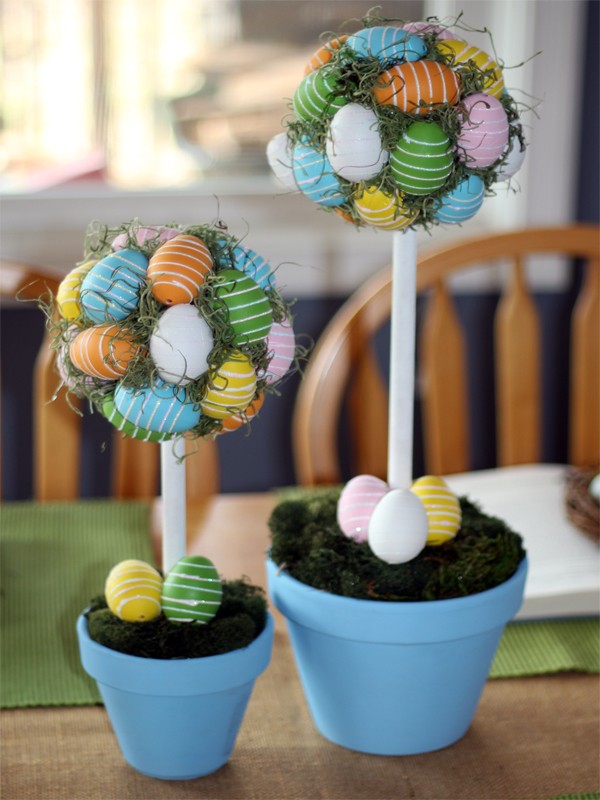
What a beautiful way to display those gorgeous artificial Easter eggs by making an Easter egg topiary! We always see those pretty eggs in the stores this time of year but never know how to display them in a new and fun way. This topiary is perfect for Easter décor but would also look great to carry over into spring.
Here is what you will need:
- Terracotta flower pots: I made two different sizes. My pots were 4.25 inch and 6 inch.
- Styrofoam: I used whatever sizes or shapes I could find for the best price. Who knew styrofoam could be so expensive. For the smaller pot, I found a shape that was 3 7/8 x 2 7/8 x 1 15/16 inches at the Dollar Tree. It fit perfectly in the top of the smaller pot. For the larger pot, I used a cube that measured 3 7/8 inches. The cube was also found at the Dollar Tree. I found a 6 pack of styrofoam balls for the topiary part that will hold the eggs that were 3 inches at Hobby Lobby for very affordable price. I recommend shopping around for the best prices if you intend to make more than one or else the styrofoam will be your most expensive item for this project that ends up not even being seen.
- Artificial Easter eggs: I found a string of different colored Easter eggs at Hobby Lobby that you would hang as a banner, but I cut the string and took the Easter eggs and used them. The speckled artificial Easter eggs would also be lovely.
- ½ inch dowel rod
- Hot glue gun with hot glue gun sticks
- Craft paint: I used blue for my pots that coordinated with the Easter eggs and white for the dowel rod.
- Foam brush
- Floral moss or paper grass: I also recommend looking at the Dollar Tree for moss which is where I found mine. This can also be an expensive item at most stores. I just love the Dollar Tree because they have the best items to use for crafts but at such a cheaper price. Who doesn’t love a good bargain?
- Ribbon-optional: I did not use any ribbon but it can be used as I will explain below.
- Sand paper-optional: I was not able to locate my sand paper at the time when I was making this but would be wonderful to add an aged or vintage look to the pots.
Let’s get started making this wonderful addition to your Easter décor this year.
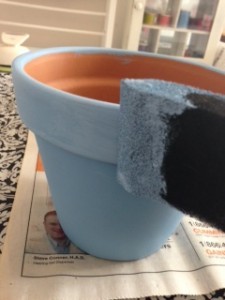
First paint your terracotta pot so it can be drying while you start on the next step. I chose a light blue that matched my Easter eggs.
I love using foam brushes as they cover a large area at once, are very cheap, and clean very easily. You do not need to worry about painting the bottom of the pot as it will not be seen nor the inside of the pot. Just be sure to paint the top rim though.
Next cut your dowel rod into the size you will need depending on the size of your pot. Of course please be careful when cutting your dowel rod if you choose to cut yourself. I had my husband cut mine with a saw which was very helpful. You could also probably ask someone at your local hardware store to cut for you as well.
For the smaller pot, I had him cut an 8 inch piece and for the larger pot, a 14 inch piece.
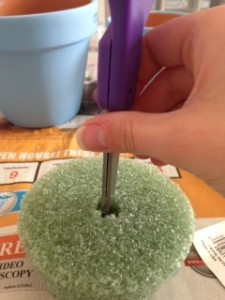
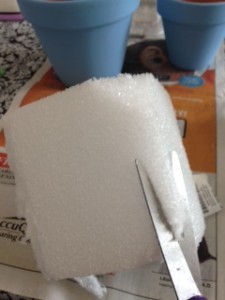
You will need a small hole dug into the styrofoam pieces in order to insert the dowel rod. Using your scissors very carefully, place the sharp and pointed end into the styrofoam and start turning in a twisting motion to form a round hole. Be careful not to twist a hole down and completely through the styrofoam. Stop after about several inches are dug and you feel it will be enough support to hold up dowel rod. You can also use your dowel rod to place inside once hole is started to make for better size. Also do the same with the styrofoam balls just being sure to not go completely through the ball.
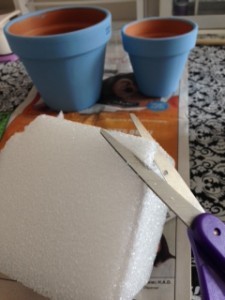
Place your styrofoam pieces into your pots. The cube piece has to be trimmed down in order to fit. I used my scissors to first cut the corners off and then the sides. I just kept placing it inside the pot and then trimming again until it fit inside. Cut your styrofoam over a large piece of newspaper or the trash can because this will make a mess of tiny styrofoam pieces.
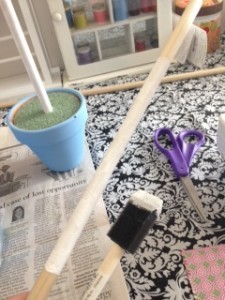
Now paint those dowel rods. I used white craft paint and a foam brush to paint which worked the easiest. I loved the white and how it kept the colors more simple. I already have a lot of colors in the eggs and did not want to take away from that. Each end of the dowel rod will be in the styrofoam pieces, so do not worry about not painting it completely and also having to hold it while you paint.
Now you may be wondering, am I going to have to hold this dowel rod until it dries so the paint does not smear? Of course not. We cannot be wasting time but must be efficient crafters. Lol! That is why you will want to already have the holes dug in the sytrofoam in order to stand your dowel rod in it to dry.
Go ahead and plug in your glue gun so it can be heating up while we prepare for the next step.
My artificial eggs as I mentioned above were found at Hobby Lobby on a cord to be used for garland. I knew they would work perfect for this. I just cut the string and removed the eggs. You will need quite a few eggs to completely cover the styrofoam ball which is another reason why I chose the garland. Plastic Easter eggs are definitely more affordable but I did not want the plastic look. I have seen many speckled pastel colored eggs that are also very gorgeous and would be beautiful.
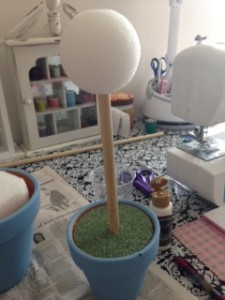
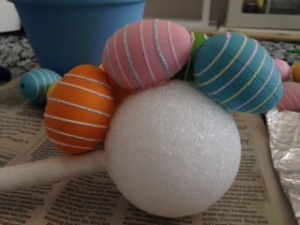
You will want to place your dowel rod inside your styrofoam ball and place some glue around the dowel rod where it meets the ball to secure it in place. Be careful not to burn your fingers when using the glue gun. Do not glue your dowel rod in place in the styrofoam bases that are in the terracotta pots until then end or it will make it difficult for you to glue your eggs on.
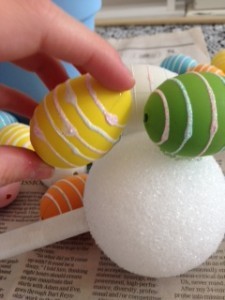
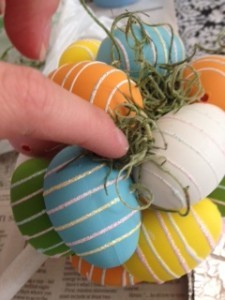
Now for the fun part of gluing your eggs on the ball. I did not really use any particular pattern but just placed them in random as I glued each one being sure to not place two of the same color directly next to each other. Continuing gluing each egg on until the ball is completely covered.
At this point, some of the styrofoam will still be shining through but that is there the moss or paper grass will come in handy.
I used dark green paper grass which I also found at the Dollar Tree and placed glue in any hole to cover any exposed styrofoam. The paper grass covers the holes perfectly and really gives that extra touch. Continue gluing the paper grass until you have no more space between the eggs. I found that rolling the paper grass around in the palms of my hands helped to keep the paper grass in more of a “wad” and not pieces flying everywhere as it tends to want to do sometimes. (I know my vocabulary is so brilliant. Lol!)
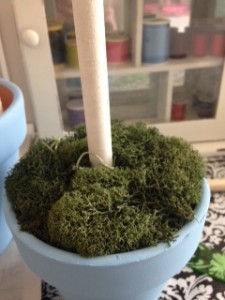
Once you are happy with the look of the ball, place the dowel rod into the styrofoam base and glue around the edge of the dowel rod where it meets the base to secure in place to prevent the dowel rod from toppling over. As this point with the weight of the eggs on the ball and the dowel rod, you will know if your dowel rod is far enough down in the base. If not stable then continue to “drill” hole down with scissors before gluing in place.
You will now need to cover that styrofoam base and hide it. Placing glue in small sections at a time, place your floral moss over the styrofoam until the base is completely covered.
Do one last check on your base and also the ball to be sure no more extra moss or paper grass is needed.
If you would like to add a bow either around the pot or around the dowel rod directly below the ball, this would also be an option. My eggs had a design and glitter on them and did not need any extra detail.
Also I wanted to use sand paper to lightly sand my pots for an aged or vintage look and not so neat and clean appearance but could not find at the moment. This would also just add that extra touch.
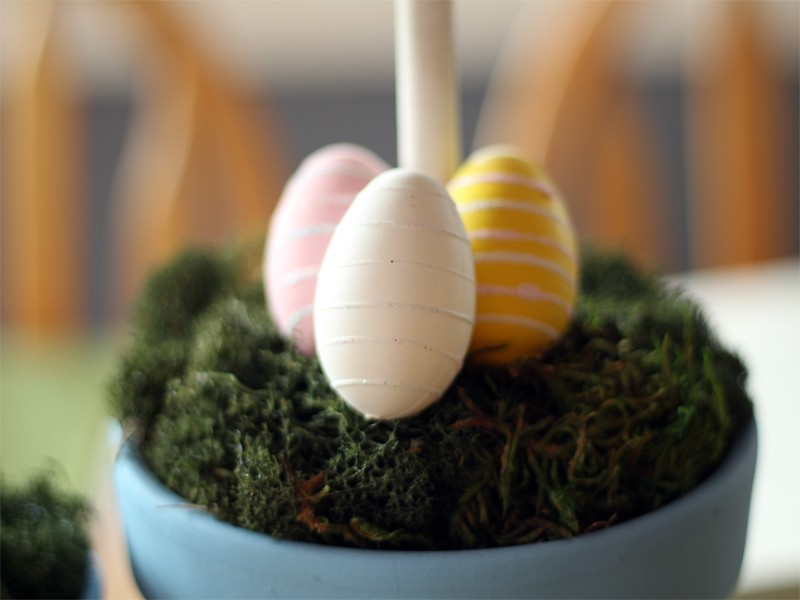
I did have several Easter eggs leftover that I used around the bottom of the dowel rod and glued directly onto the moss. It really added that extra touch of cuteness as if the eggs were lying the grass waiting on some eager child to come and find them.
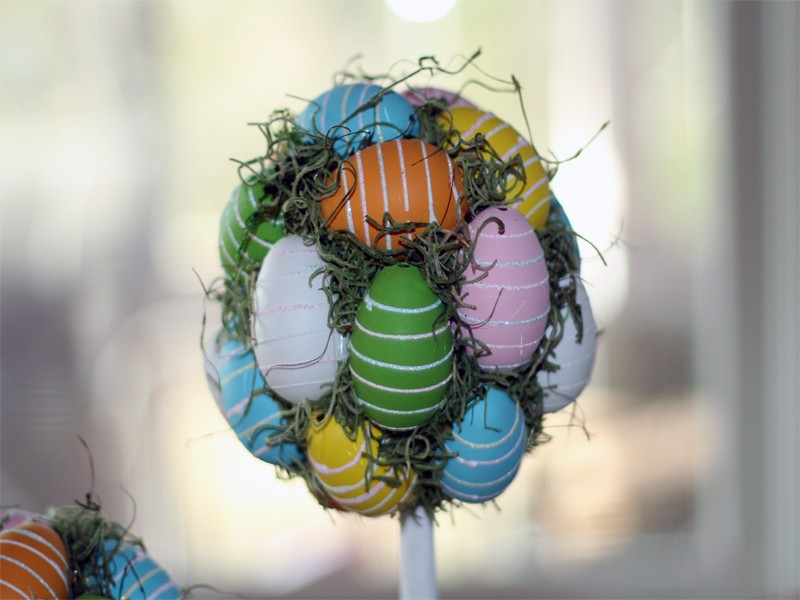
You are now finished and look at what a beautiful new piece you have to add to your Easter décor. I placed one on each end of my mantel and love the way they look. Also hanging on my mantel is my Easter egg paper garland. Hop over there to learn how to make a simple paper garland that is quick, easy, and adds that extra touch. I love the way the two paired together turned out.
Enjoy your Spring weather, this time of Easter and the real reason for our celebrating which is Jesus Christ and the Resurrection, your Easter topiary, and of course the little things in life!
