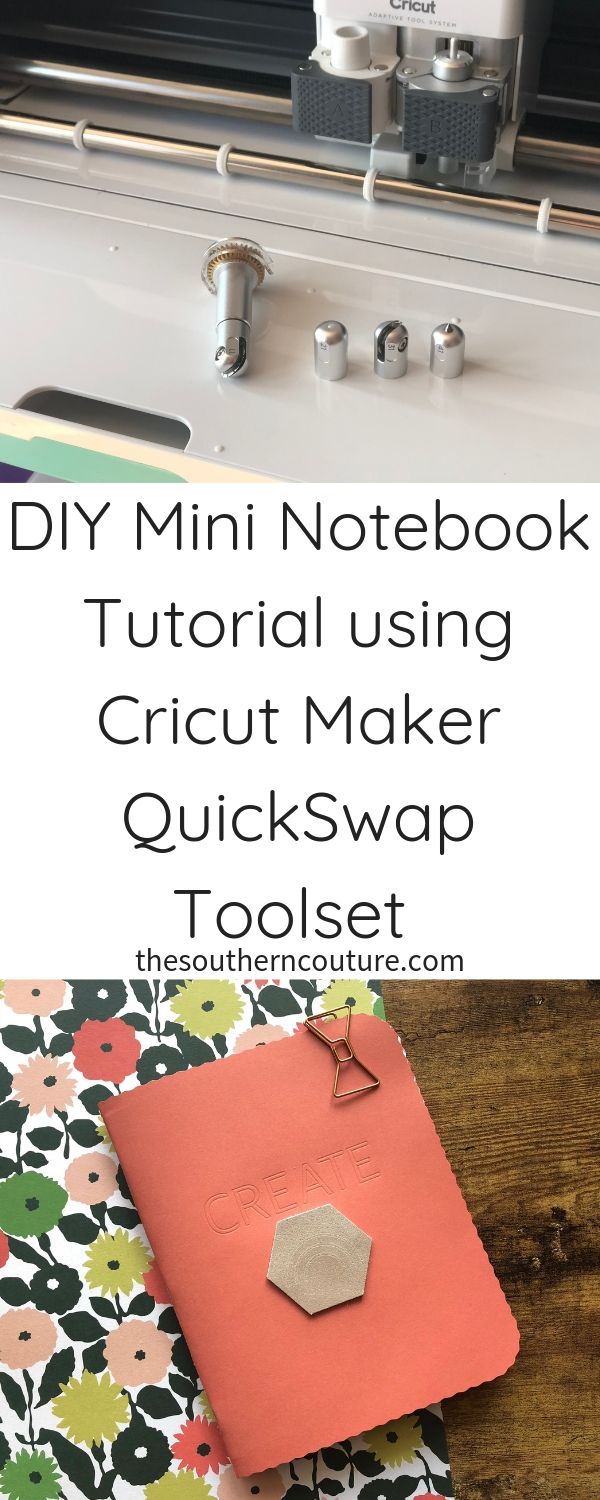
Check out this DIY mini notebook tutorial using Cricut Maker and their new QuickSwap Toolset that makes it a breeze to create your own personalized projects.
Thank you to Cricut for sponsoring this post. All opinions are mine alone. I pinky promise! Some of the links below are “affiliate links.” This means if you click a link and purchase an item, I will receive a small affiliate commission that helps me to be able to continue with this blog and hopefully continue to inspire you as well.
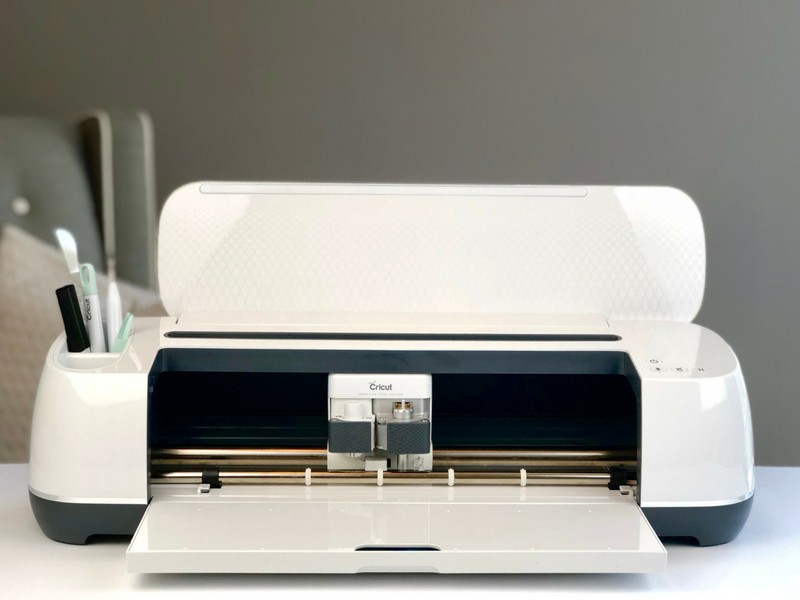
I don’t know about you, but I can never have too many journals and travelers notebooks lying around. I’m obsessed with them and always have been. I also love creating my own so I can personalize it anyway I choose. Thanks to my Cricut Maker, it makes creating them even quicker and more gorgeous.
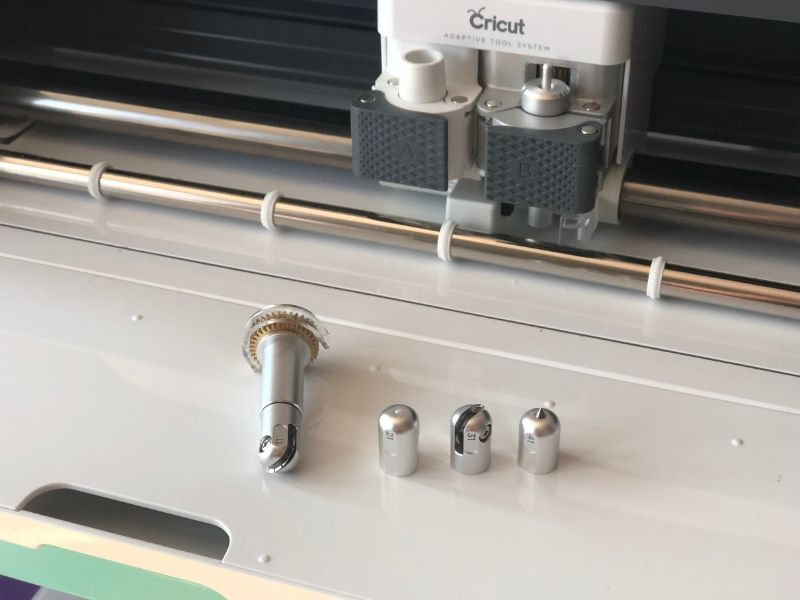
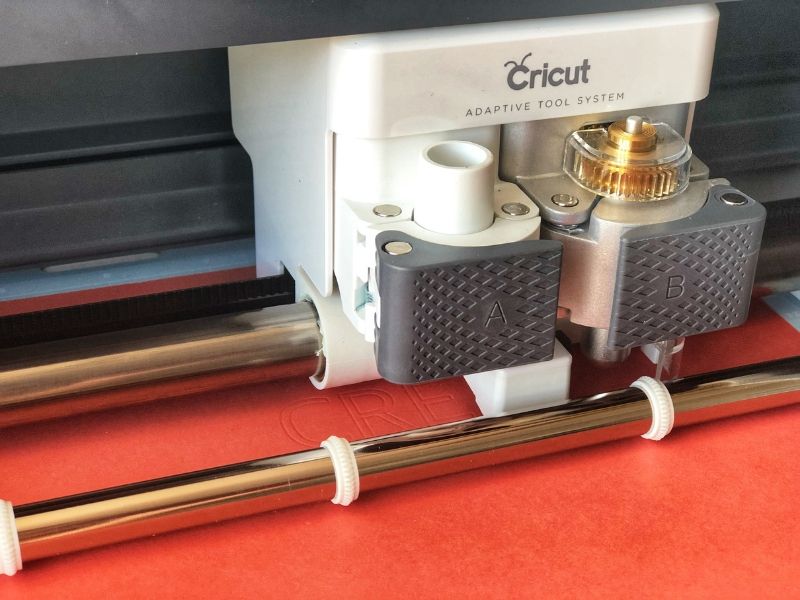
First of all, make sure to check out more details about the Cricut Maker HERE if you are new to the Cricut machines. When Cricut released the Maker a couple years ago, they promised more tools would also come along as part of their adaptive tool system. More tools means more projects and ideas that can come to life.
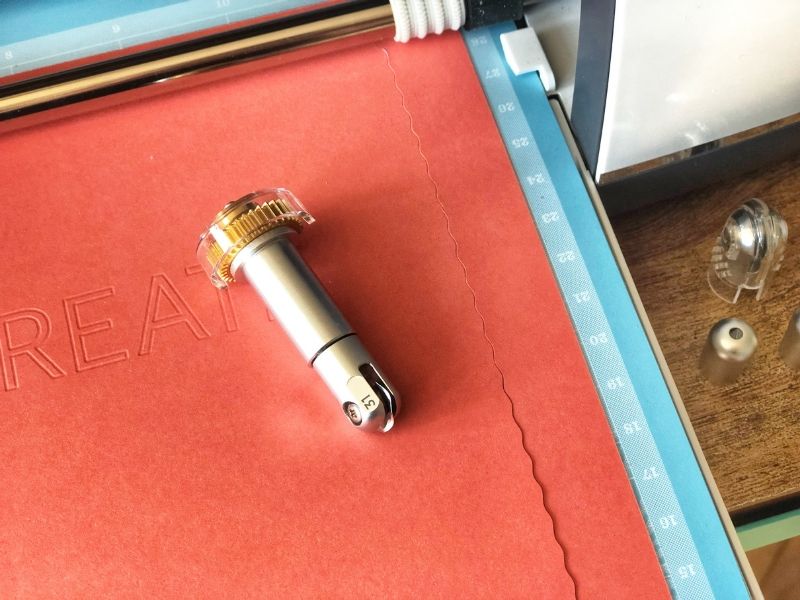
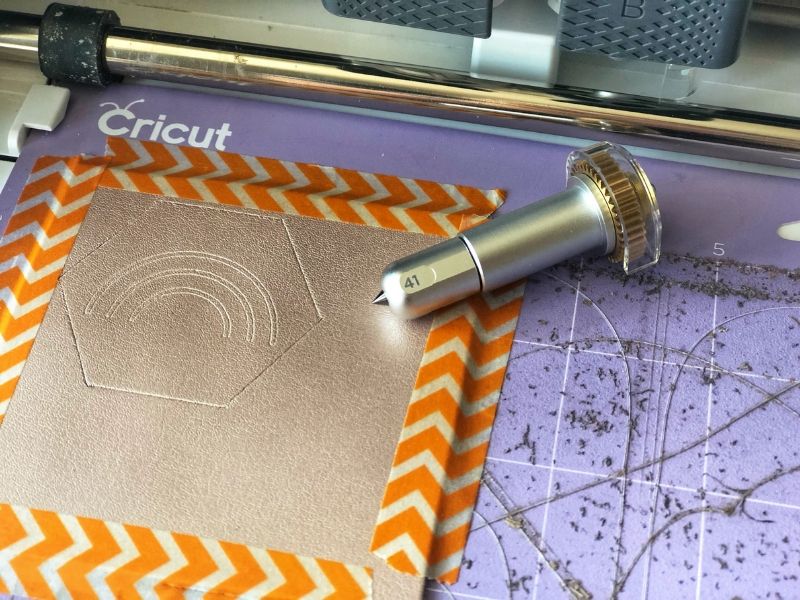
These new tools now allow you to deboss, engrave, and more with materials like metal and leather. All you have to do is swap the tool from the housing unit and keep on creating with ease. Learn more about their newest tools HERE.
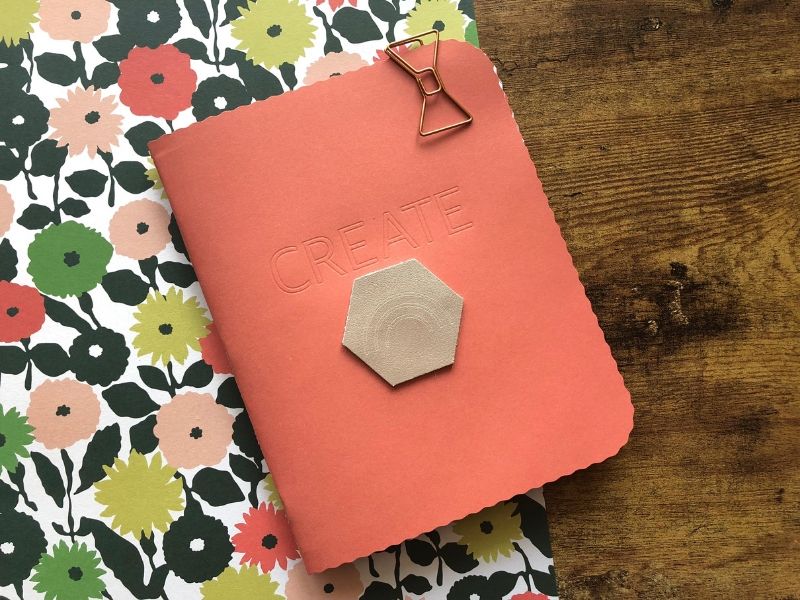
Now let’s get started so you can create your own mini notebook too. The best news about this whole project is that I have already created the design and all you have to do is create it using your Maker. Click HERE for the project in Cricut Design Space.
Cricut Design Space will walk you through creating the mini notebook by loading your cutting mat with the scrapbook paper into the Maker and also changing out the tools as needed. I even engraved the leather hexie on the cover using the Maker.
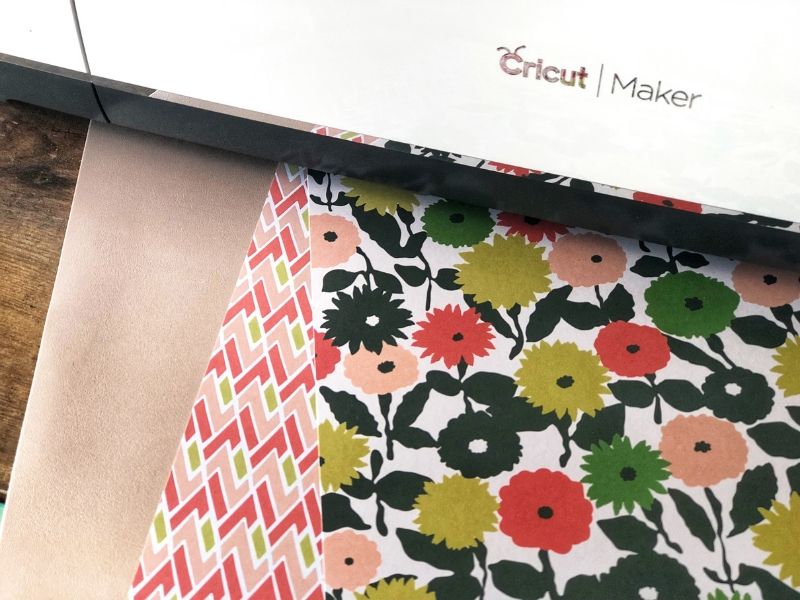
After everything was cut out, I assembled the white cardstock inside the scrapbook paper and just stapled the binding. For the cover, I used the Rob and Bob Lattice paper pack.
I then added the leather embellishment to the cover using a glue stick. I love that the Maker can now engrave lots of different materials too.
Now for the extra fun part. I thought it would be fun to create some fun printable rainbow stickers that coordinate with the rainbow engraved leather embellishment and also the scrapbook paper shown above.
GRAB YOUR FREE PRINTABLE HERE!
Check out the video below to see the Maker QuickSwap Toolset up close and in detail. I also show the free printable in more detail. Hope you enjoy!
I printed my rainbows on the Avery 8665 clear sticker paper and then cut them out to decorate the inside pages of my mini notebook. I just love the extra touch of color and fun they give this little guy.
Let me know in the comments below what you plan on making next with the Cricut Maker or maybe you are going to grab your machine now. I can’t wait to see what you create.
This is a sponsored conversation written by me on behalf of Cricut. The opinions and text are all mine.
ENROLL NOW IN MY 5 DAY BIBLE JOURNALING ECOURSE FOR FREE!

Get exclusive tips and tricks with my 5 Day eCourse available exclusively to subscribers!
