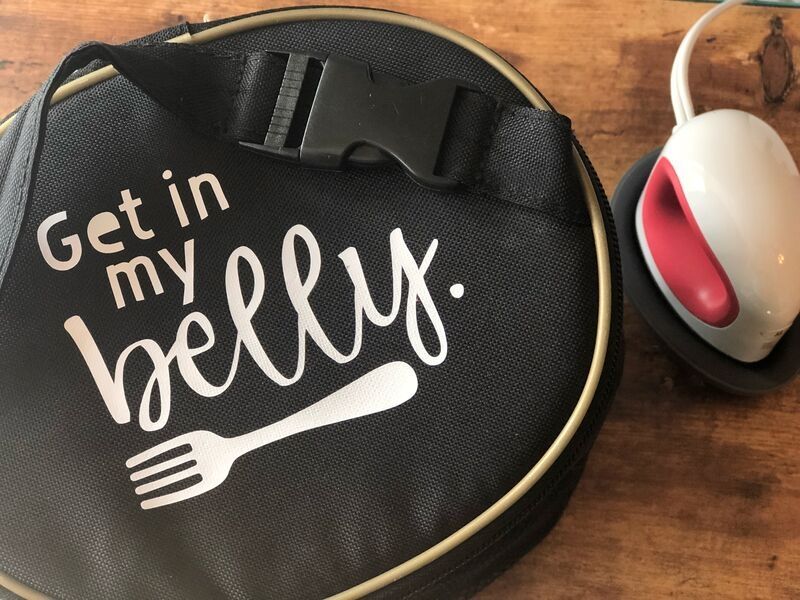
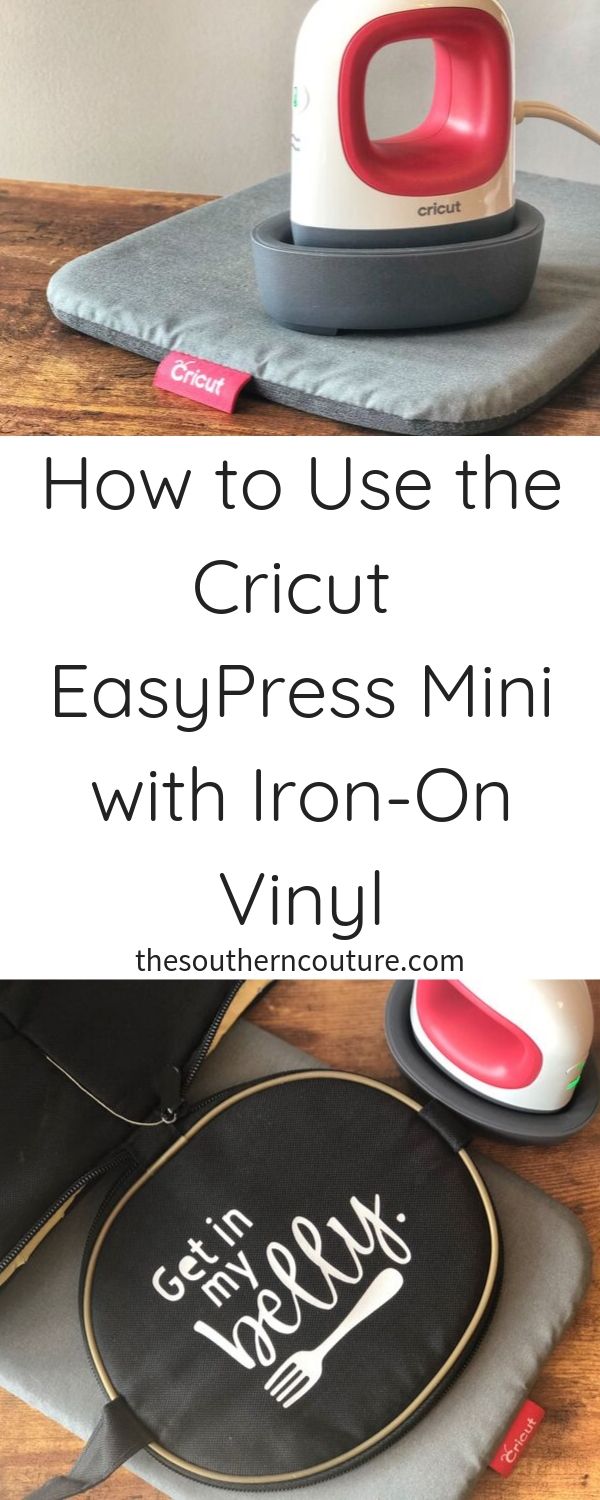
Check out this Cricut iron-on tutorial using EasyPress Mini for unique craft projects including this lunch bag I embellished for my little boy.
Thank you to Cricut for sponsoring this post. All opinions are mine alone. I pinky promise! Some of the links below are “affiliate links.” This means if you click a link and purchase an item, I will receive a small affiliate commission that helps me to be able to continue with this blog and hopefully continue to inspire you as well.
Now I can add iron-on vinyl to just about everything. Yes, you heard that right. I may just turn into a crazy iron-on lady. But in all seriousness, the crafting possibilities are now endless. Cricut has done it again. They released their Maker machine and now the EasyPress Mini.
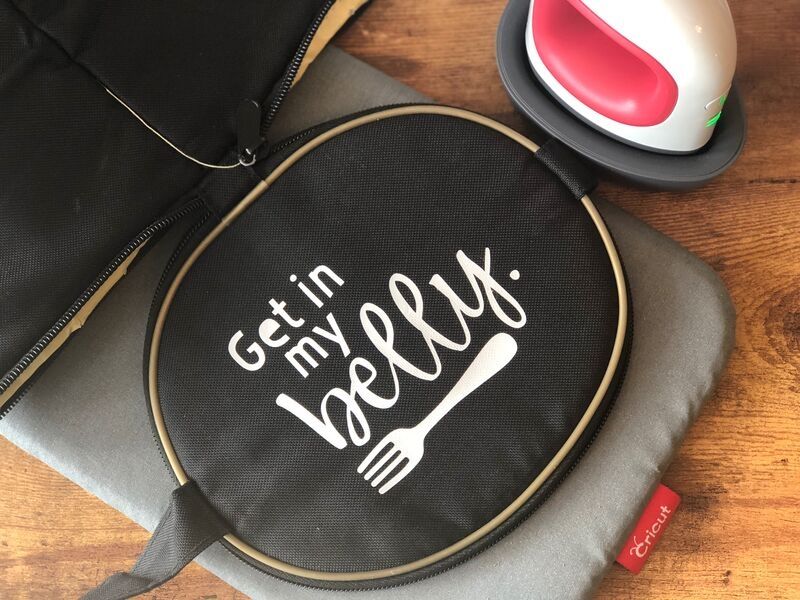
I can start putting iron-on to hats, shoes, and everything. Oh my! But first I’m starting with my little guy’s lunch bag. Since the bag doesn’t lay flat and has zippers and a handle, I never had the opportunity to really personalize it. Well now I can. I decided to add this fun quote, “Get in my belly,” for a little fun humor. I’m obsessed!! And what’s even better is now you can make your own too.
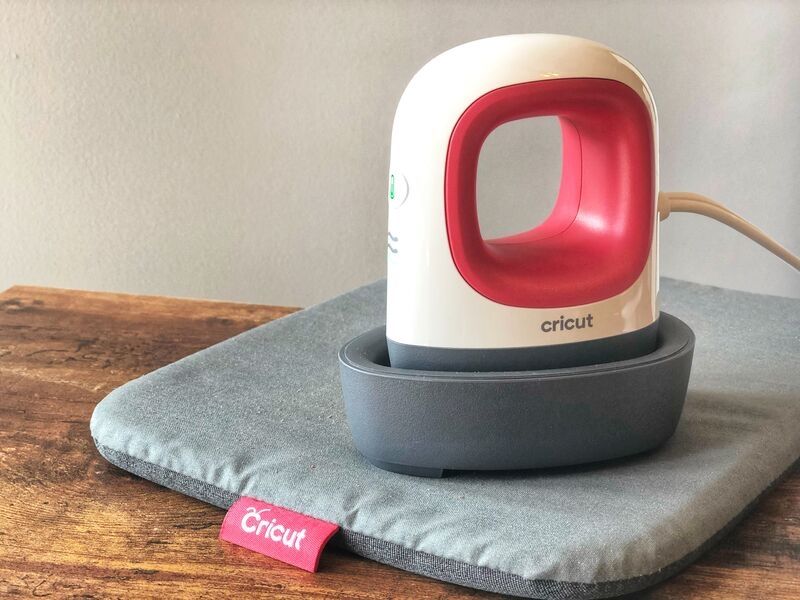
Before we get started on this fun project, get your hands on one of these EasyPress Minis. You will thank me later. The mini size is so stinkin’ adorable. And yes, I said stinkin’. It heats up quickly and is so simple to use. There is also a base to rest it on to protect your table from the heat. Grab yours HERE.
Now let’s get started crafting. You can make yours with the design I have in Cricut Design Space HERE. The work is already done for you. You may just want to resize it for your own lunch box.
Plug in the EasyPress Mini and let it start heating. Use Cricut’s Heat Guide to know what setting you need and how long to apply pressure depending on the material you are ironing on. It makes any project a breeze.
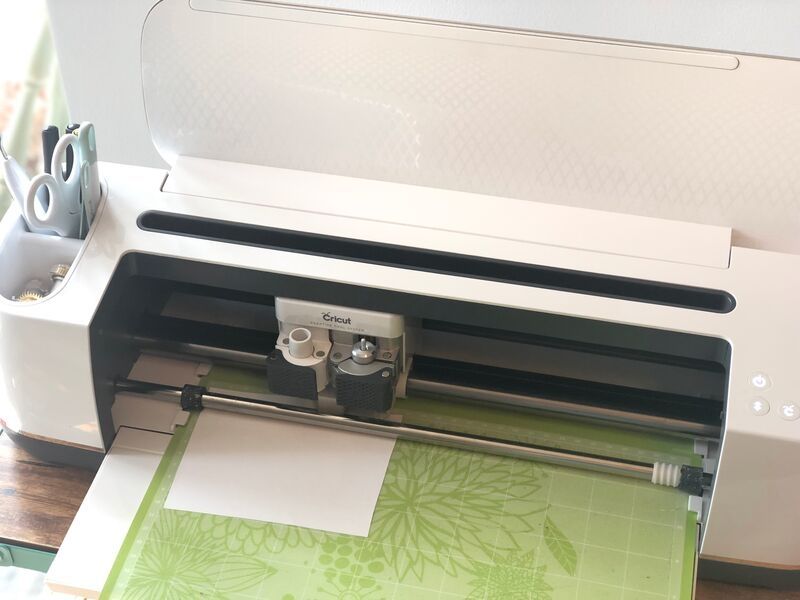
What’s even better is that this project can be made with either the Maker or Explore Air 2. First cut out the iron-on vinyl and be sure to mirror the cut in Design Space.
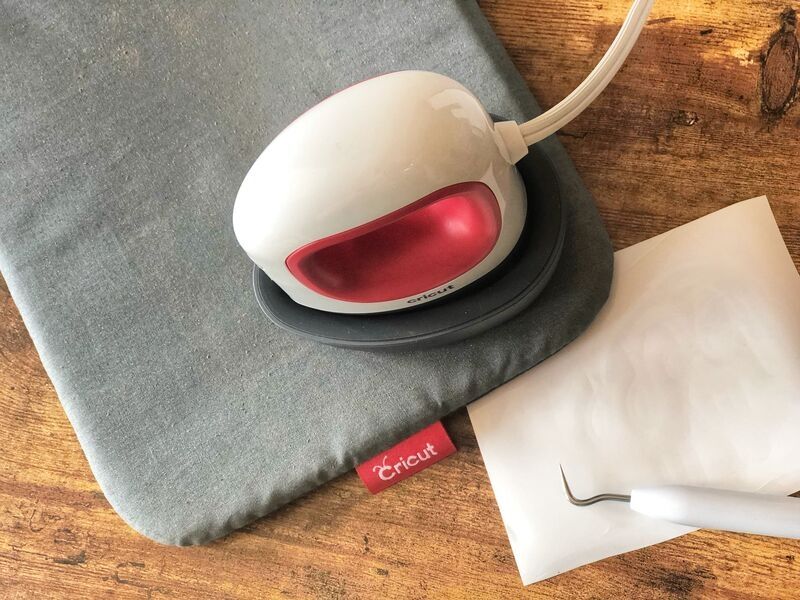
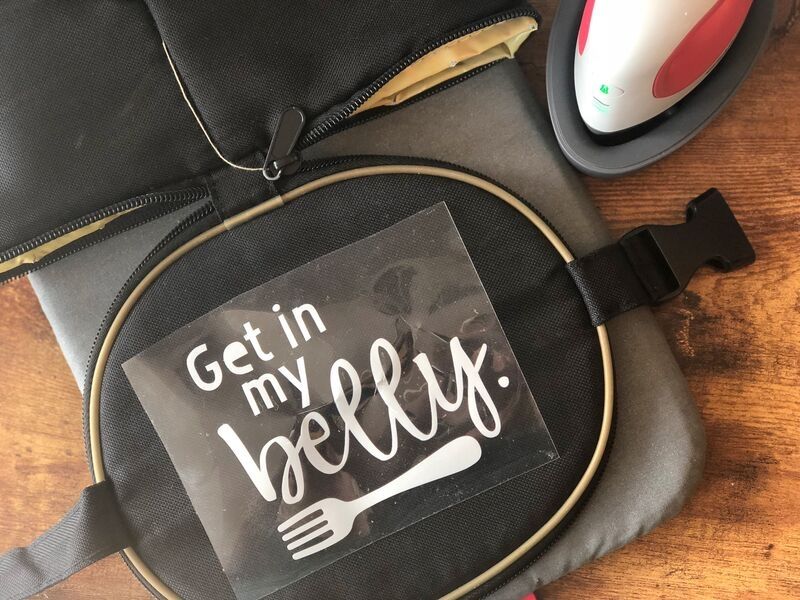
Once the iron-on vinyl is cut and you have weeded it, you can heat the lunch bag where the vinyl will be applied. I recommend using the EasyPress mat under your project to protect your work surface. Then place your iron-on on the lunch bag.
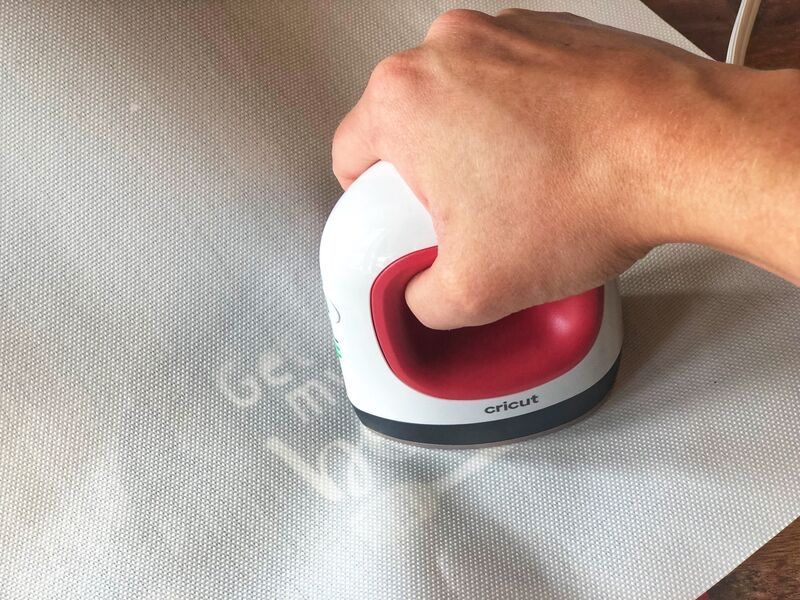
I also use Cricut’s heat mat over my project to protect the plastic and iron-on from overheating. You could also use a washcloth if you are concerned about it. Then apply pressure for the time specified by the heat guide mentioned earlier.
I removed the plastic film from the iron-on and voila! I’m obsessed. I just love how quick and easy this project was thanks to the EasyPress Mini. Now I can personalize even stuffed animals, hats, shoes, handbags, and anything else I can get my hands on.
What is the next thing you want to make with iron-on vinyl? Let me know what you think about the EasyPress mini and grab yours HERE.
This is a sponsored conversation written by me on behalf of Cricut. The opinions and text are all mine.
ENROLL NOW IN MY 5 DAY BIBLE JOURNALING ECOURSE FOR FREE!

Get exclusive tips and tricks with my 5 Day eCourse available exclusively to subscribers!
