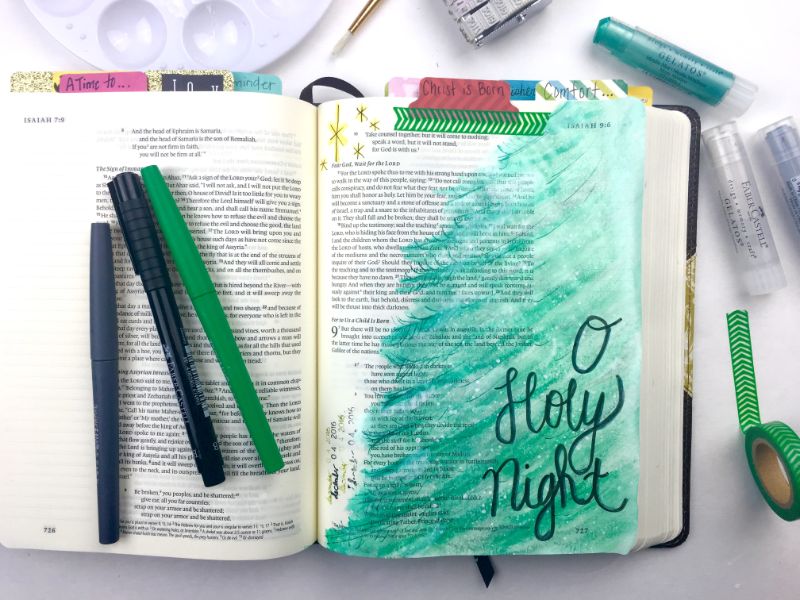
Start preparing your heart for Christmas with advent, daily scripture readings, and this Christmas Bible journaling entry with gelatos tutorial.
Some of the links below are “affiliate links.” This means if you click a link and purchase an item, I will receive a small affiliate commission that helps me to be able to continue with this blog and hopefully continue to inspire you as well.
MERRY CHRISTMAS!!! It truly is the most wonderful time of the year. I just love to decorate, listen to Christmas music, eat yummy cookies, and so much more. It truly feels like magic is in the air every day. Well I couldn’t wait to share this Christmas entry of mine using one of my most favorite supplies ever. And that would be my Faber Castell Gelatos. I love that they look like tubes of lipstick and actually go on the page in much the same way with a buttery and creamy feel. You can use them in many different ways too. Today I’m sharing a technique using a damp cloth to help you get this Winter Wonderland Christmas tree.*I also shared a post not long ago showing you how to use gelatos using a paintbrush and water for Bible journaling for another fun technique. I love using this method when needing more intricate details.
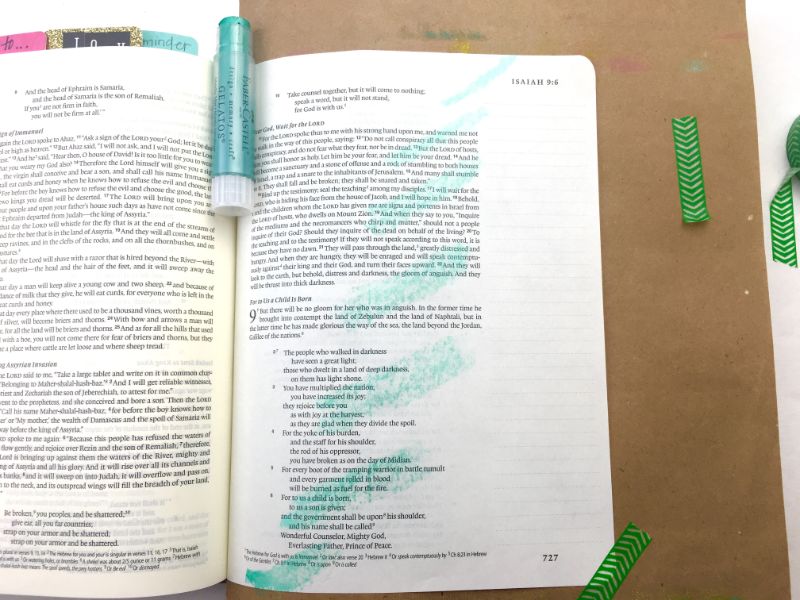
I usually start by drawing a rough sketch on a scrap piece of paper and even playing with the supplies first to get a better idea before working in my journaling Bible. Place a piece of kraft paper underneath the page you are working on and possibly cover the page on the opposite side to keep from making a mess. Keep it in place using washi tape that can easily be peeled off and removed without causing harm to the page.
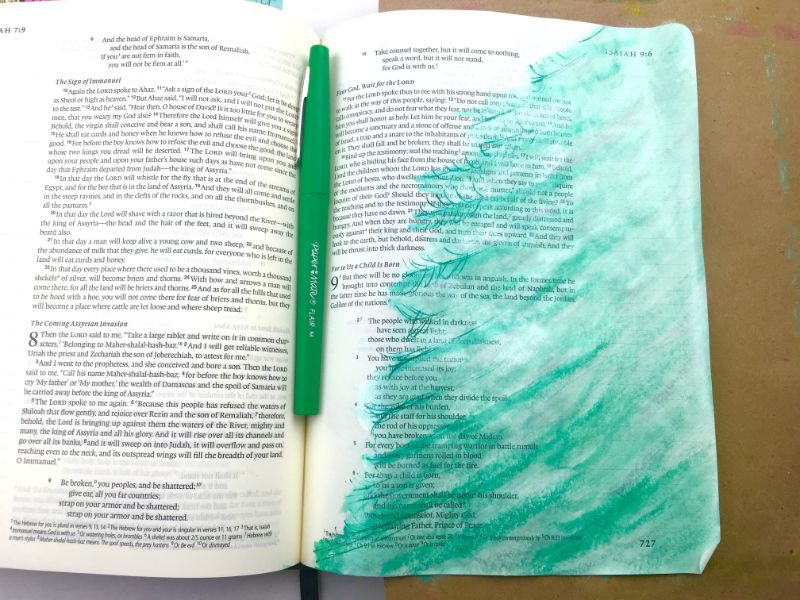
Apply the gelato to the page in the same way you would draw using a crayon or marker. I applied several strokes of this green color that came from the Faber Castell metallic set to get the outline for my Christmas tree and use it as a guide.
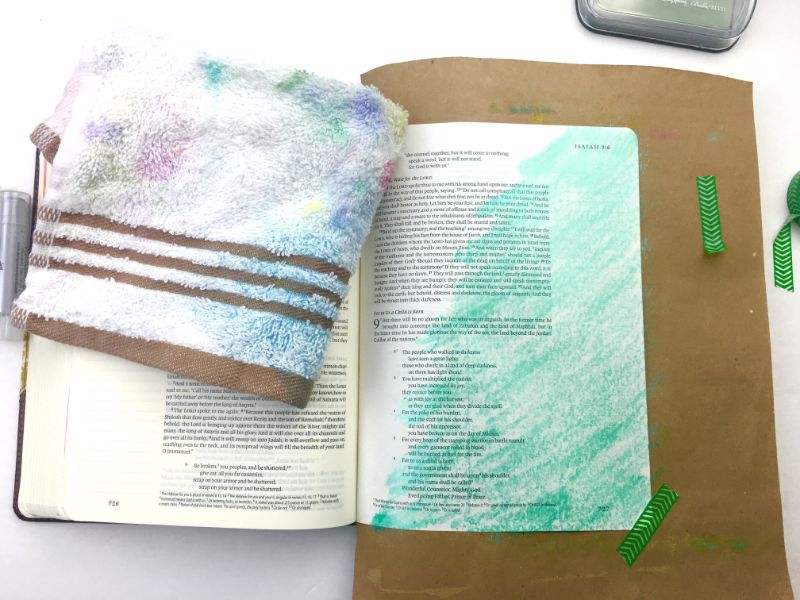
I continued with the green for the tree until the tree was completely filled in. Using a damp cloth, gently wipe over the gelato markings on the page to blend the color together. You will start to see somewhat of a watercolor effect. Feel free to do more or less blending depending on the outcome you want.
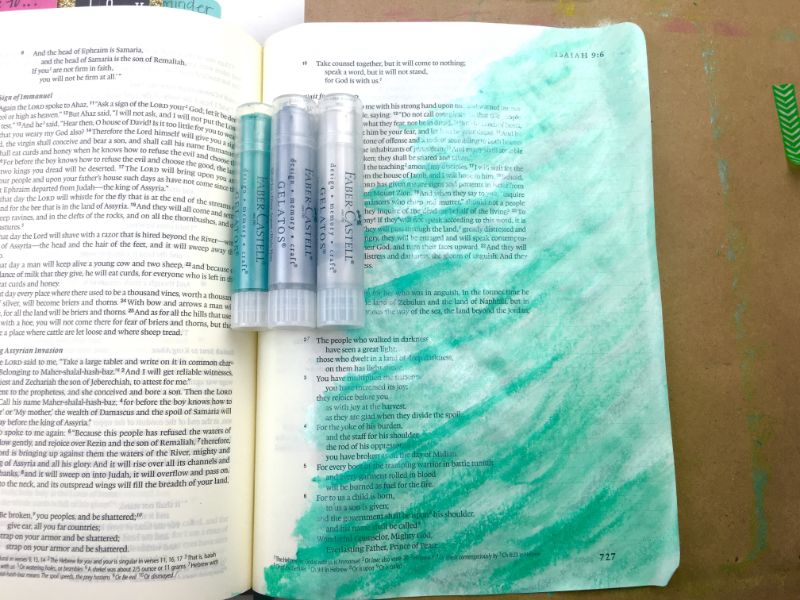
Don’t worry if you think the color was blended too much and became too light or thin. I went back here with the green to add more depths and detail for the tree branches. I also added accents with the silver and white for snow and a glisten.
Now it may just seem like a green blob of coloring, but trust me it will come together with just a few more supplies. I went back with a green Paper Mate Flair pen and added details for the individual branches and stems.
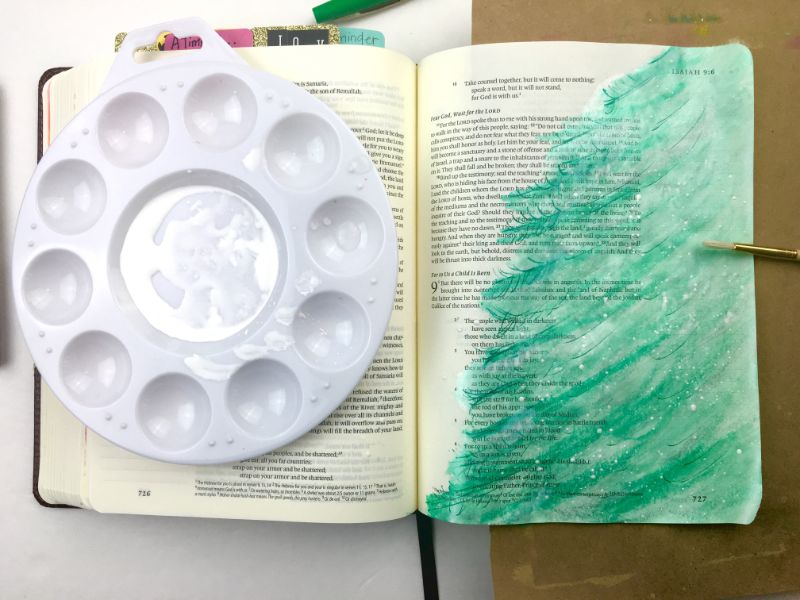
I wanted there to be some sort of snowy appearance like a winter wonderland, so I used white acrylic paint. Squirt a small amount on a plastic paint tray and add several drops of water to thin it out. Dip your brush in the paint and knock off any excess. Then holding the paintbrush in one hand, use your other hand to gently knock the wrist that is holding the brush to drop small droplets of the white paint onto the page. I recommend practicing on scrap paper first if you have never used this technique.
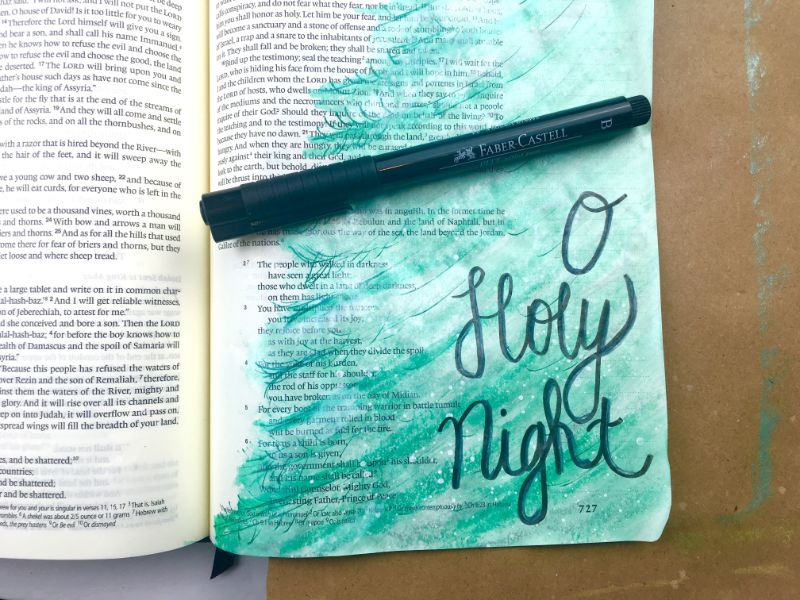
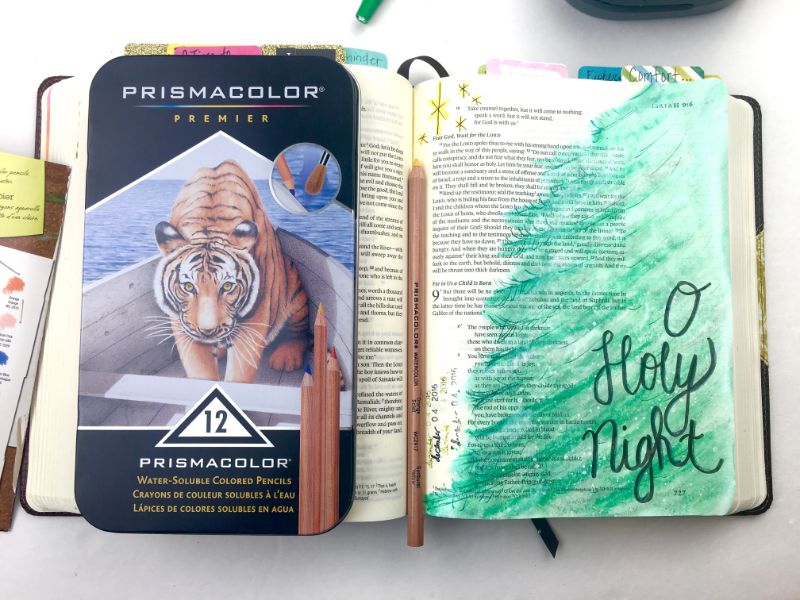
Once I had the tree finished, I wanted to hand letter one of my favorite Christmas hymns so I used the Faber Castell PITT artist pens to write in the margin. All of these supplies that I have been recommending are great because they do not bleed through excessively and usually only leave a little shadowing.
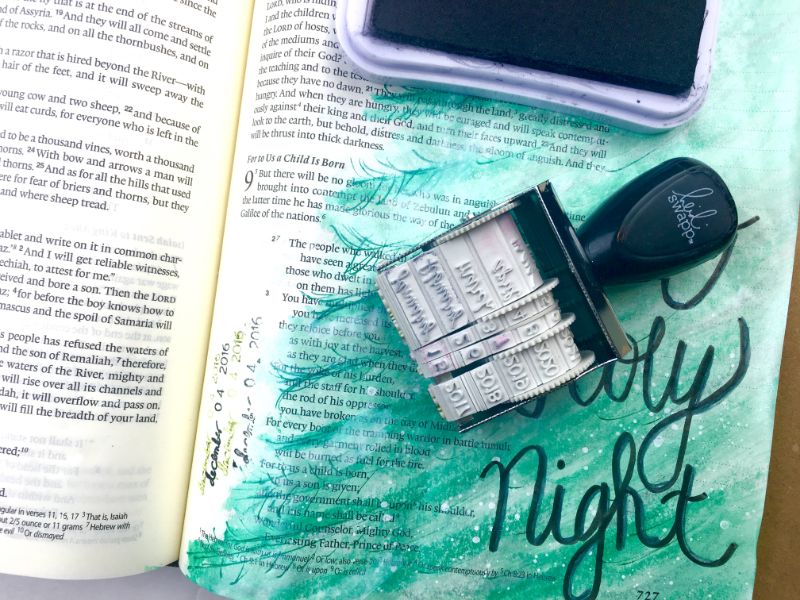
And the page is just about complete. I always finish all my entries off with a couple steps. The first is stamping the date of the entry using a date stamp so I can always go back and remember when the entry was completed. This is especially important when looking back and seeing how certain scripture impacted your life with what you were going through at that time possibly. The date stamp I use is Heidi Swapp and a standard black ink pad.
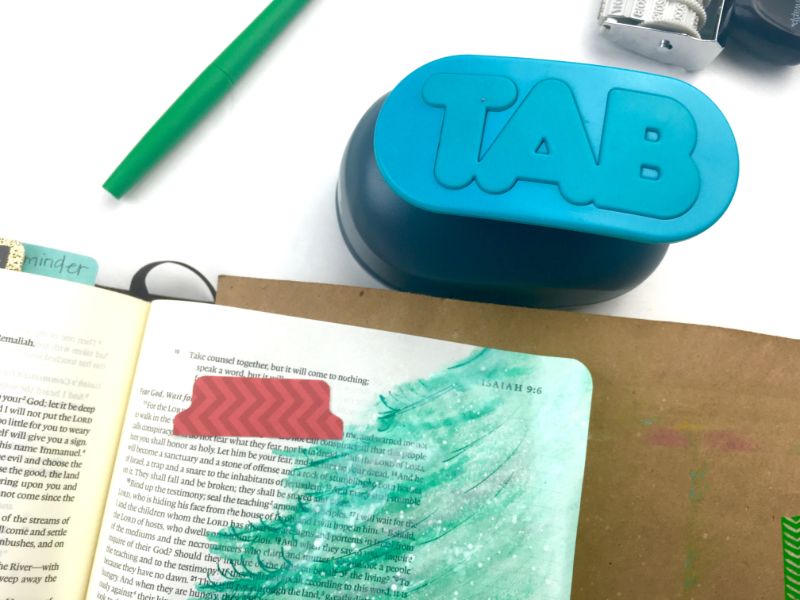
The next step that I always add is a tab to the page so I can find the entry easily. I use the TAB punch from We R Memory Keepers and scrapbook paper. Use stickers, a pen, etc. to add a title to the tab and then just attach it to the top of the page using washi tape or scrapbook adhesive.
And then sometimes this happens… I think I have finished the entry and then notice the page needs a little something more. I added a few stars to the upper corner using the Faber Castell PITT artist pens and a yellow colored pencil from Prismacolor. Now that should do it.
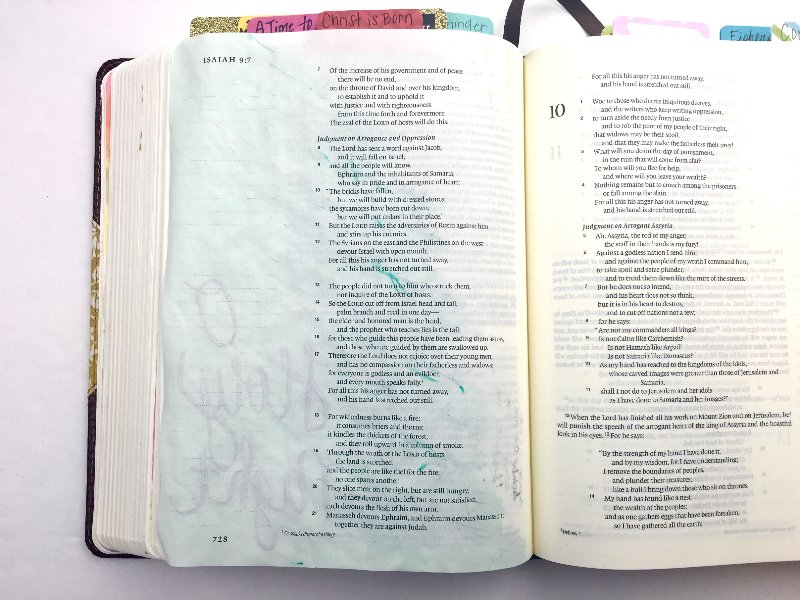
Using the gelatos and seeing the detail and effect they give just warms my heart. The white “snow” really just tops it all off. Now if you are thinking this is too many supplies to work with, no worries. Do not feel like you have to have all these supplies to get started. You can use just about anything. I do want to show you though the back side of the page. You can see there is minimal bleed through from one of the pens but the gelatos and paint do not cause any bleeding at all.
If you enjoyed this entry and are interested in diving in deeper with Bible journaling, I would love for you to take my FREE 5 day eCourse that is perfect for beginners to get you started. Plus it’s completely free. And if you are ready to take even the next step, then check out my new eBook, Adventures in Bible Journaling: An Extensive Beginner’s Guide to Art and Bible Journaling. There are even packages that offer printables and numerous step-by-step video tutorials if you are more of a visual and hands on learner.
May you have a wonderful Christmas and enjoy spending time in the Word this month for advent.
This post was originally published on Sweet Tea and Saving Grace blog on December 16, 2016.
ENROLL NOW IN MY 5 DAY BIBLE JOURNALING ECOURSE FOR FREE!

Get exclusive tips and tricks with my 5 Day eCourse available exclusively to subscribers!
