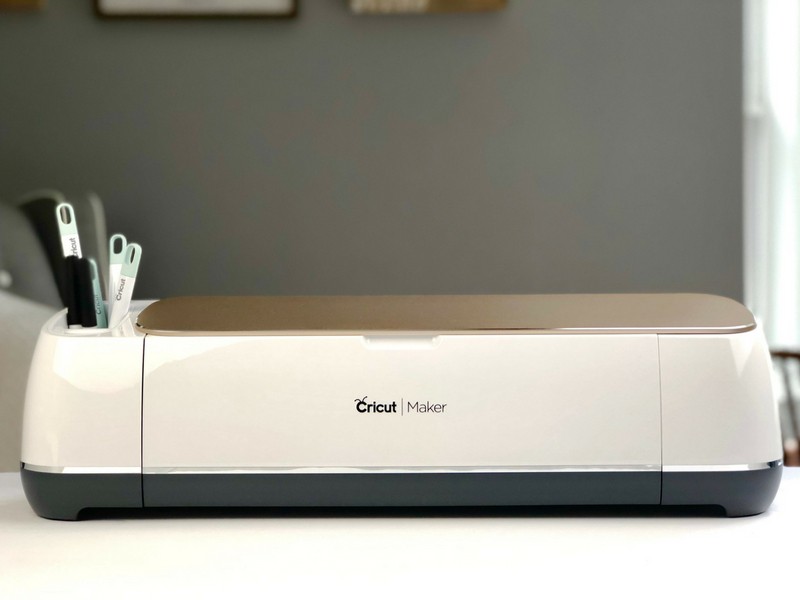
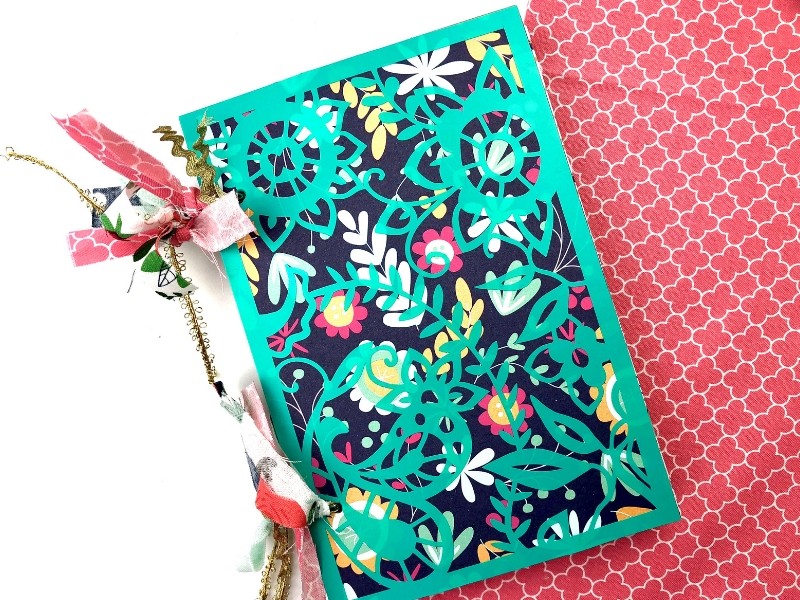
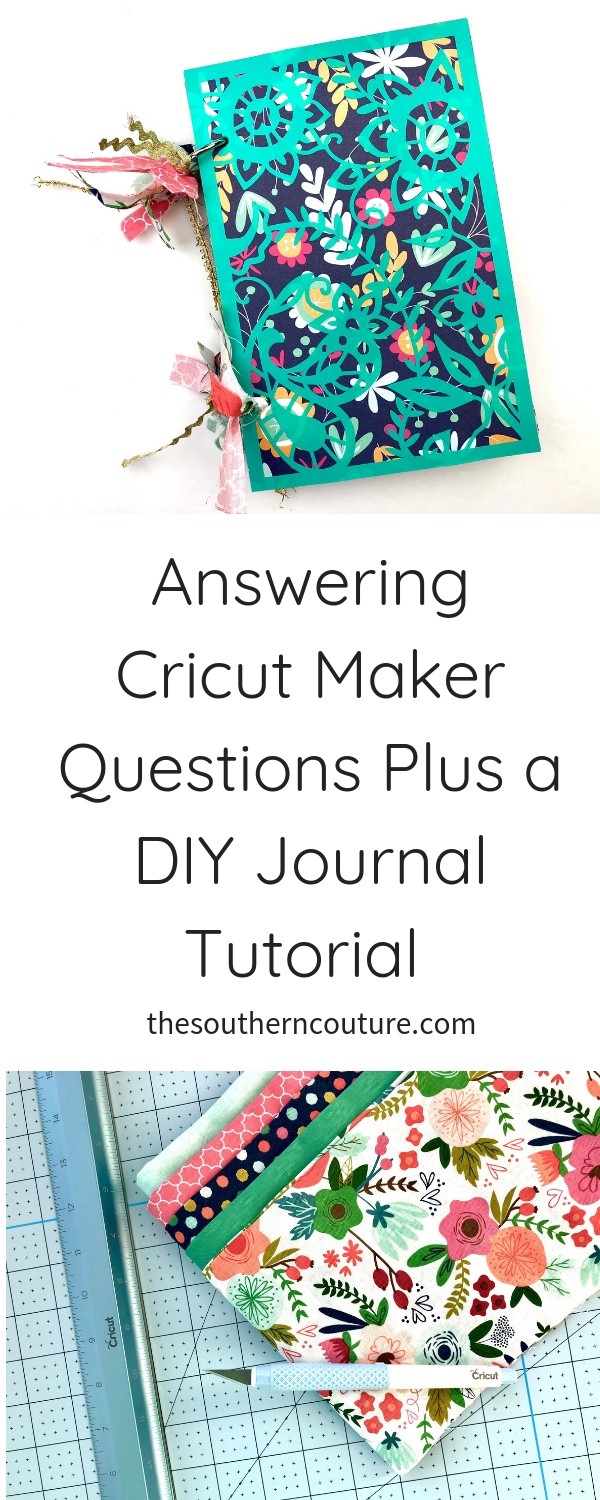
Today I’m answering Cricut Maker questions plus a DIY journal tutorial to get you started with your first Maker project. Find out why you need this machine and all the fun materials you can cut for any project.
This is a sponsored conversation written by me on behalf of Cricut. The opinions and text are all mine. I pinky promise! Some of the links below are “affiliate links.” This means if you click a link and purchase an item, I will receive a small affiliate commission that helps me to be able to continue with this blog and hopefully continue to inspire you as well.
We talked recently about taking your crafting game to another level with the Cricut Maker. If you have a Maker, then you know exactly what I’m talking about. I’m obsessed with it. I shared before 10 Things I Love About My Cricut Maker, but today I’m answering 5 of the most popular Cricut Maker FAQ’s.
But stick around because then I’m going to share the full detailed tutorial of how to make this journal yourself with chipboard, the knife blade, and of course my beloved Cricut Maker.
5 Top Cricut Maker FAQ’s
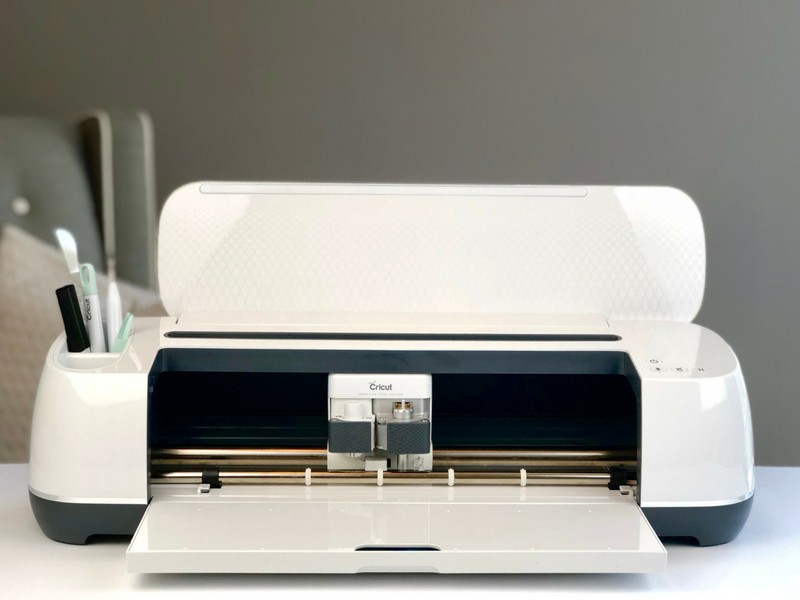
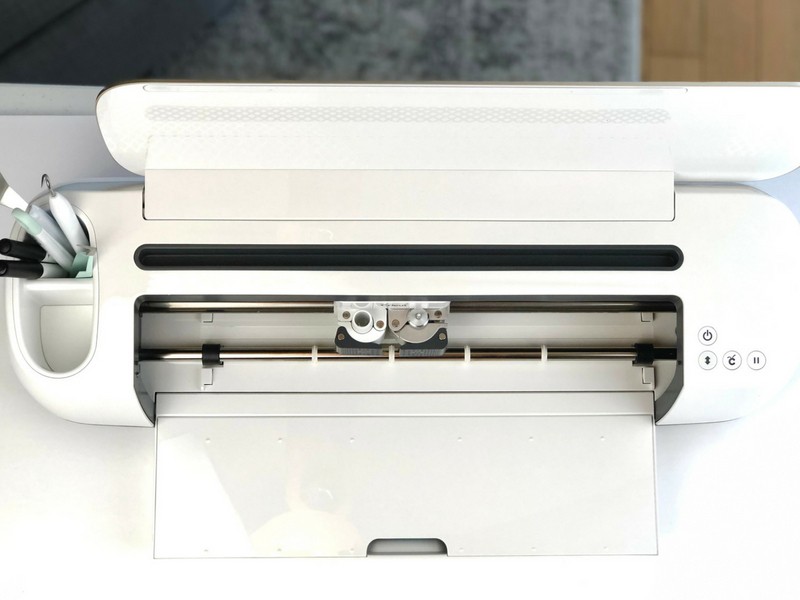
First the Maker can cut hundreds of materials from chipboard to fabric to vinyl. It even has a rotary blade that glides through fabric so easily. If you love to sew or what to learn more skills, you will find a huge library of sewing patterns in Cricut’s Design Space to really help out. With its adaptive tool system, you are getting commercial grade cutting power but in the comfort of your PJ’s.
1. What makes the Maker different from other Cricut machines?
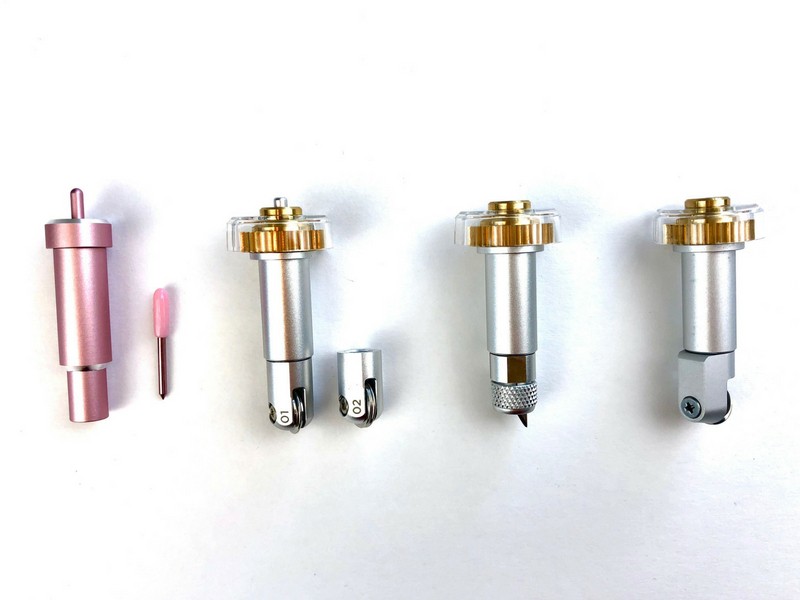
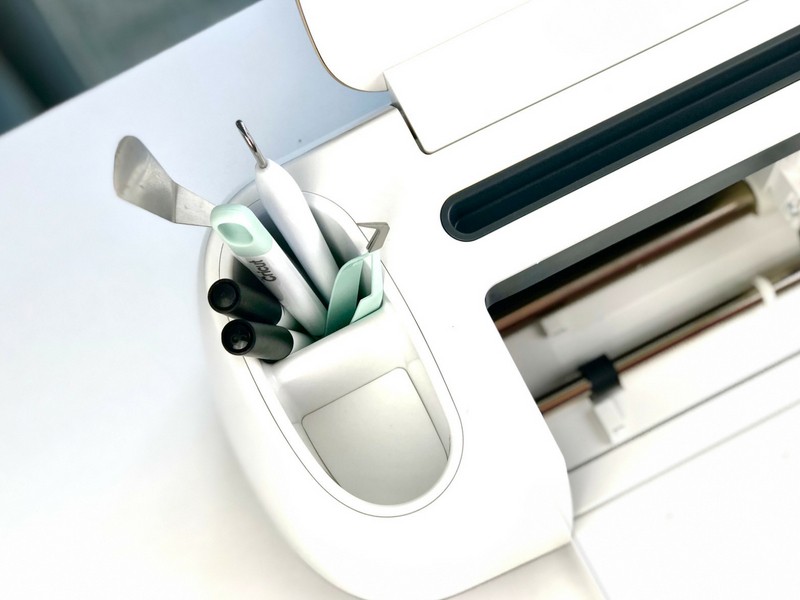
The Maker machine has this adaptive tool system that allows for using several different tools interchangeably allowing you to cut hundreds of materials. Below is a list of the tools that the Maker uses for all different kinds of projects.
- fine point blade
- deep point blade
- rotary blade
- knife blade
- single scoring wheel
- double scoring wheel
- fine point pen
- calligraphy pen
- washable fabric pen
The Maker can cut fabric which is unlike any of their other machines by using the rotary blade. Because of these sewing features, the Maker gives you access to hundreds of digital sewing patterns.
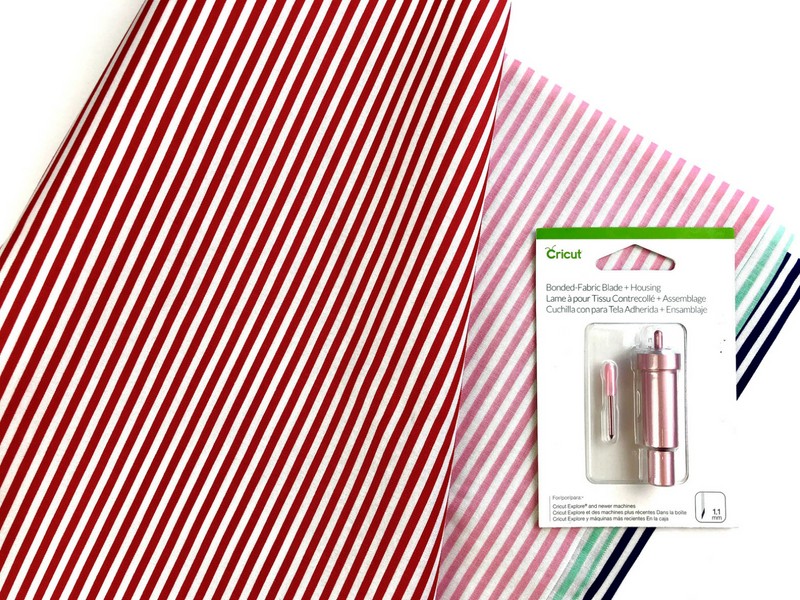
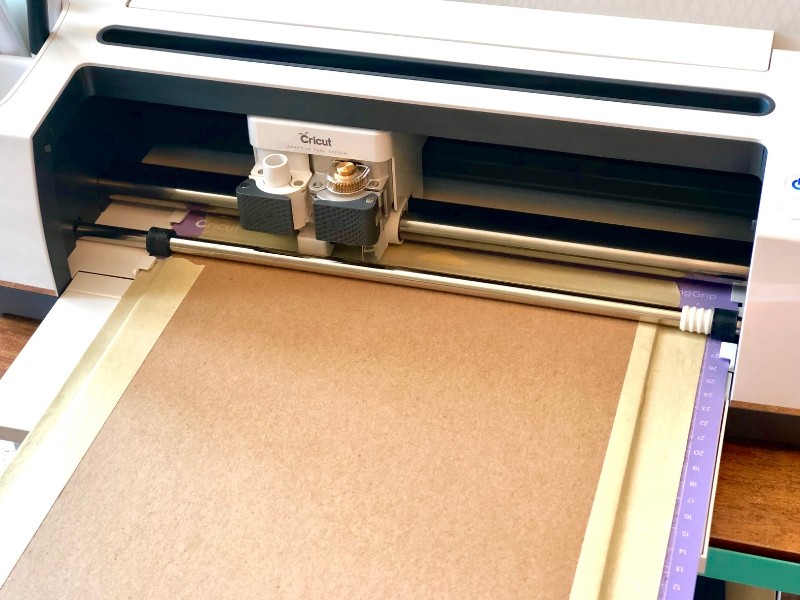
The knife blade allows you to cut through thicker materials such as chipboard and leather.
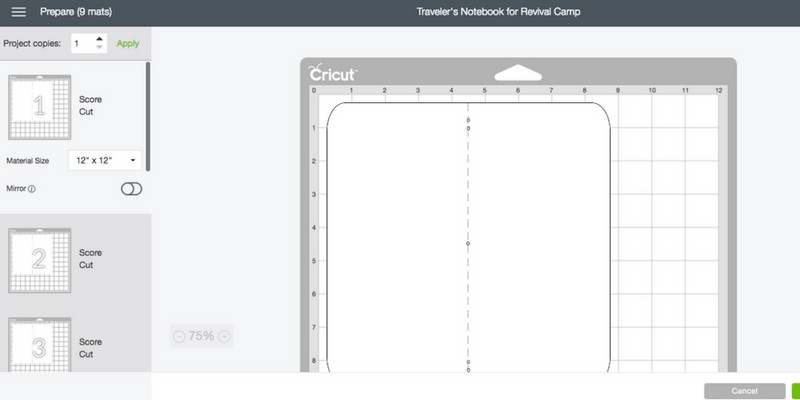
You no longer have a cut dial on top for setting the cut pressure. Design Space talks to your Maker to give precise cuts every time.
If you already have blades from previous machines, you can still use them with the Maker.
2. Will I use the machine enough to justify the price?
Before I started using the Cricut Maker, I am going to be completely honest. I had this same thought because it can do so much I was afraid I would get overwhelmed. I figured I wouldn’t really use it to its full capacity. Man was I wrong. Once I started, I couldn’t wait to keep learning and trying all different kinds of projects.
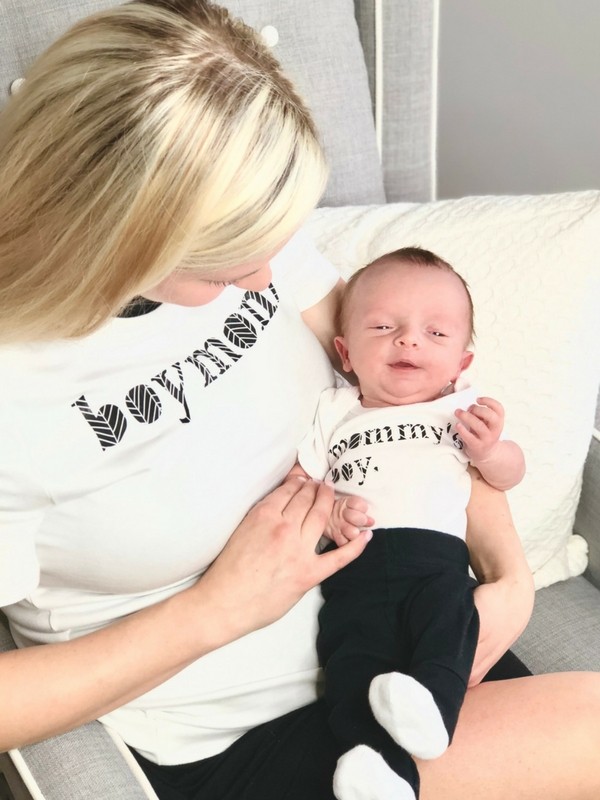
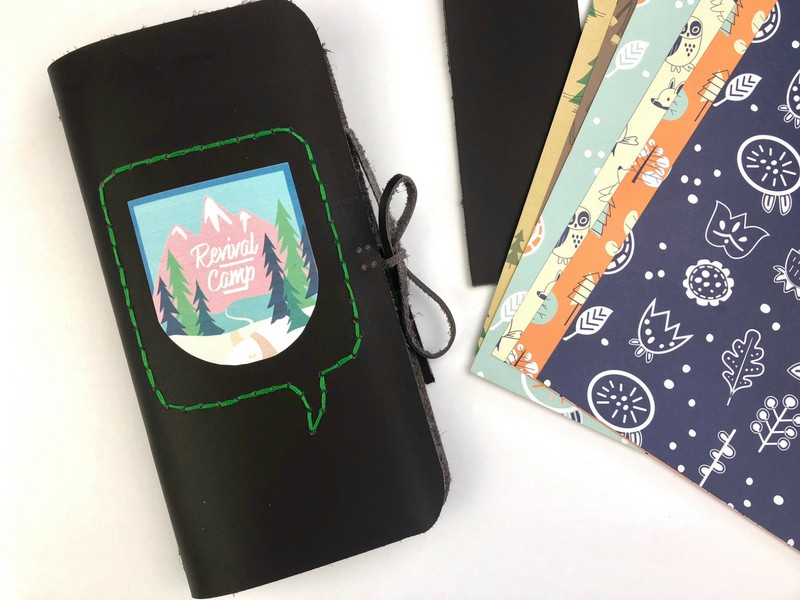
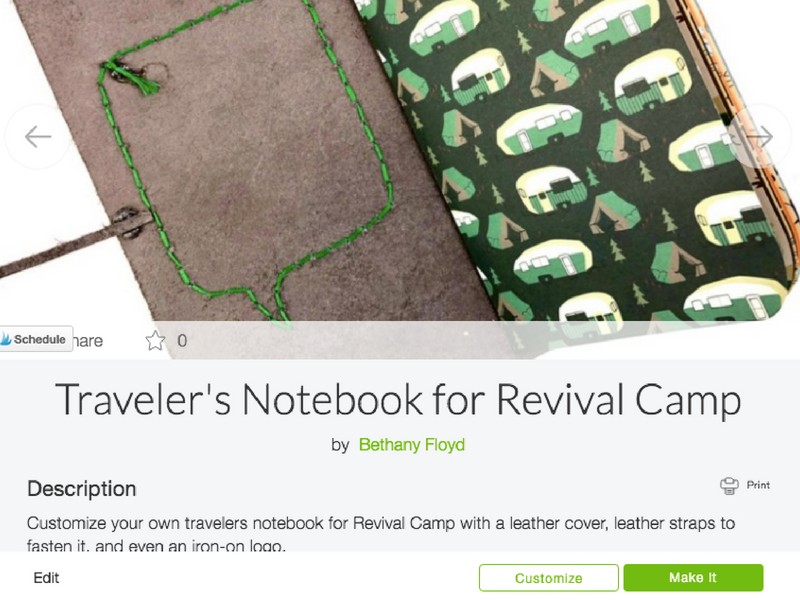
I have definitely created so many projects now of all different varieties using my Cricut Maker that I have easily paid for the machine and more. Creating customized t-shirts and having them ordered isn’t going to be inexpensive. Now I can create my own whenever I want to. I have made my own leather travelers notebooks for Bible studies which has saved me a ton of money. If you love to sew then you are going to have access to tons of sewing patterns as I mentioned above. That is a huge savings within itself.
3. What materials can I cut?
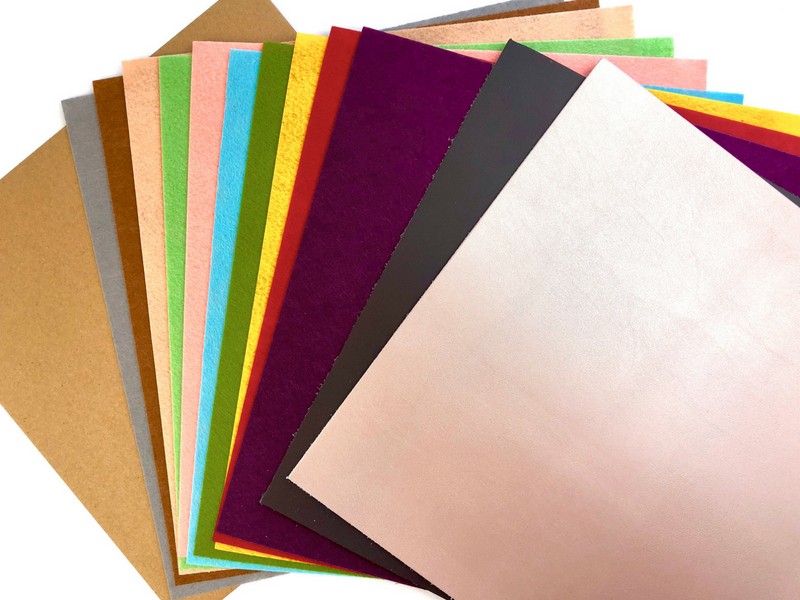
Hundreds of different kinds actually. Most people think of a cutting machine only cutting paper or cardstock, but with the Cricut Maker you can cut just about anything. Below is a list of just a few categories of what can be cut.
- delicate paper
- fabric
- leather
- balsa wood
- chipboard
- felt
- vinyl
- iron-on vinyl
4. Will it be easy for me to use the software to create projects?
You will use Cricut’s Design Space software to make just about any project you want. Here is the great part. There are literally tons and tons and tons of projects already loaded there for you to just pick. The Design Space® software is even available for iOS, Android™, Windows®, and Mac®. And what’s even better is that they have a whole category of projects to pick from that are designed especially for the Cricut Maker.
I love being able to design my own projects or ideas and then use them in a project to make them come alive. The Maker allows you to upload those projects into the Cricut Design Space software in a variety of different types of files. Then you can use the Maker to cut out your own custom made designs and projects.
5. What add-ons do I need to use the machine and how expensive will it be?
The Maker comes with several items to get you started for your first few projects that I will list below. You don’t have to purchase these separate to get started. Most people will at least have scrapbook paper or cardstock already on hand which means you don’t have to purchase anything extra. How nice is that?
- Cricut Rotary Blade + Drive Housing
- Cricut Premium Fine Point Blade + Housing
- Fine Point Pen
- FabricGrip Mat 12″x12″
- LightGrip Mat 12″x12″
- Welcome book
- USB cable
- Power adapter
- Cricut Access free trial membership
- 50 free ready-to-make projects, including 25 sewing patterns
- Materials for your first project
So here’s the great part about Cricut. When you are shopping for your Maker, Cricut offers bundle packages that are a great value for everything that is included. Not only will you get your Maker machine and everything listed above, but you can choose from getting a variety of materials or even a sewing themed bundle. The bundles save you a ton of money rather than just buying the items separately.
Make Your Own Journal
Now let’s see that Maker machine and all its magic being put to work with this DIY journal tutorial. You can click HERE to get all the designs I’m using for this tutorial in Cricut Design Space. All you have to do is click “Make it now.” (I also love making my own leather travelers notebooks which I shared before in a tutorial HERE.)
I have made a couple videos showing how the whole journal came together walking you through the process and how the BrightPad makes weeding this vinyl cover a breeze. Keep reading after the video though to see more of the products that I used as well.
Today let’s check out how the knife blade works for cutting chipboard to make our front and back cover. Place your chipboard on the StrongGrip mat and use masking tape around the edges to adhere it to the mat even better.
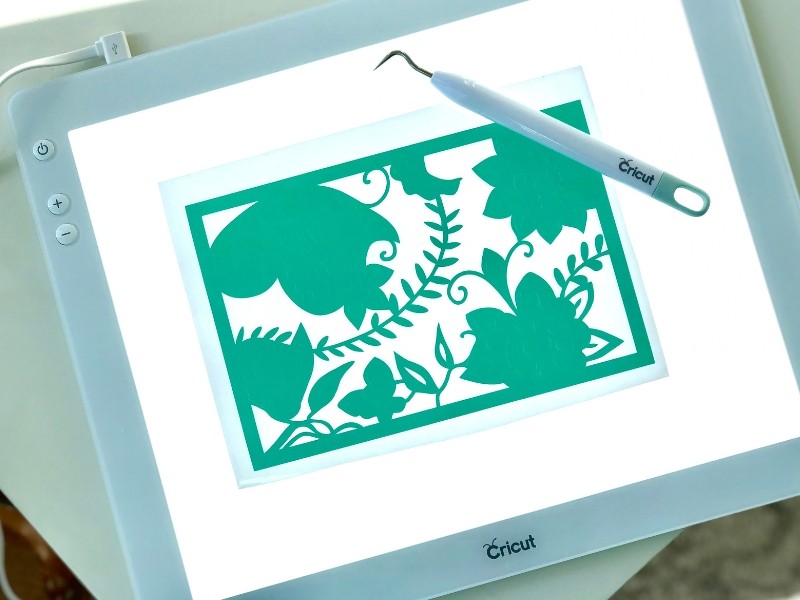
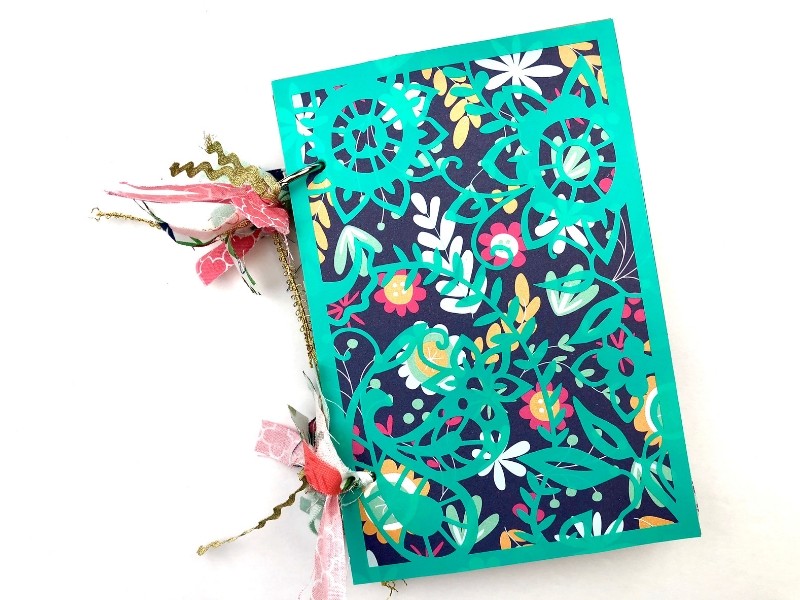
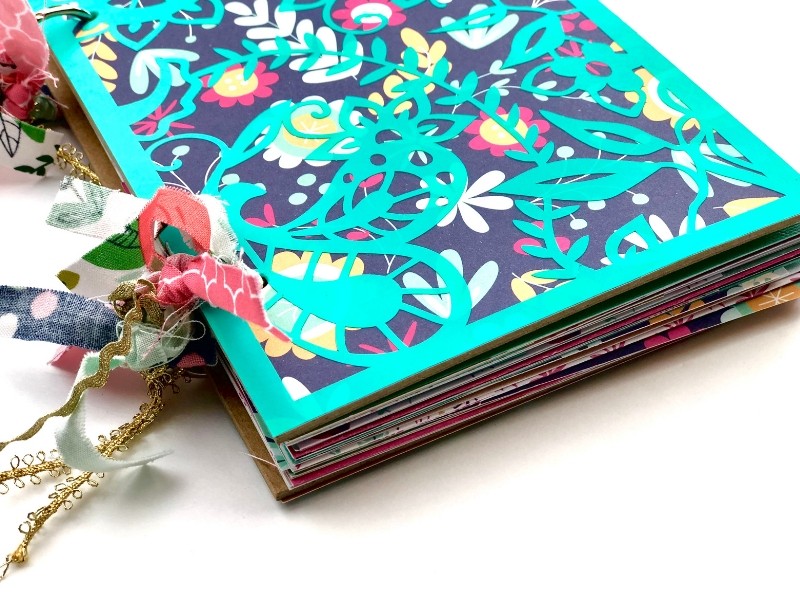
To decorate the cover, I chose a floral patterned design in Design Space and cut it out of vinyl. Because the design has so many intricate cuts, weeding would have been much more difficult if I hadn’t used my BrightPad. The BrightPad illuminates the cut lines with an adjustable LED light. I used the weeding tool from the weeding tools set and had my cover done in no time.
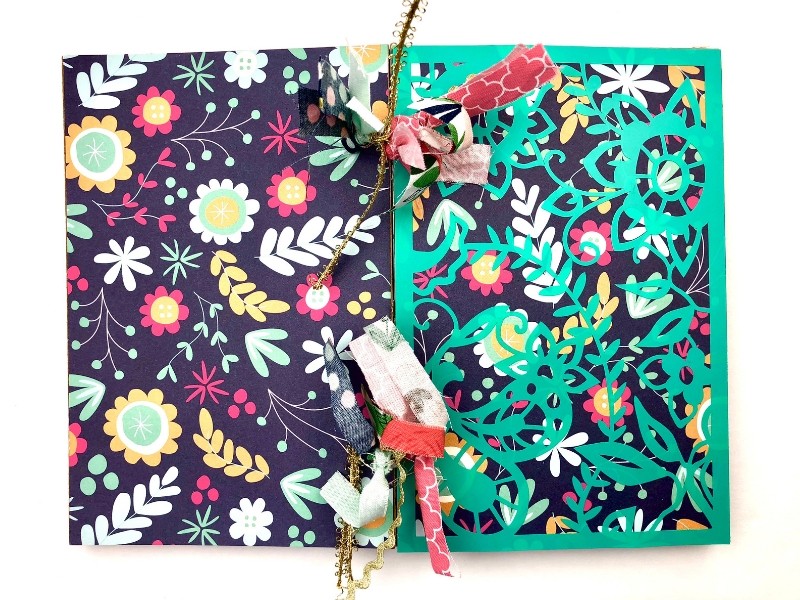
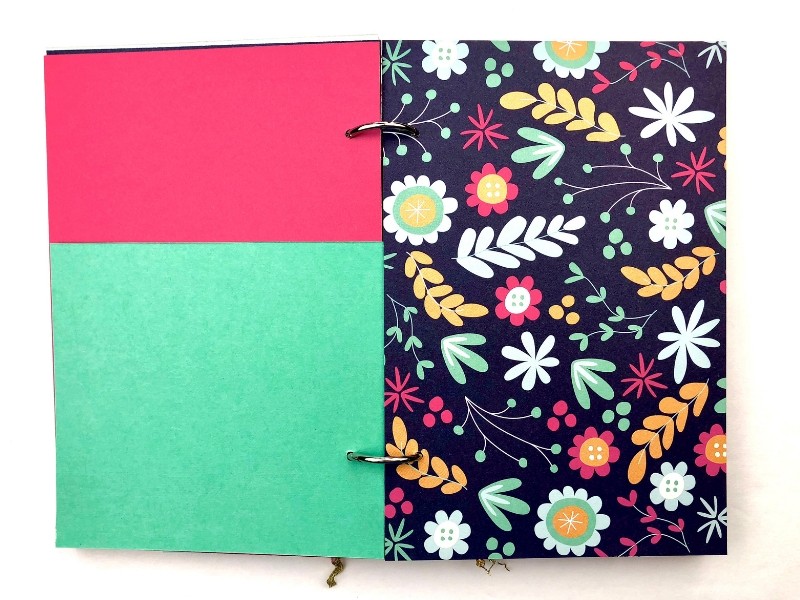
I placed the vinyl cut on a piece of scrapbook paper from the Whimsical Garden set from Cricut and then adhered the paper to the front cover using a scrapbook adhesive.
I added more pages from that same paper set and cut them down to size using a paper trimmer.
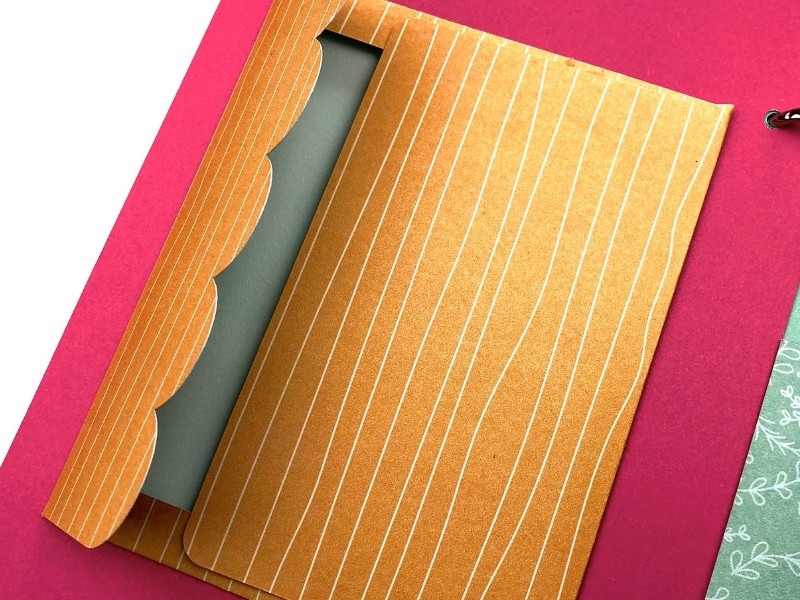
Next decorate the pages as you choose. One element I loved adding are the envelopes I made with the Maker and scrapbook paper. The Maker adds score lines with the scoring tool making it so simple to fold and put these envelopes together.
Line up the covers and pages together and hole punch the pages. Once they are done, insert 2 album rings in the holes to keep it all together. I used 1″ rings.
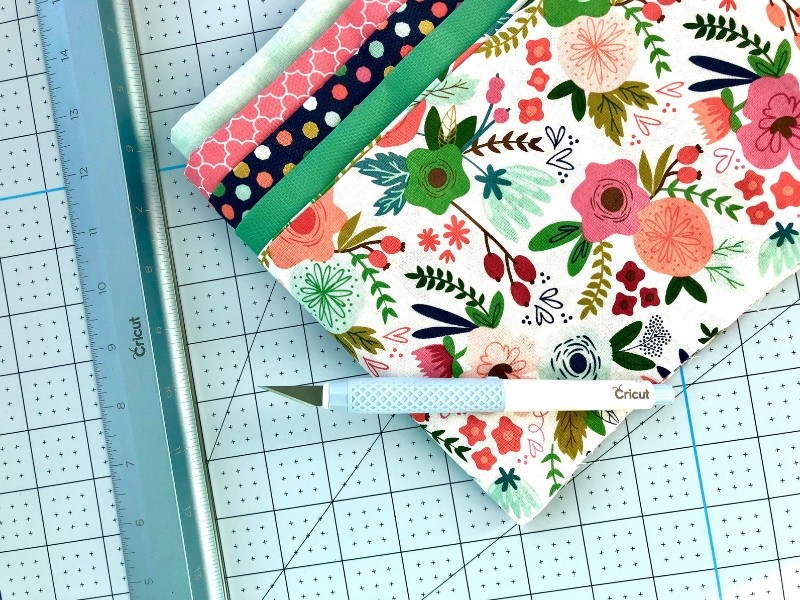
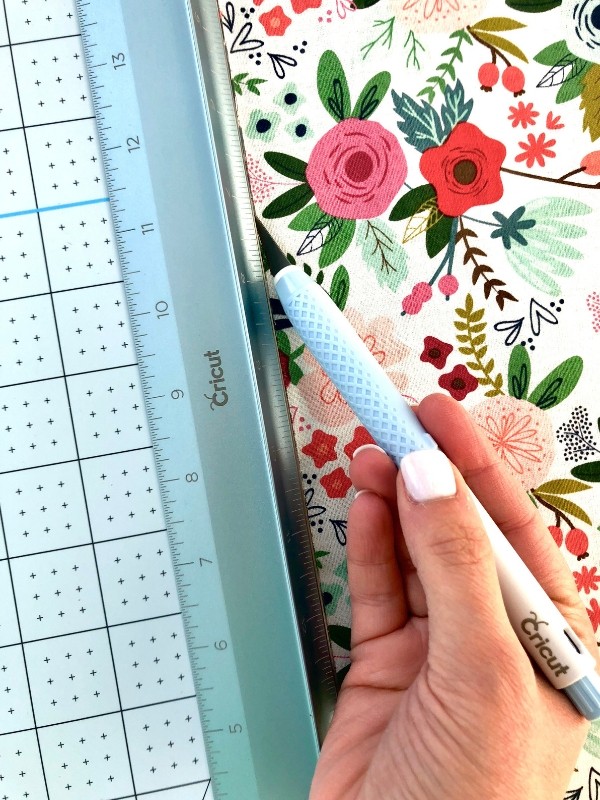
To add some extra flair to the rings, I decided to cut some scrap fabric pieces from this On Trend Fabric Sampler that I wanted to tie on. To make it even easier to cut the fabric, I used the TrueControl Knife, cutting ruler, and the self healing mat to cut strips of fabric.
The cutting ruler is so easy to use by just placing the knife right up against the grooves on it for a straight and clean cut every time.
Once all the pieces were cut, I tied them around the rings. I just love this little extra touch.
Now I have my own journal that I made myself using the Cricut Maker. I can’t wait to use it for my next devotional, Bible study, or even for some memory keeping. What will you be using your journal for? Please let me know if you have any other Cricut Maker questions in the comments below, and I would love to answer them.
This is a sponsored conversation written by me on behalf of Cricut . The opinions and text are all mine.
ENROLL NOW IN MY 5 DAY BIBLE JOURNALING ECOURSE FOR FREE!

Get exclusive tips and tricks with my 5 Day eCourse available exclusively to subscribers!
