If we do not have professional artistic training, then many times we become intimidated to try new art mediums. Learn how to achieve an ombre effect using watercolors and be proud of yourself because you are an artist.
Some of the links below are “affiliate links.” This means if you click a link and purchase an item, I will receive a small affiliate commission that helps me to be able to continue with this blog and hopefully continue to inspire you as well.
In the last part of my “All About the Bible Journaling” series, we talked about prepping your pages with gesso to protect them when using certain art mediums. Now that you have prepped your page, this next tutorial is perfect for just that. When using an art medium that is more of a “wet” consistency like watercolors or acrylic paints, sometimes it’s a good idea to prep first.
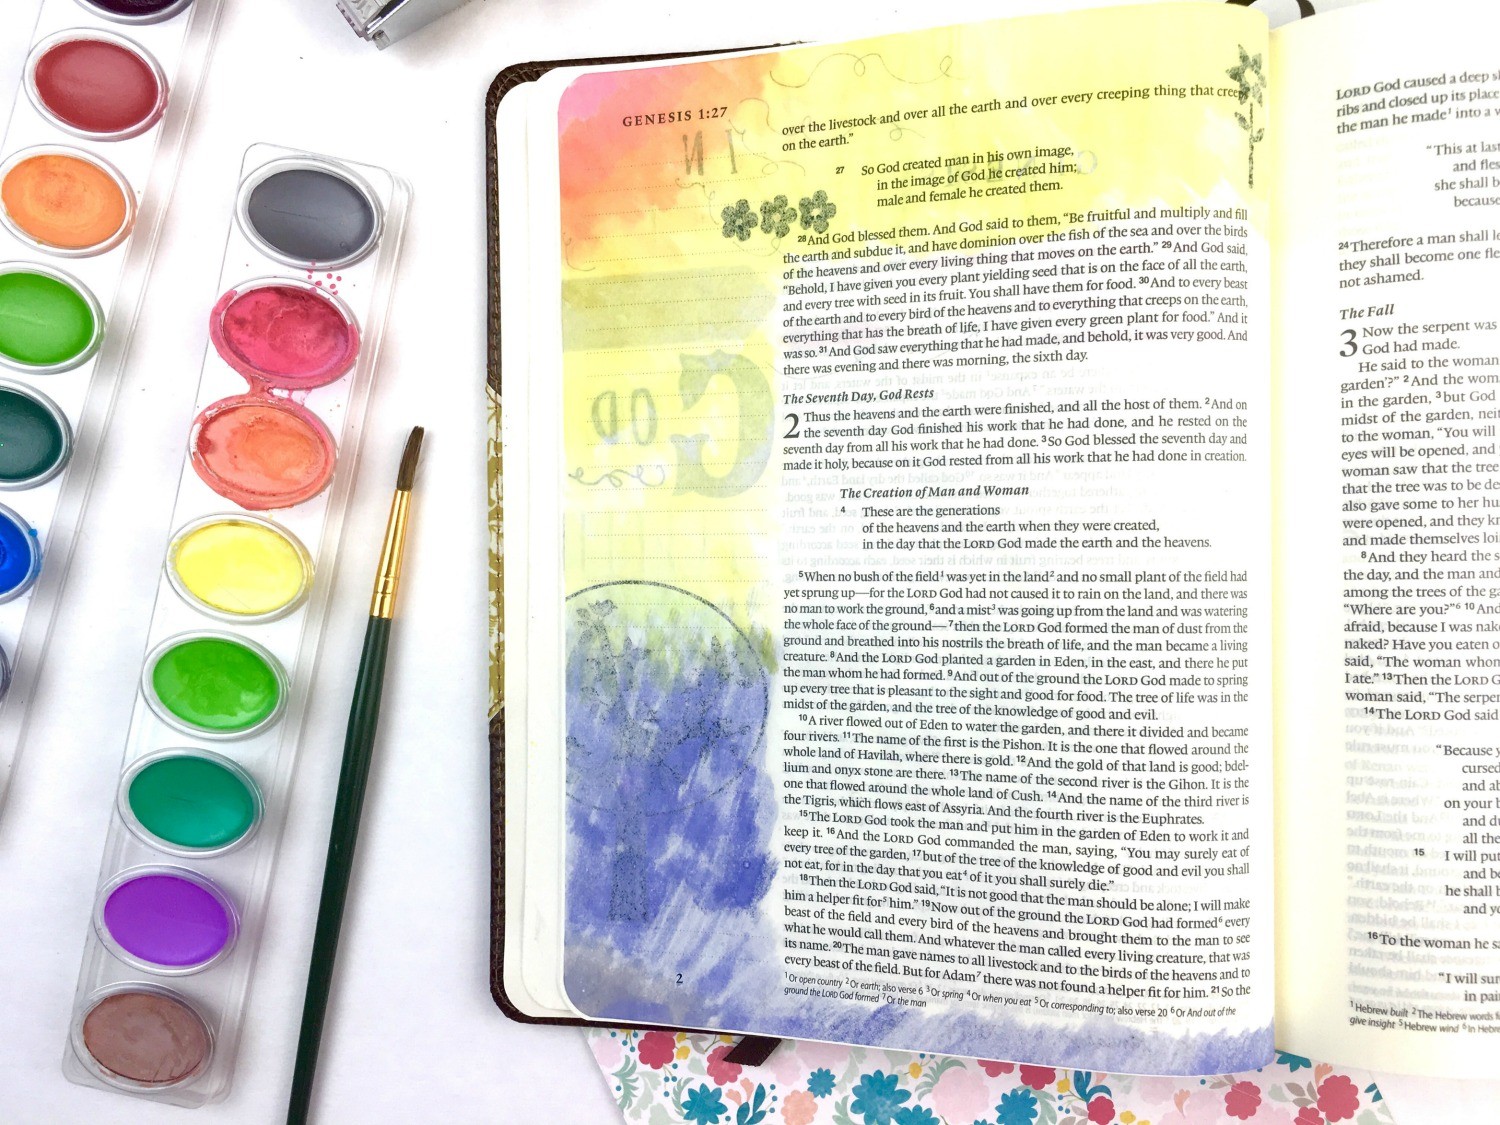
Using watercolors will definitely cause bleed through to the back of the page. My first entry was with watercolors and it bled through completely because I had too much water on the brush and also did not prep my page first. You can see below that there is not just shadowing, but actually tons of bleed through. If this happens, do not get upset. You can always use that color for another entry on the back side.
Watercolors are so versatile and can be used in so many different ways. I have the watercolor set from Illustrated Faith and Dayspring that I absolutely adore. The colors are so rich and vibrant. I also have used the Crayola watercolor set when I first started and had great results with it too. Also grab a cup of water and paintbrush (size depending on how much detail or amount of space you are painting).
Today I thought it would be fun to show you how to achieve an ombre effect using watercolors that looks more complex when finished but is actually really easy to do yourself.
There is one simple tool that you will need to make your life so much easier with this technique. Trust me! And that is a… PAINT PALETTE. I just use an inexpensive, plastic one with wells around the outside. I’m practically squealing over here with excitement over how easy it really is.
#1: Dip your brush into a clean cup of water and place several drops of water into one well of the plastic paint palette. The amount of water will vary depending on the shade of the color you want and also how large of a space you are planning to paint. *Use more water for a more diluted color and less water for a more vibrant color.
#2: Continue doing the same with water drops in the wells for however many shades of a color you plan on using. I usually start with my darkest shade first and add about 3 drops of water to the first well. Then I increase each well by about 3 more drops. For example, for 3 different shades of color, I have one well with 3 drops, the next with 6 drops, and then the last well with 9 drops.
#3: With your brush still wet, brush over the watercolor palette to pick up some color.
#4: Dip the brush into the water of the first well to add color and mix. Depending on the color, again you may need to add more water. If you do add more water, just be sure to increase the number of drops for the other wells by the same amount in order to keep your ratios even.
#5: Continue adding watercolor paint to each well until you have achieve your desired shades.
#6: Stroke the page with your brush to color the desired area.
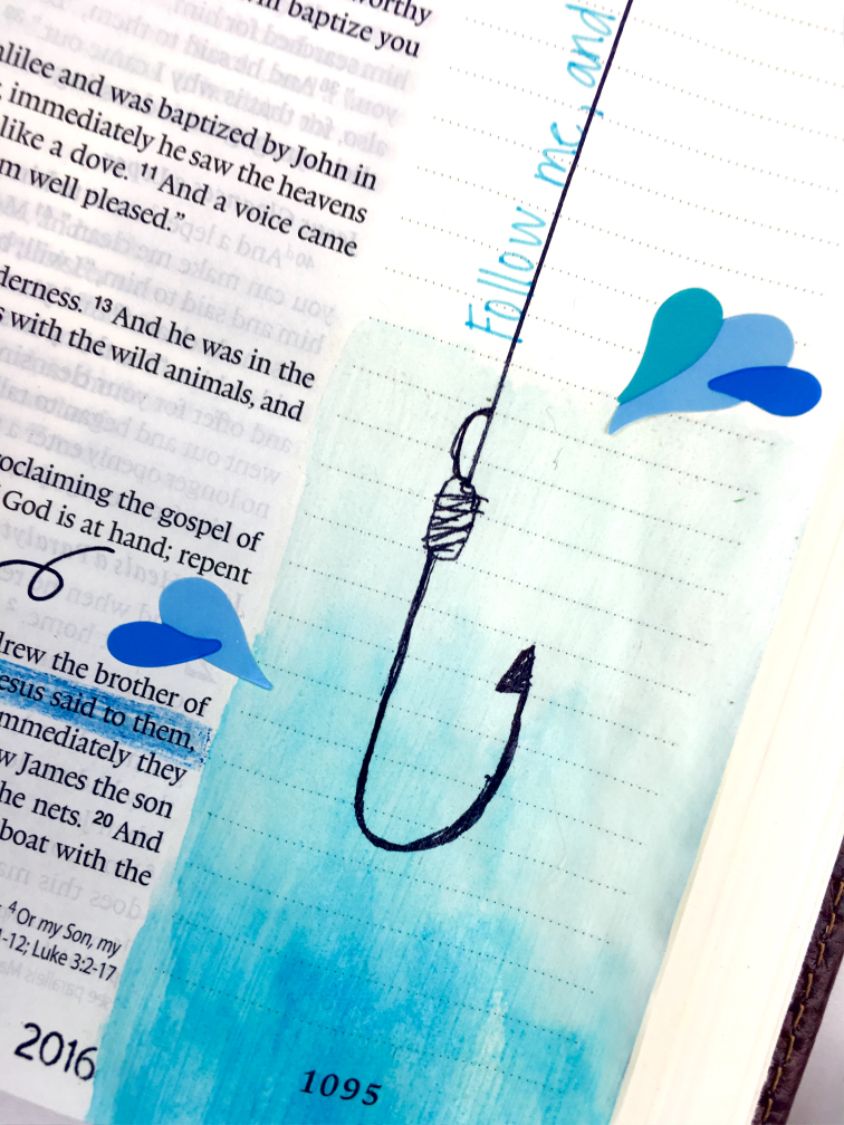
I love using this technique when painting water which is what I did below showing the water get darker the further down you go. This is really a great technique to use when depicting any nature scene or even for just some fun background color on your page.
As I have said before, I always recommend practicing on the extra blank pages in the back of your Bible first to see how the page will handle a certain technique and just to give you practice if it’s your first time. Let me know if you have any questions in the comments below. I hope you enjoy and God bless!
If you are so excited and anxious to get started, then you may want to go ahead and sign up for my free 5 Day eCourse that is perfect to jump start this new study tool of Bible journaling. You will receive a new email each day discussing a different topic or aspect with a little fun “homework” assignment each day to keep you accountable with getting started.
If you are even more ambitious, then check out my eBook, Adventures in Bible Journaling: An Extensive Beginner’s Guide to Art and Bible Journaling, to get even more information and tutorials. I have a Gold, Silver, and Bronze package depending on what you are looking for specifically. There are printables and also step-by-step video tutorials that make it even easier to understand so you can work right alongside me in your Bible.
ENROLL NOW IN MY 5 DAY BIBLE JOURNALING ECOURSE FOR FREE!

Get exclusive tips and tricks with my 5 Day eCourse available exclusively to subscribers!


Hi, I prepped my page with the gesso and it became wrinkled. Is there a fix for this? I’m afraid to use it again.
Thanks.
The gesso will crinkle the page somewhat as it gives the page texture. I don’t mind it so much as long as it’s not too much. You definitely have to have a light hand when applying it and don’t apply too much for sure. Unfortunately once you have applied the gesso, you can’t undo its effects. I would always try practicing with a new supply or try again with the gesso on a spare page in the back of your Bible. Hope that helps.