If there is one thing I know to be true, it is that I absolutely love finding all sorts of fun goodies to add to my growing collection of Bible journaling supplies. I can’t walk into a store without looking because you just don’t ever know what you might find.
This journey of Bible journaling has got me addicted for sure. Don’t know what I’m talking about? I recently shared the ins and outs of it all and also a technique for using coloring pages in your journaling Bible. Be sure to check out both of those posts if you want more information.
Before I continue sharing more of my entries in my Bible, I thought I should at least share what my favorite supplies are and what I use all the time so that you can join me too.
Bible Journaling Supplies
You might as well grab yourself a cup of coffee, tea, hot cocoa, or whatever suits your fancy and get ready for this inspiring round-up. Can you tell I’m the least bit excited talking about it?
I have tried to group them according to similar categories such as pens and markers, paint, stamps, etc.
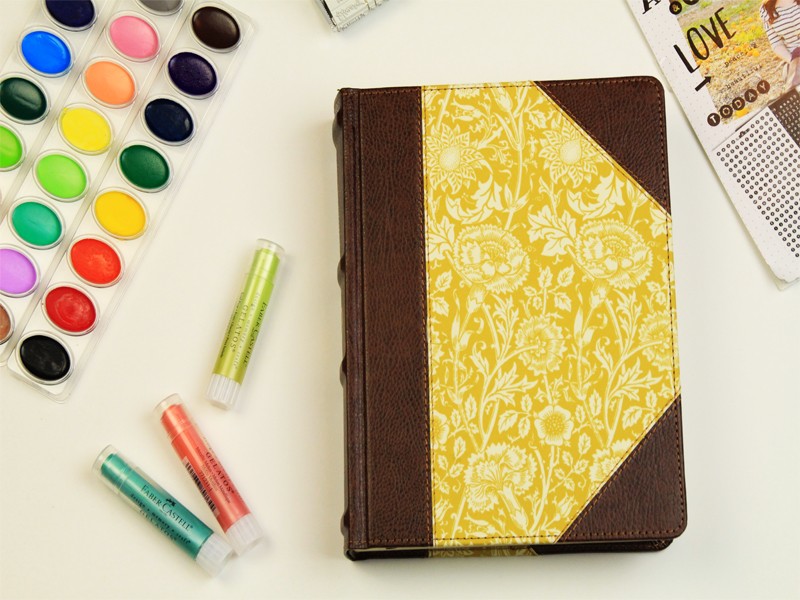
First of all be sure to check out my beginners post where you can find out what journaling Bible I’m using.
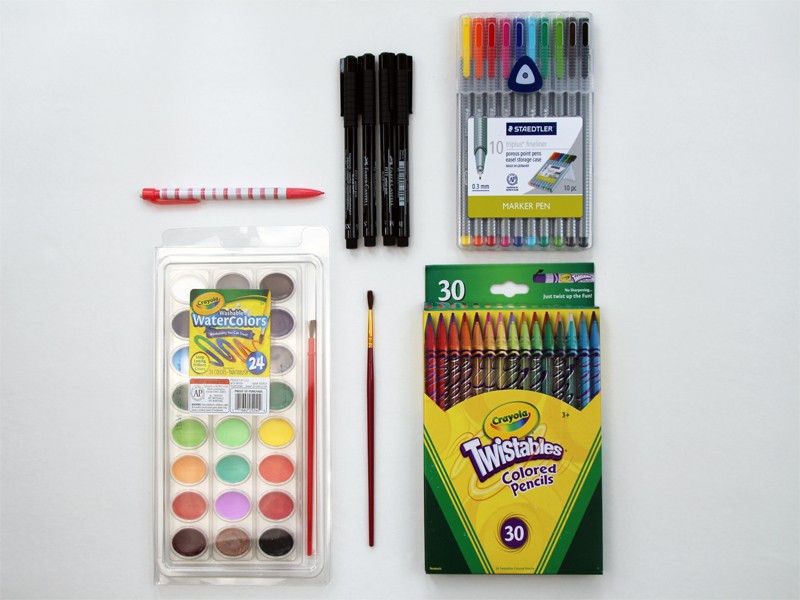
Pencil: A good ol’ trusty pencil with a good eraser will definitely get you started. When I’m drawing or just planning an entry, I will sometimes draw it out first to make sure it’s the way I want it. Using a pencil is also the easiest way to trace certain pictures onto your page.
Faber Castell Essential PITT Artist Pens: I bought this pack of 4 in black ink with x-small, small, medium, and bold point pens. They are amazing because they do not bleed through the pages to the other side. Especially because Bible pages are so thin compared to most. They also write very smoothly and are of superb quality.
Staedtler Triplus Fineliner Pens: First they come in a case that opens and stands on its own which I think is just so neat and easy to use. They are fine tip making it great to write in my Bible. They also do not bleed through and are perfect for adding more color besides just using a black pen all the time.
Crayola Watercolors: This is a simple set and is nothing fancy but has lots of color options and perfect for a beginner. There are much more expensive sets out there, but I have found that these work really great for now before I invest in something more later. I like this particular set because it has more than just the basic colors.
Paintbrush: I use a paintbrush with soft bristles for watercolors besides the brush that comes with the Crayola set. The Crayola paintbrush has the stiff, plastic bristles that are more harsh. A brush with shorter, soft bristles would work perfect.
Crayola Twistables Colored Pencils: These are so much fun to use because they twist and you don’t have to sharpen them at all. They also make it easier for your kids to use them too. This pack is tons of fun because it comes with such a variety of colors as well. I love that they don’t have too sharp of a point that would cause a cut or indent in the page.
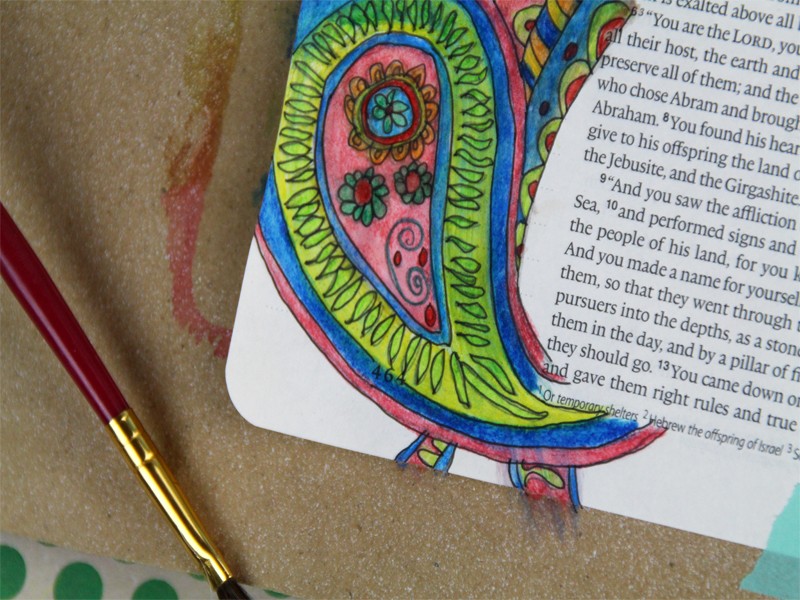
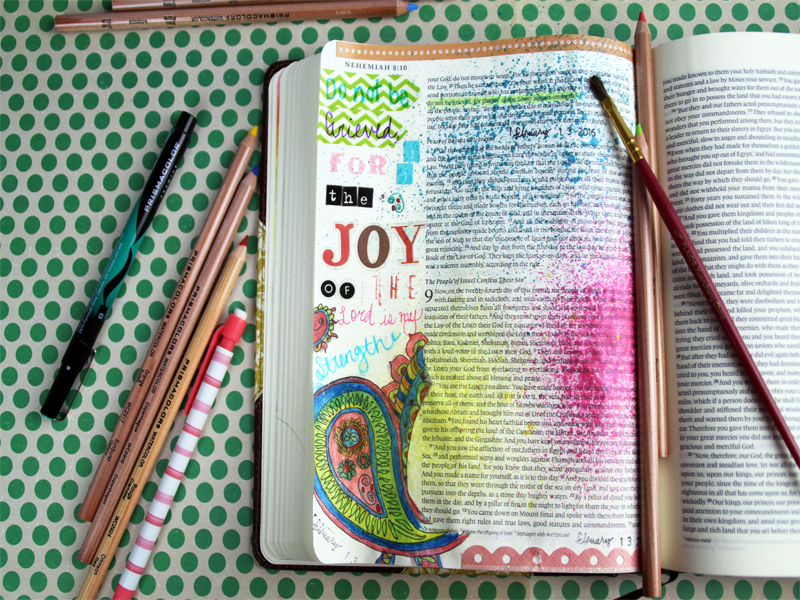
Prismacolor Premiere Water-Soluble Colored Pencils: If you are looking for a higher quality colored pencil, then this set is perfect. They glide on the page so perfectly smooth literally like butter. They are a blast to color with. Plus the great part is that you can even use them as watercolors so you really have 2 sets in one.
Below is an entry I did using these colored pencils and applying water with a paintbrush.
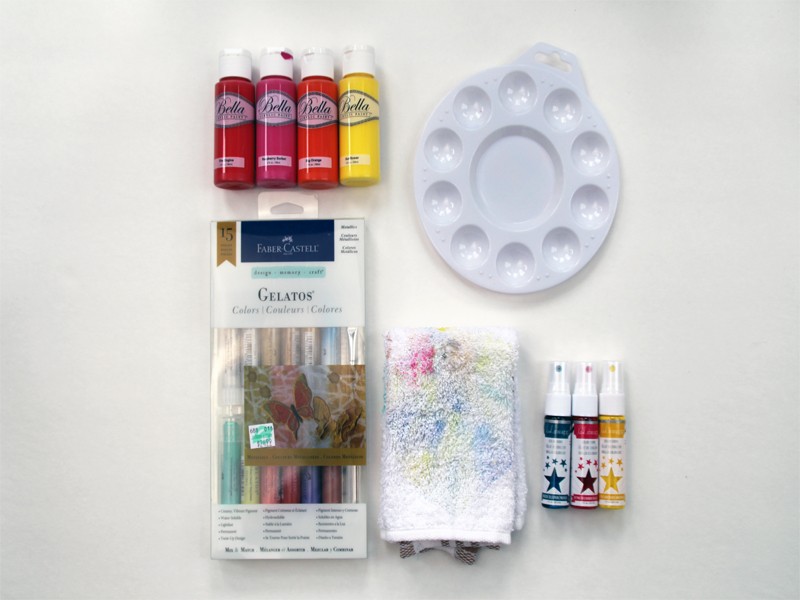
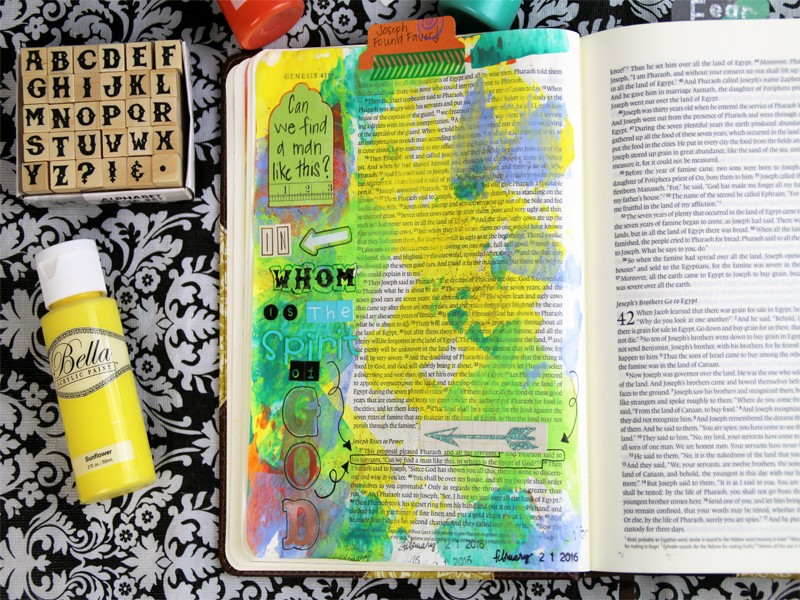
Acrylic Paints: I got a large set of mine that were Bella brand at Home Depot one year on Black Friday that came with lots of different colors and shades. You wouldn’t think you could use acrylic paint in your BIble but it is totally possible. I use a plastic card that was previously a “name badge type of card” to apply the paint thinly so you can still read the words. That is very important to me. I do not want to make any words not visible. This option allows me to still have bold and vibrant colors at the same time.
Below is a page I made using several different colors and just layering them once each one dried.
Plastic Paint Tray: This paint tray is so easy to clean. If you happen to let the paint dry before you are able to clean it, just peel the paint off and wash it. It’s that simple. Mine still looks brand new even after tons of use.
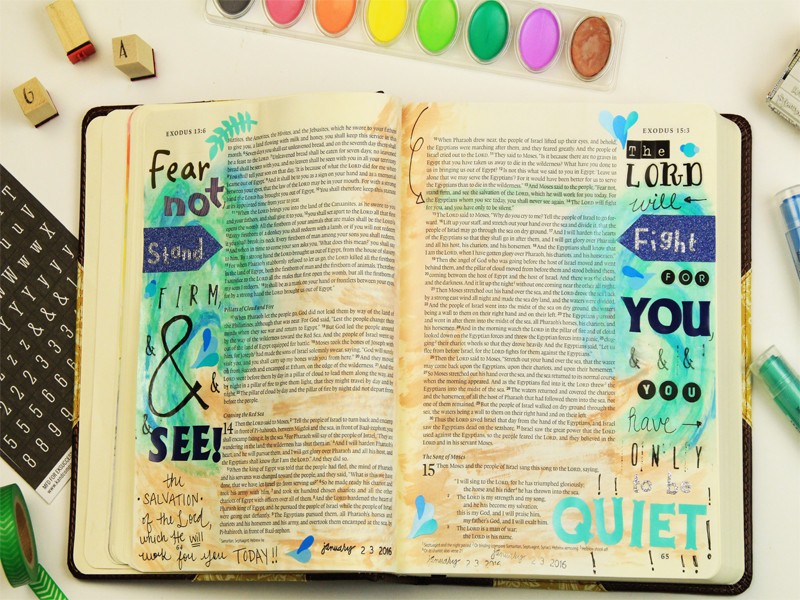
Faber Castell Gelatos: I have the metallic set but can’t wait to buy several other sets with the pastel and bright color sets. These can be used in several different ways. I have found that using them to color straight onto the page and then using a damp washcloth to wipe over them and blend them together is my favorite method. Some people will also wipe over them with a baby wipe or damp paintbrush.
Below is an entry I did with gelatos for the waves. I used the damp washcloth to wipe over them and blend them together. It was a blast and so easy to do. Plus I love that the gelatos look like lipstick.
Washcloth: I keep an old washcloth on hand to use for many different reasons. I used it with gelatos to rub over them with a damp corner. I also will dab off my paintbrush when using watercolors if there is too much water or paint on the brush.
Heidi Swapp Color Shine Spray: This spray is an absolute blast. I have to watch myself because I tend to get carried away using it. I want to keep spraying because it’s so much fun. All you have to do is spray a light mist over your page and you get a splattered paint appearance that really gives a huge pop of color. The best part is that if you are careful and don’t spray too much, you can still read the words of your Bible.
I used it on this page and even with the dark blue, I am able to read the page. I can see many more colored sprays in my near future.
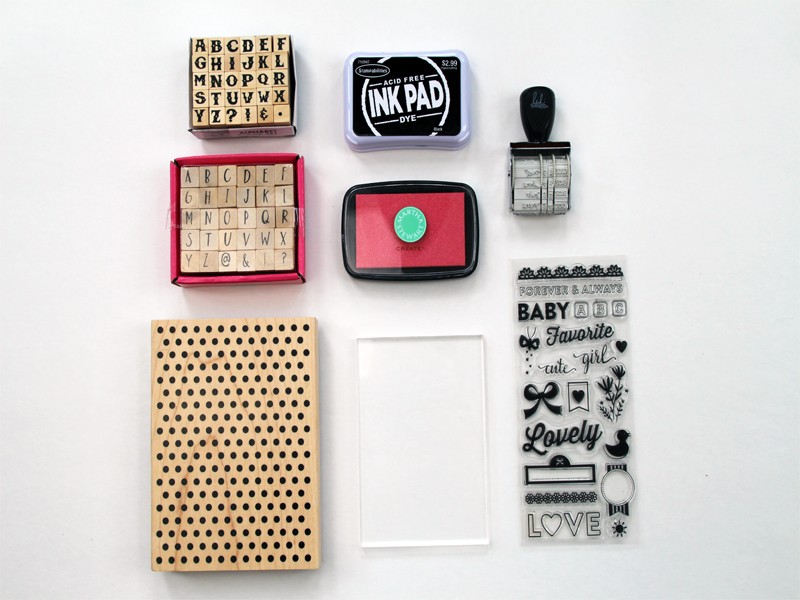
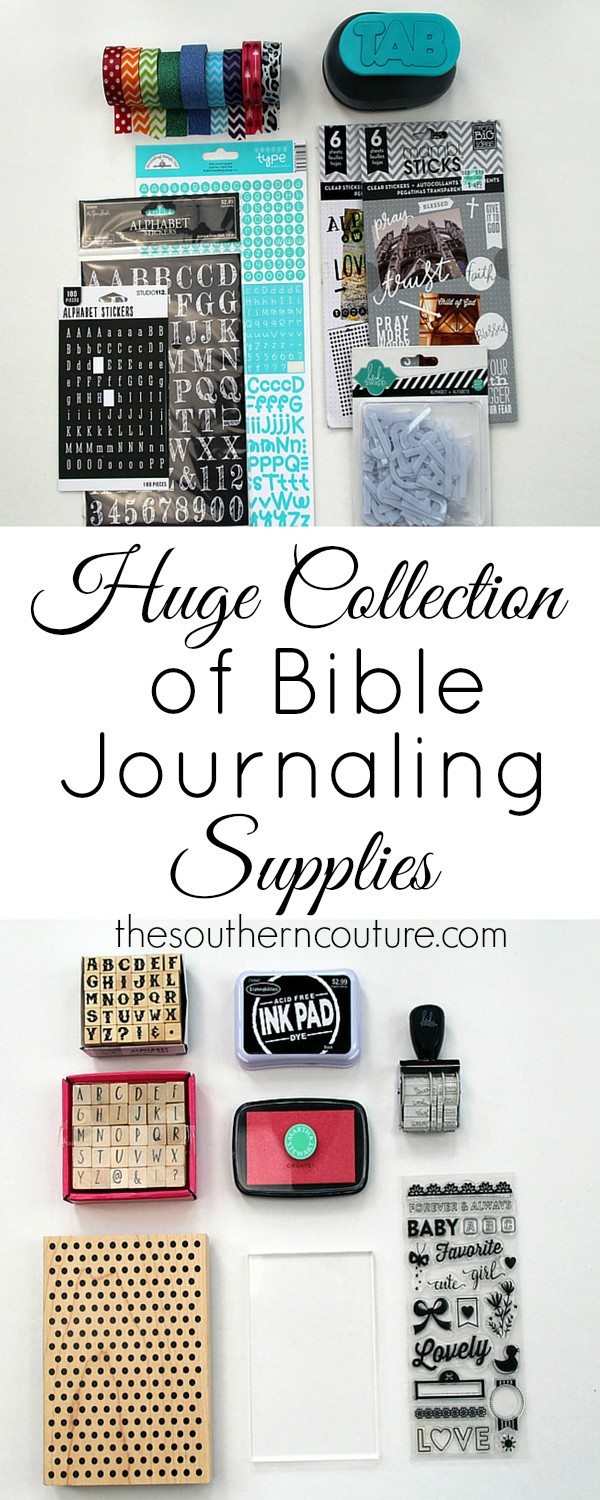
Alpha Stamps: You don’t have to be an artist to Bible journal. So many people hold themselves back for this reason. I am not the best at hand lettering, but stamps make it so much easier. I love that you can find just about any font now too. I love using different styles on one margin to write out a particular verse I am focusing on.
Ink Pad: You can’t use rubber or acrylic stamps too much without a stamp pad. Be sure to use one that is permanent ink and not water soluble. You will want to stamp an object and then color it in possibly using water colors. You would hate for the stamp to smear all over the page.
Heidi Swapp Date Stamp: I found this particular one at Hobby Lobby and love it. The month font on the stamp is gorgeous and not the traditional style. I love being able to date my pages every time I create a new entry. Many of my entries come from things I’m dealing with or from a Bible study. Having the date helps me to look back and know exactly how I was feeling at that time.
Rubber Stamps: The polka dots rubber stamp in the picture above is probably my most favorite one along side my mason jar stamp. The polka dots can be used anywhere to add a little something extra. I love finding rubber stamps to dress up my margins with pretty pictures. Like I said before, I am not the best artist when it comes to drawing so stamps help me take care of that.
Acrylic Stamps: Now these are just super fun too because they are flexible and transparent. Because they are see through, you don’t have to guess about where you are placing a stamp on your page. If you are using alpha stamps, then you can simply spell out the word and stamp it all at once without hoping it is straight and lined up correctly. In order to do this though, you are going to need an acrylic block.
Acrylic Block: In order to apply the stamps easily, you just place them on this block and they will self seal. How cool is that? I have a smaller, cheap block that works but would love to upgrade to a set that is lined so that I can line up my stamps in a straight line without having to eyeball it. Once your stamps are lined up, just flip the block over after applying ink and stamp directly to the page.
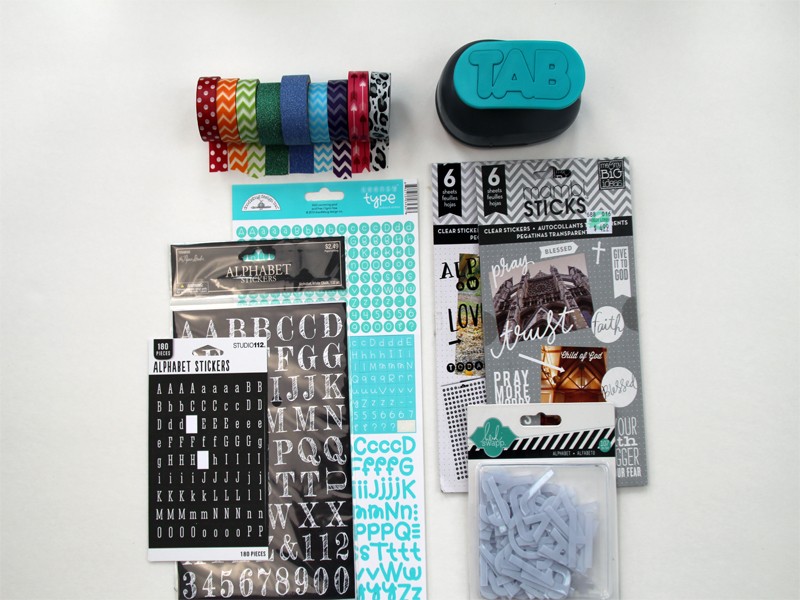
Washi Tape: I am quite obsessed with this stuff here lately. It is basically a sticker tape that comes in tons of colors and designs. The great thing about it though is that you can remove it from your pages without it ripping or tearing them. If you change your mind then no problem whatsoever. I find the washi tape adds color to my pages. I even add sticker letters to the top of it too.
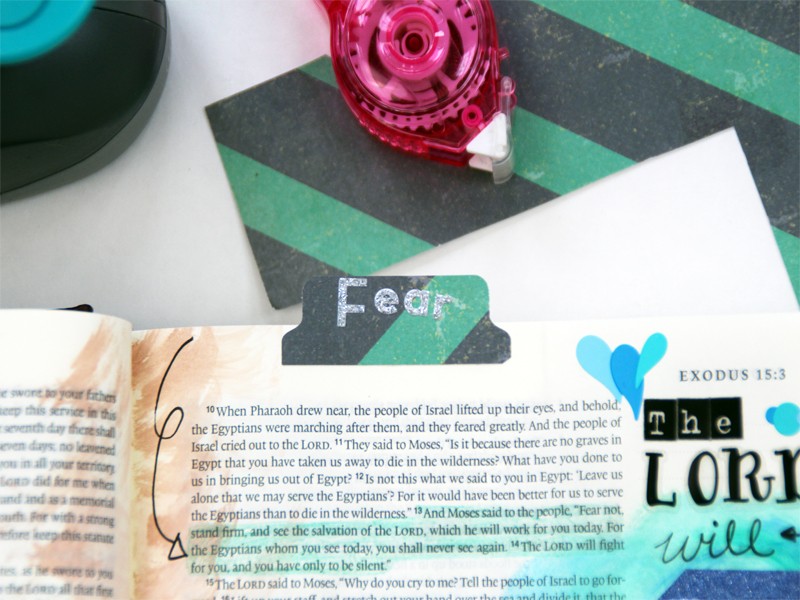
Paper Tab Punch: You can certainly make your own paper tabs to place at the top of an entry for quick reference, but this punch makes things so much easier. It gives a perfect shape every time and is so much faster. I love to place a tab at the top of a page when I’m finished and write a little word or two or several to explain the topic of the entry or verse. This helps me to reference my Bible faster when I am needing to look for a specific topic or subject. Plus it adds color and style to your BIble when it is closed.
Alpha Stickers: I have tons of different brands of alpha stickers in so many different fonts and colors. I absolutely love all of them. They are perfect for illustrating a verse in the margins and not having to hand letter everything myself. You can even find alpha stickers that are small enough to smell out entire words in the space of the margin. Be mindful of that when looking for stickers. I just don’t want to cover up any words personally.
Heidi Swapp Plastic Letters: I haven’t used these yet, but I found them on clearance and I can’t wait to try them out. They are just plastic letters that I plan to place on a page and use sort of like a stencil. I could paint around them or use the color spray. Then once you remove the letters you are left with a phrase underneath shining through. (I hope that makes sense. I know it did in my head.) You could easily do the same with any type of letters.
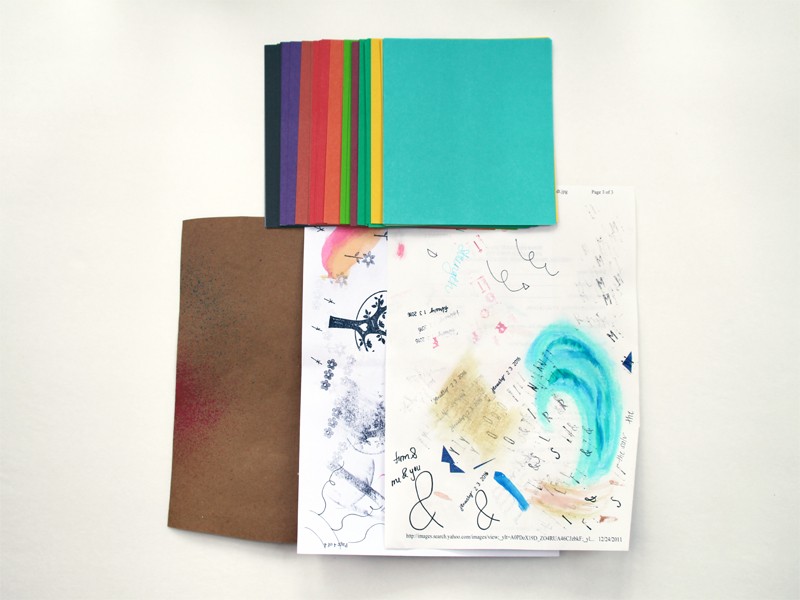
Scrapbook Paper: I have tons of scrapbook paper that I use for my tabs at the top of a page or to use on the actual page. If you don’t have enough room to write in the margins, attach a piece of scrapbook paper using washi tape and make extra writing space. Leave the bottom untaped allowing you to flip it up and still read the page. You can really use this stuff for just about anything.
Kraft Paper and Scrap Paper: I use a sheet of kraft paper under the page I’m working on and the page across from it to keep anything from bleeding through to the next page or sticking to the other pages. The scrap paper is essential to use when testing stamps, watercolors, gelatos, different techniques, etc.
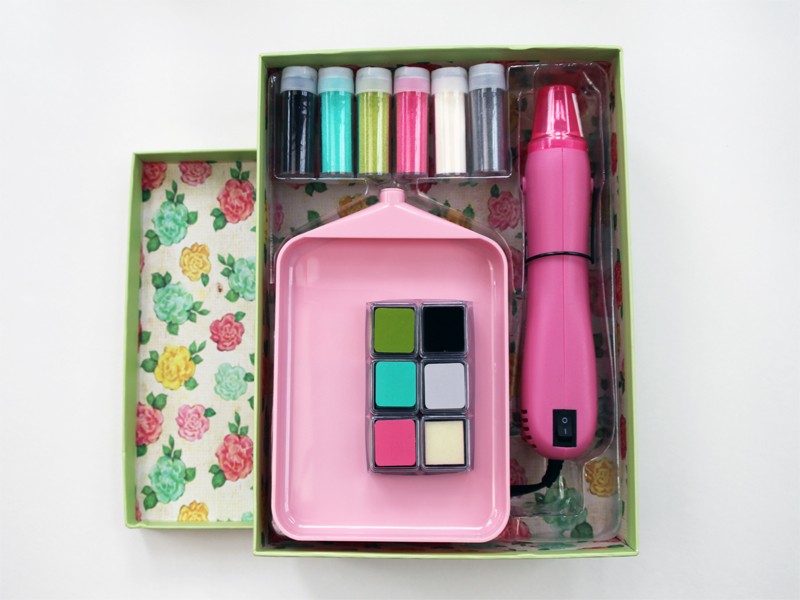
Embossing Kit: I found this kit at Michaels on clearance and just had to get it. I had borrowed my Mom’s heat gun, but really wanted a set of my own. It came with the heat gun, a plastic tray, embossing powders, and embossing ink pads. I cannot wait to give these a try in my Bible. I look forward to sharing how those entries turn out with a tutorial as well.
Wow! I just love each and every one of these supplies so much! I hope you aren’t completely overwhelmed. Just remember to start out slow and don’t overthink anything. The real purpose of Bible journaling is to connect with our Savior and meditate on His word. Start by using one new product at a time if that is better and enjoy the journey.
Below are a few pages of my own. I would love to share them and what techniques and products I used on each one.
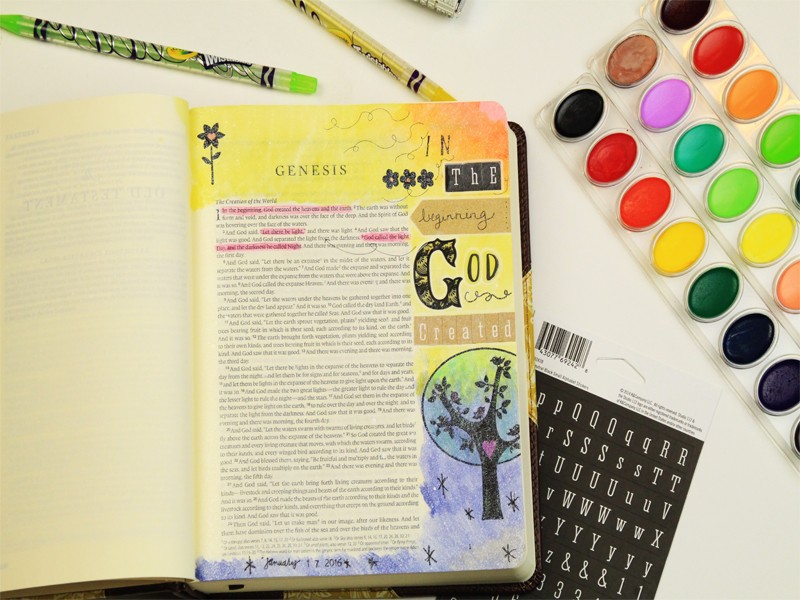
This entry is my very first one I ever did. I truly love it and what it portrays in the beginning. I used watercolors for the top half to represent day and the bottom half for night. I used acrylic stamps for the tree and flowers which fit perfect for creation. You may not be able to notice, but there is a slight shimmer of silver over the entire page that was made with the color shine spray. I used washi tape and alpha stickers to spell out the verse I focused on.
One of my most favorite entries is a double page entry that I was inspired by from someone on Pinterest that I changed a bit and made my own. The scripture is focusing on when Moses and the Israelites crossed the Red Sea. To make the water, I used gelatos and rubbed over them with the damp washcloth to blend the color. The sand was made with tan watercolor. The rest was made with washi tape, alpha stickers, and fun stickers for the water drops. Luv luv luv these colors!
For the paisley in this entry, I used a coloring sheet and traced it onto my page. I used the Prismacolor water soluble colored pencils to color it in and then took a damp paintbrush to give a watercolor effect. The rest of the page is made with scrapbook stickers, alpha stickers, and washi tape. I used the color spray shine to top it off with a bold pop of color.
This last page of inspiration was made using acrylic paints and the card method I mentioned above. I topped it off with alpha stickers and paper embellishments. I love all the different colors to represent Joseph’s robe of many colors.
Now that we have explored every supply that I just love (I’m sure there are more I didn’t think of), are you ready to get started yourself? Please let me know what your favorite supply to use is in the comments below. I would love to try something new. Keep your eyes out too for more posts soon to come showing exactly how to use some of these supplies.
Also if you have not already, please join me on Facebook, Pinterest, Instagram, and Twitter. I would love to hear from you with any comments, suggestions, or ideas you may have.
P.S. Please share this post with others if you enjoyed it and found it helpful. We love when you pass on goodness to others.
Some of the links in the post above are “affiliate links.” This means if you click on the link and purchase the item, I will receive an affiliate commission. Regardless, I only recommend products or services I use personally and believe will add value to my readers.
ENROLL NOW IN MY 5 DAY BIBLE JOURNALING ECOURSE FOR FREE!

Get exclusive tips and tricks with my 5 Day eCourse available exclusively to subscribers!

Such great ideas!
Thank you so much!!! I hope you enjoy.
I’m so excited to get started on this!
I just bought The Everyday Bible by Joyce Myer, but discovered it doesn’t have the extra space on the sides.
Oh well, I love it so it will have to do. I guess I’ll just make sure anything I do you can still see through! lol
On question…Kraft Paper…what is it and where do you find it in Michaels?
From your pics it looks like it might come on on roll, or it’s just think and pliable.
I really need that as the card stock I have is just too heavy to work with.
Thanks again for the post!
OH I’m so happy for you!! You don’t have to have the extra space especially if you really love the Bible. You could also use a journal to go along with your Bible.
The kraft paper came on a large roll and I cut it down to fit better in my Bible in a smaller piece. You can find it at Michaels or at Target or Walmart if you have one closer. You can find it either in the gift wrapping section or in the shipping and packing supplies section of your store.
I hope that helps. Stay tuned tomorrow to see a BIG announcement on the blog that will help you get started. I can’t wait!!!