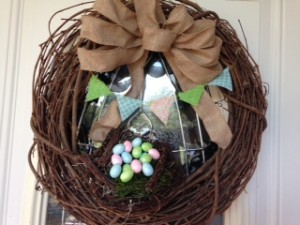
With the beautiful rays of sunshine finally peeking their head around the clouds after a long and cold winter, wondering what you should do to dress up your front porch or front door? Why not brighten up your front door with a beautiful Easter and spring wreath. Wreaths are one of my most favorite décor items to make. They are so much fun to change up every season depending on the holiday, season, or to personalize with your family initial. This particular wreath is versatile and can be reused over and over and over. Another reason why I love making wreaths. Once you have bought the wreath, the rest is so inexpensive to continue decorating for every holiday. Instead of hot gluing your decorations to the wreath, I will show you how to attach them where you will be able to remove and save for the next year while your wreath is still in great condition. Enough chatting, let’s get started creating and decorating.
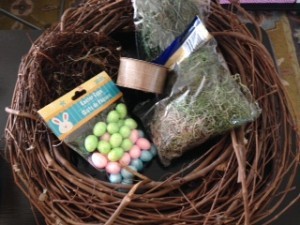
What you will need:
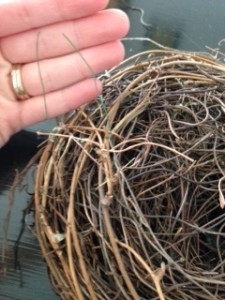
Grapevine wreath- The size is your preference. I would pick one that is large enough though that will not be overlooked on your front door.
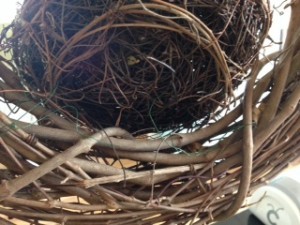
Bird’s nest- I actually found my grapevine wreath and artificial bird’s nest together at a yard sale. Have I mentioned I love yard sales? As a side note of advice, yard sales are a great place to find craft items and other items such as furniture or décor for almost nothing but with a little tender, love, and care can be turned into something wonderful. Most craft stores also carry artificial bird’s nest. I did also think about using an actual bird’s nest that I had on my porch last year. Of course, the birds were no longer living in it.
Artificial moss- I was able to find a variety pack of dark brown and green moss at the Dollar Tree. I also used this same pack of moss with a different color in the bag for my Easter Egg Topiary. You can always find a use for craft supplies which lowers your cost as well for each project.
Small artificial eggs or Easter eggs: I found a pack of petite eggs much smaller than the plastic Easter eggs used for Easter egg hunts at the Dollar Tree.
Glue gun and sticks
Floral wire
Ribbon- Use wire edged ribbon only in order for bow to hold its shape and not collapse and lay flat against the wreath.
Pipe cleaner
Fabric
Thread
Now let’s not waste any time getting started. You will absolutely fall in love with this wreath. I will not want to take it down after Easter but will probably leave it up for most of spring and maybe summer too.
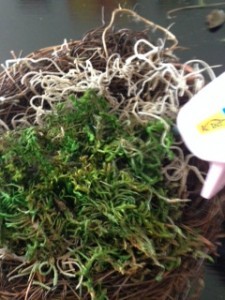
First you will need to glue your artificial moss into the bird’s nest. I used the brighter green moss that was in my pack to add a pop of color. When placing your moss to glue it down, be sure to place around the inside walls and not directly in the middle unless you are needing to build up the bottom of the nest so your eggs do not get hidden down in it. You will be gluing eggs on the inside and do not want to cover up all the colorful moss.
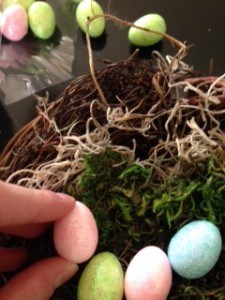
Next start placing your eggs into the nest if you want a particular pattern before gluing down. I placed my eggs in randomly while gluing. I did not really want a perfect look.
Your bird’s nest is now complete and ready to be attached to the wreath. First cut approximately two 12 inch pieces of floral wire. You will use the wire to attach the wreath making it easy to remove the bird’s nest when wanting to reuse your wreath for another holiday. You can use hot glue and glue gun to attach, but you will have major issues when trying to remove in the future.
Thread a piece of the floral wire through the bird’s nest on one side of the back and bend into a “U” shape. Do the same with the other piece of floral wire, and thread through the other back side of the bird’s nest.
Now attach your bird nest to the grapevine wreath by twisting each floral wire around the branches of the wreath being sure to continue twisting the wire around until nest is sturdy on the wreath. You may want to start twisting the wire and then check for placement before twisting completely to make it easier if needing to reposition. I placed my nest at the bottom of the wreath at a diagonal angle. Do not place completely horizontal or it will make it difficult to actually see the bright and colorful eggs. I like the look of the angled nest and not being completely vertical.
Tip: After making my wreath, I did find that it would have probably been easier to attach my bird’s nest first to the wreath before decorating with the eggs to avoid messing up the eggs and moss that were glued down.
Now that your eggs and nest are all nestled in, of course you need a big beautiful bow on top. I choose a ribbon that is similar in color and style to burlap. A bright green, blue, pink, yellow, or any other bright color would also be gorgeous to add that extra pop of brightness. Again just be sure to use wire edged ribbon in order for bow to hold its shape and not just end up lying flat against the wreath.
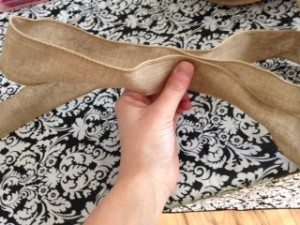
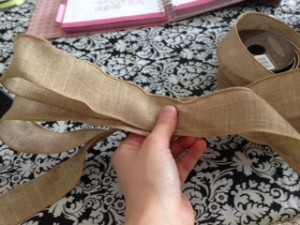
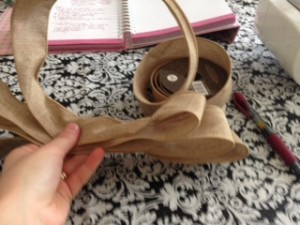
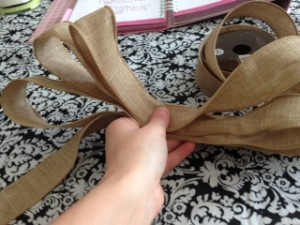
Be patient with making bows. The more you make them, the easier it will become. Getting used to the correct hand position that works best for you when handling the ribbon will also take time. Below I am including step by step pictures to hopefully make it easier for you.
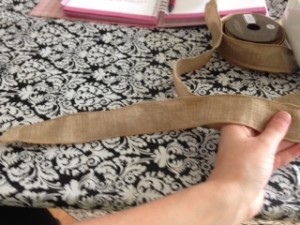
First measure out about 12 inches of ribbon. This will be one of the tails of your final bow. Therefore if you are wanting a shorter or longer tail on your bow depending on the size of the wreath, now is the time to adjust that measurement. Hold your ribbon up against the wreath to help you know what size will work best for you.
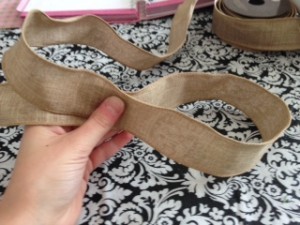
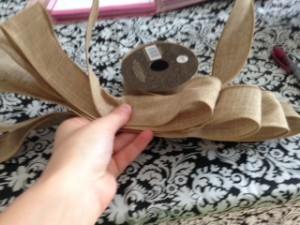
Holding the first 12 inches of ribbon in your left hand, pull another 12 inches of ribbon out and fold over about half of it forming one of your first largest loops.
Where your thumb is now holding your first loop in place, measure another 12 inches of ribbon and fold again half of it to form a loop on the left side.
You will use this same concept of measuring and looping at half way of ribbon until all loops are formed depending on how many you want. For my next loop, I measured about 8 inches and folded over holding the ribbon and loop in place with my left hand. Make same 8 inch measurement for the other side.
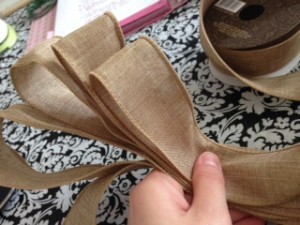
Measure about 6 inches and fold over to form loop and hold in left hand to keep loop in place.
Measure the same 6 inches and fold in half to form 3rd loop on left side.
I wanted 4 loops on each side therefore my last loop was measured at about 4 inches and then folded in half again.
Do the same for the left side of the bow.
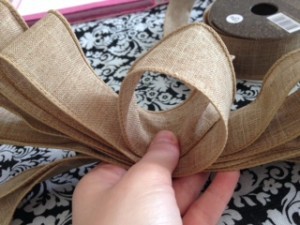
Now that all your side loops are formed, make a loop in the center of the loops where your thumb has been holding everything in place.
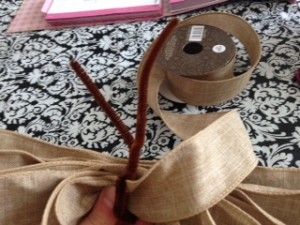
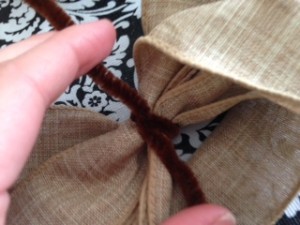
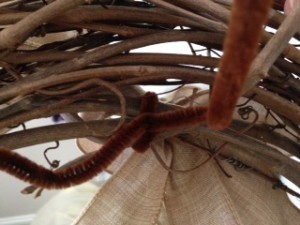
Place one end of a pipe cleaner directly through the center loop you just formed and bend around the whole center section tightly to keep the loops in place and avoid having your ribbon unravel.
Pull the pipe cleaner tight to bunch up the ribbon in the center and then twist the pipe cleaner around itself to secure it in place. I used a brown pipe cleaner that would blend in well with the grapevine wreath. If you choose to use a bright colored ribbon, consider using the same color pipe cleaner that will blend in well and not be noticed easily.
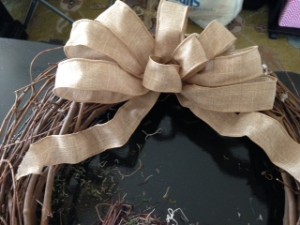
You can now attach your bow to the top of the wreath.
Fluff your loops to make them full and adjust positioning of loops as needed.
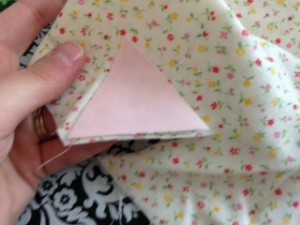
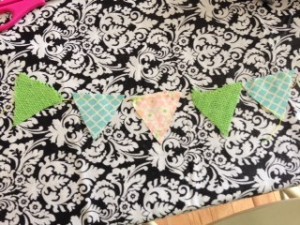
I still wanted more color on my wreath and thought a miniature fabric banner would be just adorable. Start by cutting out about 5 triangles with each side measuring about 2 inches. I used 5 triangles, but you may need more or less depending on the size of your wreath.
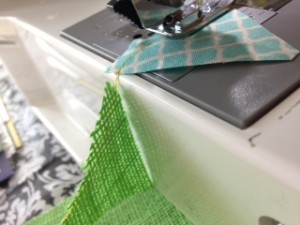
I used a bright yellow thread to sew my triangles together that happened to already be loaded on my sewing machine. I used a simple straight stitch as well. Start by sewing several inches of thread before loading any fabric to use to attach the banner to the wreath. Insert the first triangle and then leave a small space before sewing the next triangle. Once all triangles have been stitched together, remember to stitch several more inches of thread on the end to attach the banner to the wreath.
If needing pointers on sewing the triangles together while also leaving a space in between, check out the Easter Egg Paper Garland which also uses the same techniques.
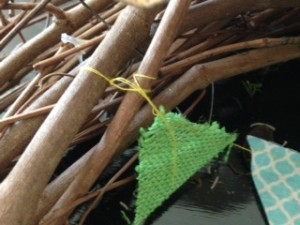
Now tie your banner to the branch of the grapevine wreath of each side above the bird’s nest.
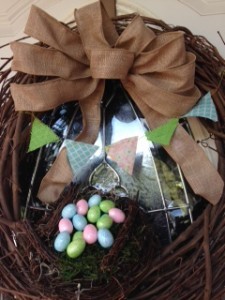
Your Easter wreath is now complete and ready to adorn your front door. Enjoy your wreath during Easter dinners and even after Easter Sunday. I will more than likely leave my wreath up through the spring and just make small changes during the summer.
If you decided to make your own, please share below and let me know with your pictures and any fun ideas you may have for an Easter wreath that everyone can enjoy too. Also if you have not already, please join me on Facebook, Pinterest, Instagram, and Twitter. I would love to hear from you with any comments, suggestions, or ideas you may have.
Enjoy your Easter festivities this week with special dinners, Easter egg hunts, Easter parties but never forget to enjoy the small things in life nor our Savior who is the real reason we celebrate this Easter holiday.
